Week of Nov 13, 2024
Design and build a machine that includes mechanism + actuation + automation + application
This was a big and seemingly impossible week of building our own machine from scratch as a team. The impossible was done and documented here on our team website, created by yours truly together with documentation powerhouses Adi and Nathan.
I was involved in two teams - the pulley and motors team together with mechanical engineers-in-training Alicia and Kenneth, and the integration and web documentation team together with webmasters Adi and Nathan.
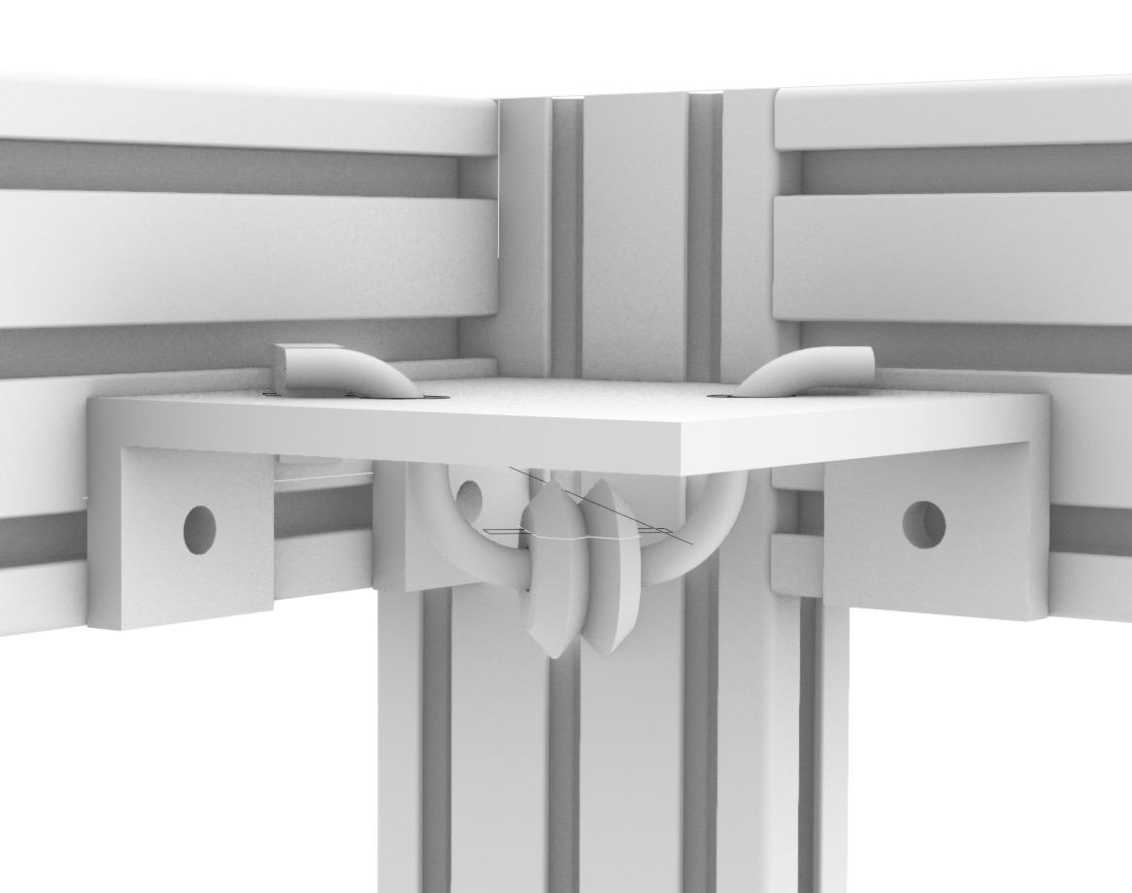
Our group project was an electromagnetic claw machine comprised of a cubic aluminum frame with pulleys attached to base winches, to hold and maneuver a central grabber/claw. There were 2 main things to design and fabricate for the pulley/motor team - a way to attach the pulleys to the frame, and winches for the base. Things started out bright and promising with the first iteration completed by class time on Wednesday Nov 13 (i.e. day 1!) and the first 3D print done after class. Of course, those were early days and since the main design was a rough sketch at this point, we expected the design to adapt and change to coordinate well with the rest of the team.

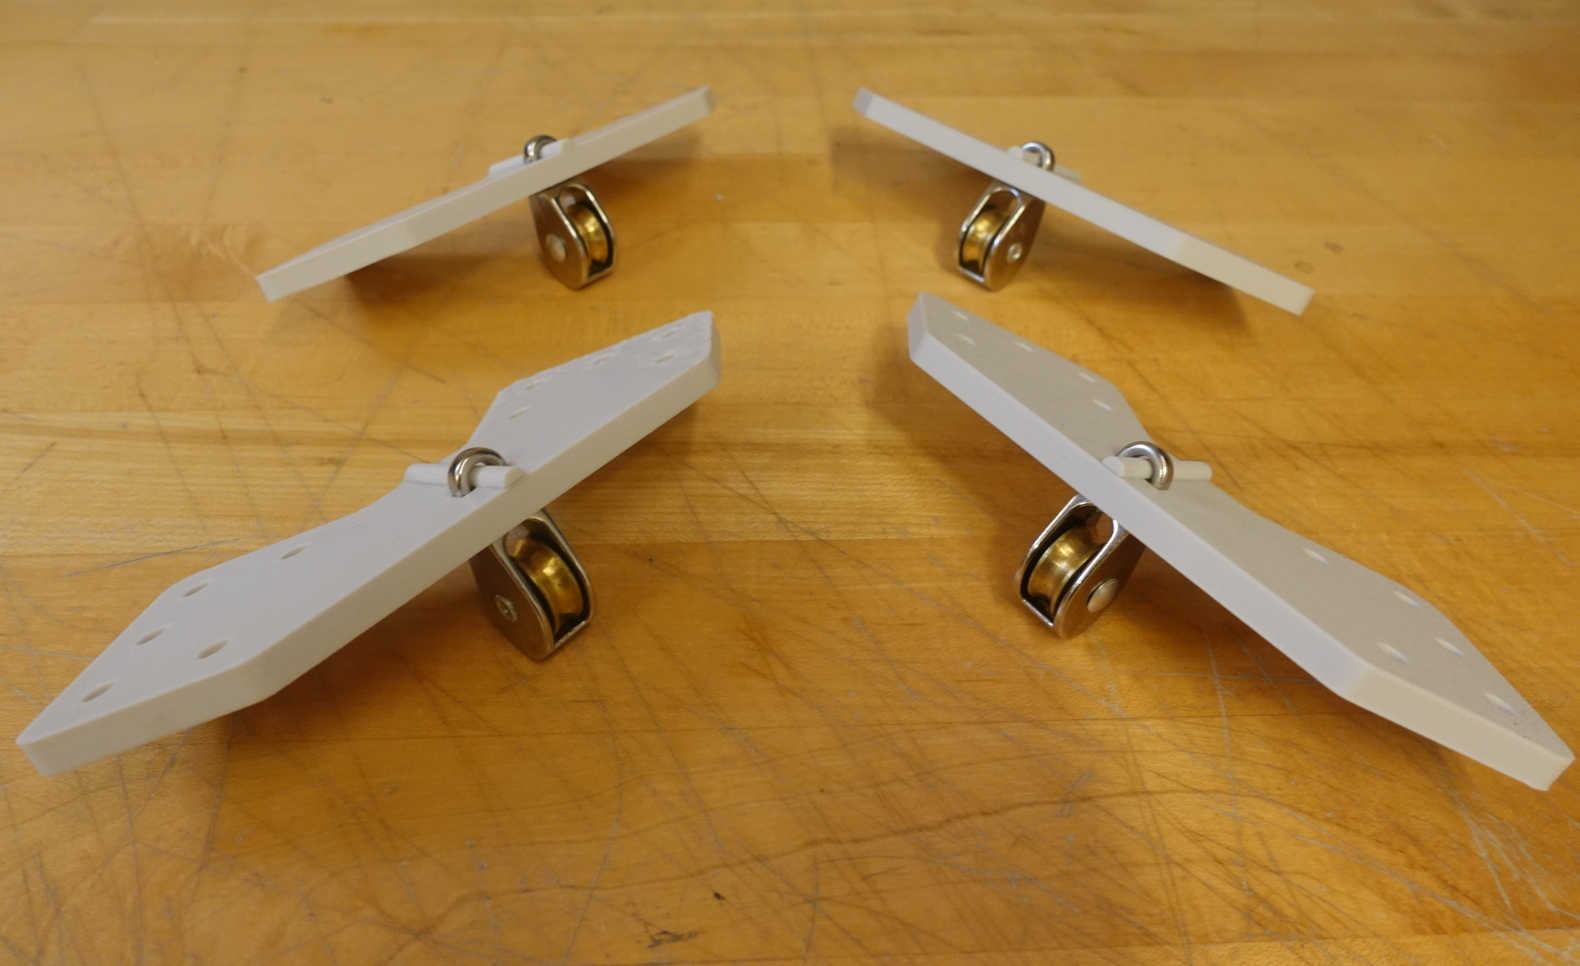
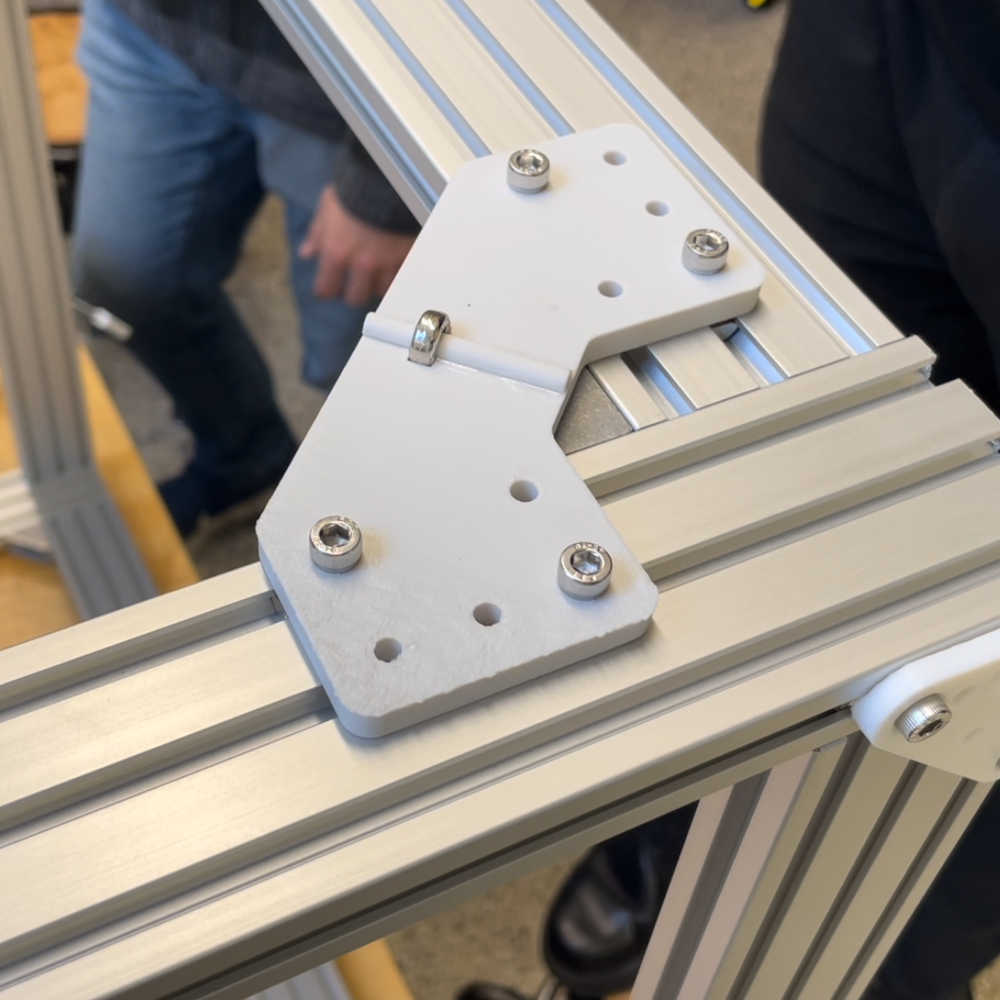
Key changes to other components that necessitated changes to the design were: we decided to have 4 pulleys instead of 3 pulleys, and for the pulleys to be attached at the corners in a diagonal way, instead of at the midpoints in an orthogonal way, to maximize the 'play area' of our claw machine. Secondly, due to material contraints, the frame team built the main frame out of 60mm x 20mm alumninum extrusions instead of the original stock of 20mm x 20mm aluminum extrusions, which meant that the eventual frame could not be perfectly symmetrical but instead have specific orientation and alternating flat/narrow edges to design around. Fret not, for the next iteration was done by the next day (Nov 14th) shortly after the frame was manufactured.
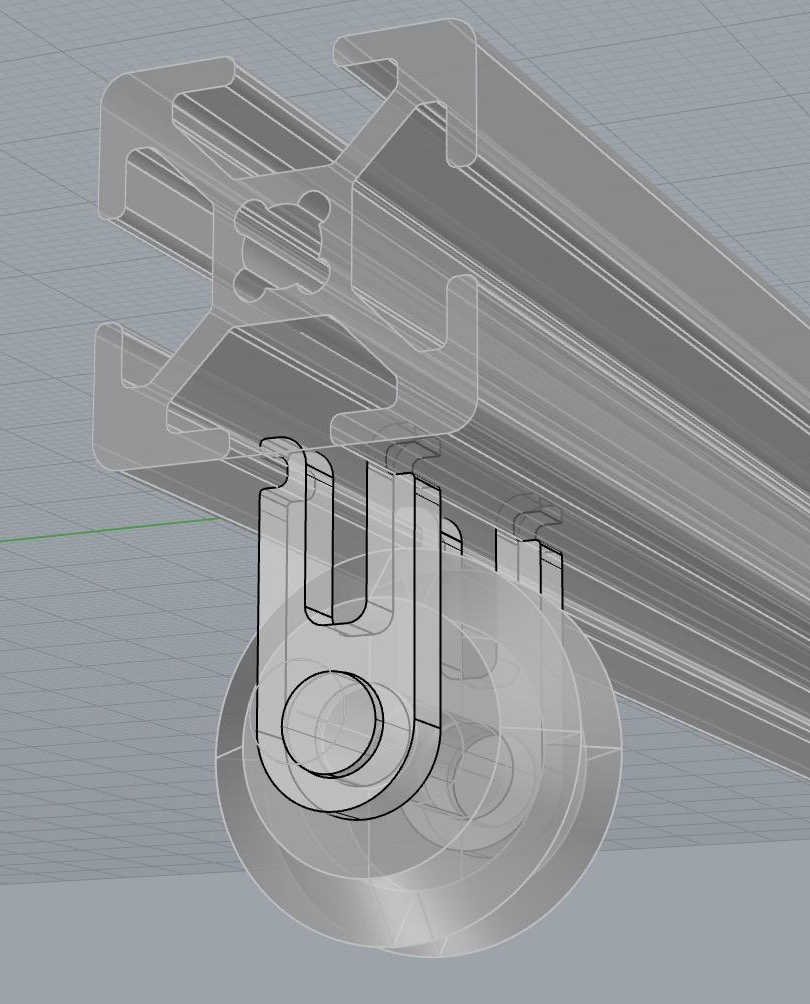
After 3D printing the second design, things started to go haywire. Firstly, the axial piece did not fit the pulley (perhaps the 3D print deposited more material than specified; the diameter exceeded minimum tolerances of the 3D printer's nozzle), and more importantly, another key component, the winch, had to be designed around a different orientation of the frame for maximum stability. This meant that the pulley connector could no longer fit to the newly oriented frame.
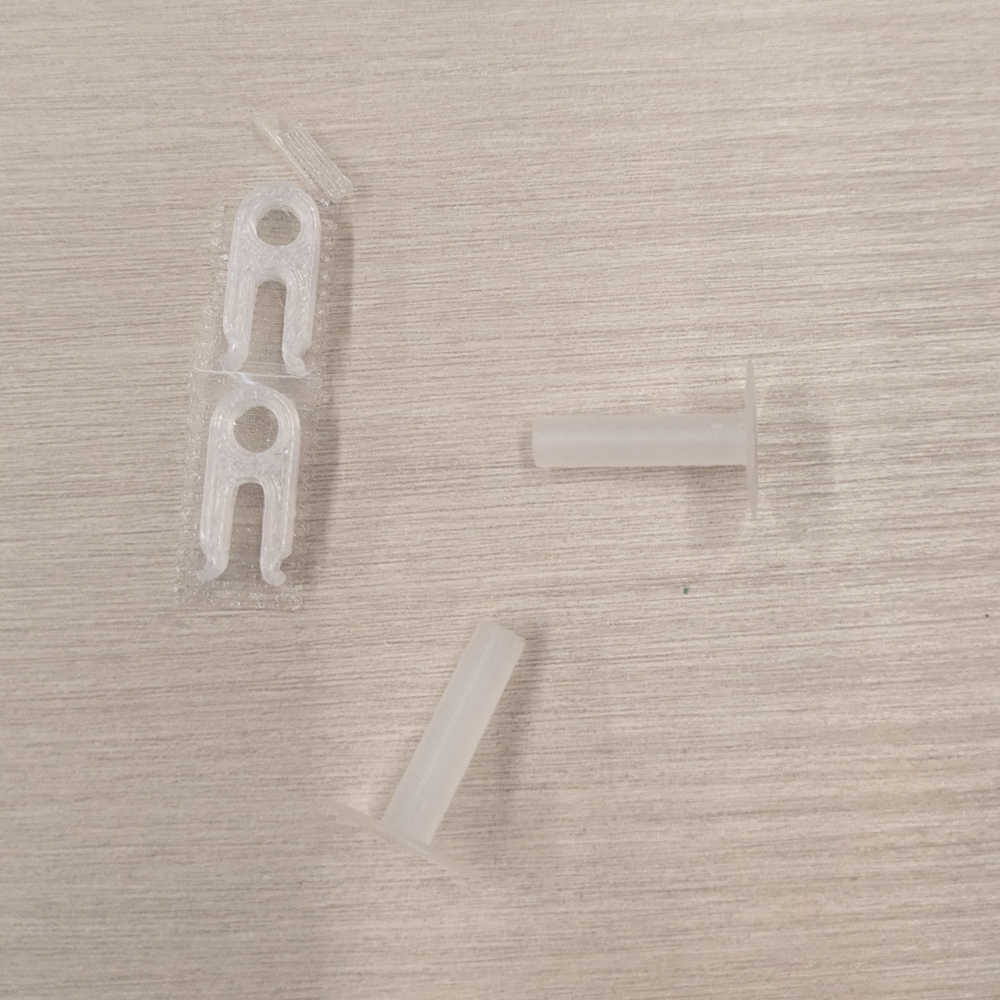
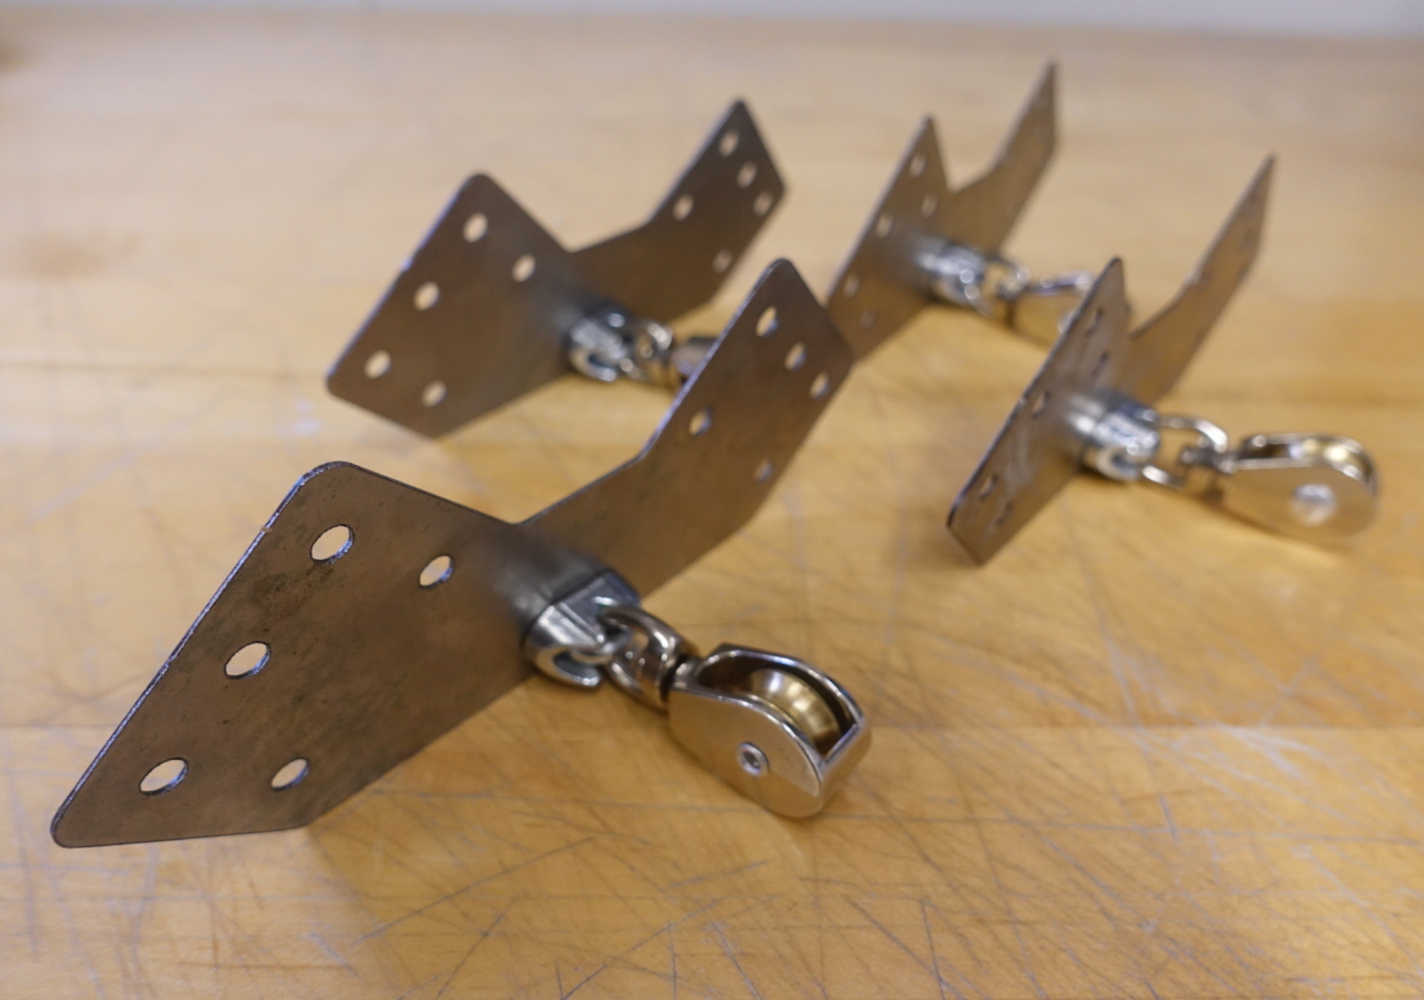
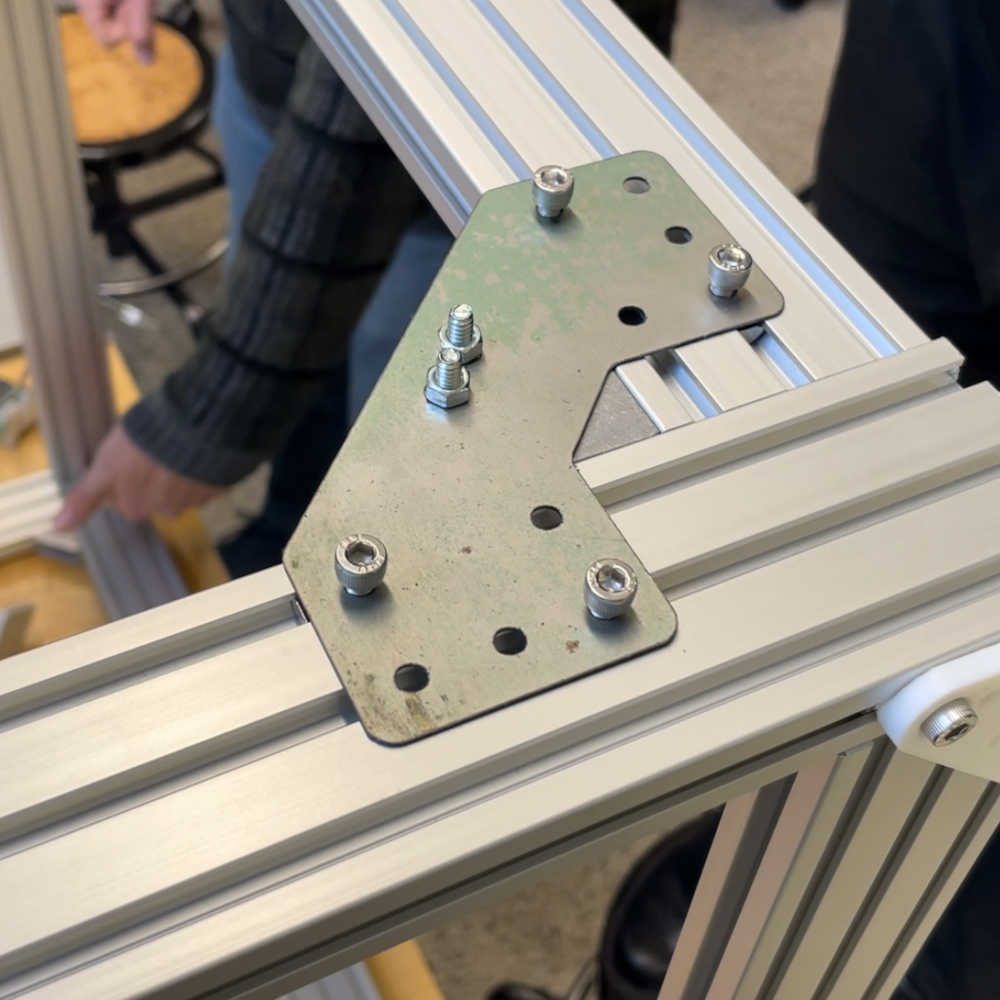
Upon testing the plastic stock pulleys, we also determined that they would not be secure enough for the project, and our team leader Sergio made the executive decision to procure metal pulleys which would produce smoother movements suitable for our project. With the help of Sergio, Nour, and Kareem, the team manufactured revised pulley connector designs, testing out both 3D printed and laser-cut metal versions, eventually settling on the 3D-printed version for better fit on the team's final prototype.
I then hopped onto website documentation, meeting with Adi and Nathan on Monday Nov 18 to pick a suitable design quickly using HTML 5 templates, and incorporating the accent color of our project into our website design, and leaving placeholders for remaining work (integration and final video) while quickly getting to work on capturing the various subteams' work thus far. It helped that the team collectively took a lot of photos and videos, both candid and professional-looking ones, and diligently dumped them into a shared Google Drive for the documentation team's easy retrieval (shoutout to Reishan for meticulous sorting of the voluminous photos and videos into sub-teams).
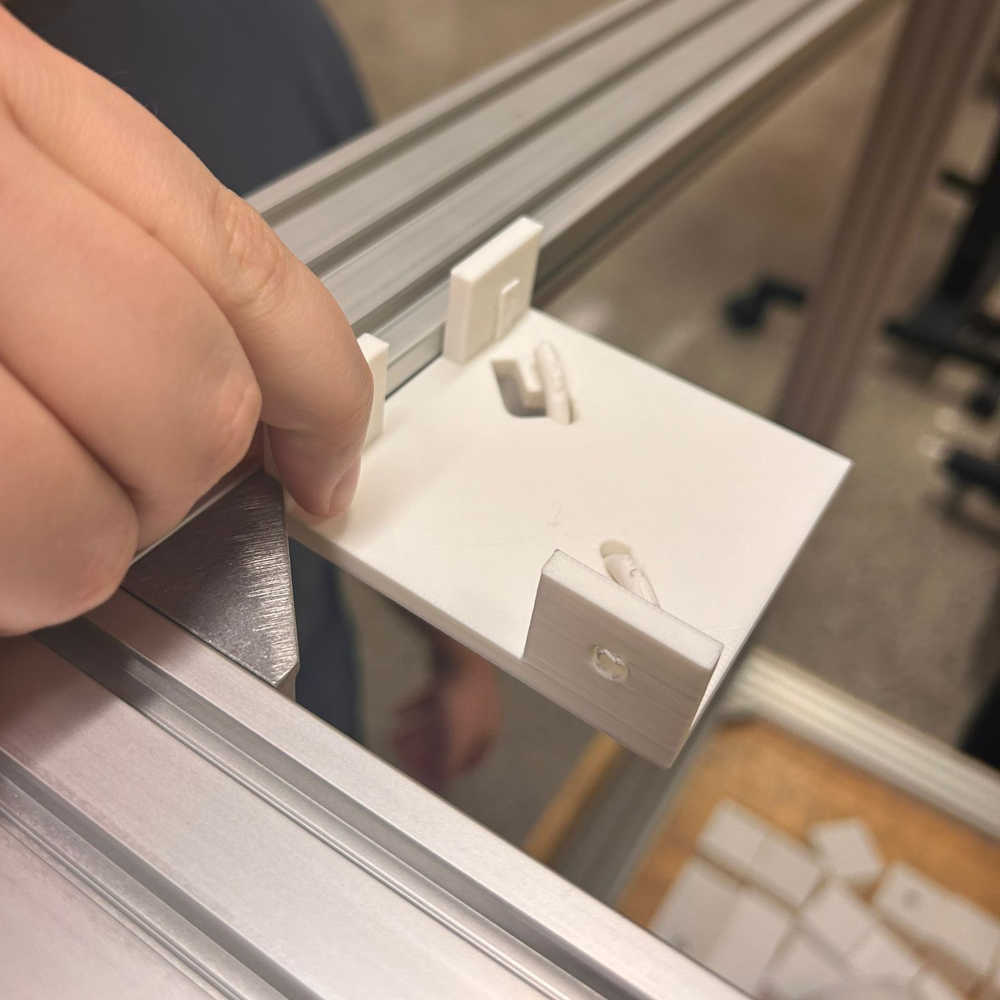
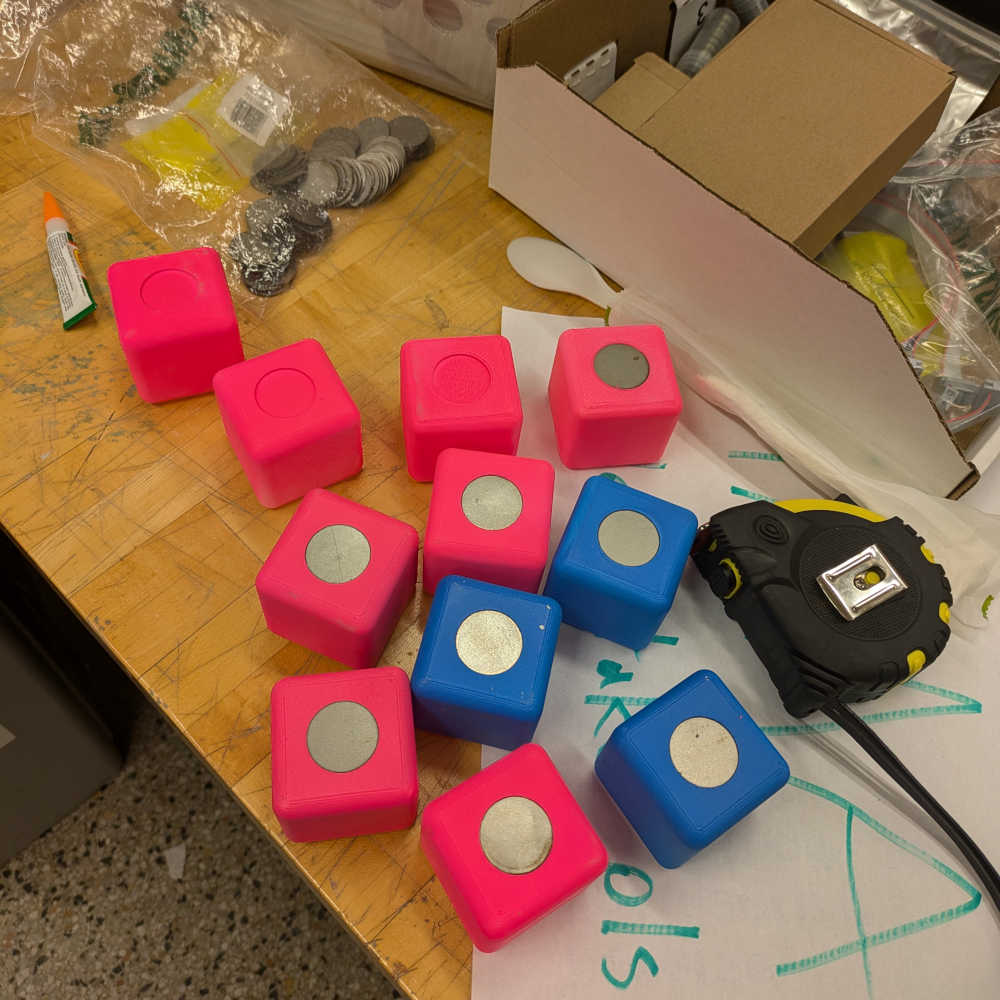
Over the course of Monday and Tuesday, we also engaged in the controlled chaos of integration and debugging. I helped to assemble some of the adorable blocks designed by my teammates, by gluing metal circle cut-outs to the 3D-printed and spray-painted blocks. Over these two days, we collectively hung around for miscellaneous troubleshooting, testing, filming for the group video (spearheaded by Nour and assisted by Javier), and brainstorming branding options for our project (Blockdrop? Dropblocks? XBOX? Drop it like it's hot?)
And voila! Our final product: