This week, I wanted to experiment with new materials in 3D printing. I have used a Bambu P1S before, but never the Prusas or the Formlabs SLA printers downstairs. So I gave it a shot and made a couple of things this week!
3D Scanning and Resin Printing
Using the Creality Ferret Pro, I took a scan of my hand. I had the app on my phone already for scanning other things in the past.
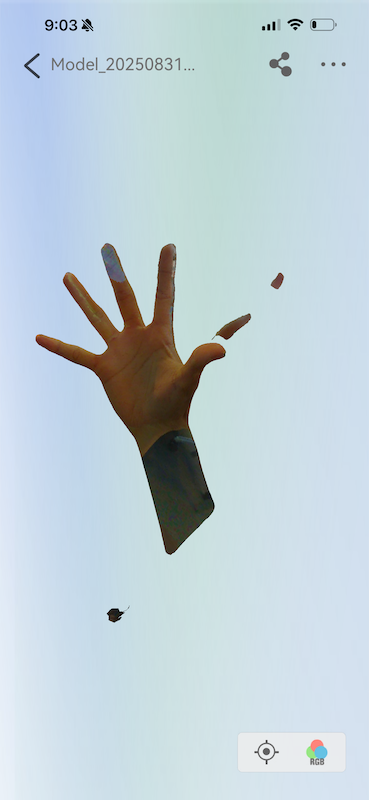
It was pretty easy! But it did leave some clumps that I deleted in Rhino. My file can be found here: Abby Hand.
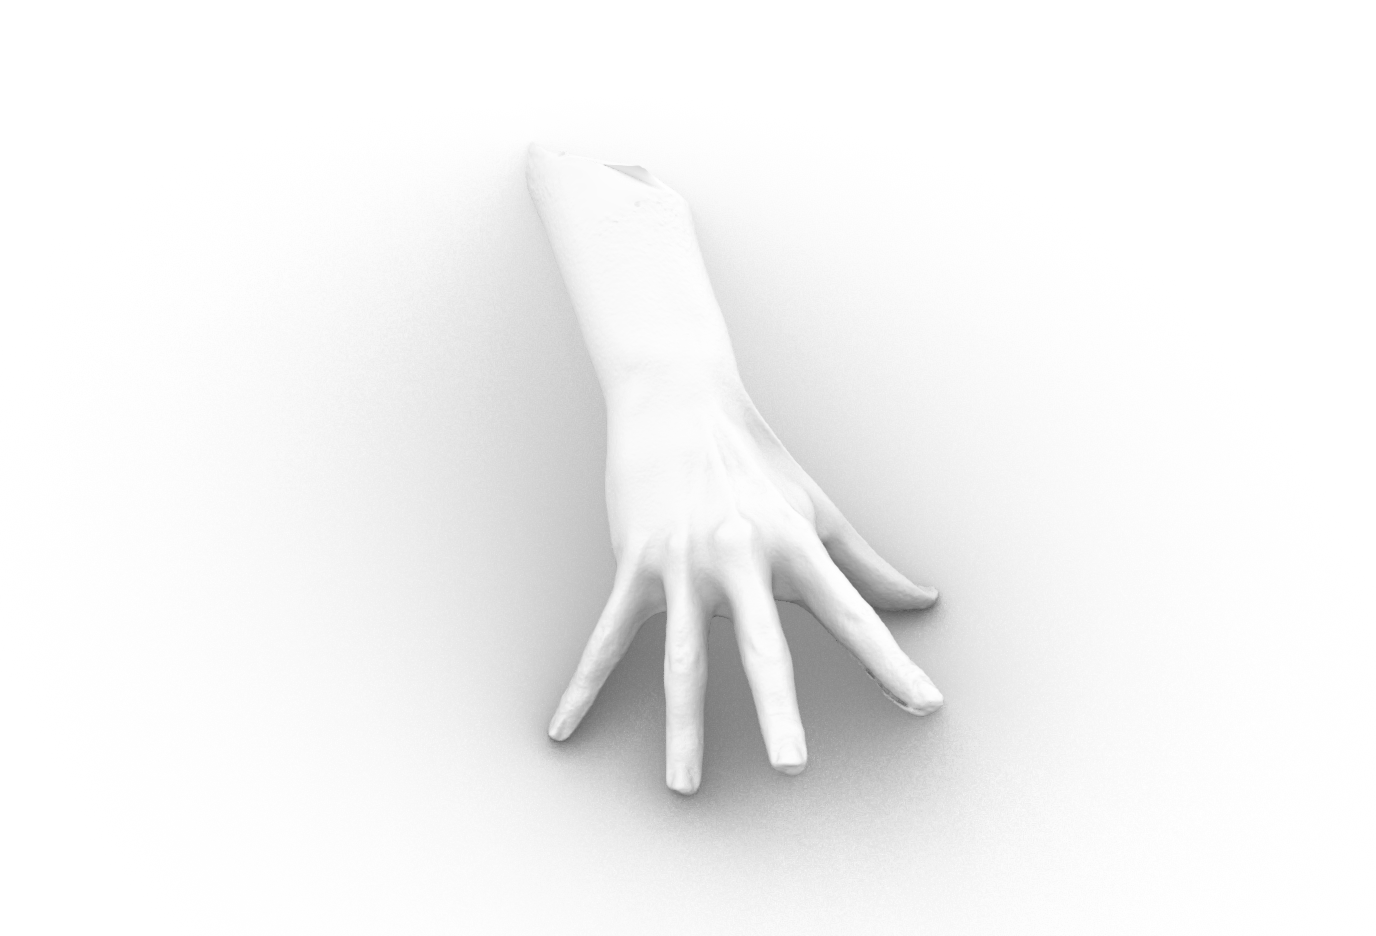
Then I sent it to Preform and uploaded it to the printer.
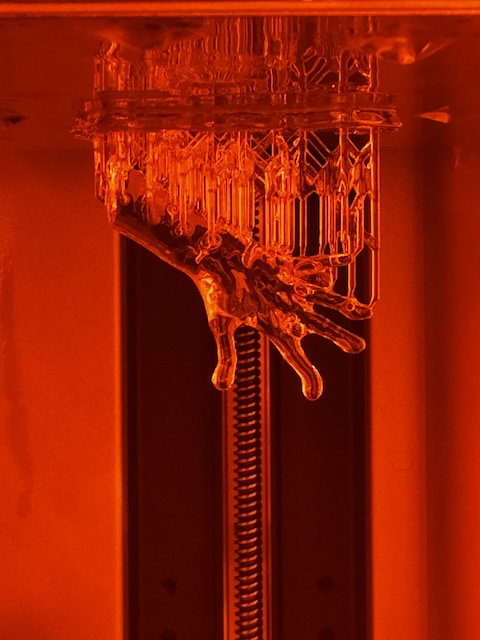
And in a speedy hour it was done! My wee hand.
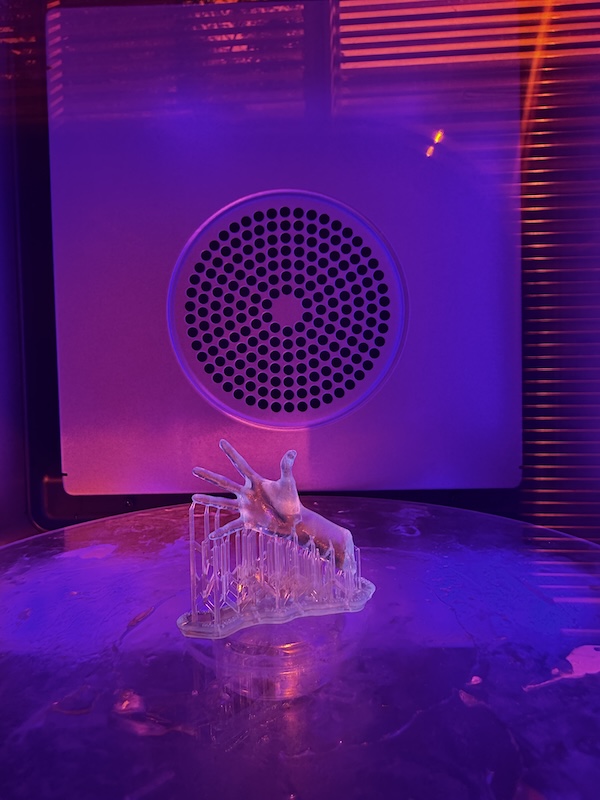
I decided to cure it with the supports still on so that it wouldn't deform. I'm not sure if that really was the right choice though because it left little bumps on the outside. I might print another and take off the supports first and see if it makes a difference.
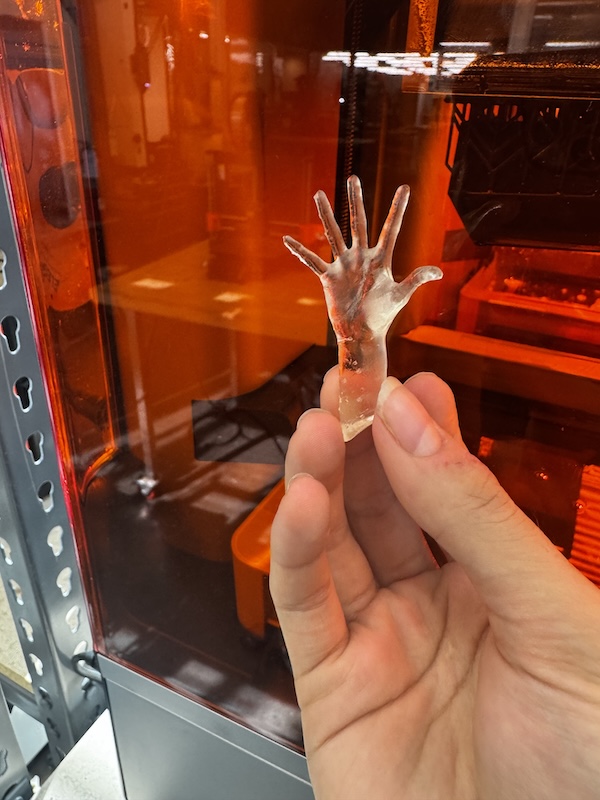
But tada, here is my tiny little hand.
WHAT I LEARNED:
- resin printing is not as daunting as it seems
- getting a full closed scan is really helpful! Fixing open meshes can sometimes be annoying
- supports leave little bumps when cured still on the
Printing with TPU
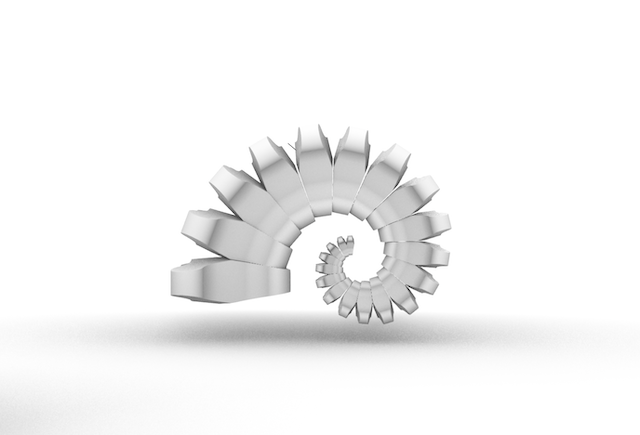
Next, I wanted to try printing with TPU because I am considering using it for my final project. I had some trouble with printing it on the Prusa M4KS, but Dan helped me set it up using the dry boxes and the Prusa XL. I talk a bit more about my final project plans here, but basically I wanted to make a flexible tentacle similar to one by SpiRobs. My Rhino file can be found here: Tentacle.
I did my first attempt by printing one link of the tentacle.
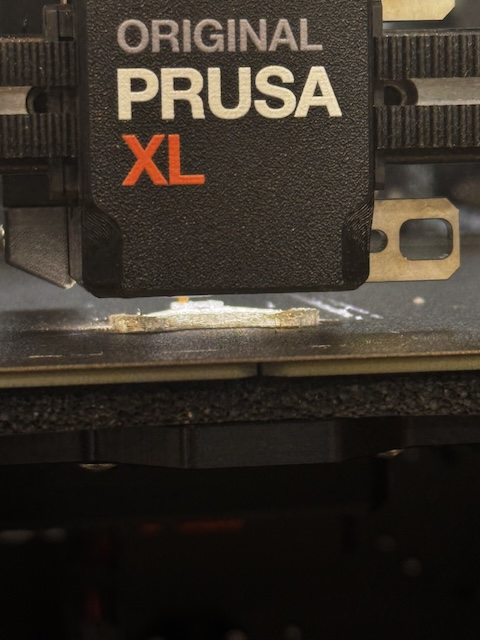
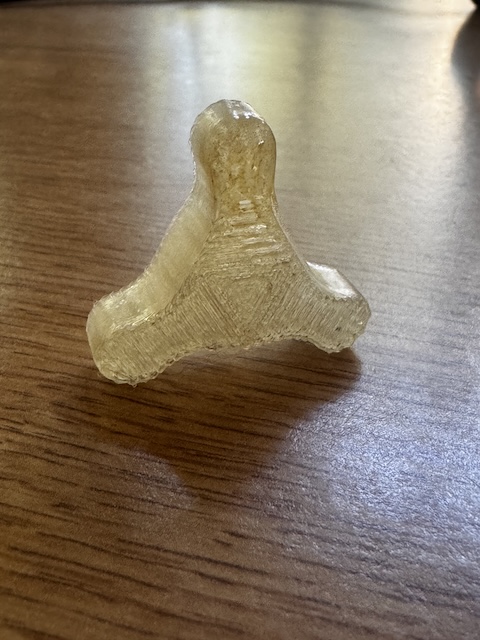
The infill was set a little bit high so it was a bit thicker and less flexible than I would have liked, so I adjusted for the next one. But the TPU printed successfully!
I did have some issues with getting the supports off, as it is very flexible.
Then, I attempted a full mini tentacle!
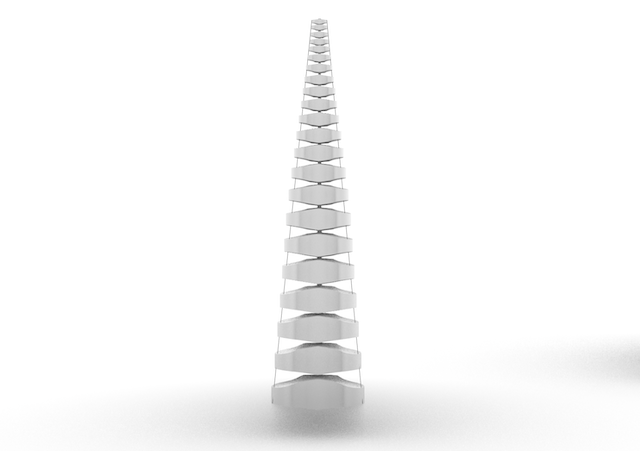
I set the speed to be slower on the print since the TPU is more flexible and sometimes has trouble sticking, especially to the plate.
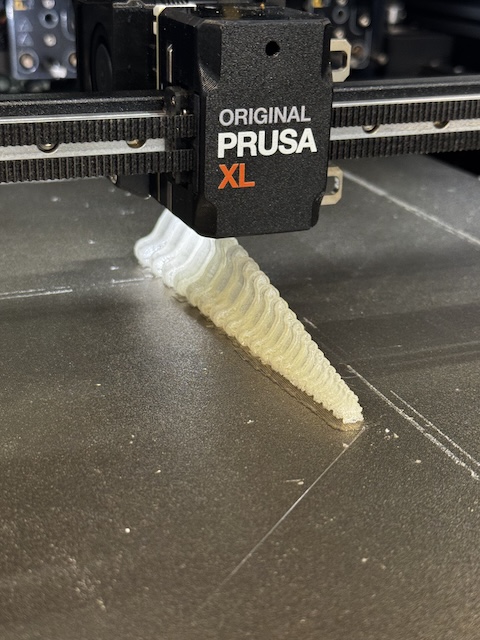
It worked out great! It actually was a lot smaller than I anticipated but that was a measurement error on my part.
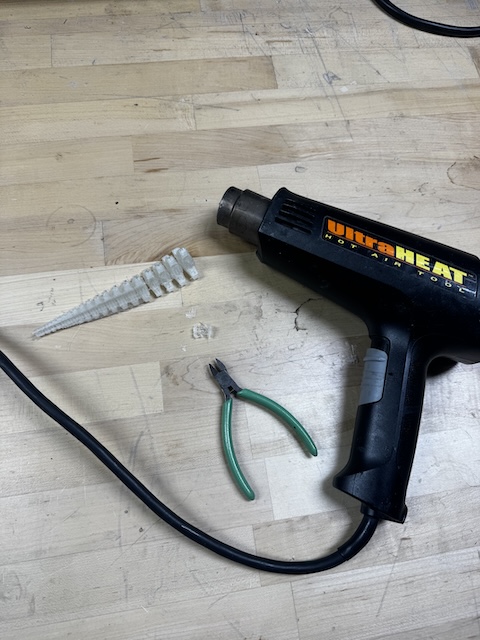
I did have trouble again ripping the supports off, so next time maybe I will do them manually. I discovered that using a heat gun and pliers helps a lot with removing them, though! I just had to be gentle, as sometimes I'd rip it a little too far into the piece itself.
Here is the final tentacle! My first attempt. I think it turned out pretty good, but there are definitely things I will change for my next iteration.
THINGS TO FIX:
I need to fix the tapering so it can bend freely at all angles.
The holes for the cable also did not print well, so I need to make them bigger. I also will just make a larger one and test its strength.
And as I mentioned, I will try to create my own supports so it is smoother.
Keychainmail
Then, to fulfill the assignment of something that cannot be made subtractively, I 3D printed some chainmail and added my own little aluminum squares to make a keychain. I used this model from Thingiverse by ConnorMPrints.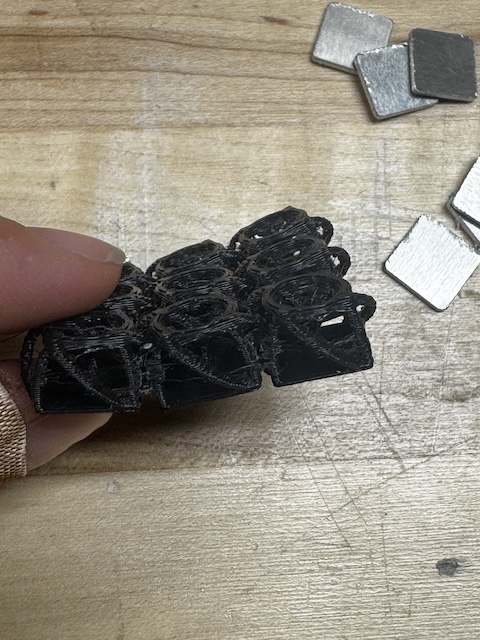
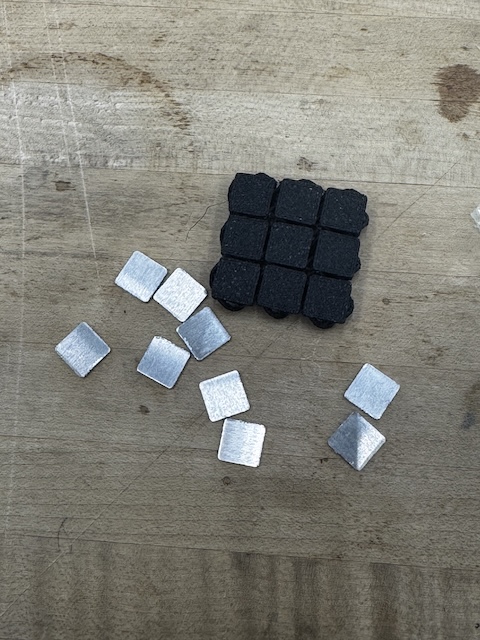
I printed a 3 x 3 chainmail using the Prusa M4KS using 1.75mm PLA with no supports. It took only 16 mins. It was a little messy, but it was able to break apart and function the chainmail.
I also lasercut 10 mm x 10 mm aluminum squares on the XTool to super glue onto the top of the chainmail so it would look cooler.
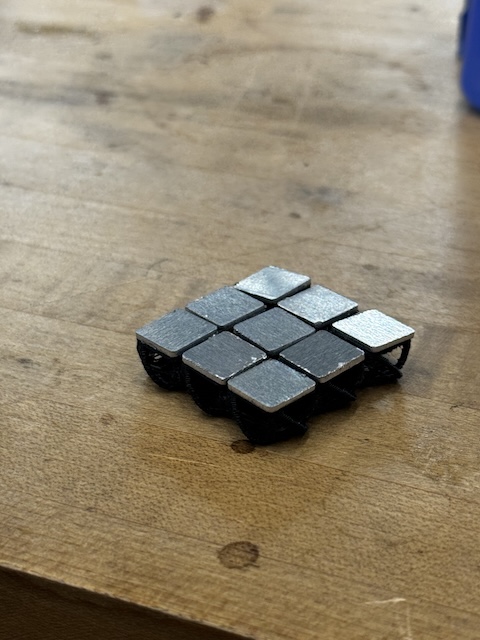
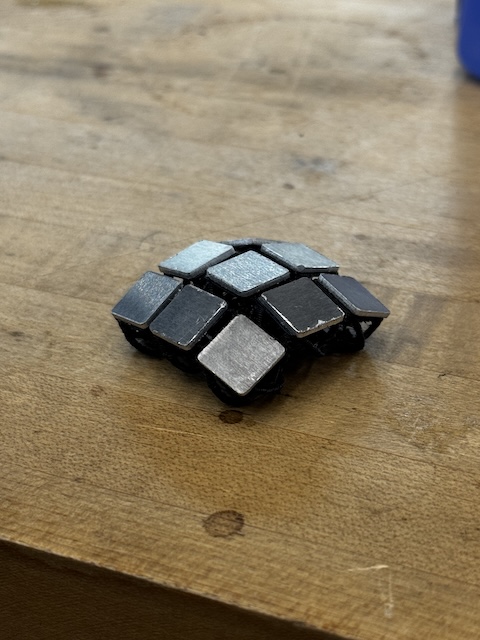
And now it is on my bag as a little keychain!

Keychainmail if you will.
Files