I'm using this page to document my learnings (mostly for myself) about embedded programming - a completely foreign concept to me.
I learnt that we're using development boards in this class, which is a printed circuit board (PCB) with a microprocessor or microcontroller, and other essential components, that serves as a hardware platform for developing, testing, and prototyping software and hardware systems, especially in embedded systems and the Internet of Things (IoT). These boards offer an easy-to-use environment for both beginners and experienced engineers to program and experiment with embedded systems, featuring input/output pins, power interfaces, and often integrated sensors and connectivity options.
My particular board (the QPad w. Micro) was developed for the class, and has a microcontroller - a small computer system on a single chip, which has a processor core and memory, input/output pins, timers etc. Compared to a laptop which has a microprocessor, a microcontroller runs the code directly and is self-contained.
We soldered several parts onto the board, includeing an LED, resistors (to limit the flow of electricity so other parts don't burn out), capacitors (that store & release energy quickly, smoothing out any fluctuations in power supply), a microcontroller, a USB port, and a screen. My biggest learning this week is how to solder - much like any other skill, I learnt it through reps. I am still not great at it so looking forward to more opportunities to practice.
(Fun story: in India we pronounce this word "solder" (with the "l" sound), so I wasn't sure what we were talking about in class, and will always remember Googling "what is 'saudering'")
Part 1: Soldering
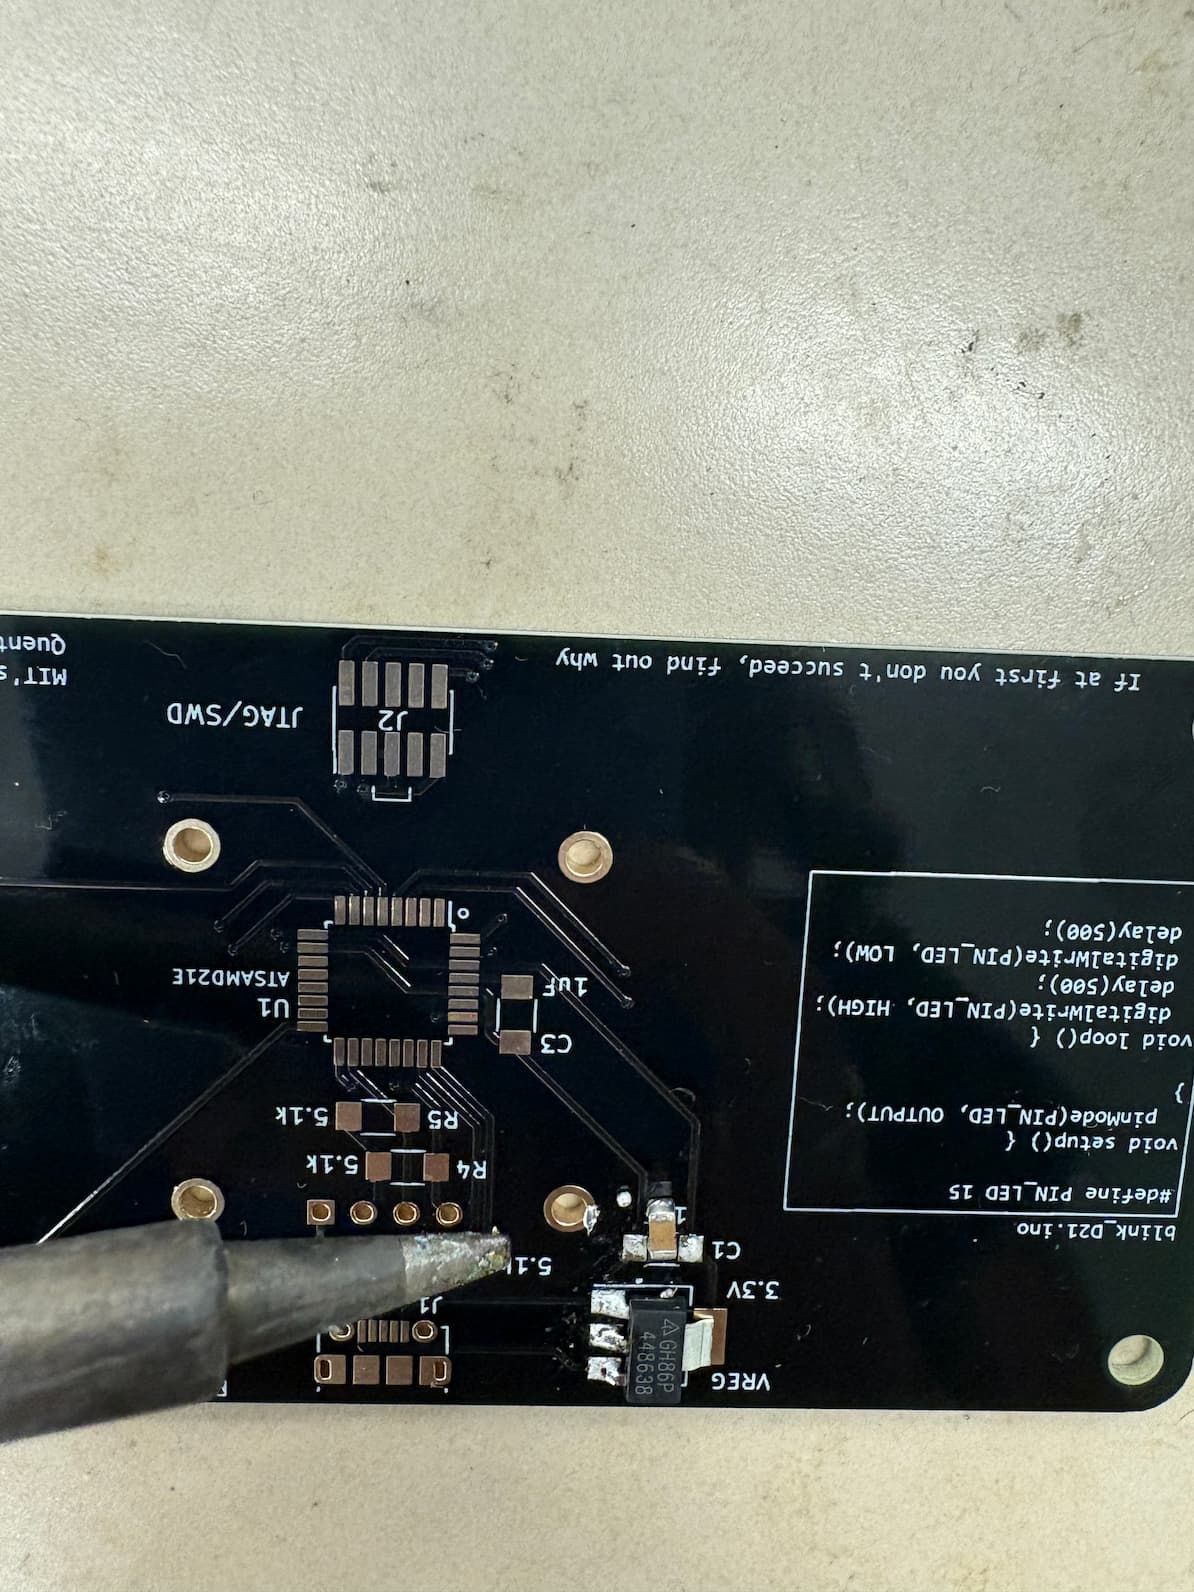
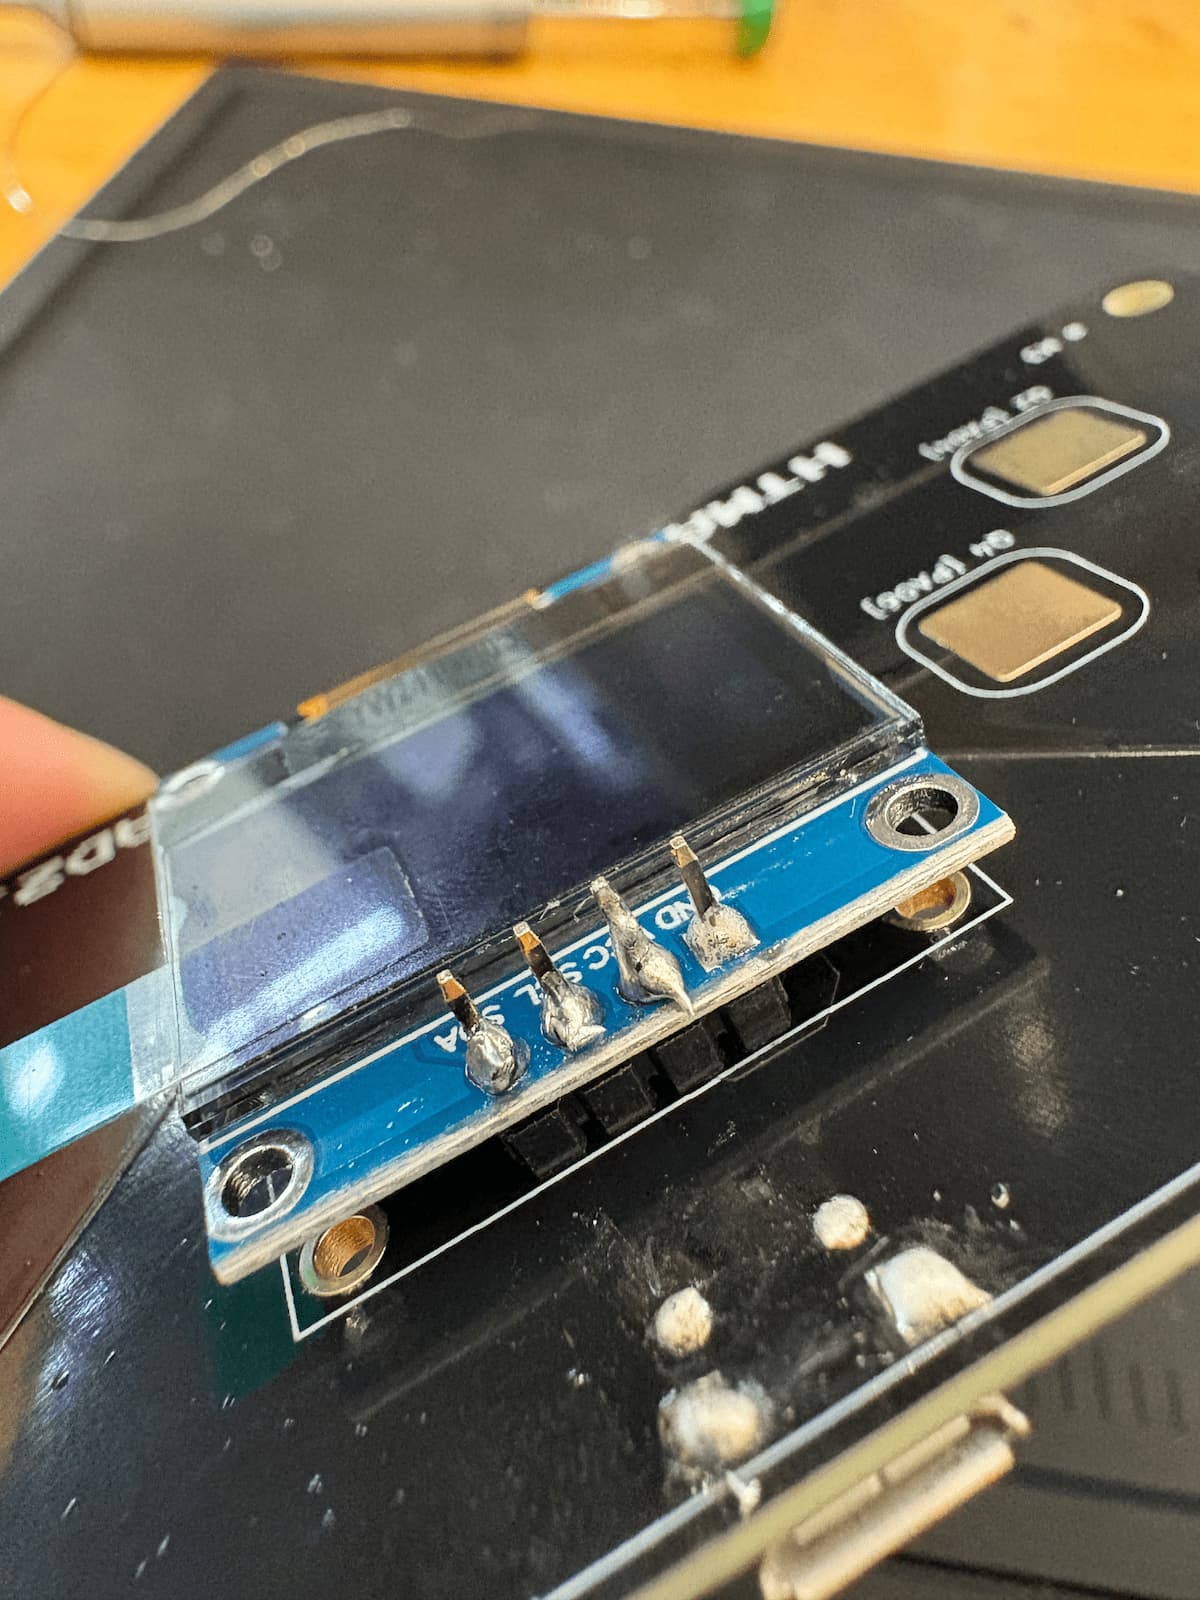
Soldering the board
I made a few mistakes with soldering, including (1) not knowing where to place the tin wire for optimal melting; (2) for elements that needed to be soldered on 2 ends, sometimes they ended up standing upright; (3) soldering some things in the wrong places that needed to be un-soldered; (4) not soldering neatly; (5) creating some shorted connections.
I learnt from the TAs that good soldering is like a volcano, and we want to avoid ball shapes of all kinds. Despite getting better with reps, as you can see I still ended up with some bad shapes, shorted connections etc. So a big thank you to the Alan and the team of TAs who helped this week.
Part 2: Testing the code - basics
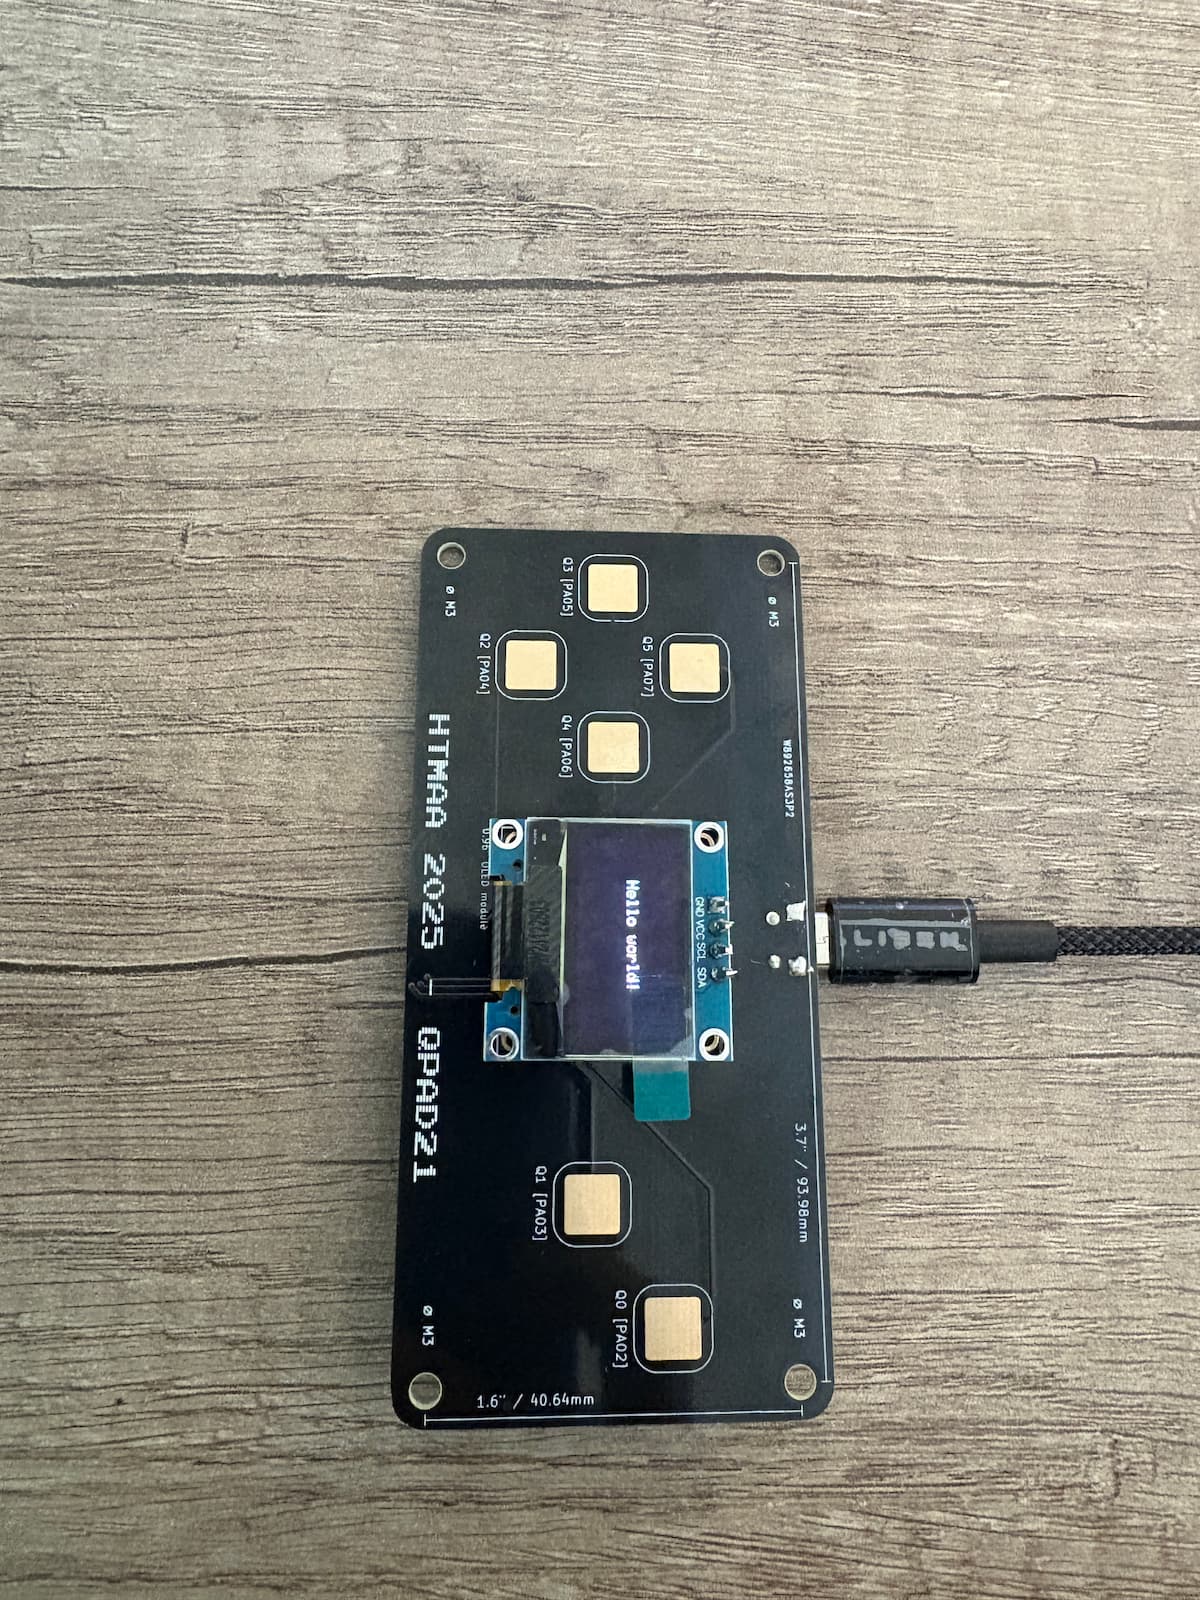
After successfully testing the finished board and connecting it to my laptop + downloading a few libraries onto Arduino, I started testing using Quentin's example code on the Git.
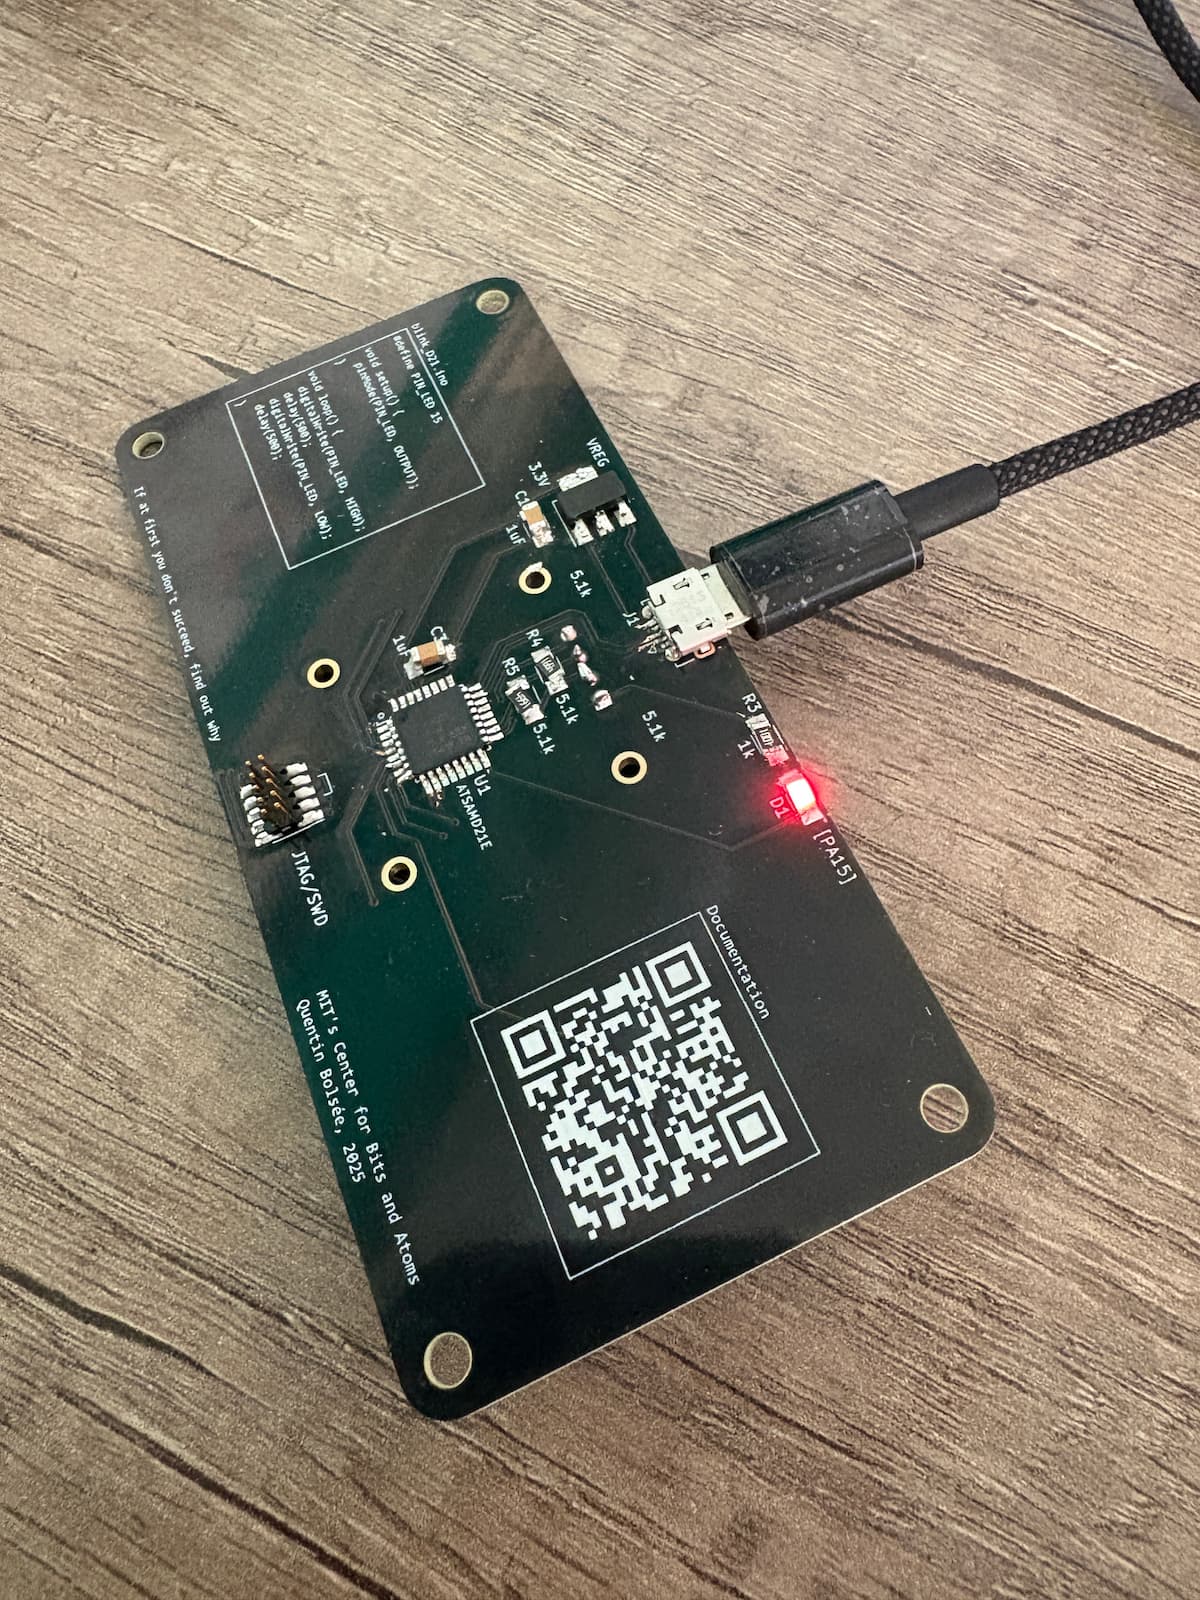
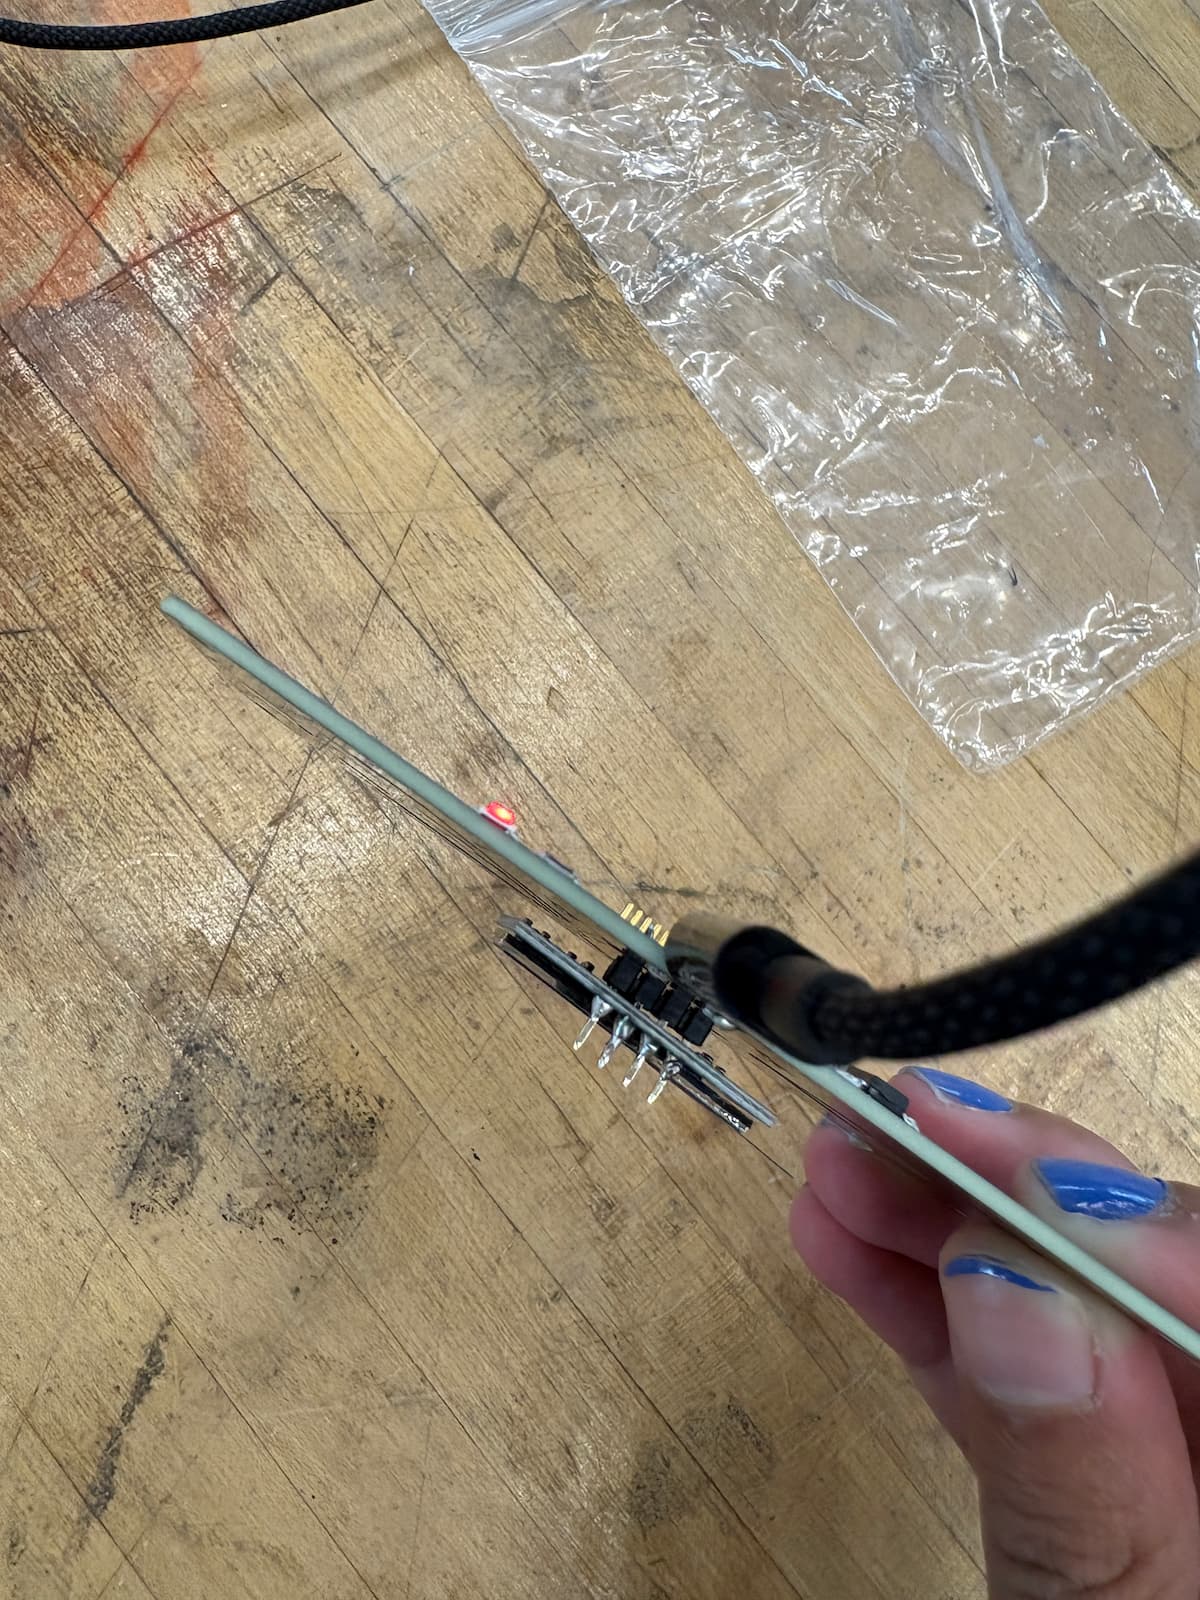
Blinking lights
The light was supposed to blink when I touched it. So I tried again.
Part 3 - Trying my own code
Finally, I got excited about the touch sensors and decided to try something goofy - I wanted flowers to appear on the screen every time I touched one of the sensors. I had Claude help me generate the right Arduino code, but went over it line by line to figure out what was going on.
Final thoughts, next steps
I enjoyed this - excited to learn to program more sophisticated things, like a game or a way to customize the flowers that show up. Alfonso says I should attempt indexing etc. - will do this in future weeks