Week 4: On painting with filaments aka “spaghetti”
Two quotes stuck with me this week:
“In 3D printing, complexity doesn’t add time.”“Failure often results in spaghetti.”
Both proved true—chains, jewelry experiments, and failed scans taught me a lot (and produced a pile of colorful noodles).
Assignment
Focus: test additive manufacturing limits and design something that cannot be made subtractively
(interlocking parts/voids only possible layer-by-layer).
Group: test printer design rules.
Individual:
Design, document, and 3D print a non-subtractive object.
3D scan an object (optionally print it).
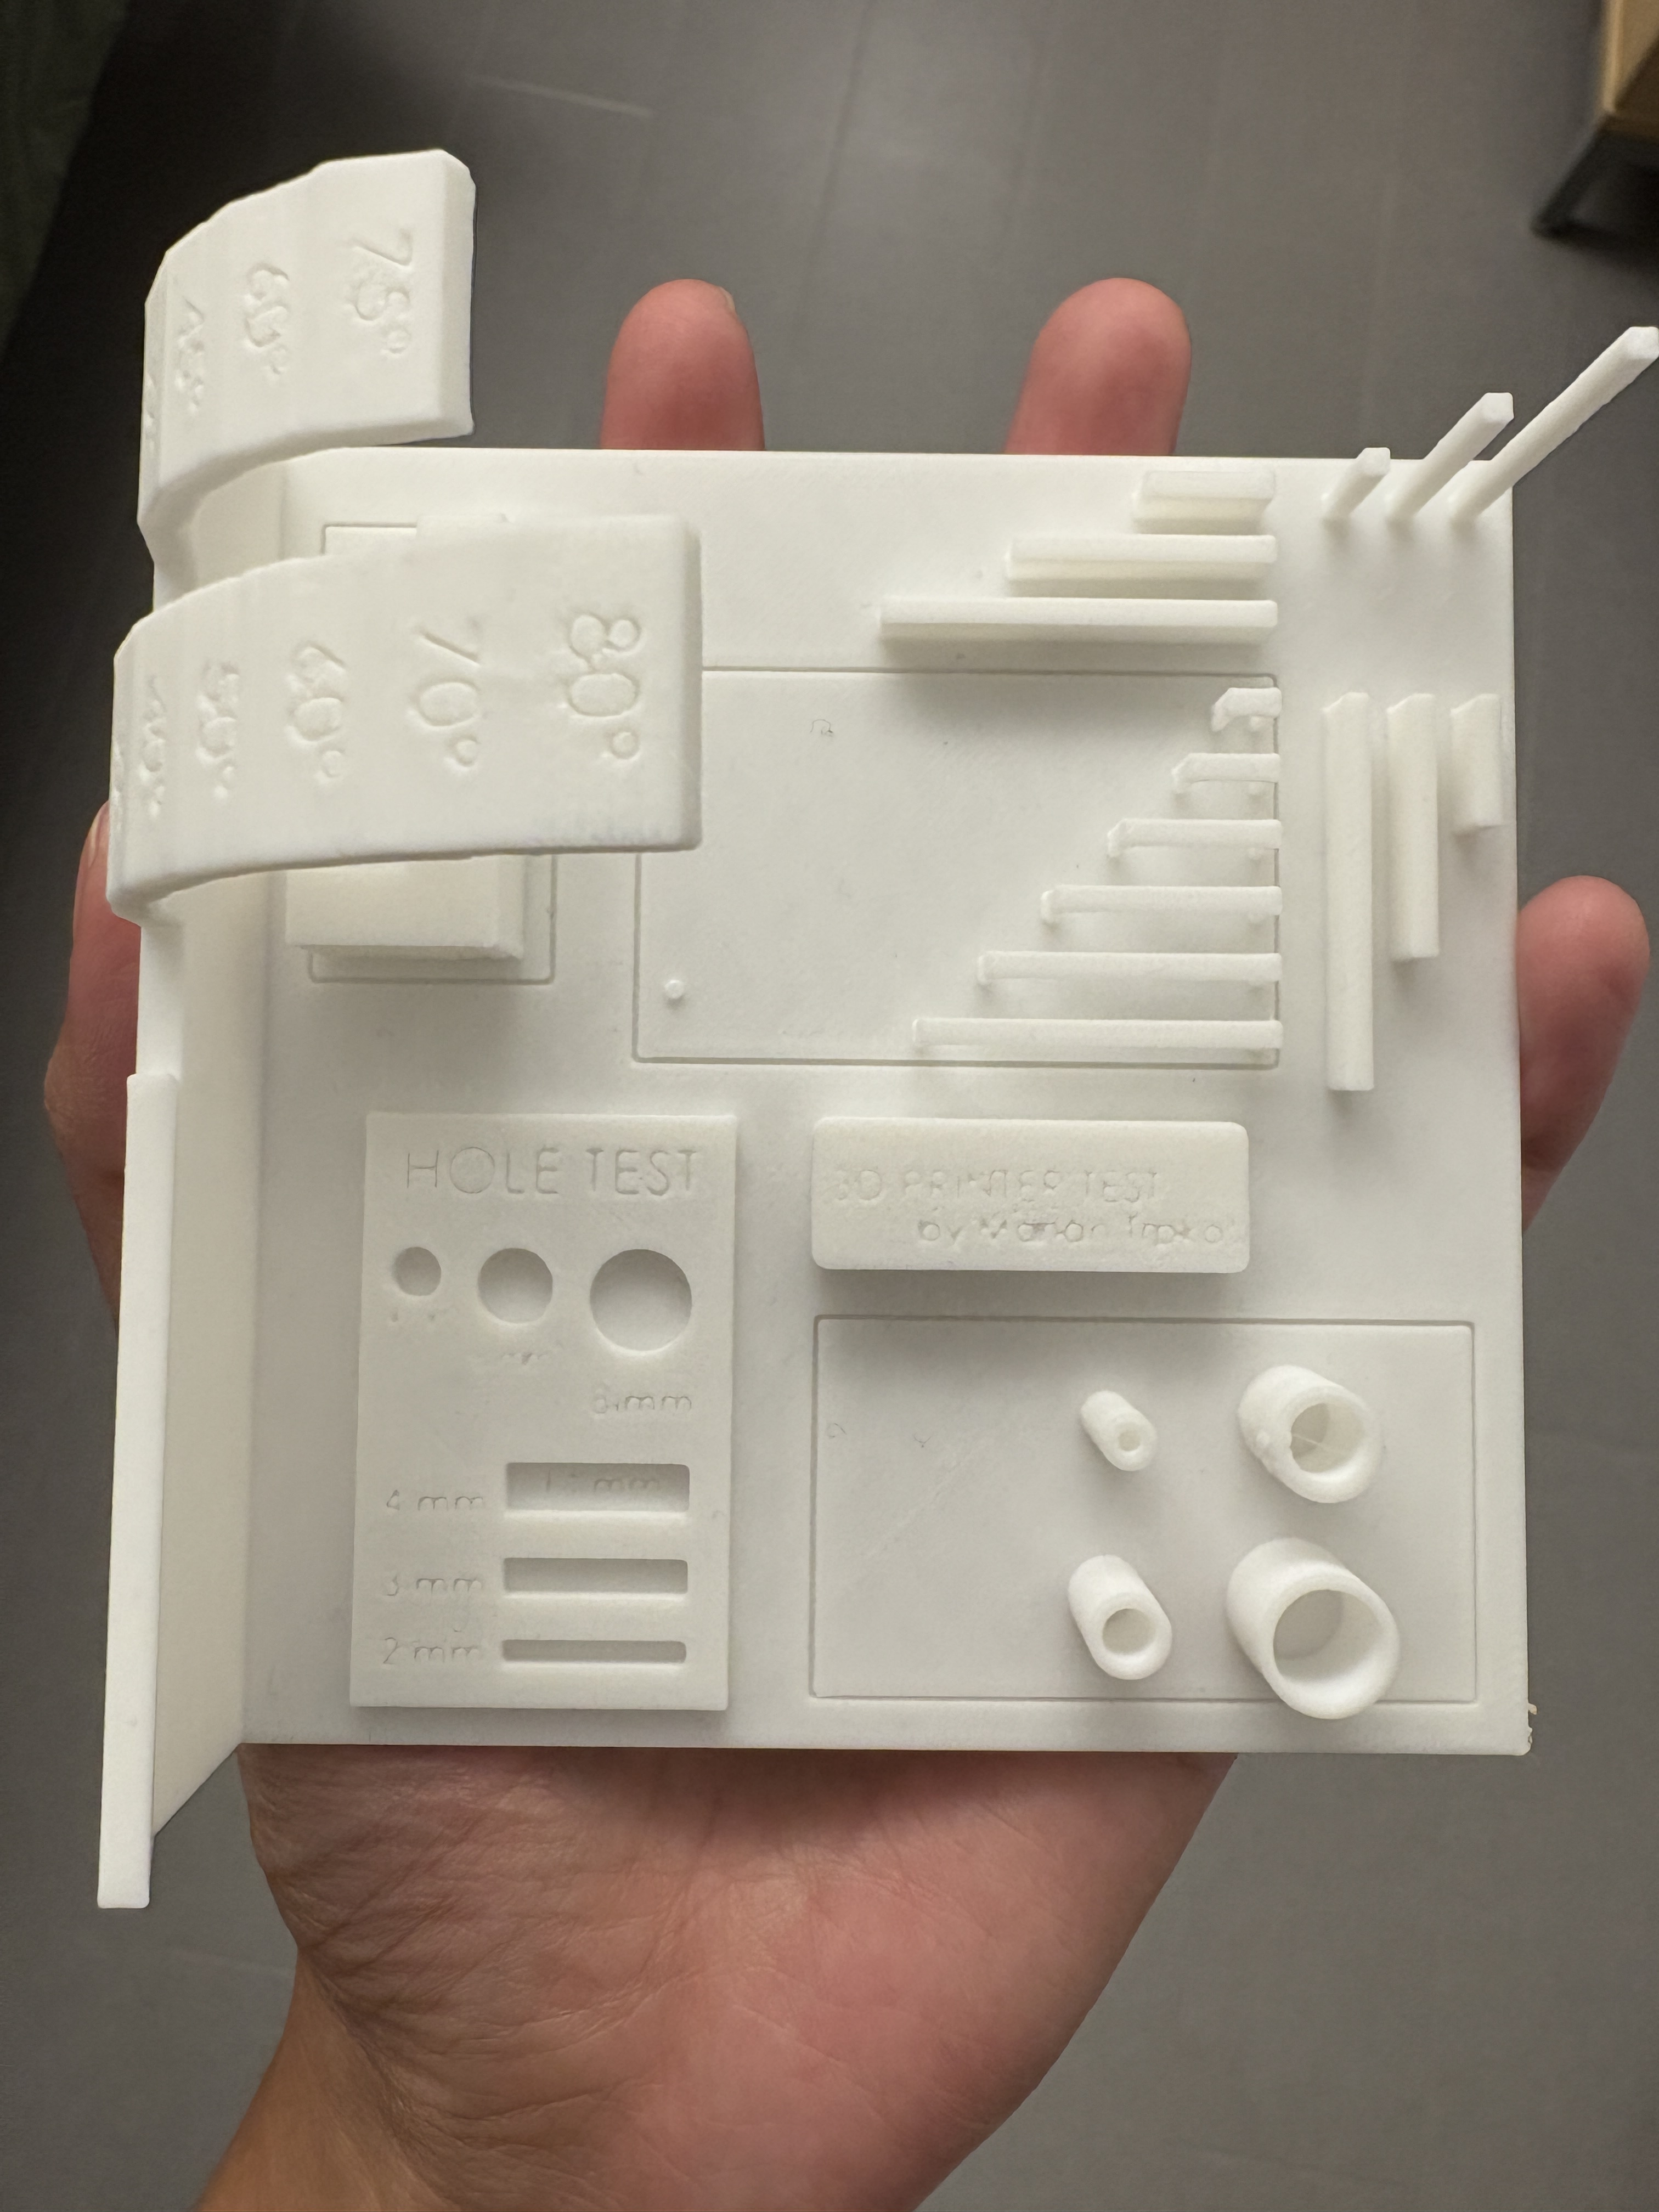
Group Assignment: Design Rules
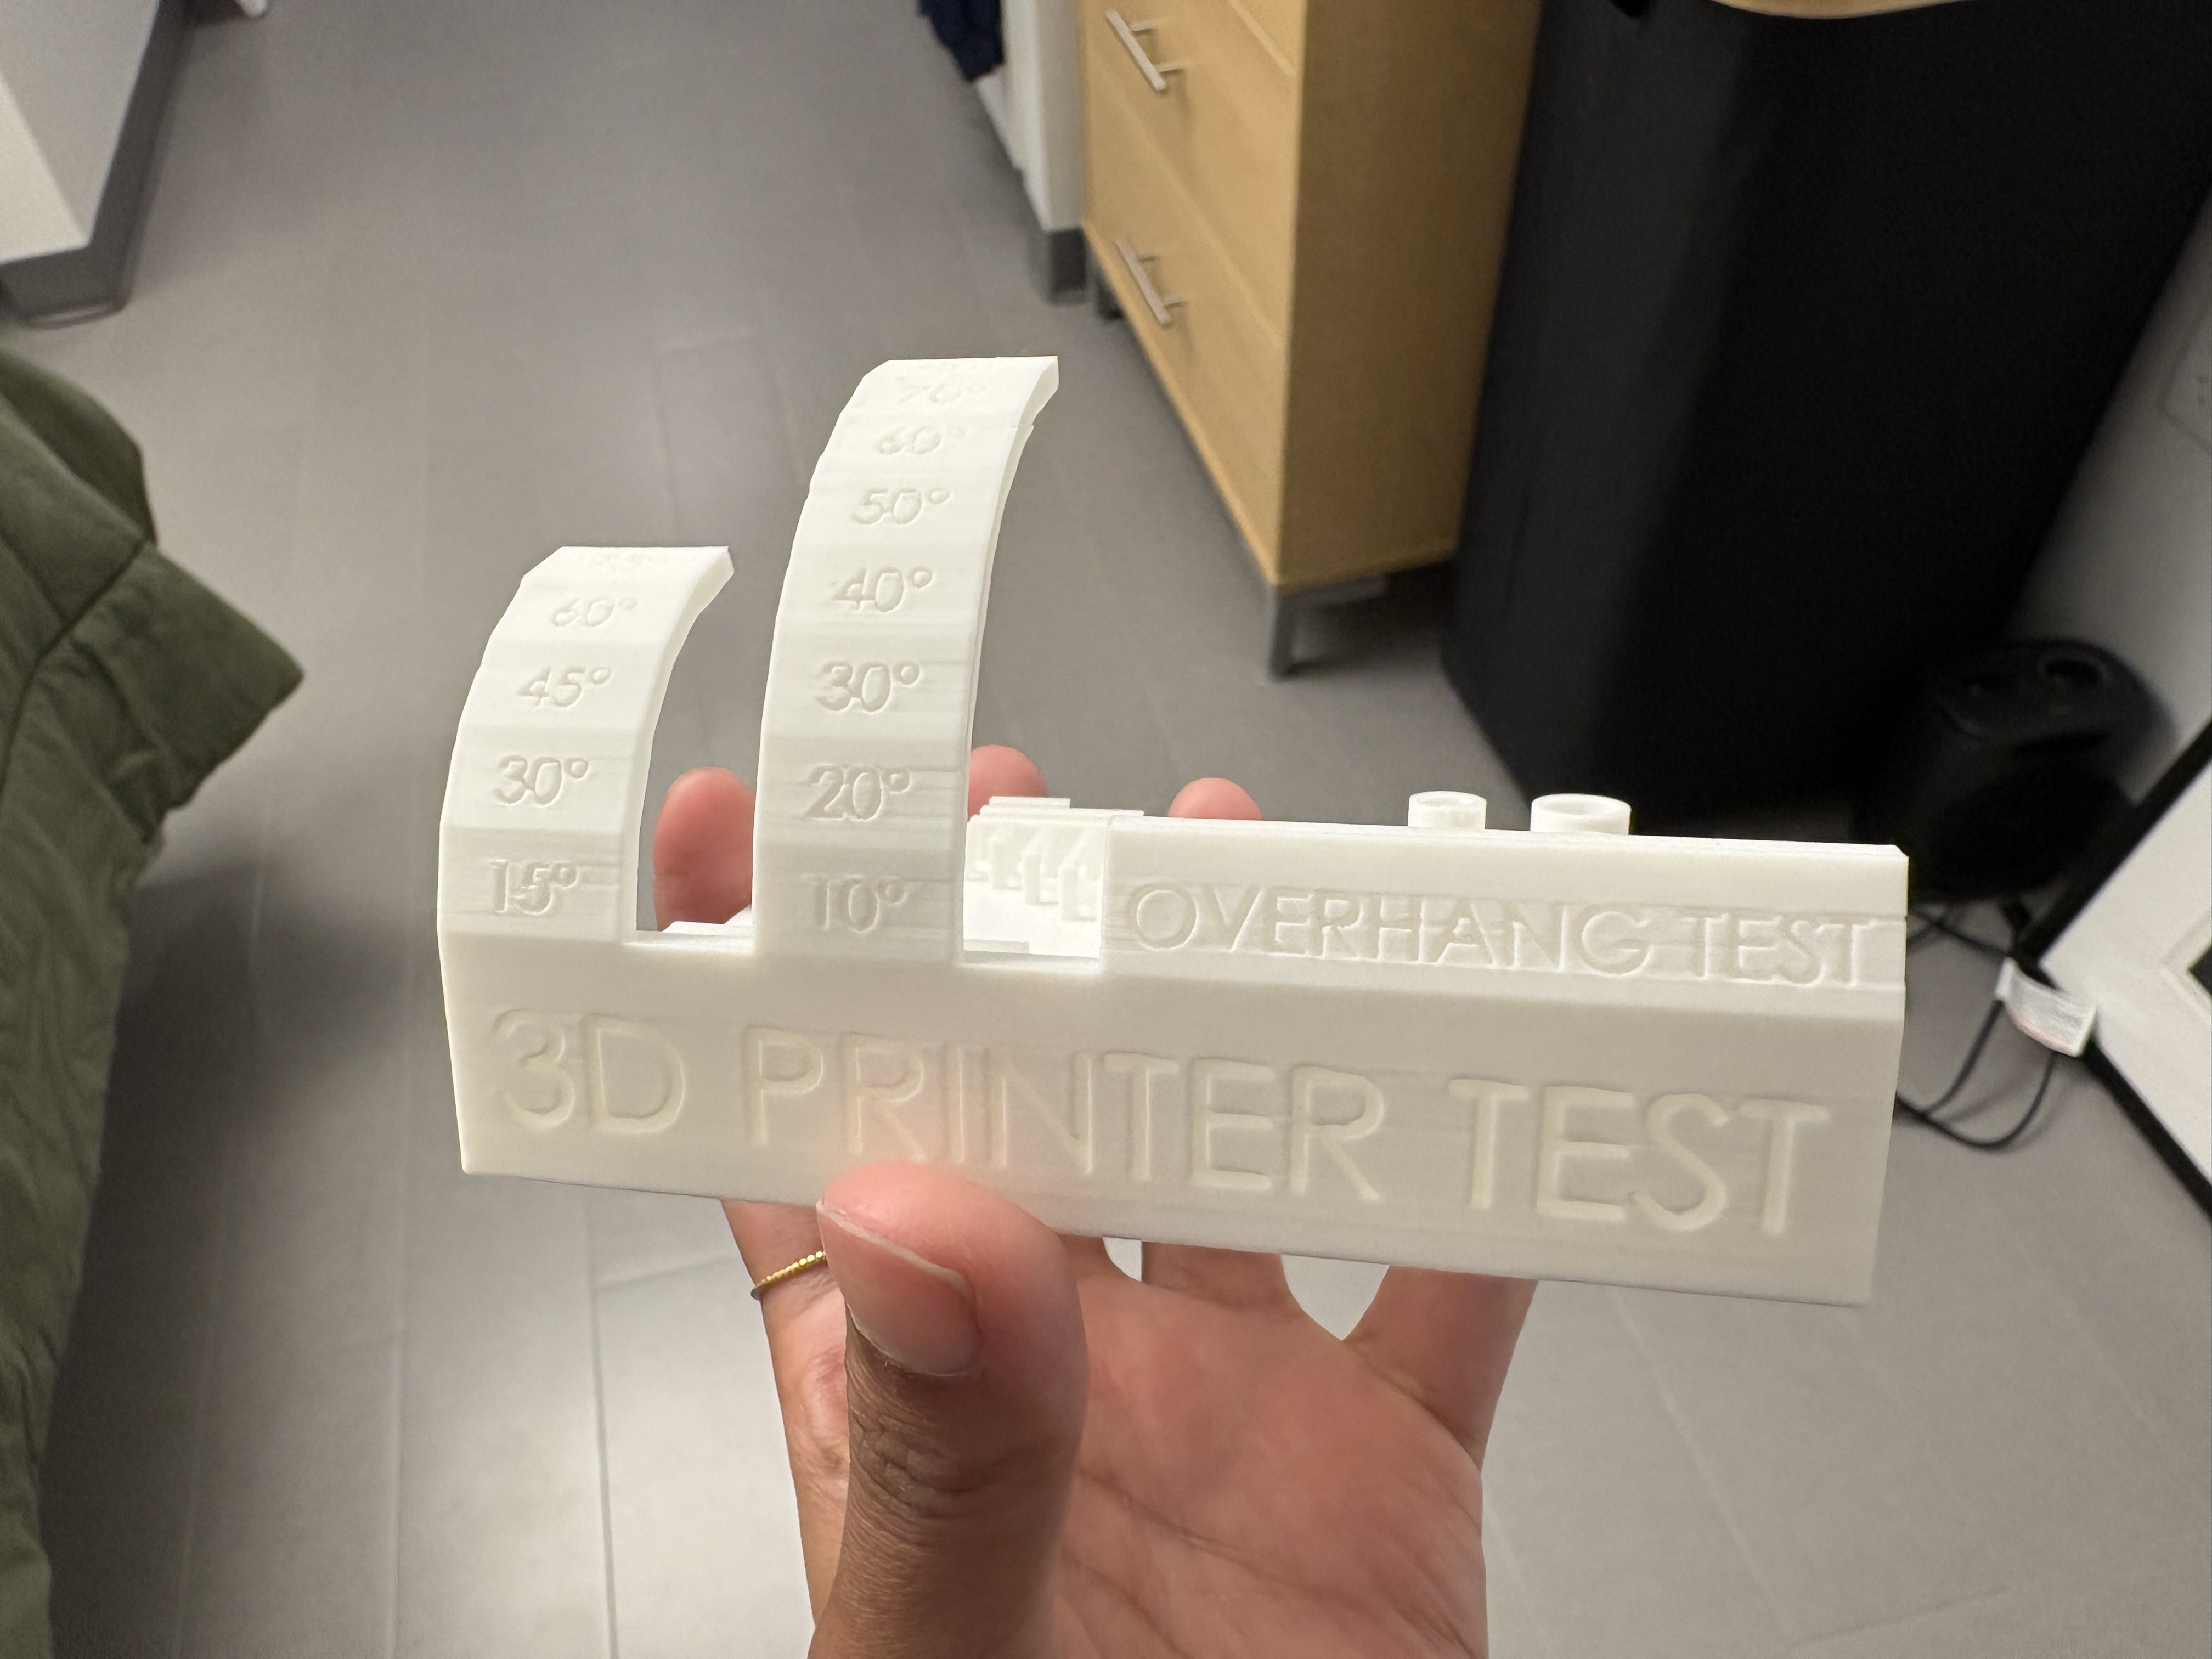
We explored overhangs, bridging, wall thickness, and tolerances.
See results on the architecture site.
Testing overhangs and bridging on the Bambu Lab X1 Carbon.
These findings shaped my designs—e.g., how far I could bridge before needing supports.
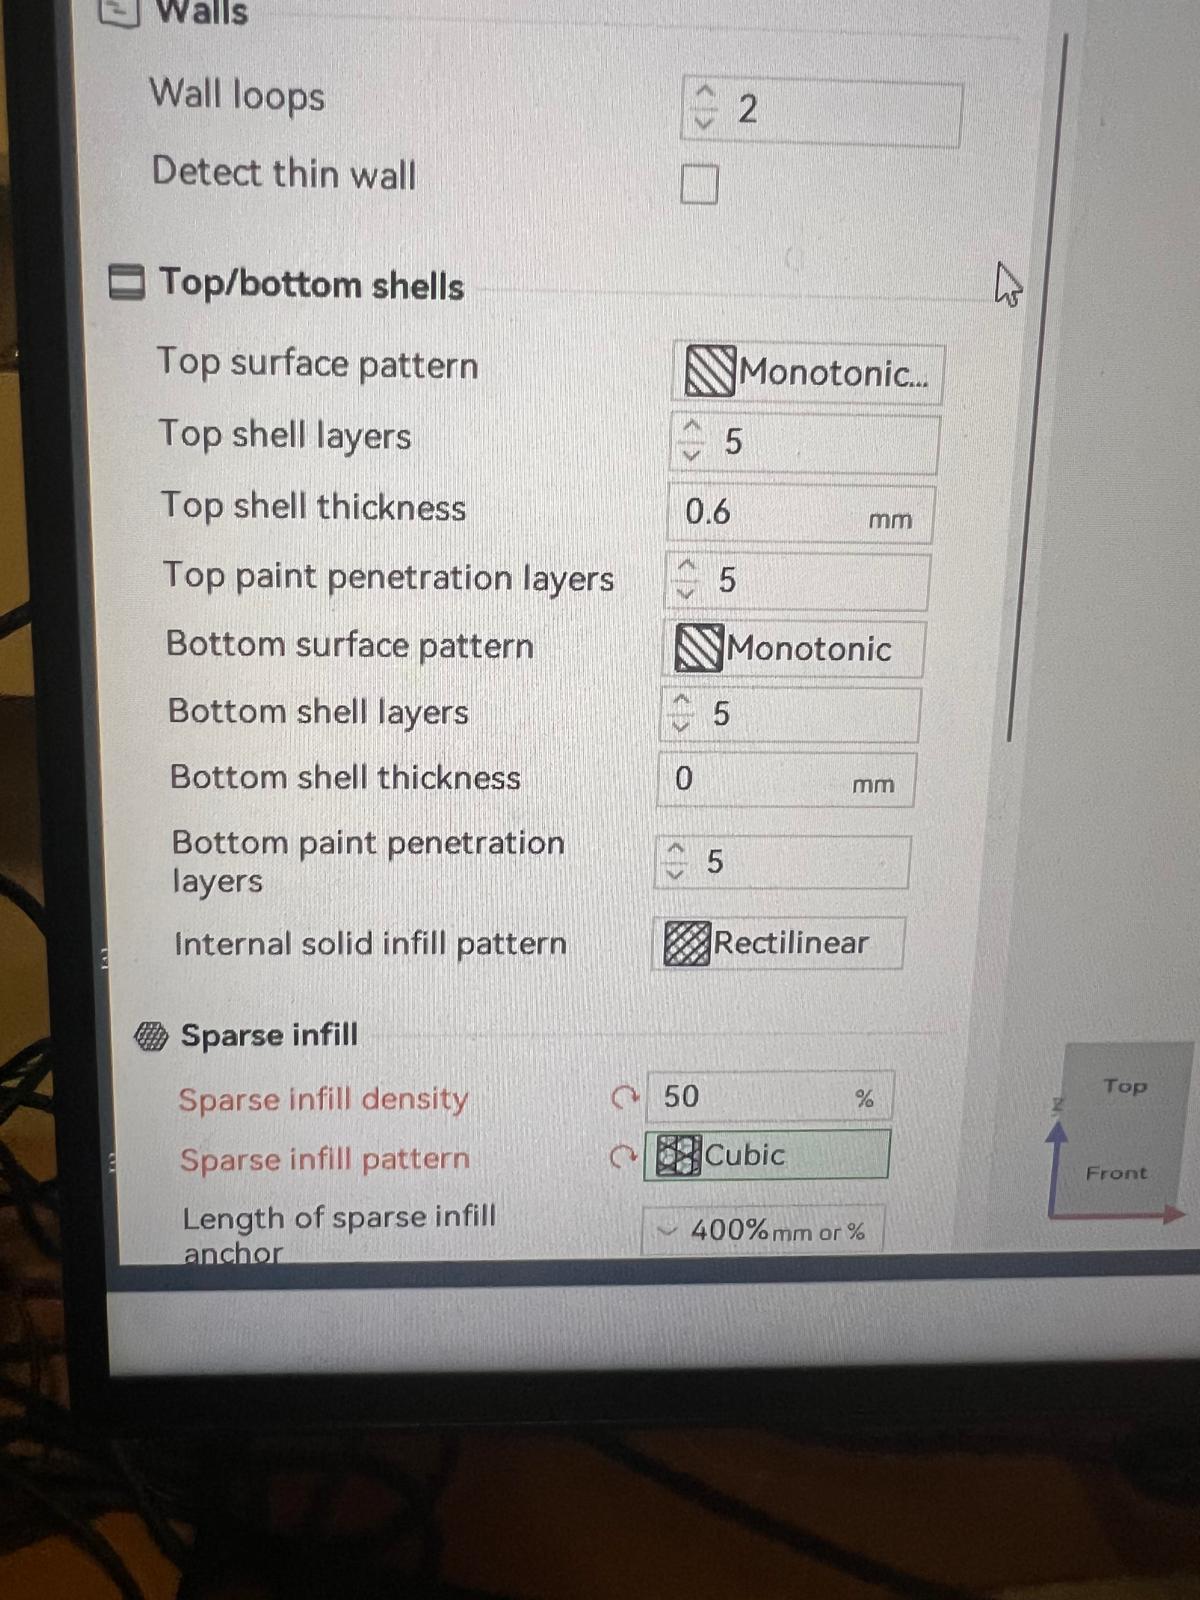
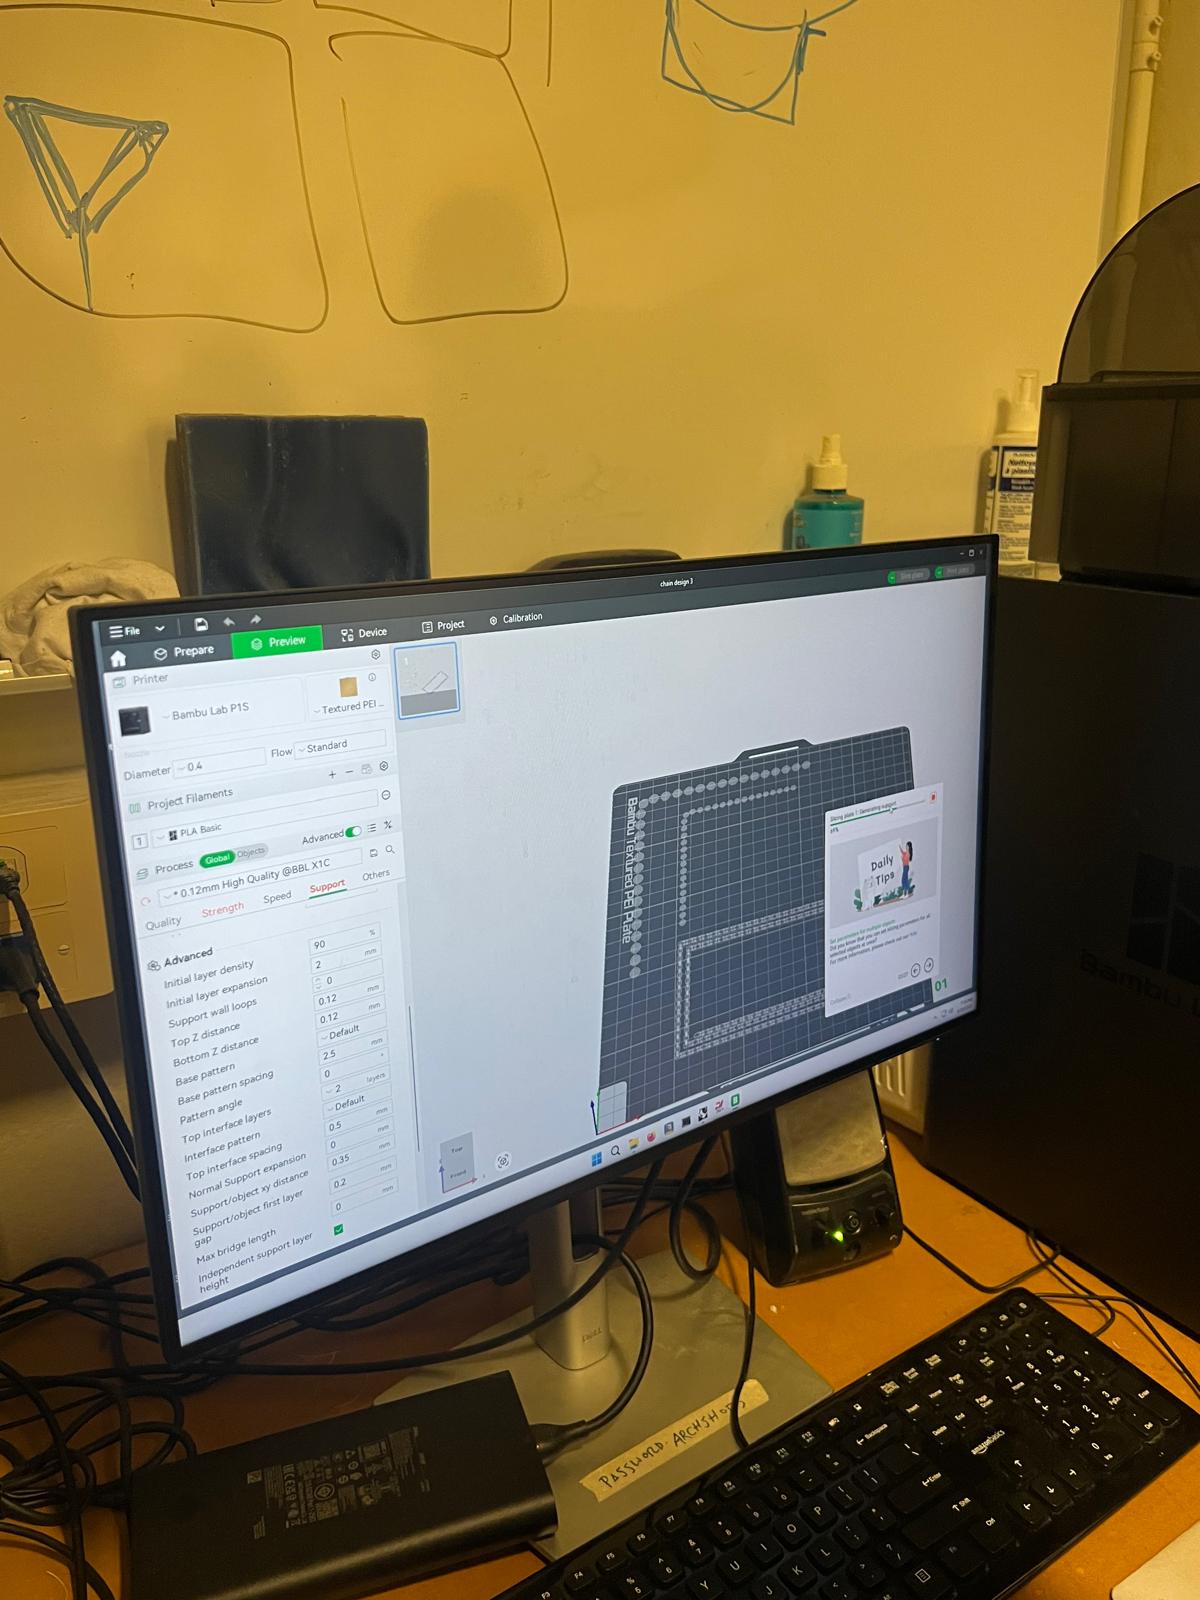
Experimenting with slicer settings to probe design-rule limits.
Thanks to Gert, Vittorio, and Aditi for the help with Bambu Studio and the printer.
Individual Assignment
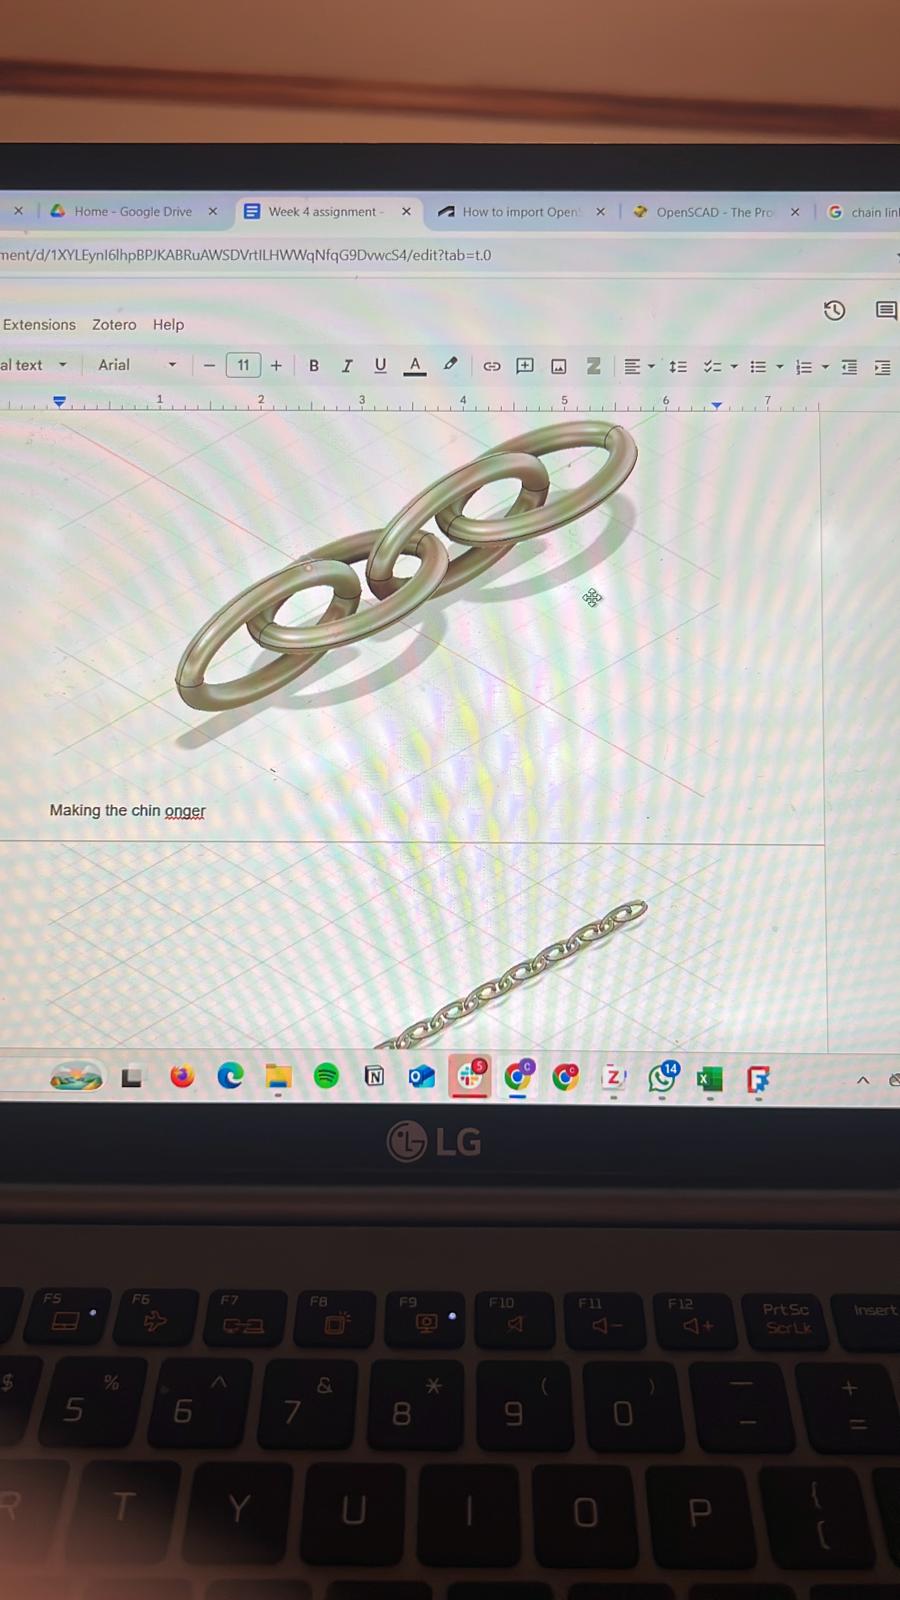
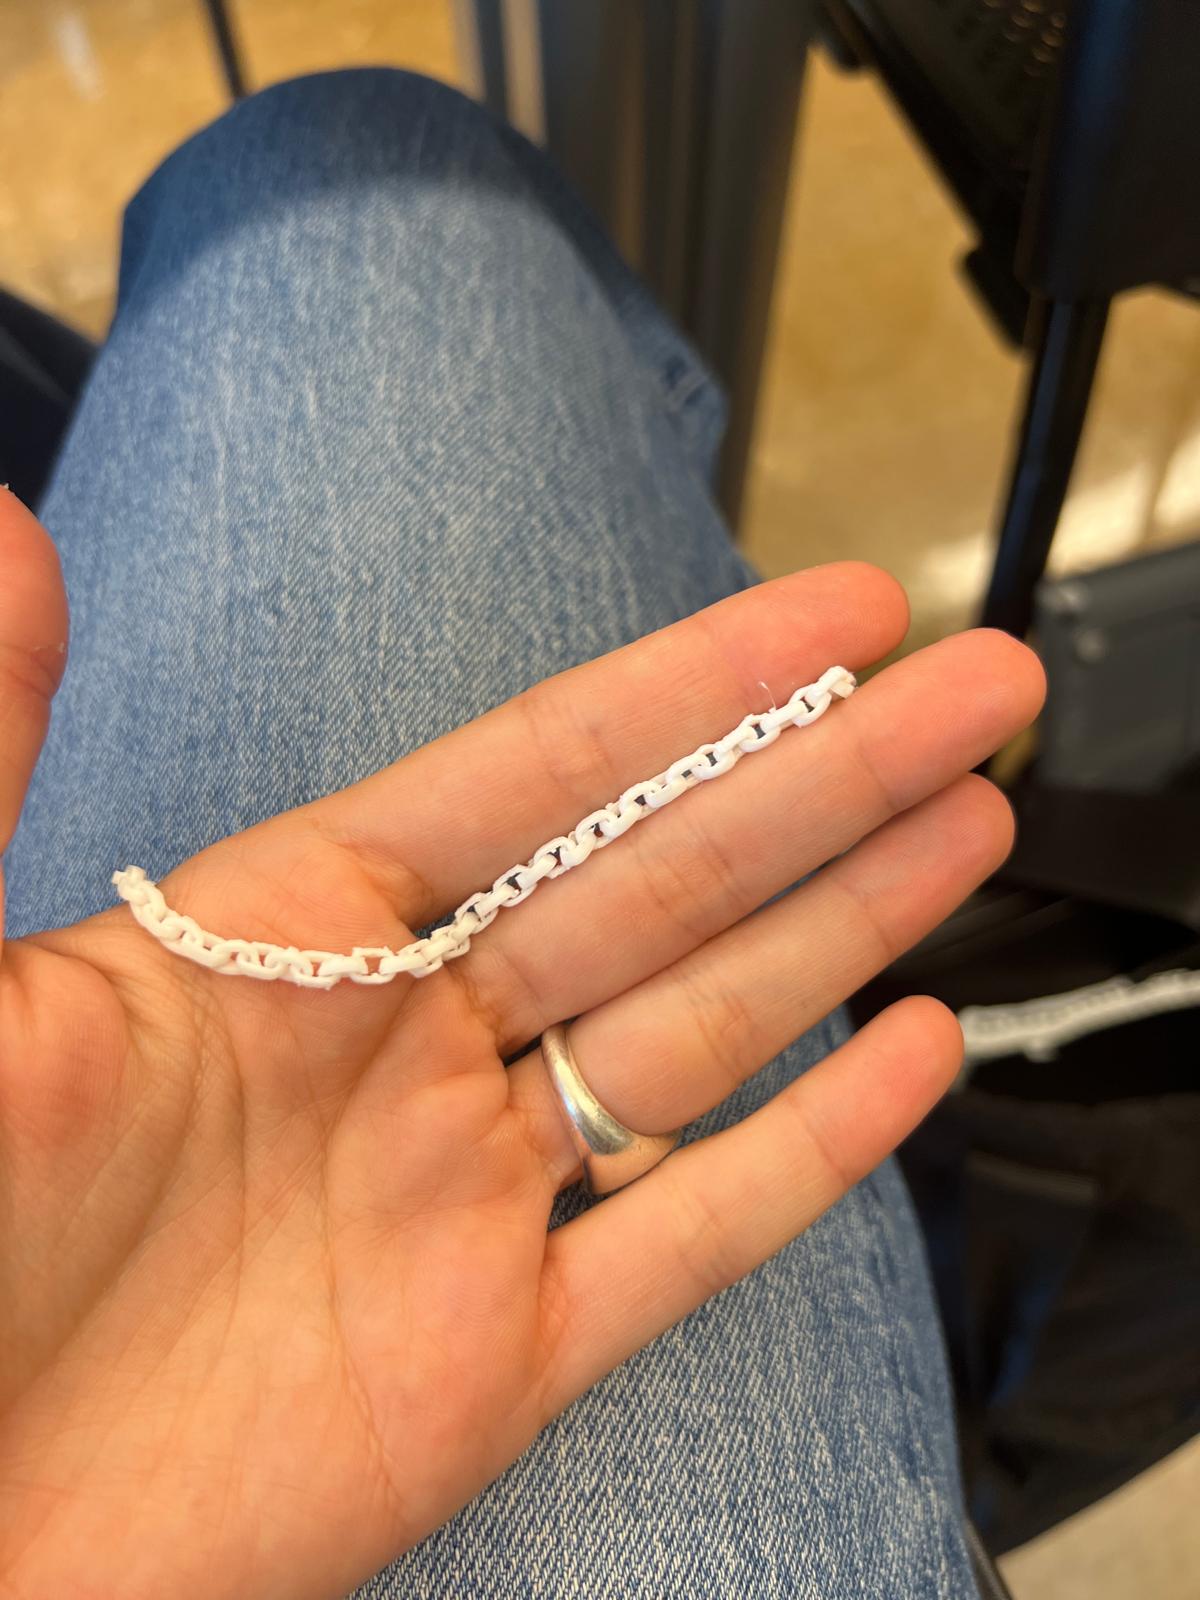
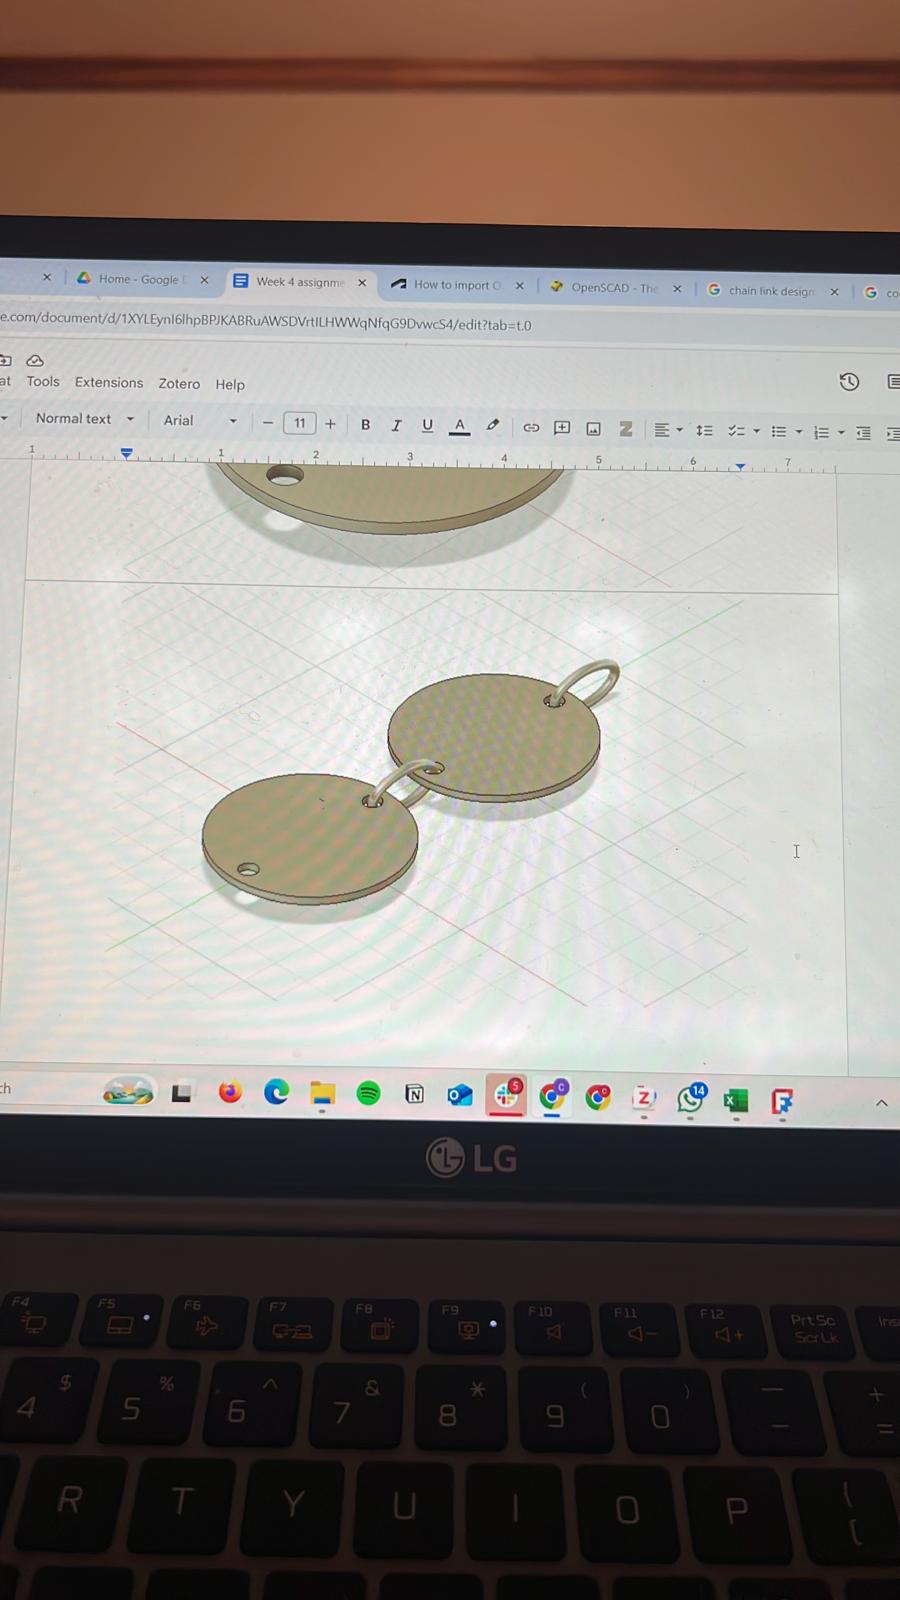
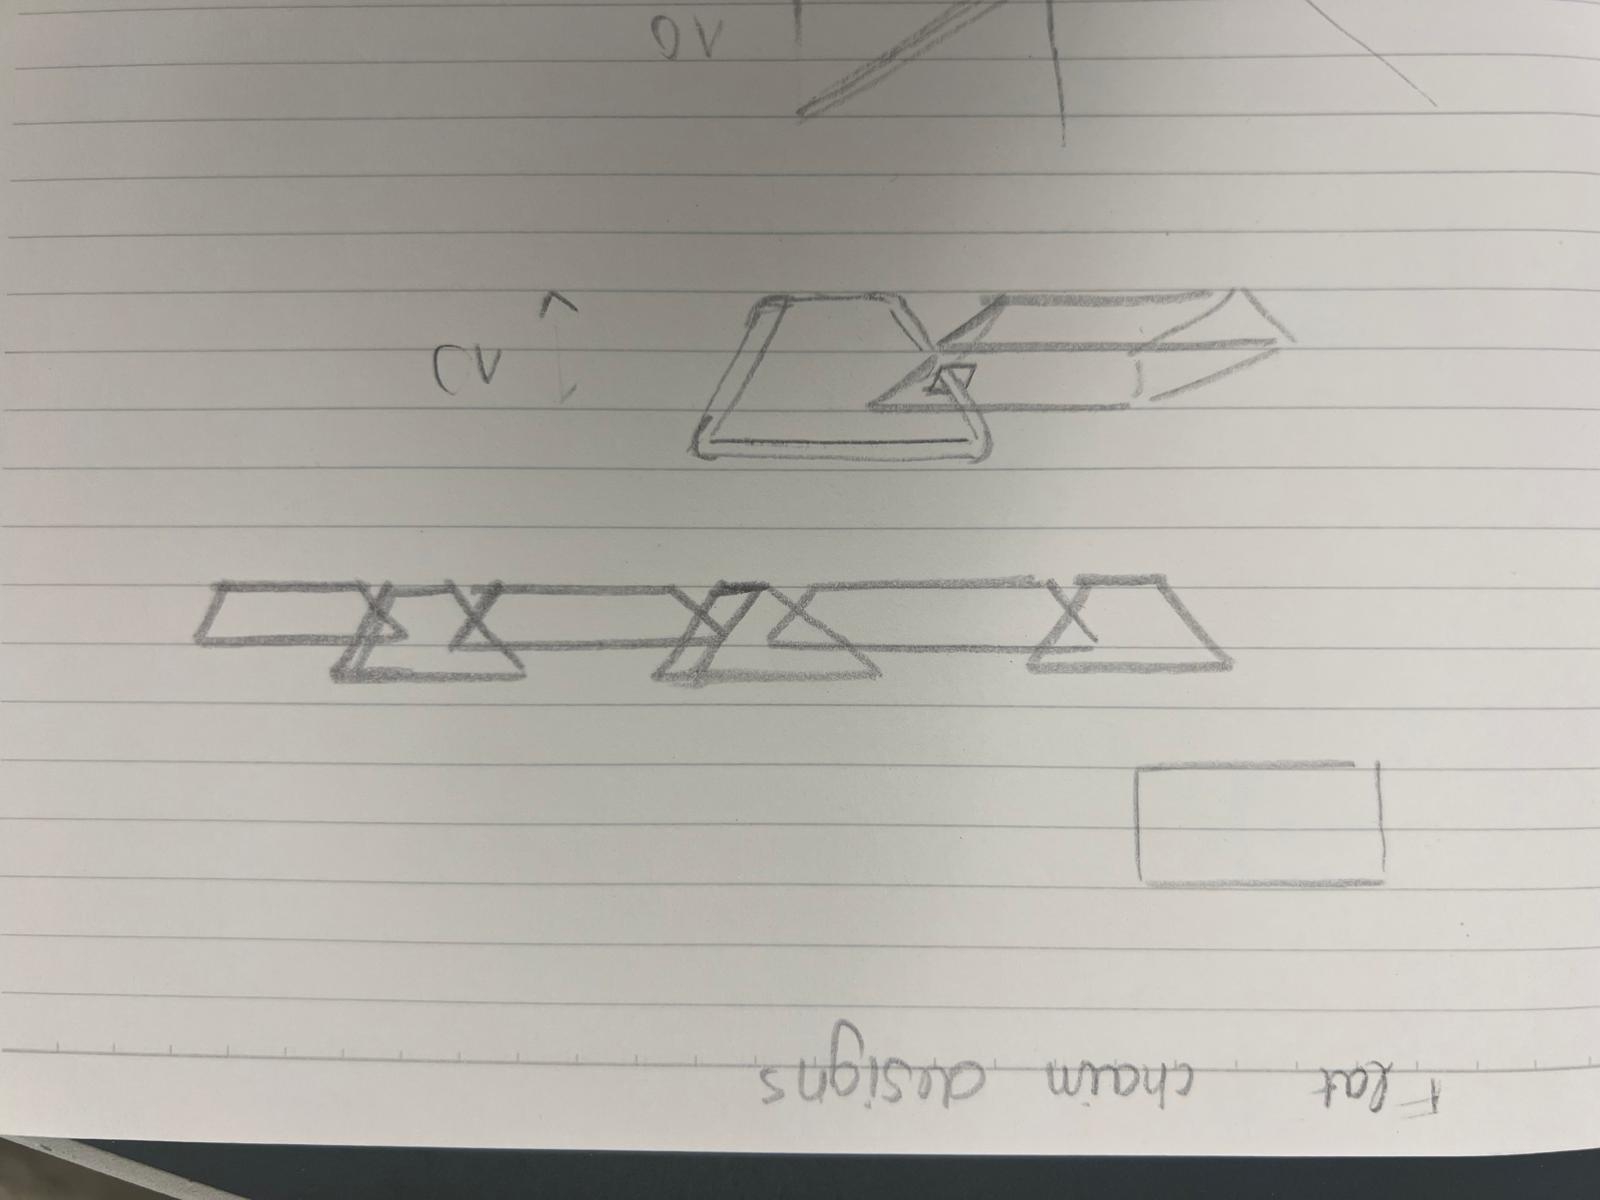
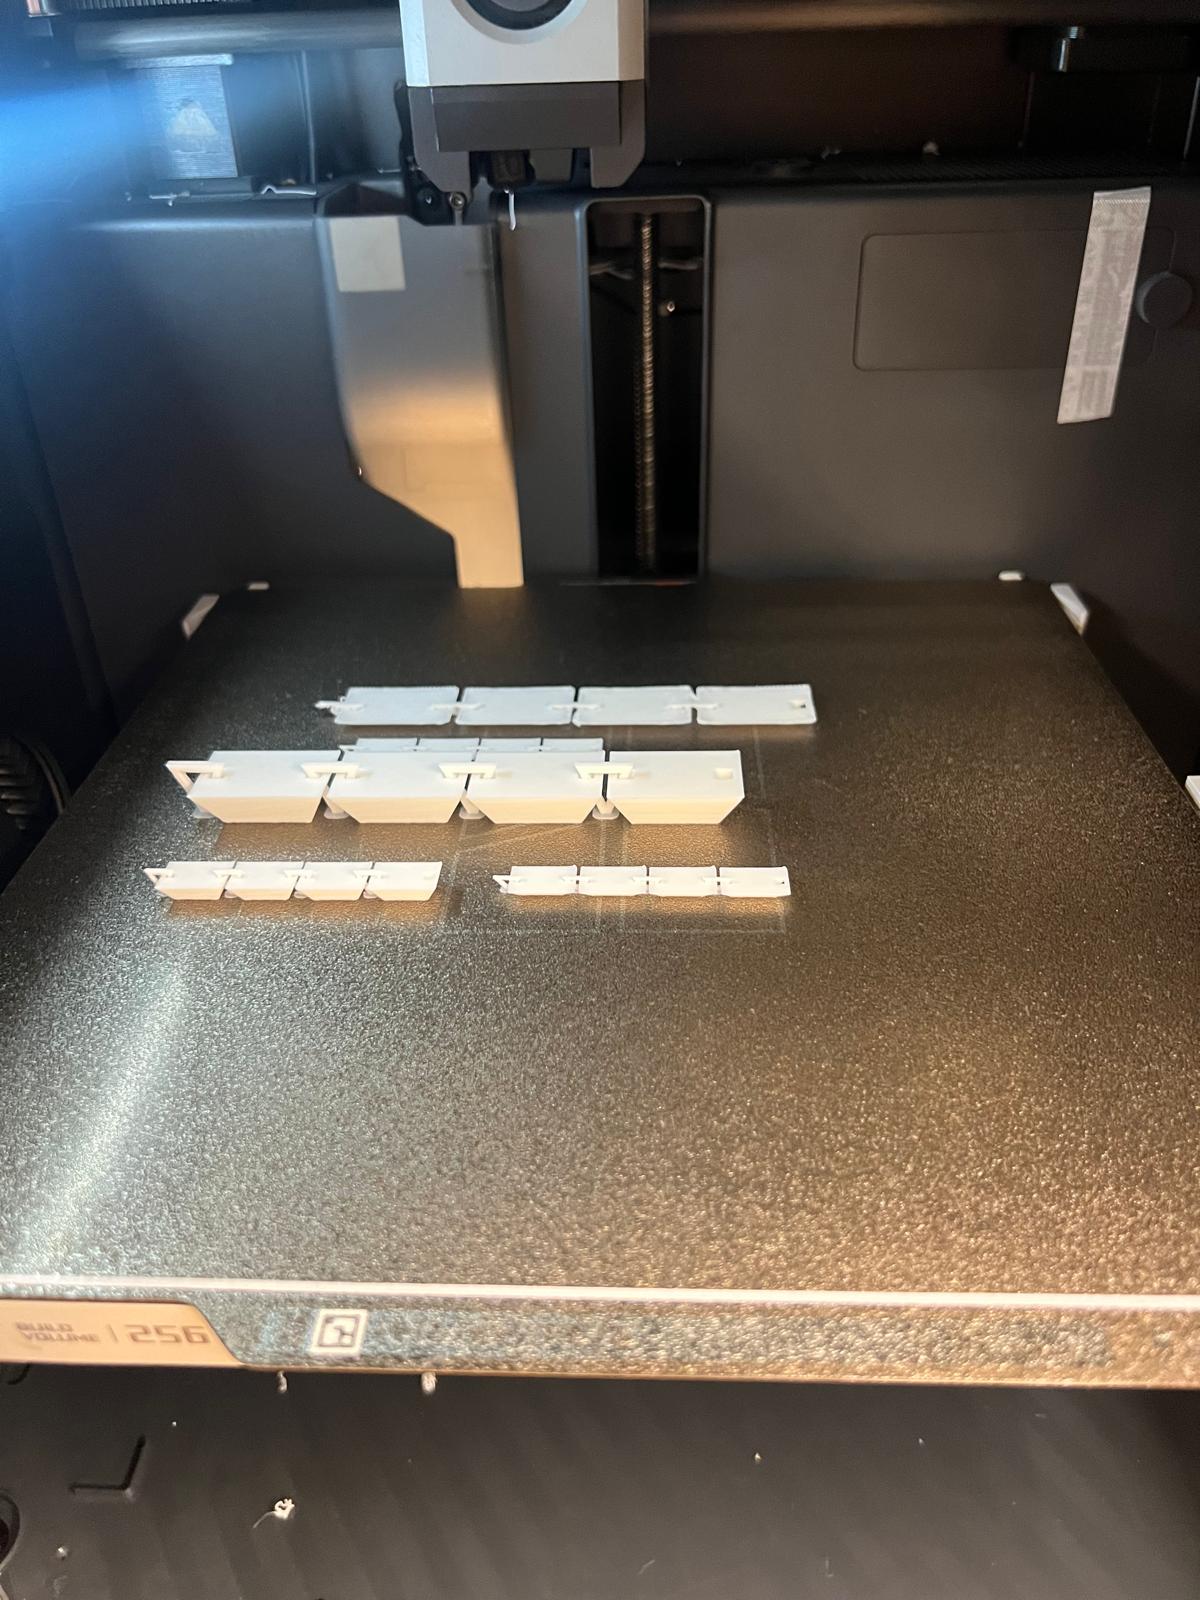
Chain Designs
Chains are a natural example of an object that cannot be made subtractively:
free-moving interlocked links are only possible additively.
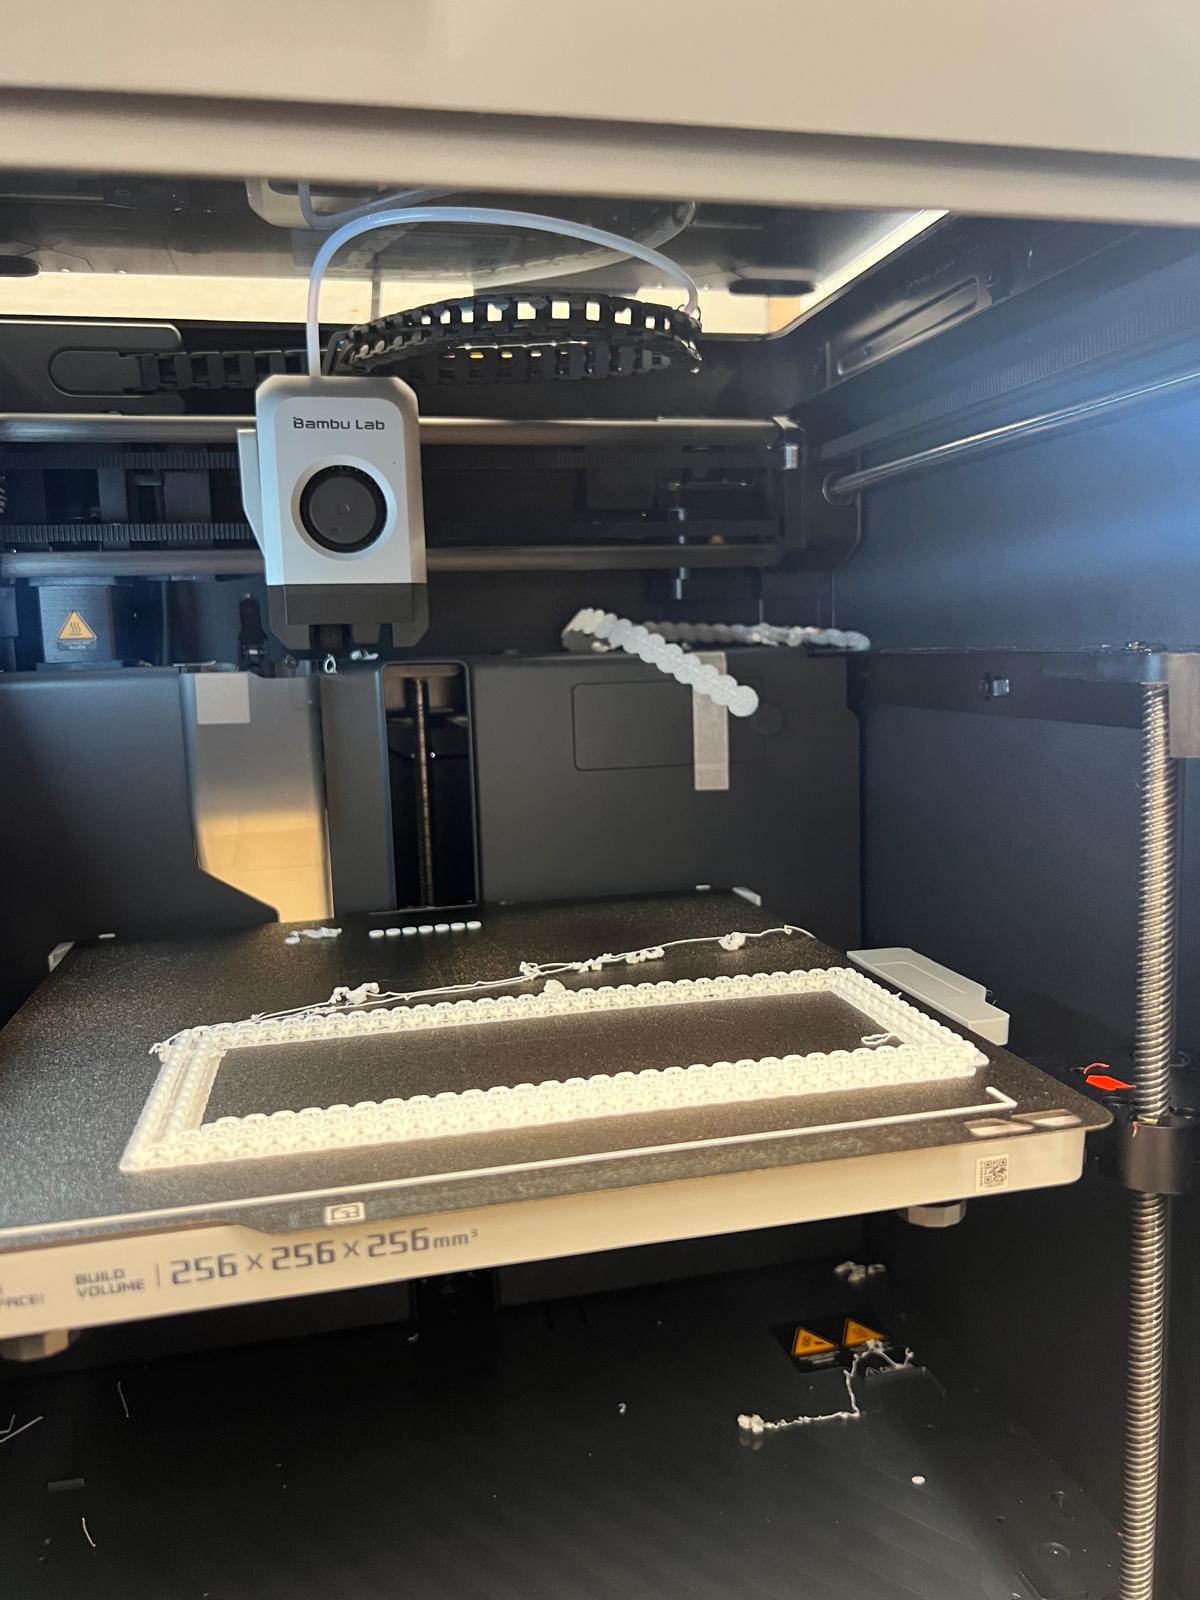
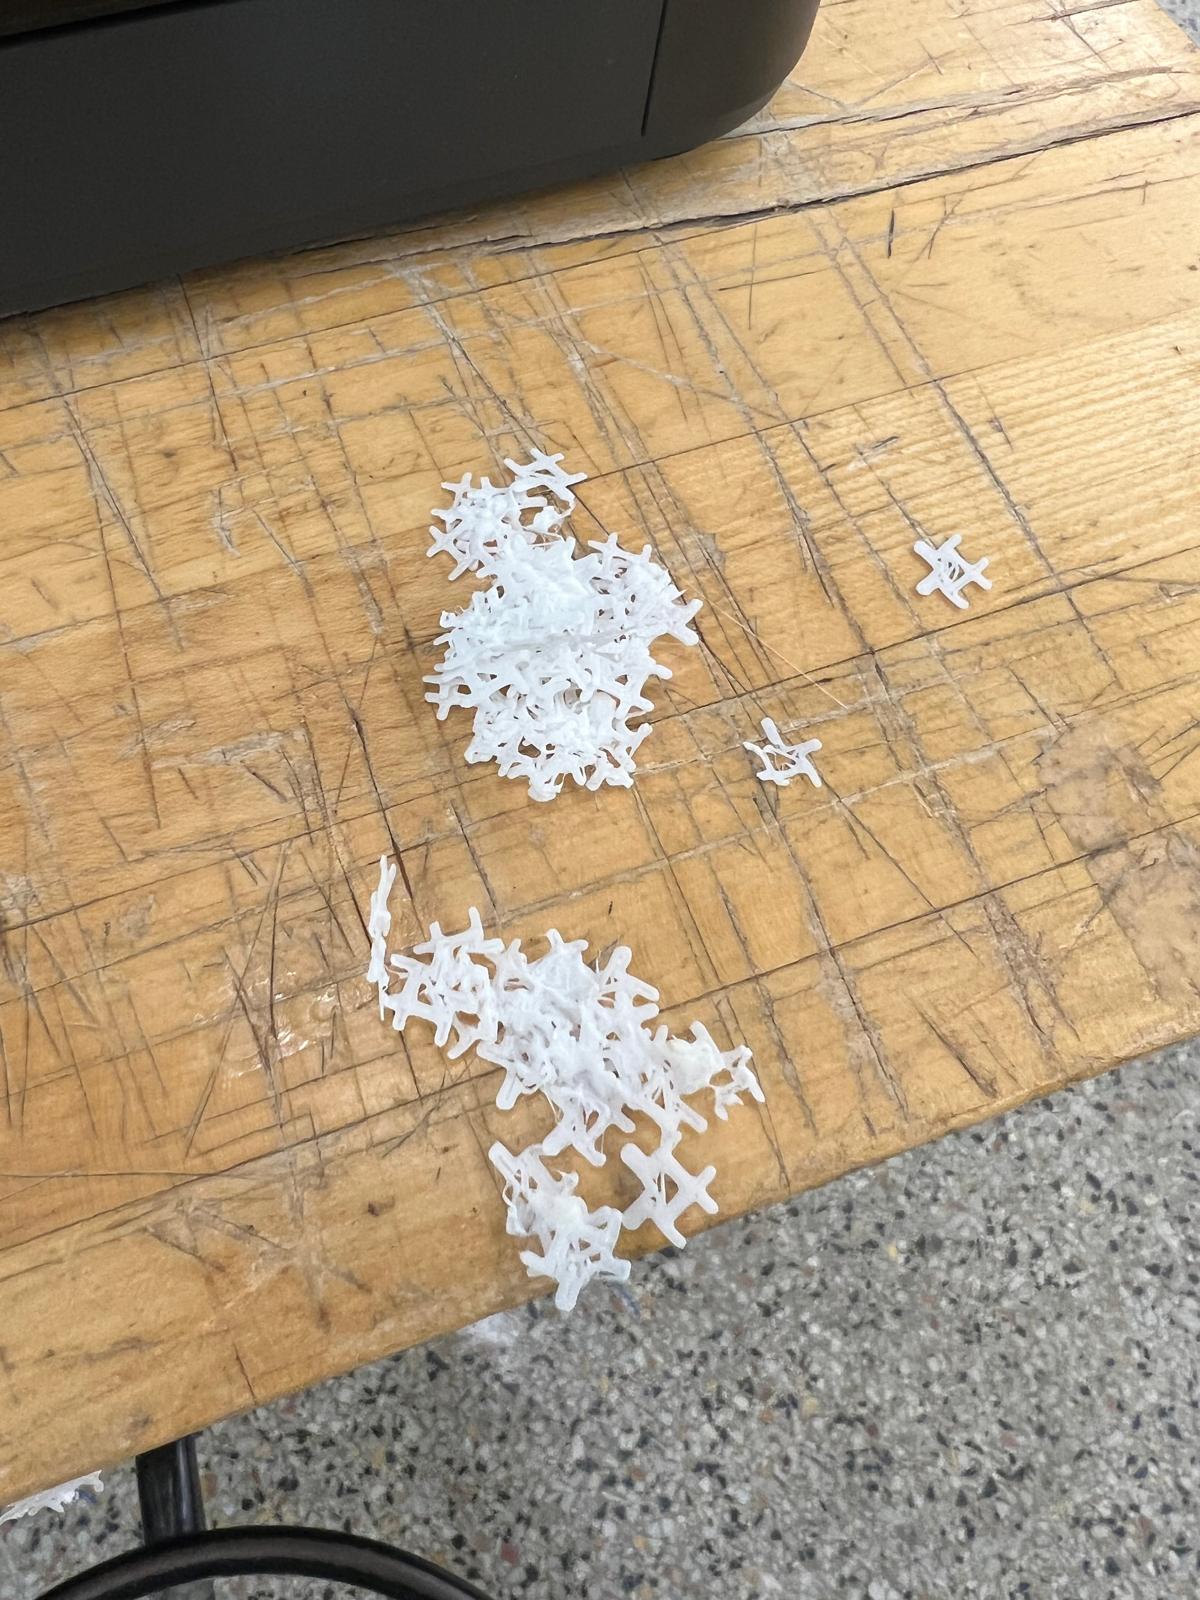
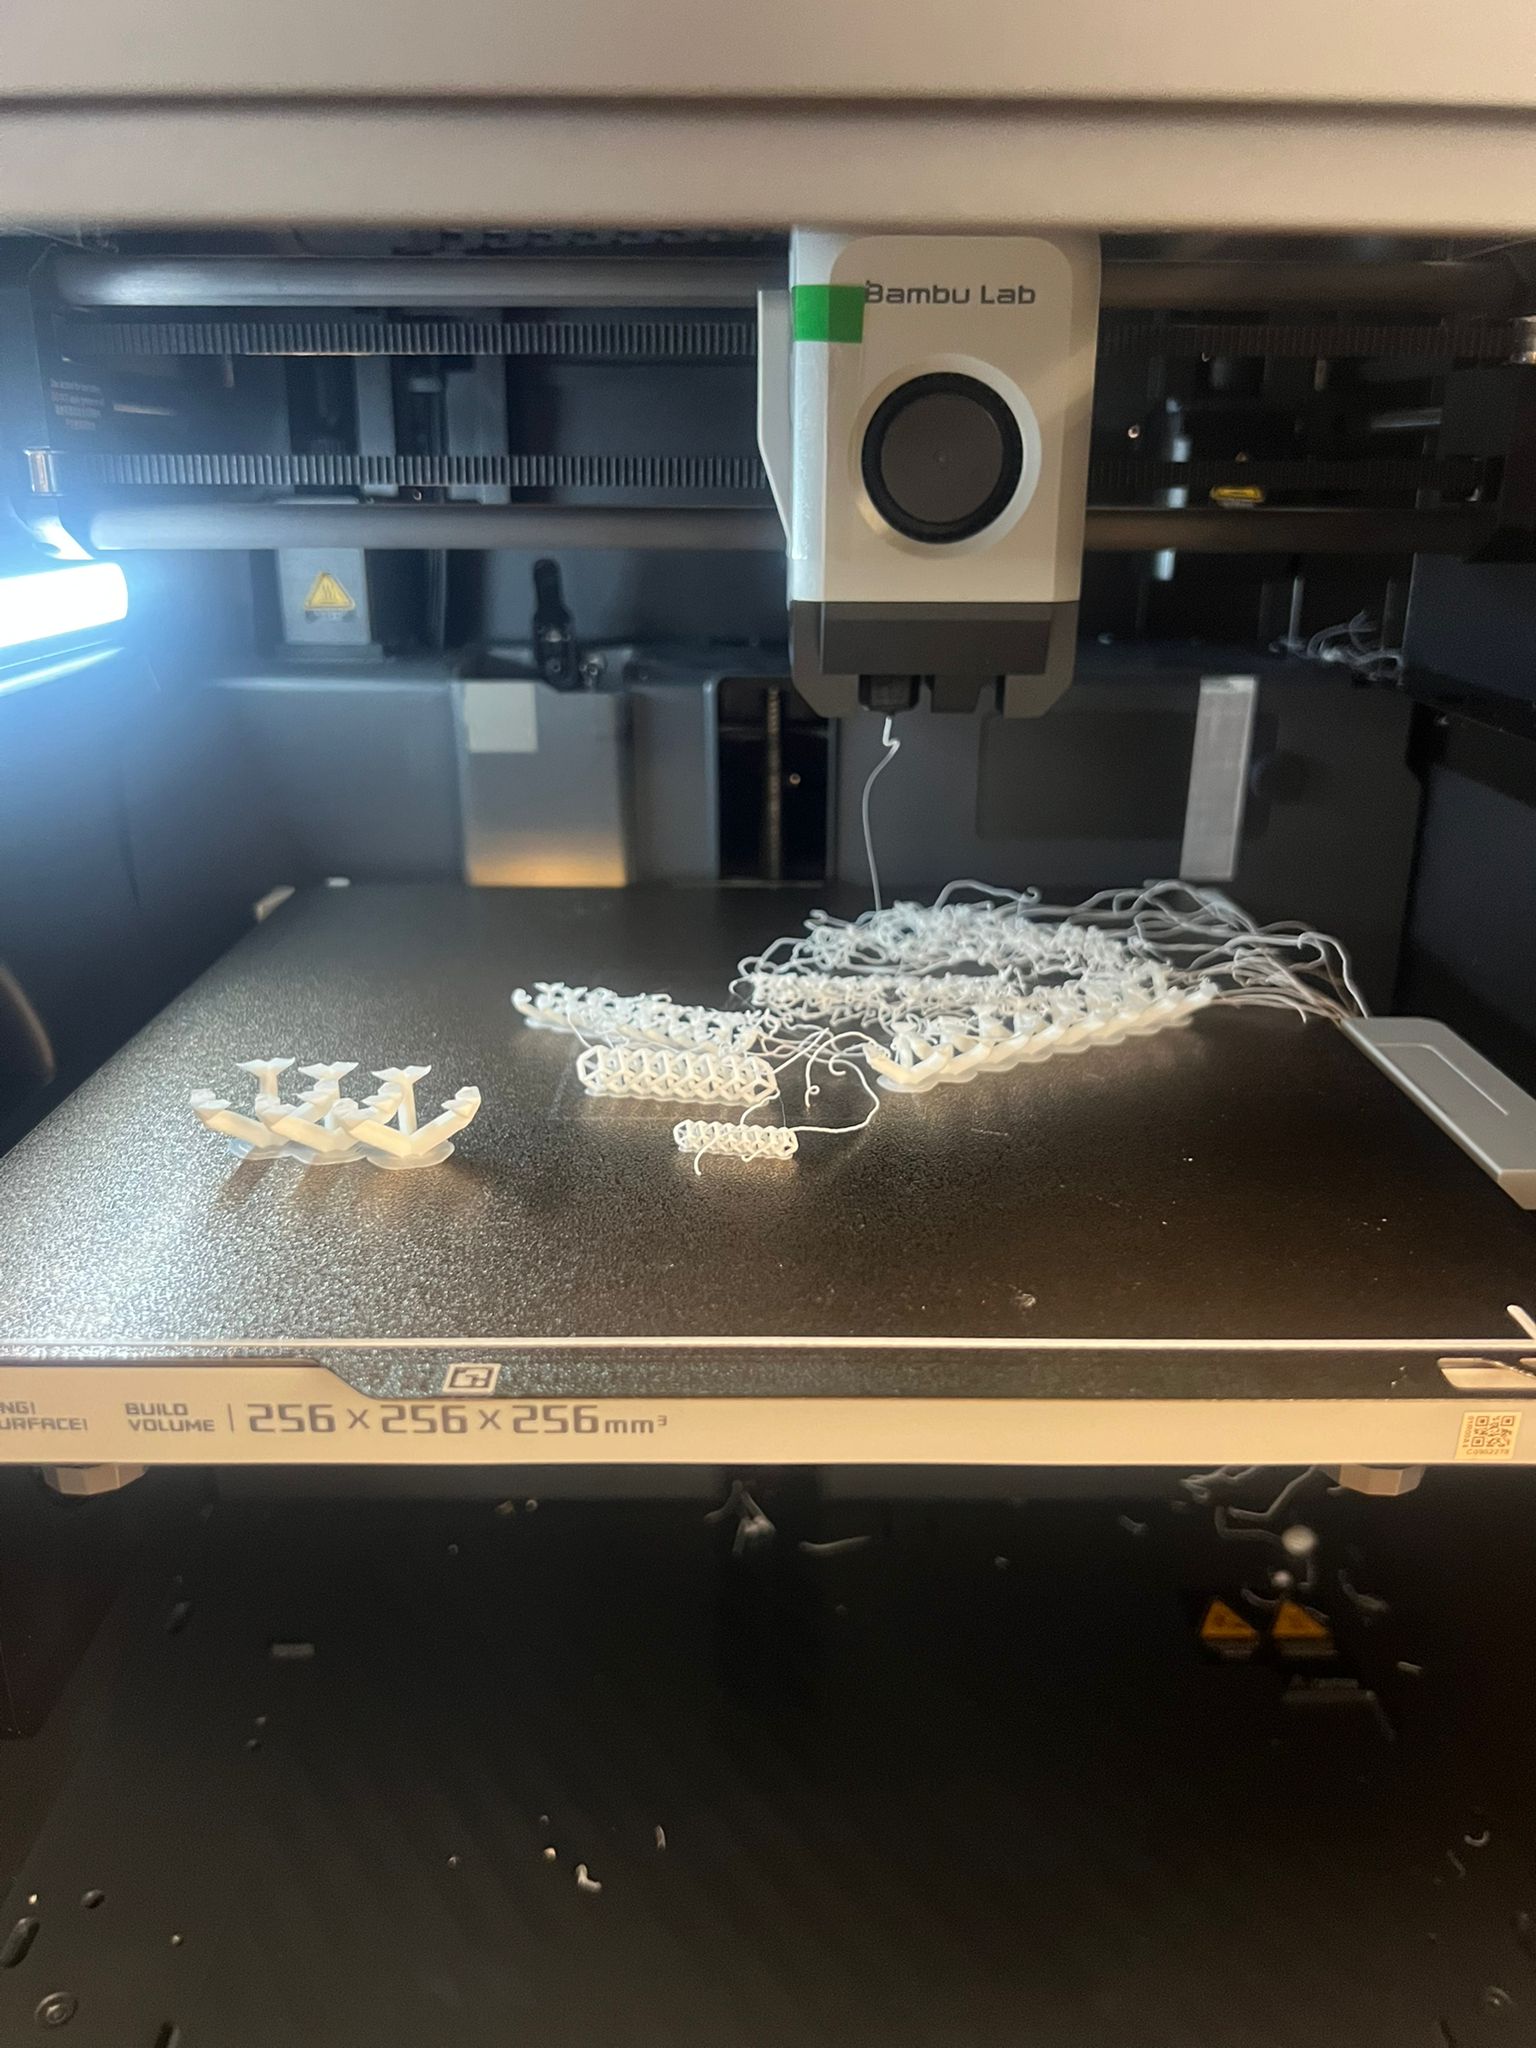
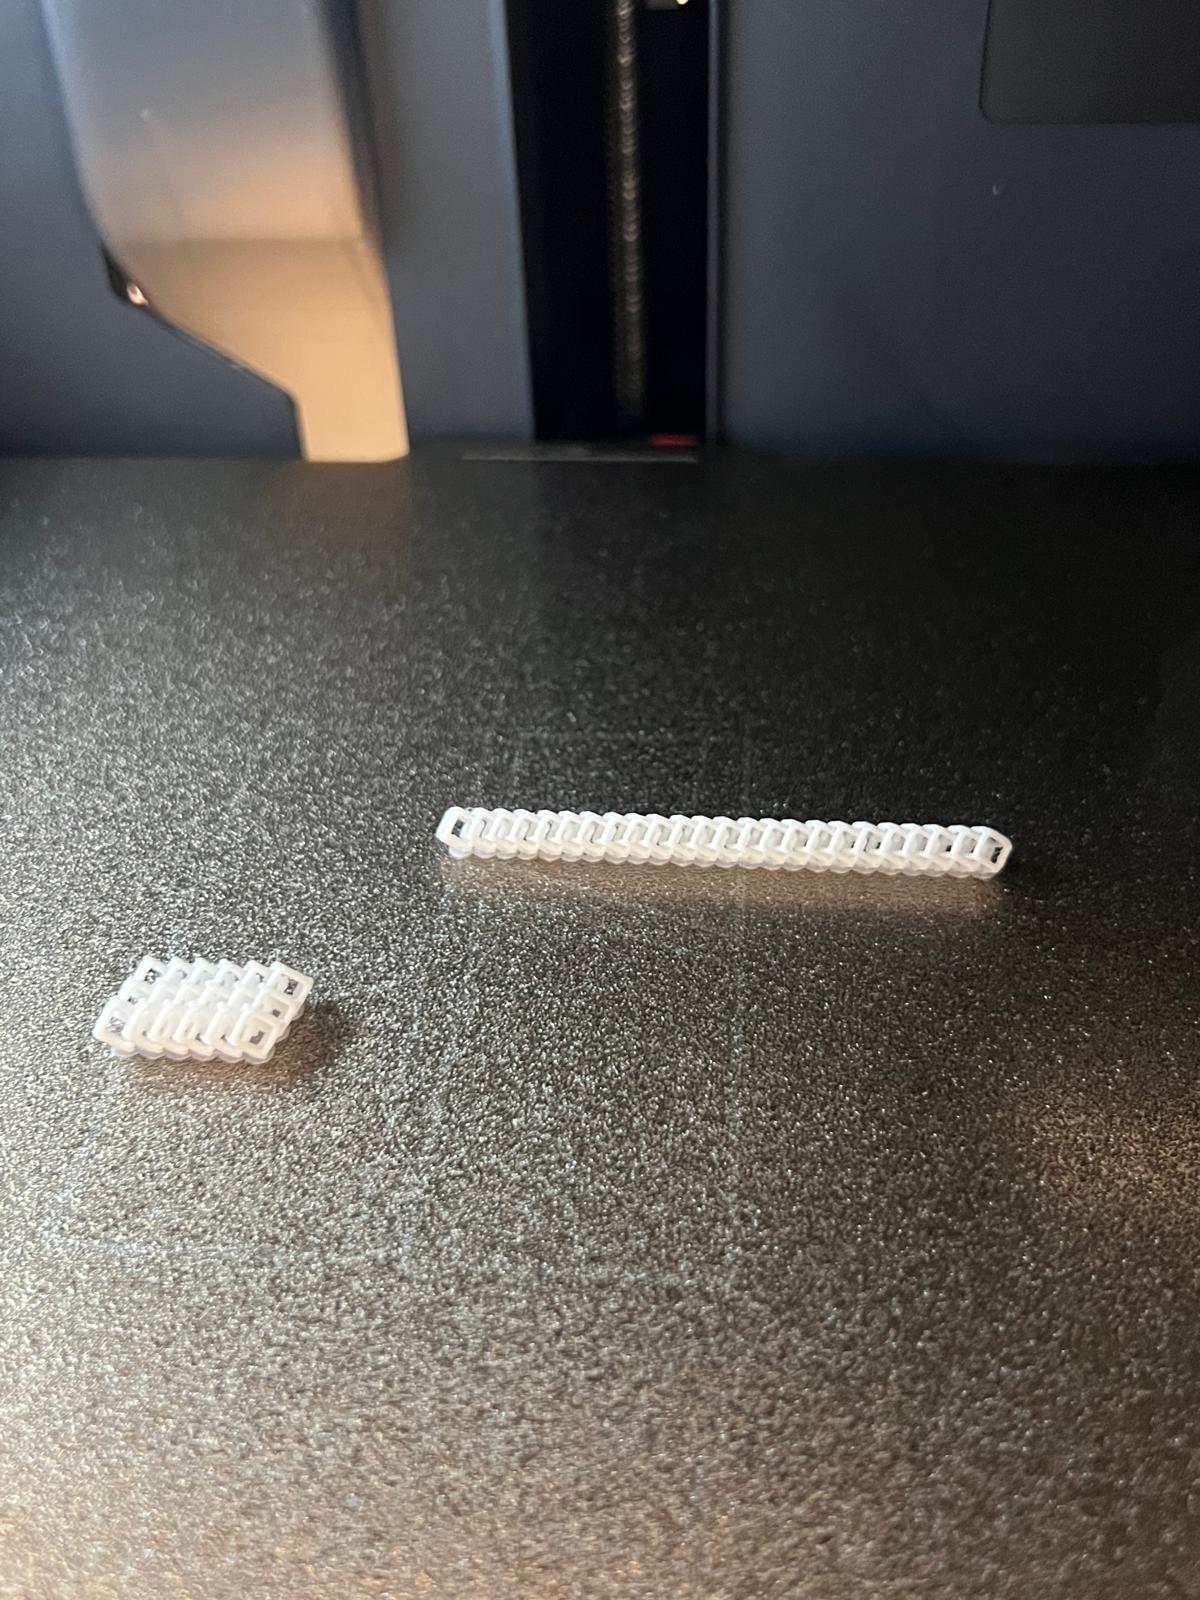
I also tried a cube-based chain. Small segments worked well, so I attempted a
chain-mail patch overnight. In the morning: glorious spaghetti—heat buildup and wide area led to
layer shifts and fused spots.
Scaling up to chain mail = spaghetti city.Cube chain-mail experiment.
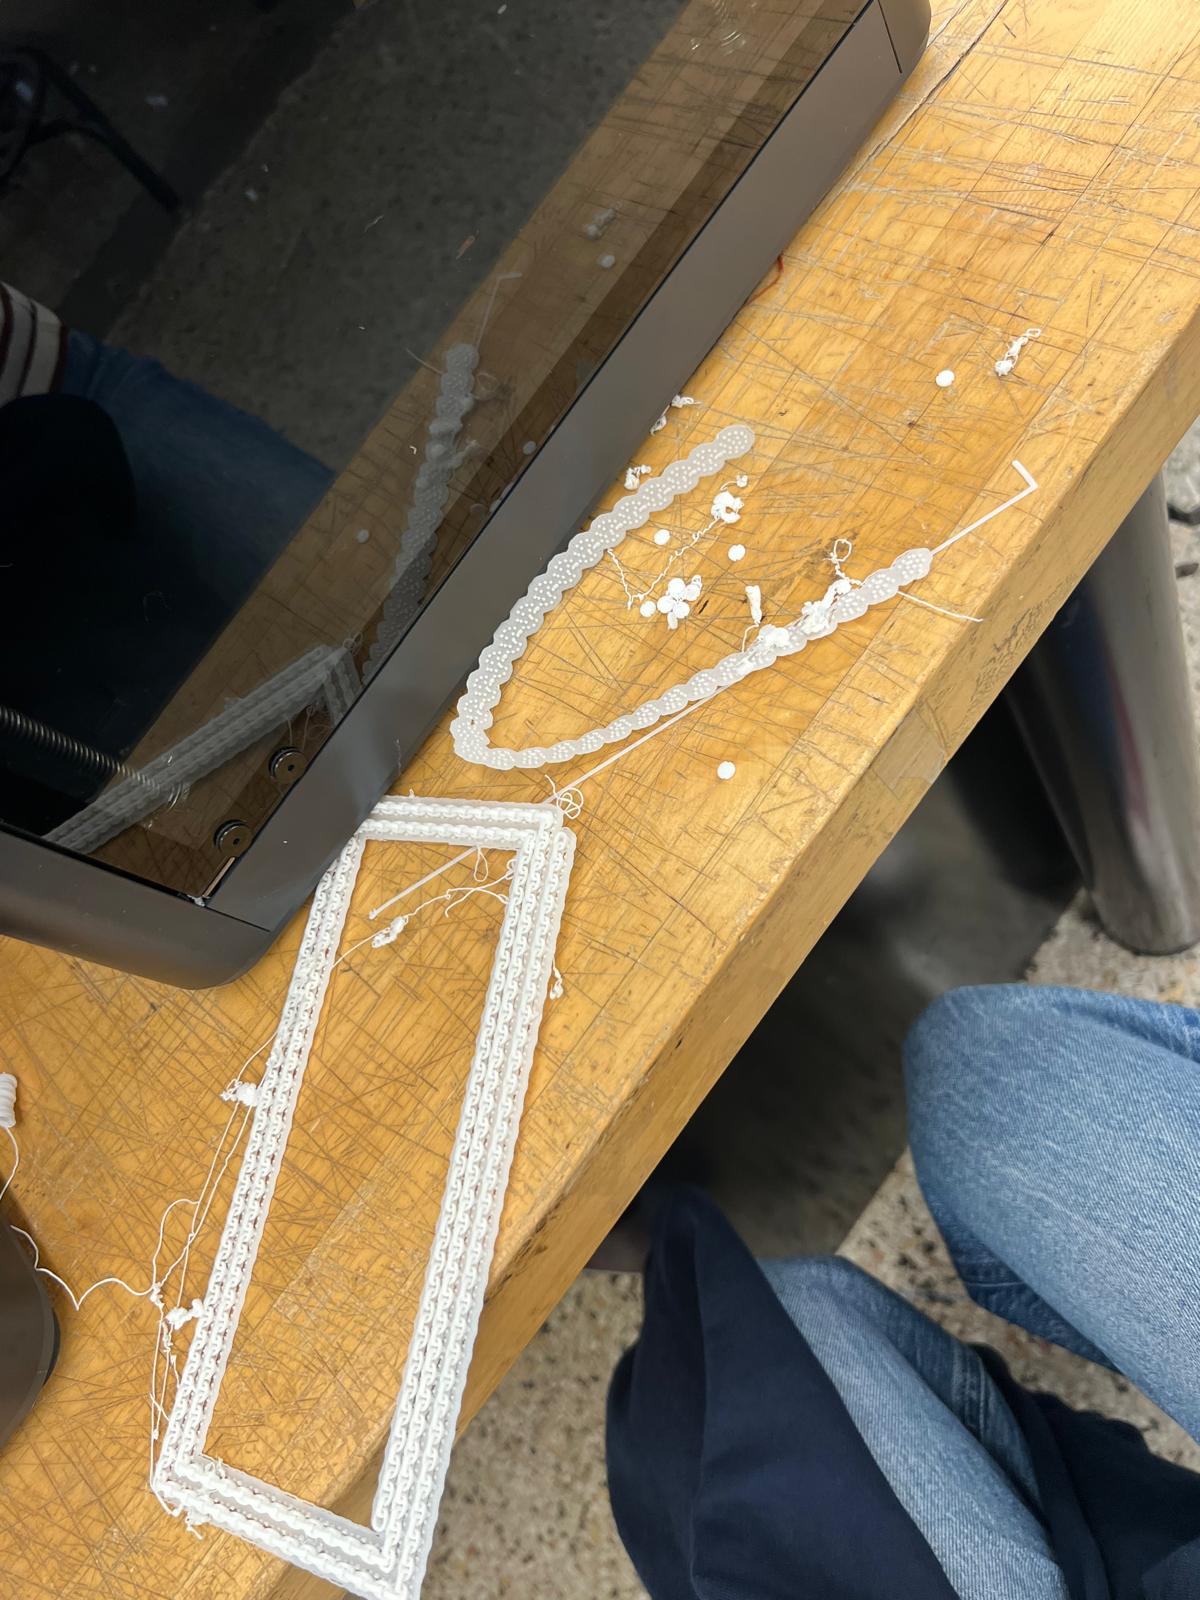
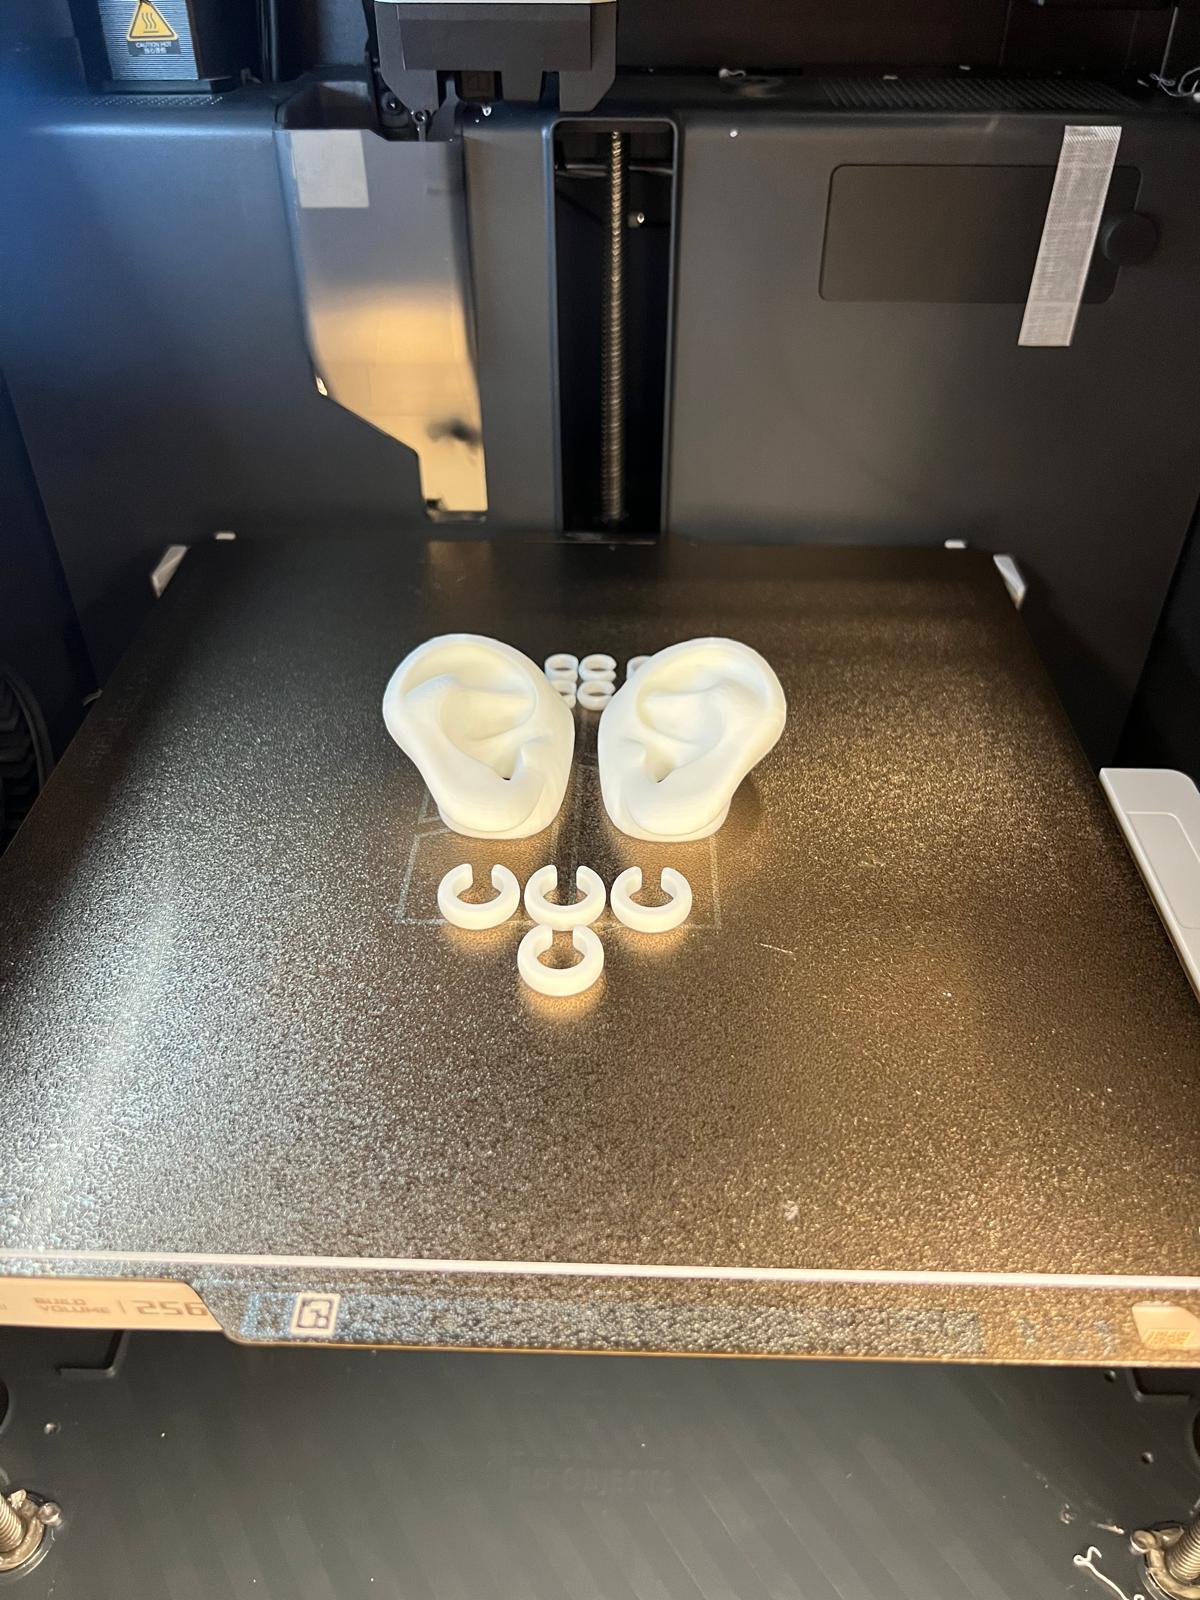
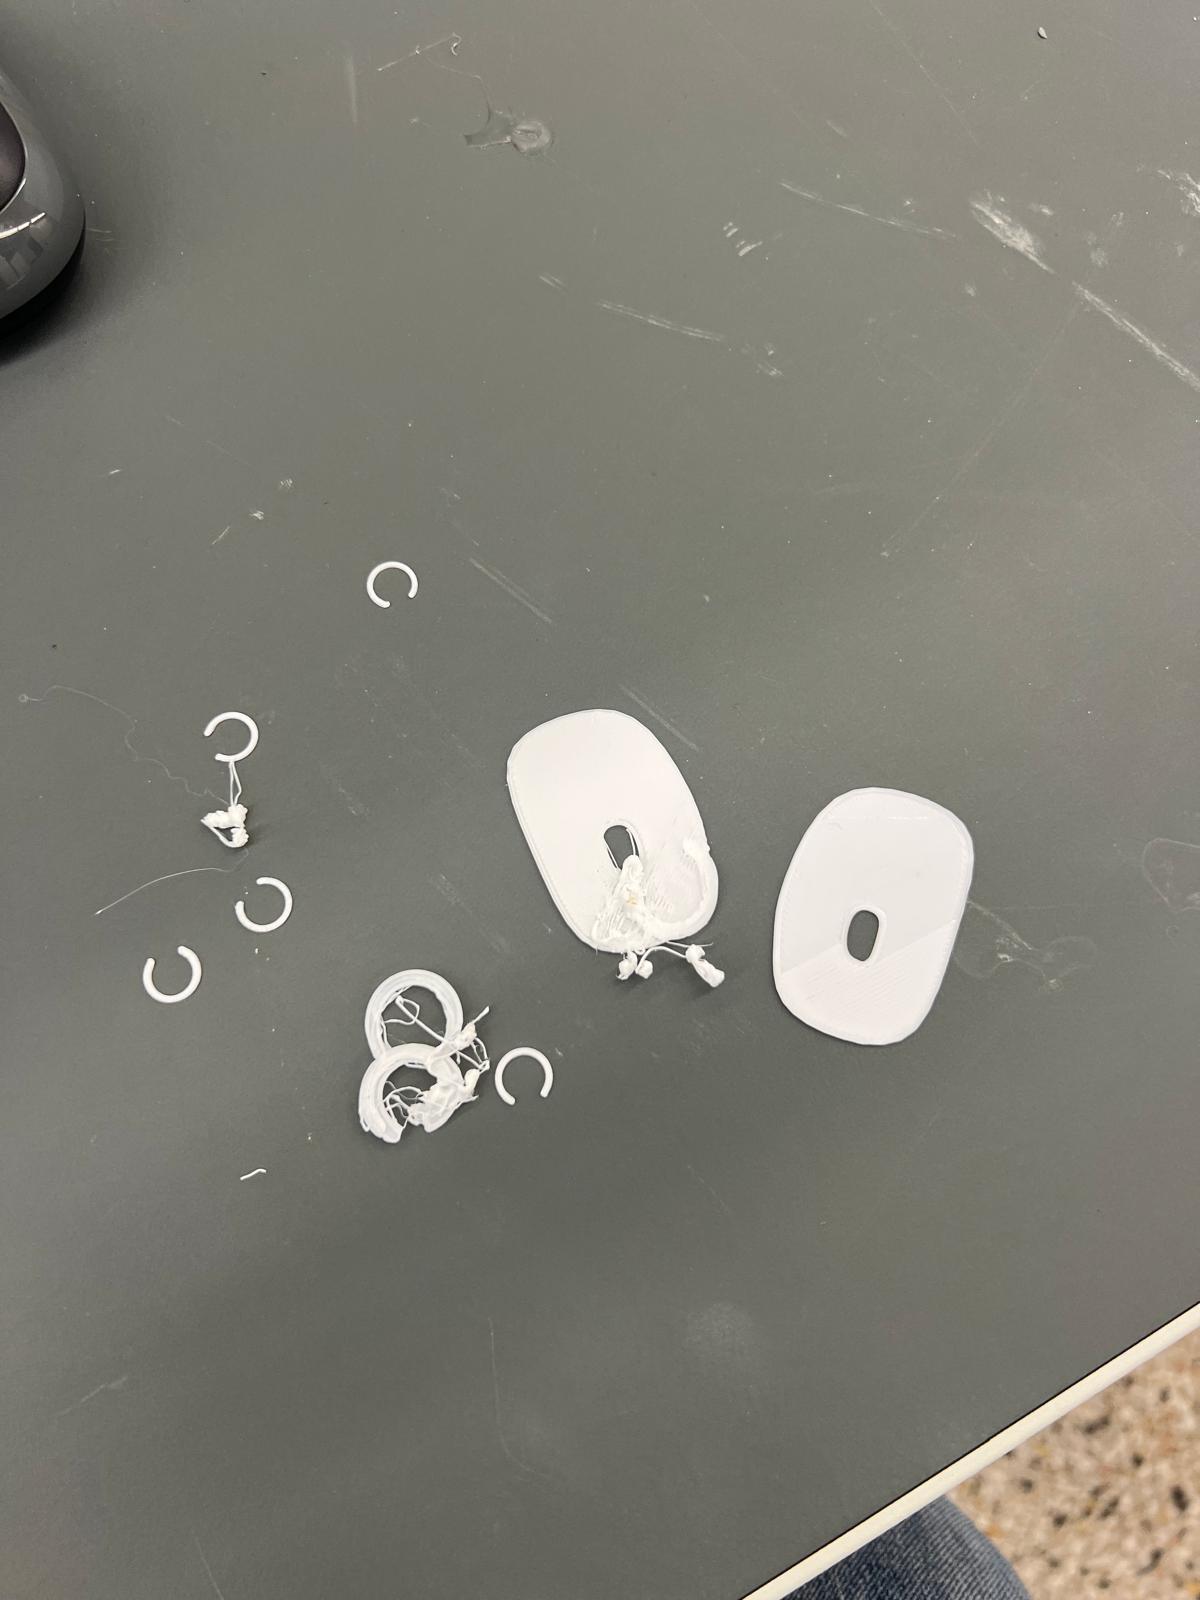
Because my final project explores earrings, I made an ear model as a test-bed.
I tried scanning my own ear (will revisit later); for now I started from a shared model and resized it.
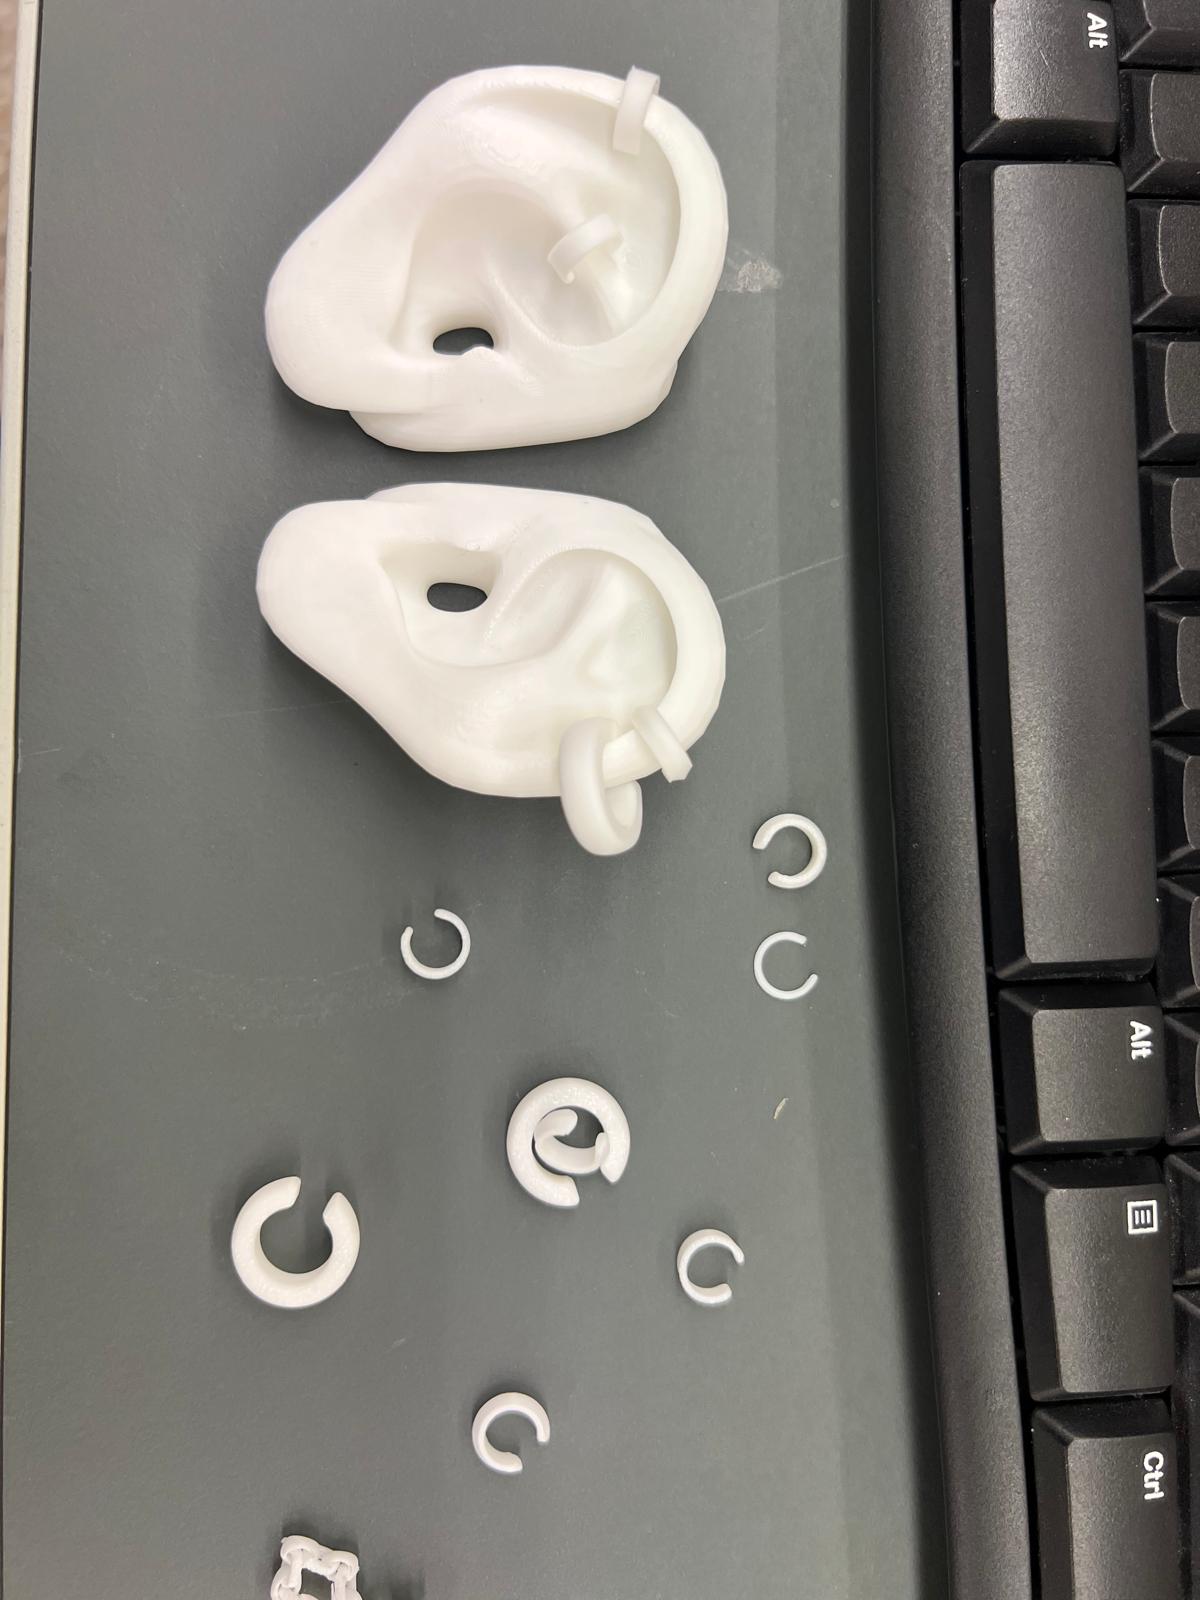
Then I iterated ear-cuff and ornamented designs. Lesson: very small cross-sections overheat/fuse; thicker cuffs fare better.
One clip snapped—thin geometry isn’t always strong enough, and a printed ear is stiffer than a real lobe.
Ear test-bed + ornamented prototypes; one cuff iteration failed at the clip.
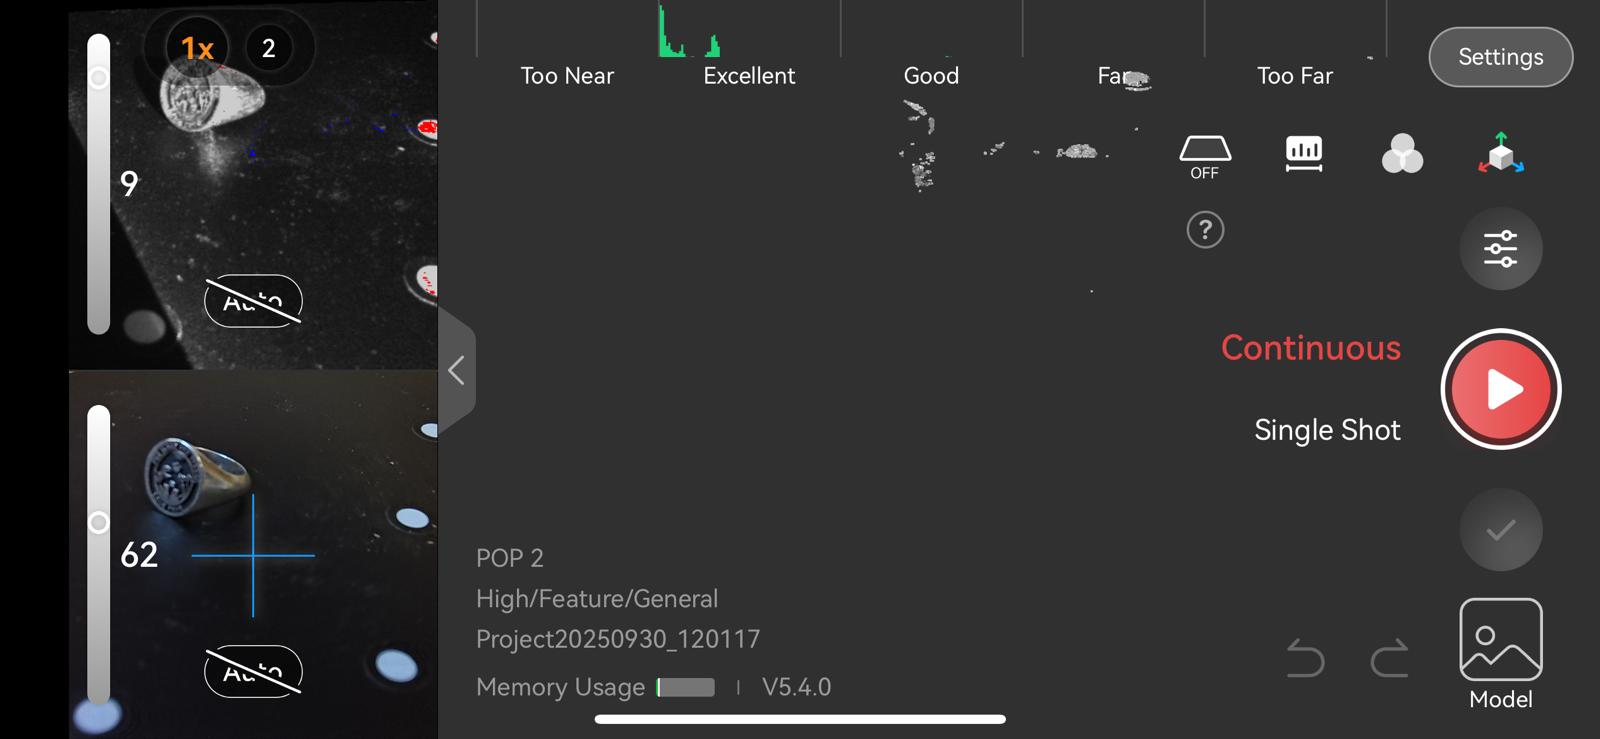
I tried scanning a shiny ring with Polycam (phone) and with the lab’s Revo—both struggled (reflective/transparent/dark surfaces are hard).
A wooden figure worked immediately thanks to matte, textured surfaces.