Week 4: 3D Modelling

3D Fabrication techniques

Week 4: 3D Modelling

3D printing Assignment

This week the 3D printing assignment was to design and make something with a 3D printer that cannot be made subtractively. My personal goals were to design something I could use outside of the class. Something that is not made subtractively is difficult. I watched some youtube videos about print in place 3D printing and I decided whatever I made would have some sort of print in place joint, maybe locking mechanism.

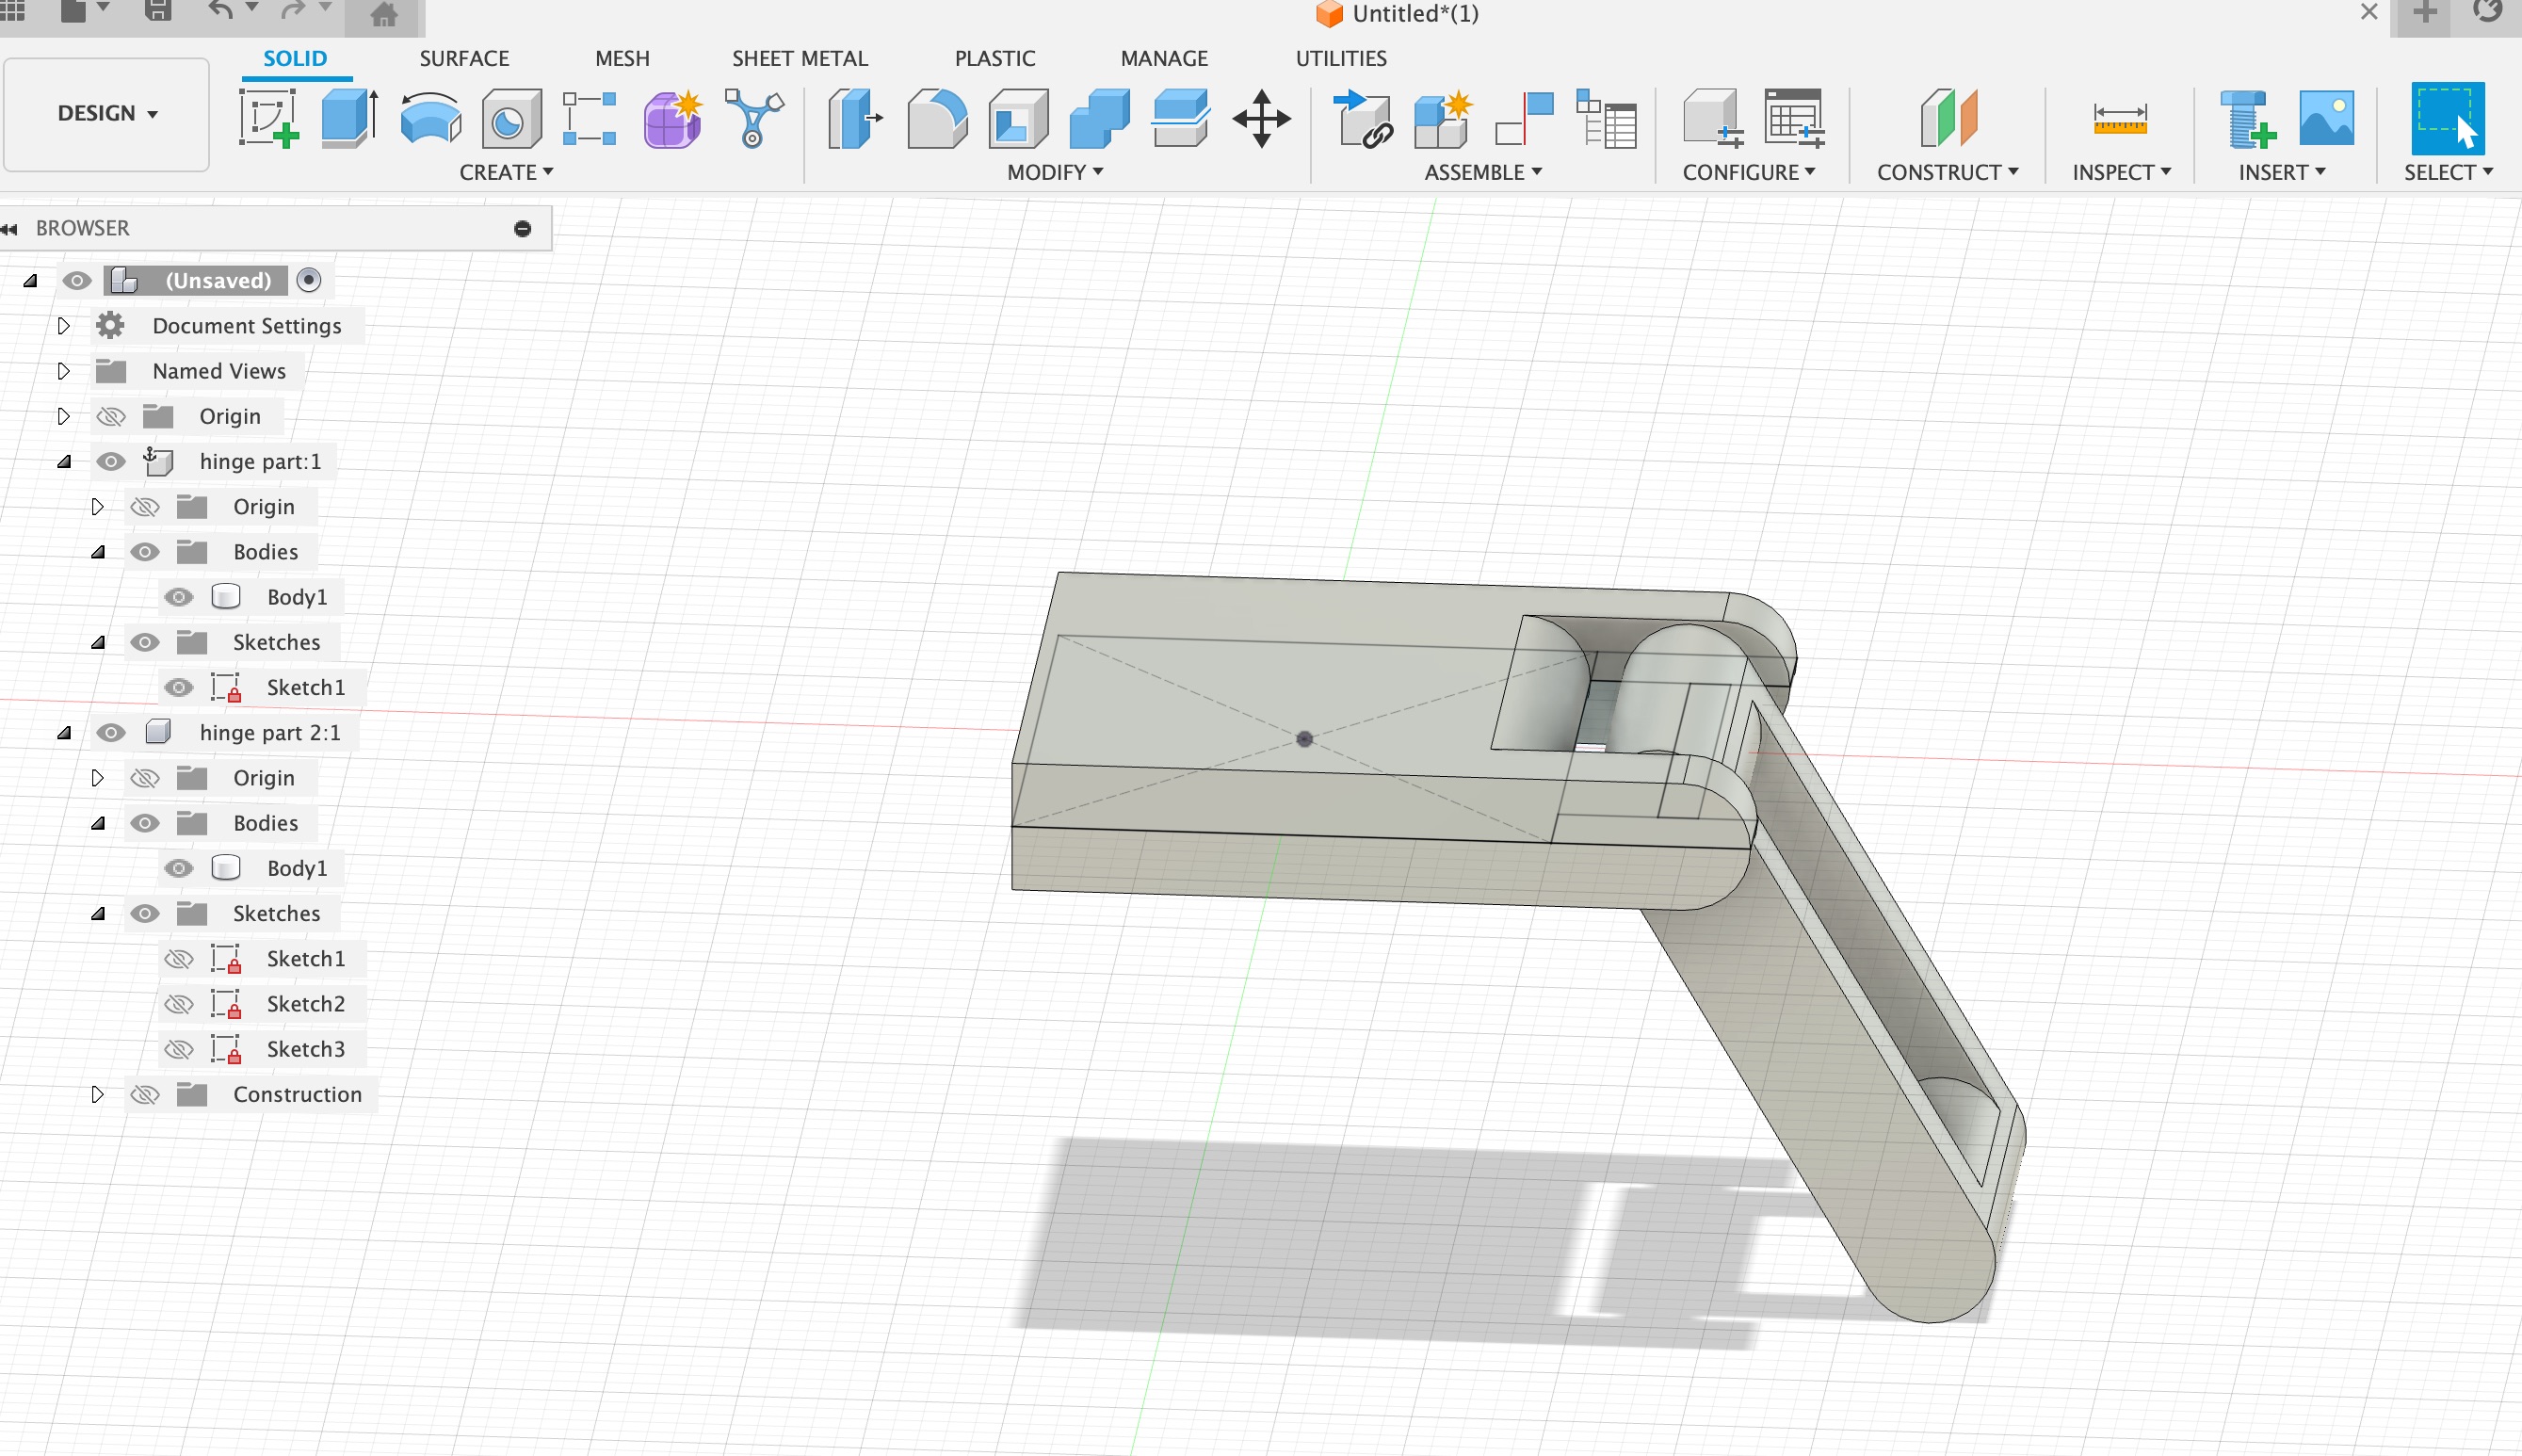
Here's my finished fusion 360 model of the hinge, I used a tolerance of 0.4mm since the 3D printer I was using had a But I couldn’t just make a joint for the assignment so I was having trouble figuring out what to make with a joint.

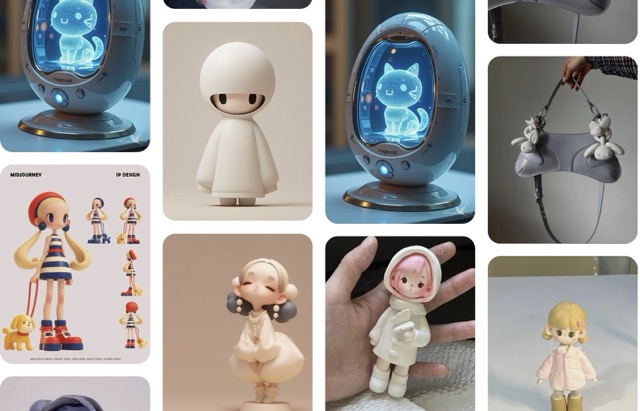
Recently I’ve been really into bag charms and the cute figurines (like skull panda or more popular, labubus) but I don’t want to spend $30 on something that is just a cute piece of plastic. So naturally thought why not make my own cute piece of plastic ??? haha

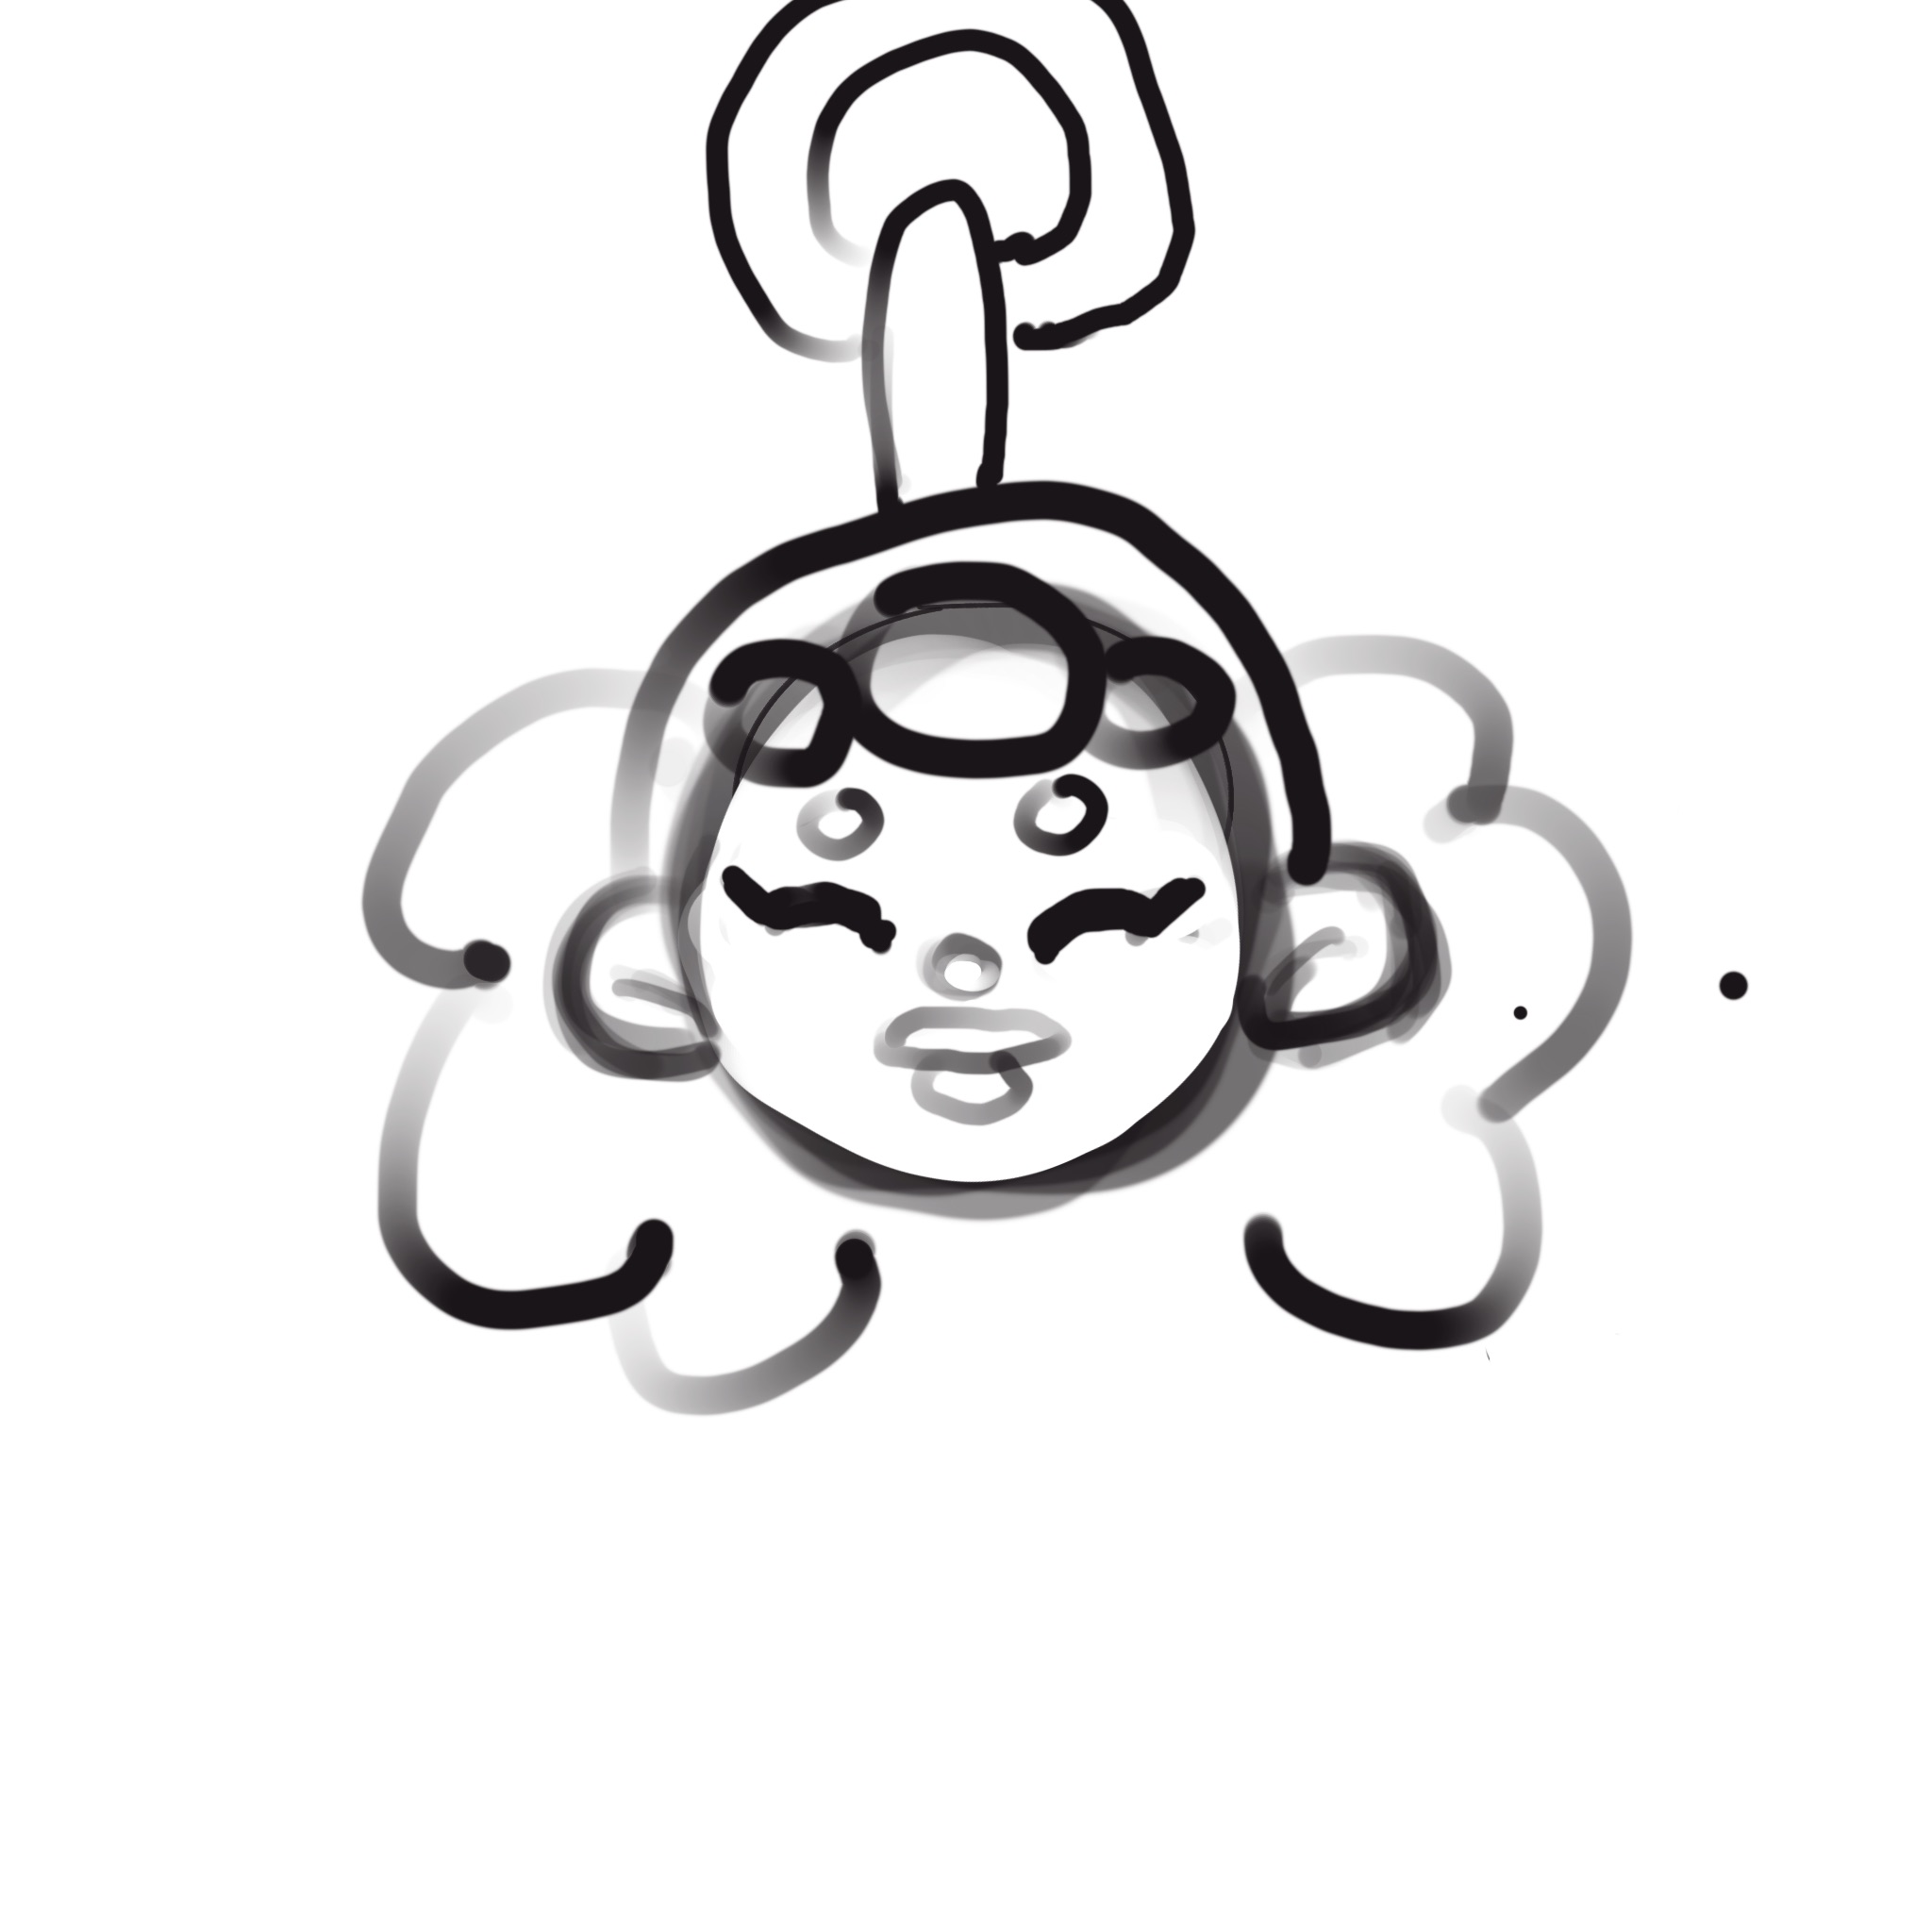
First I drew a concept sketch in Procreate. It was just a rough drawing I could place in my modelling software. I decided to go with Blender for my character modelling software. Belnder has always intimidated me and I was excited to have a chance to use it.

Here is a video of me modelling the face in blender. I found some youtube videos on making stylized characters in Blender which really helped.


I printed the model on the Prusa i3 MK3S+ in the lab with PLA filament. Here is a timelapse of the printing process with the final product at the end.


3D Scanning Assignment

Scanning Setup

For the 3D scanning portion of this assignment, I experimented with the lab's 3D scanning equipment. The system uses depth-sensing technology to capture the geometry of physical objects in three dimensions, providing real-time feedback during the scanning process.

Scanning Process

The scanning workflow involved:

  1. Positioning myself in good lighting with a neutral background
  2. Staying as still as possible while the operator moved the scanner around me
  3. The system captures depth data from multiple angles and stitches it together in real-time
  4. Multiple passes were needed to capture all sides and fill in gaps
  5. The software automatically processes and meshes the point cloud data
3D scanning process in progress

Challenges & Observations

⚠️ Scanning Challenges

  • Staying still: Even small movements cause artifacts in the mesh
  • Lighting: Consistent, diffuse lighting produces better depth data
  • Reflective surfaces: Shiny materials or glass confuse the sensor
  • Hair and fine details: Difficult to capture accurately
  • Gaps: Areas the sensor can't see (under chin, behind body) create holes

Post-Processing

After scanning, the model requires cleanup:

  • Export the scan as a 3D file format (OBJ, STL, etc.)
  • Import into 3D software like Blender or Meshmixer for mesh repair
  • Fill holes and smooth rough areas
  • Reduce polygon count for more manageable file size
  • Optional: retopology for cleaner geometry

3D Scanning vs. 3D Modeling

This assignment highlighted the differences between scanning and modeling:

Aspect 3D Scanning 3D Modeling
Speed Fast capture (minutes) Slow creation (hours)
Accuracy Captures real-world details Perfect geometric precision
Mesh Quality Noisy, needs cleanup Clean, optimized topology
Best For Existing objects, organic forms New designs, mechanical parts
Skill Required Moderate (scanning technique) High (software proficiency)

Applications of 3D Scanning

3D scanning technology is incredibly useful for:

  • Reverse engineering: Capturing existing objects to modify or reproduce
  • Custom fit products: Scanning people for tailored clothing, orthotics, or accessories
  • Digital preservation: Archiving cultural artifacts and historical objects
  • Character creation: Scanning actors for video games or VFX
  • Quality control: Comparing manufactured parts to CAD models