Overview
This week was interface and application programming week. The assignment was:
"Write an application that interfaces a user with an input &/or output device that you made"
Project Files
Group Assignment
This week's group assignment was:
"Compare as many tool options as possible"
Per usual, group documentation can be found below:
Interface Design
To be 100% honest, as this was the week of Thanksgiving, I missed the latter half of class and wasn't able to spend a lot of time diving in deep like I normally like to. However, it was an opportunity to adapt the interface I'd vibecoded earlier for Week 9 to better fit my final project.
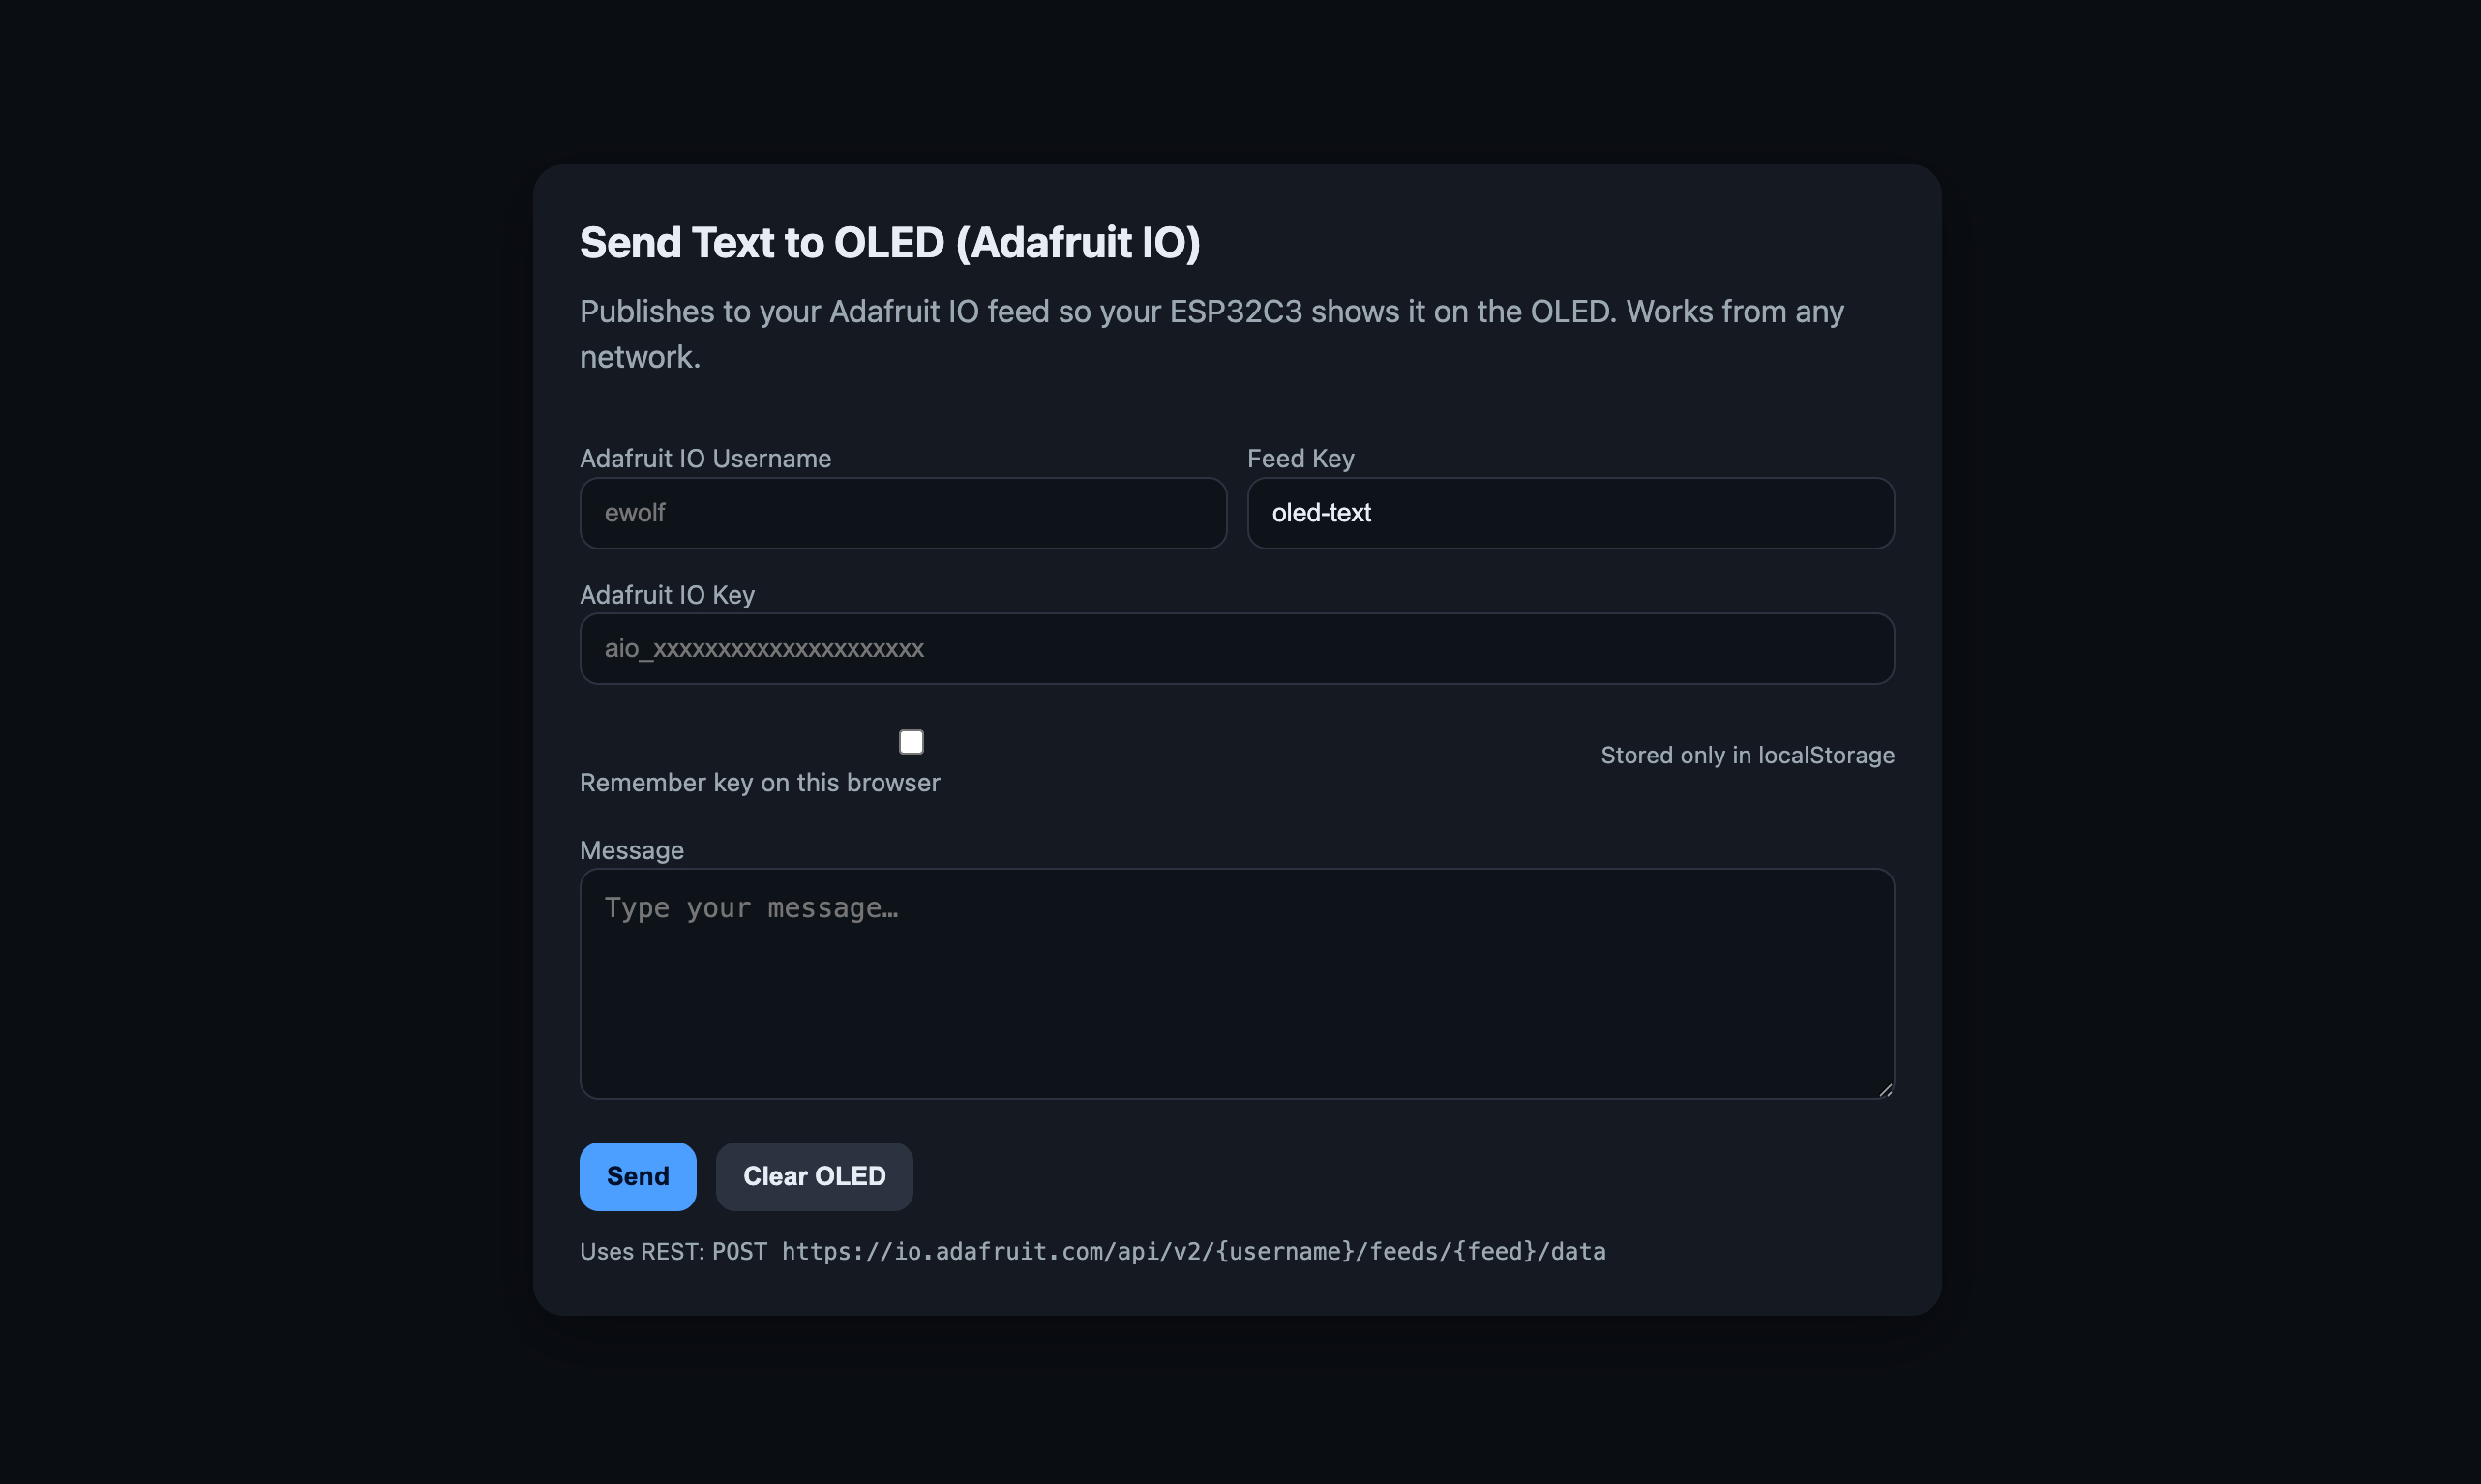
So I began by opening the Week 9 version in Cursor and prompted it:
"I'd like to update this to better fit my current project which sends the message to a thermal printer instead of the OLED screen. Instead of entering my username and API key every time, I'd like to hardcode that information in – I know this is not typically advised for security reasons, but will be helpful to build a demo page. I'd also like you to be able to address the message to someone (maybe a "to" and "from" field).
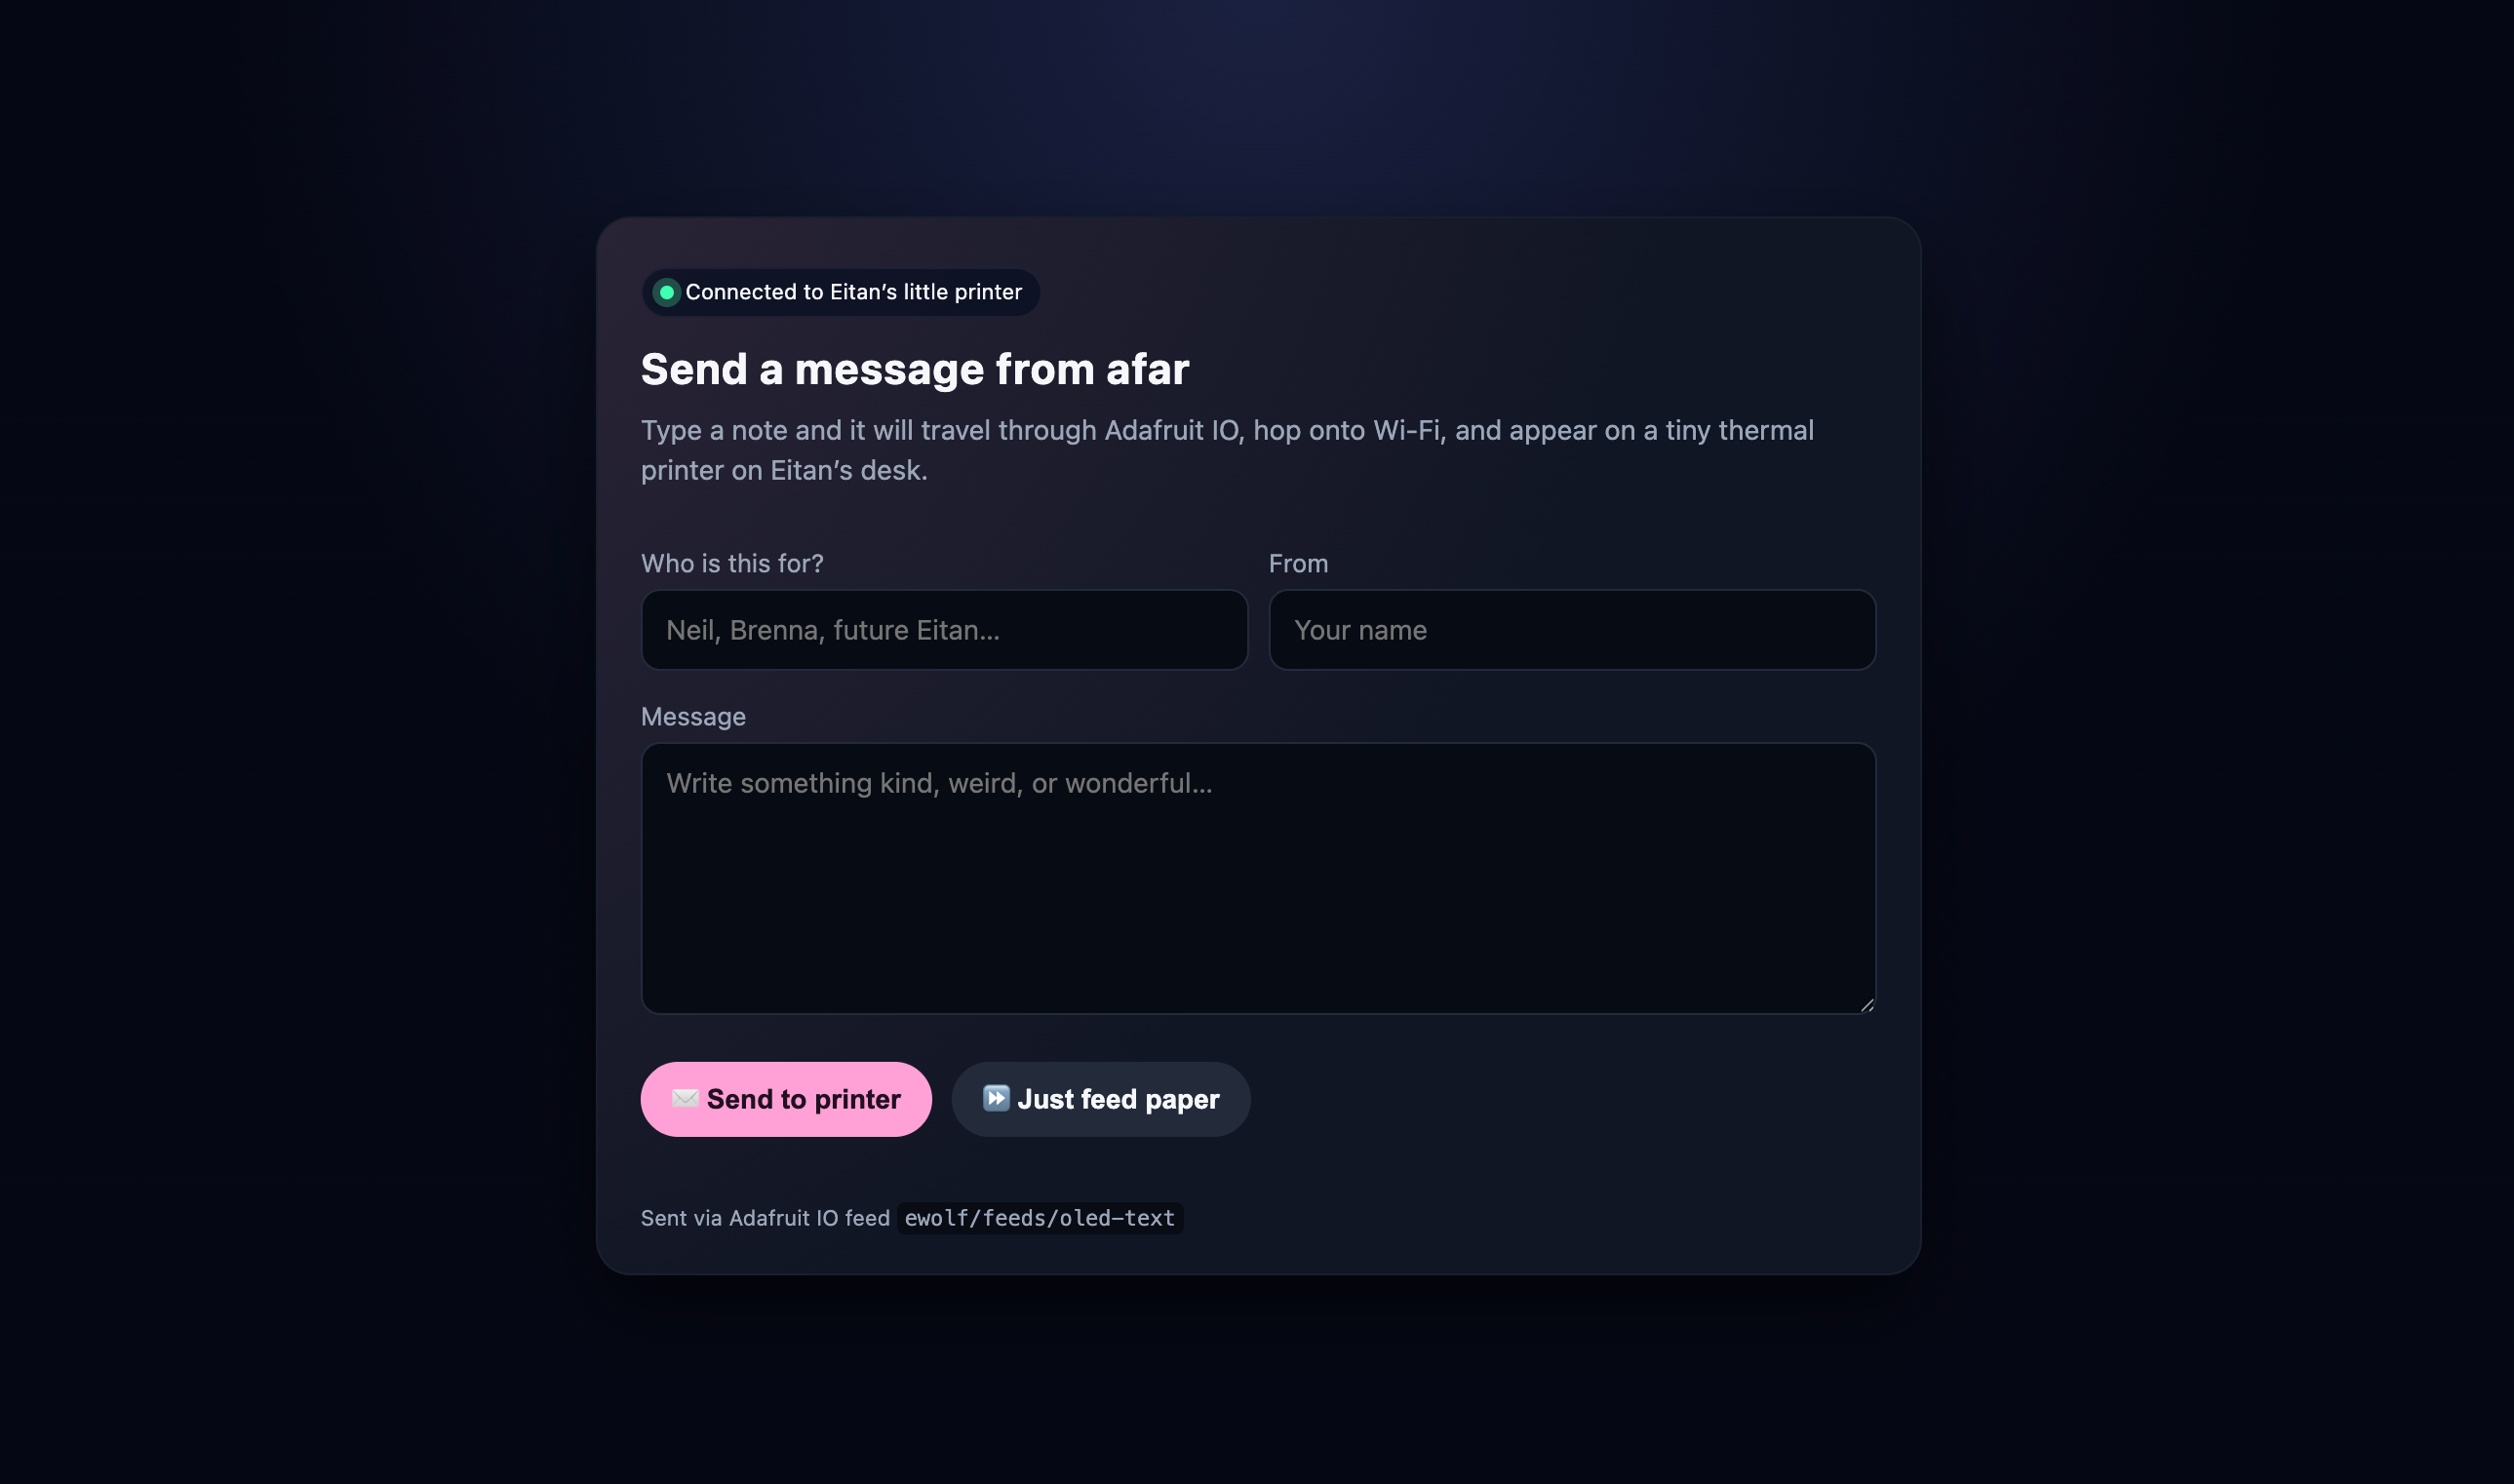
That got me pretty far, but I wasn't loving the look. I like a dark mode vibe, but for an actual demo page it felt a little too dark. Also, when testing the printer, I noticed there wasn't a ton of space left at the bottom of each message, and I was needing to click the button on the printer to feed out a little extra paper, so also felt like it'd be helpful to be able to do that from the interface. I also wanted to add a character counter so I could test longer strings with specificity. With that in mind, we had another round of AI prompting edits:"Please make this a little less dark, and more user-friendly. I'd also like to add the ability to send some empty space to the printer in case I need to,as well as a few additional features like a character counter and a friendly description telling people how to interact with it.
That ended up working out extremely well. Here's the before:
And the after:
Understanding How It Works
I have many more notes on what's actually behind the scenes here, as it was important for me to try to understand the AI-generated code rather than accept it at face value. I will return to fill this in upon further documentation sessions.
Future Eitan Note: I'm returning to share that I actually wrote most of this out on Week 12's page, in the "Post–Final Follow–up: How Networking Works" section.