Group Assignment
- design a machine that includes mechanism+actuation+automation+function+user interface
- build the mechanical parts and operate it manually
- document the group project and your individual contribution Click here for link to group assignment
Individual Contribution
Before machine week, I created a mini “OPORD" to outline a timeline with different phases and tasks. It was helpful for guiding the group discussion as we set the goals for the week. Click Here for the document
During machine week, I was on the mechanical team and contributed to one of the designs for the actuator. I went through about 9 iterations in total, and Wikipedia gave me a good starting point and outlined the mechanics in an easy-to-understand way and another website had an inital design that I drew from.
Wikipedia Crank Mechanism Diagram
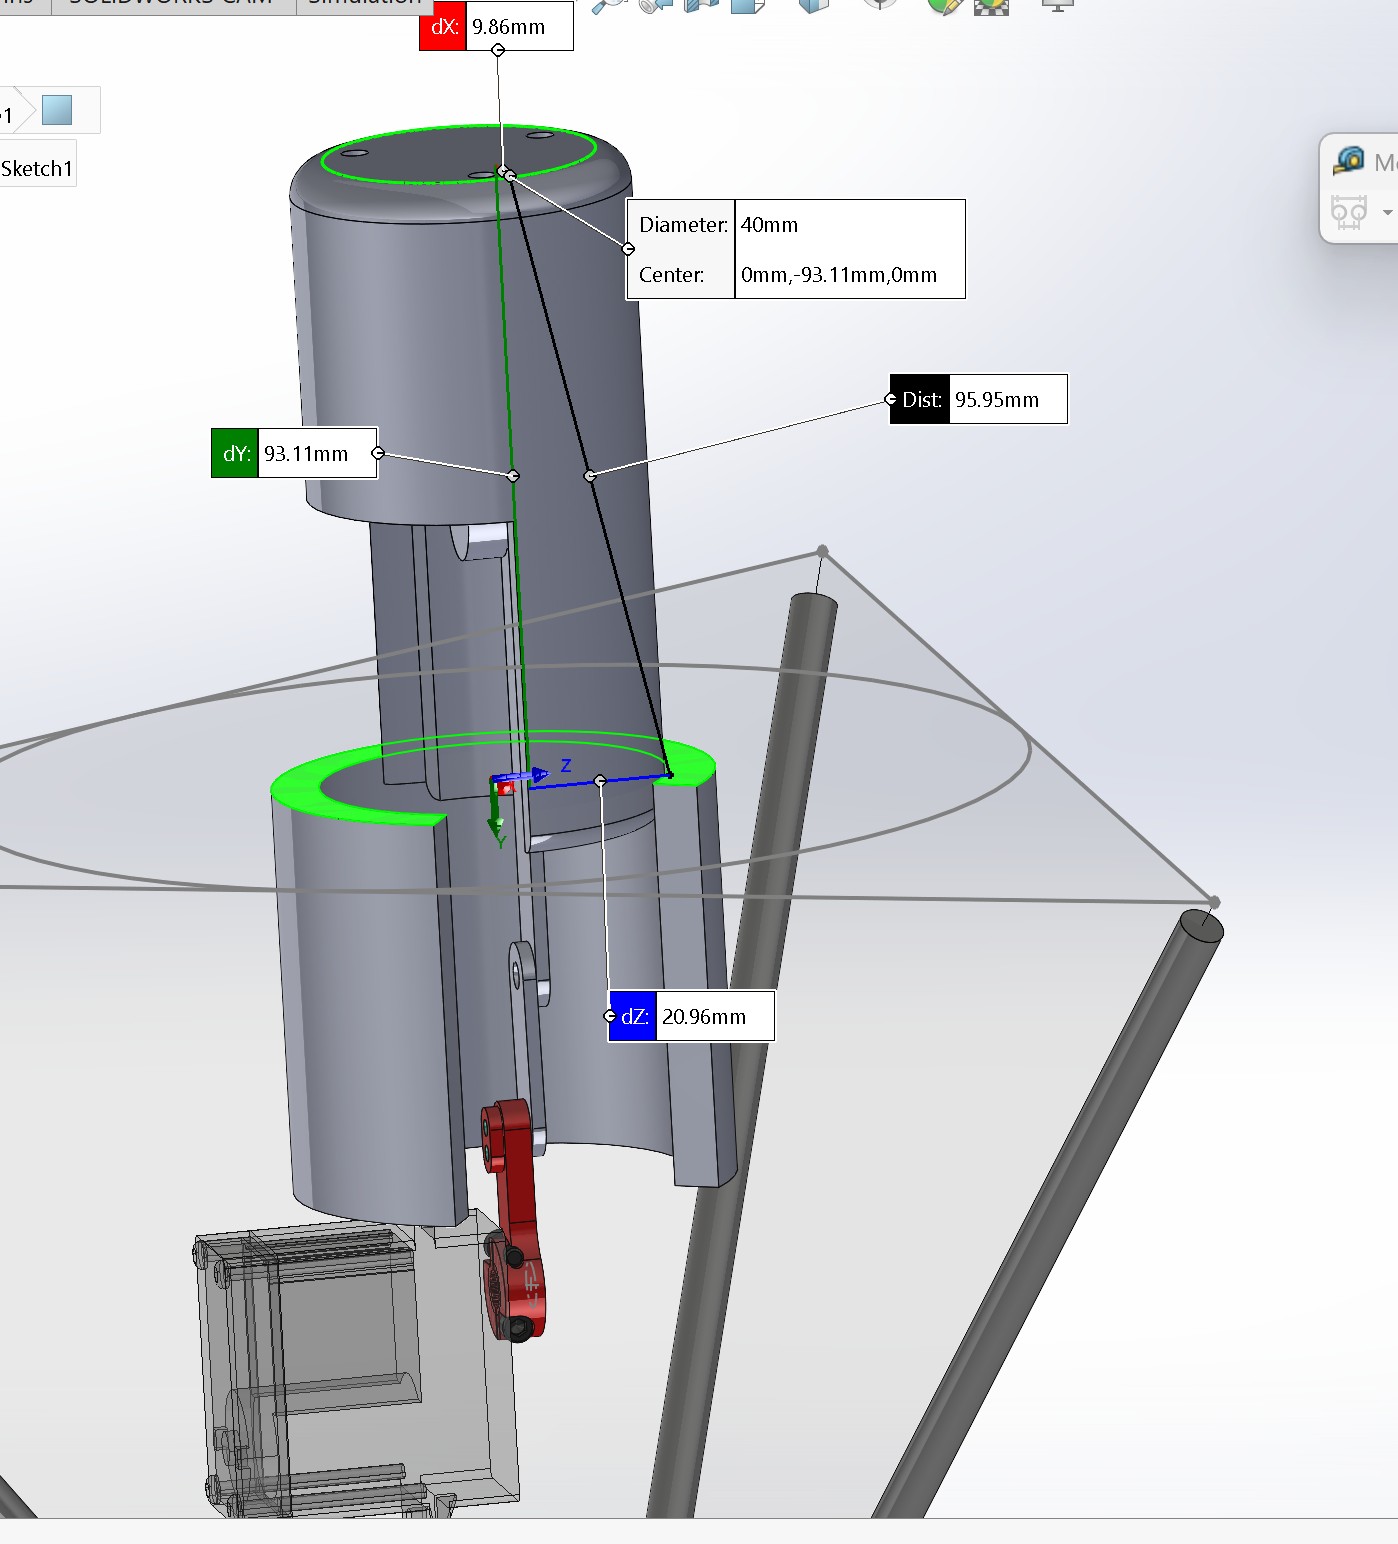
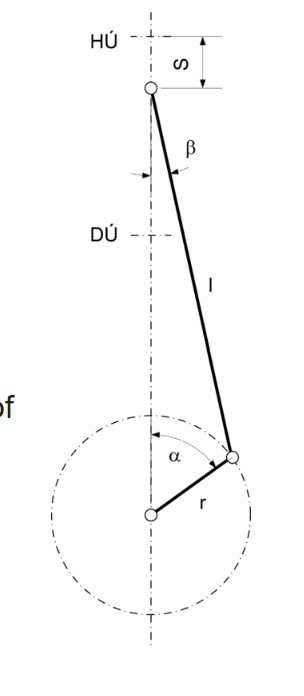 Initially, I achieved about 4,4 cm of height extension from the structure. However,
Dimitar and Hunanyu performed additional calculations and
estimated that it would not be enough to make the icosahedron move. I needed 10cm to tip it.
So, I tried to maximize the crank radius without changing the path, and unsurprisingly,
it did not work. Too much force was exerted onto the structure, and ultimately,
we decided to go with a rack and pinion design.
Initially, I achieved about 4,4 cm of height extension from the structure. However,
Dimitar and Hunanyu performed additional calculations and
estimated that it would not be enough to make the icosahedron move. I needed 10cm to tip it.
So, I tried to maximize the crank radius without changing the path, and unsurprisingly,
it did not work. Too much force was exerted onto the structure, and ultimately,
we decided to go with a rack and pinion design.
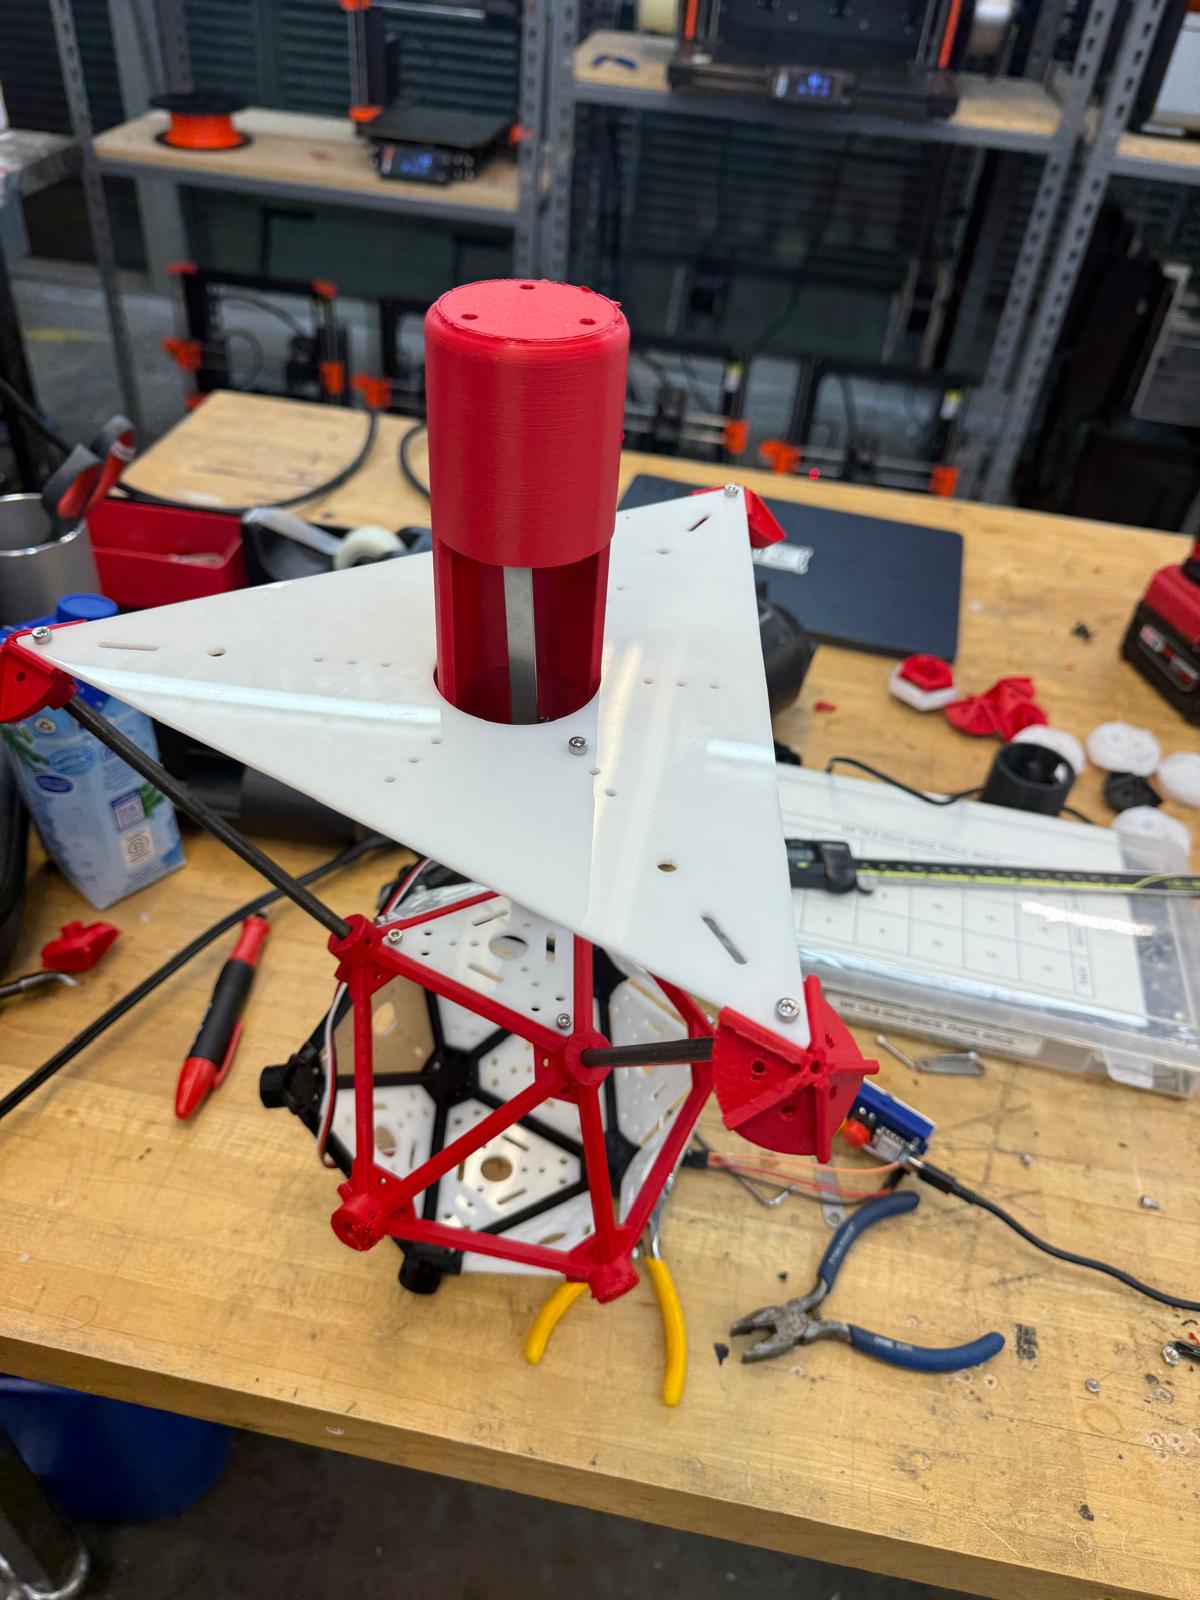
Here are some of the design iterations, initial tests, 3D printed components:
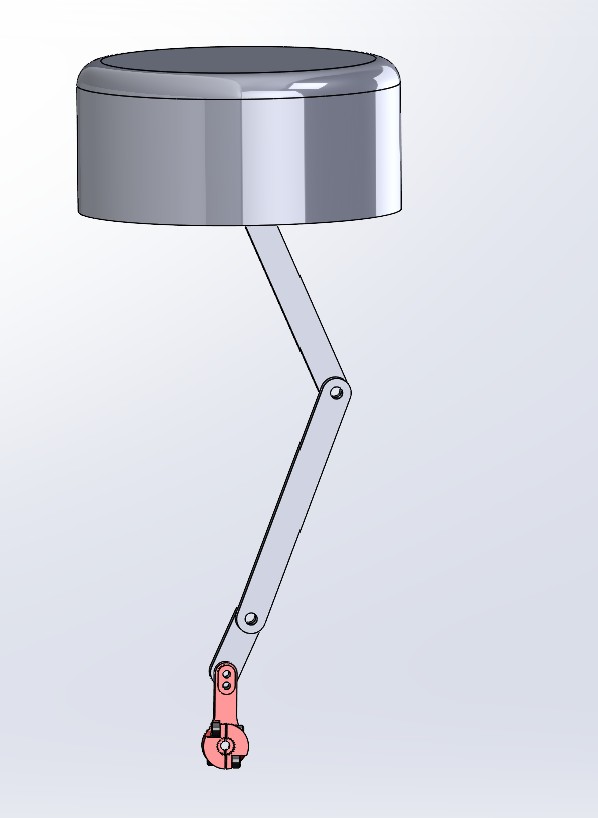
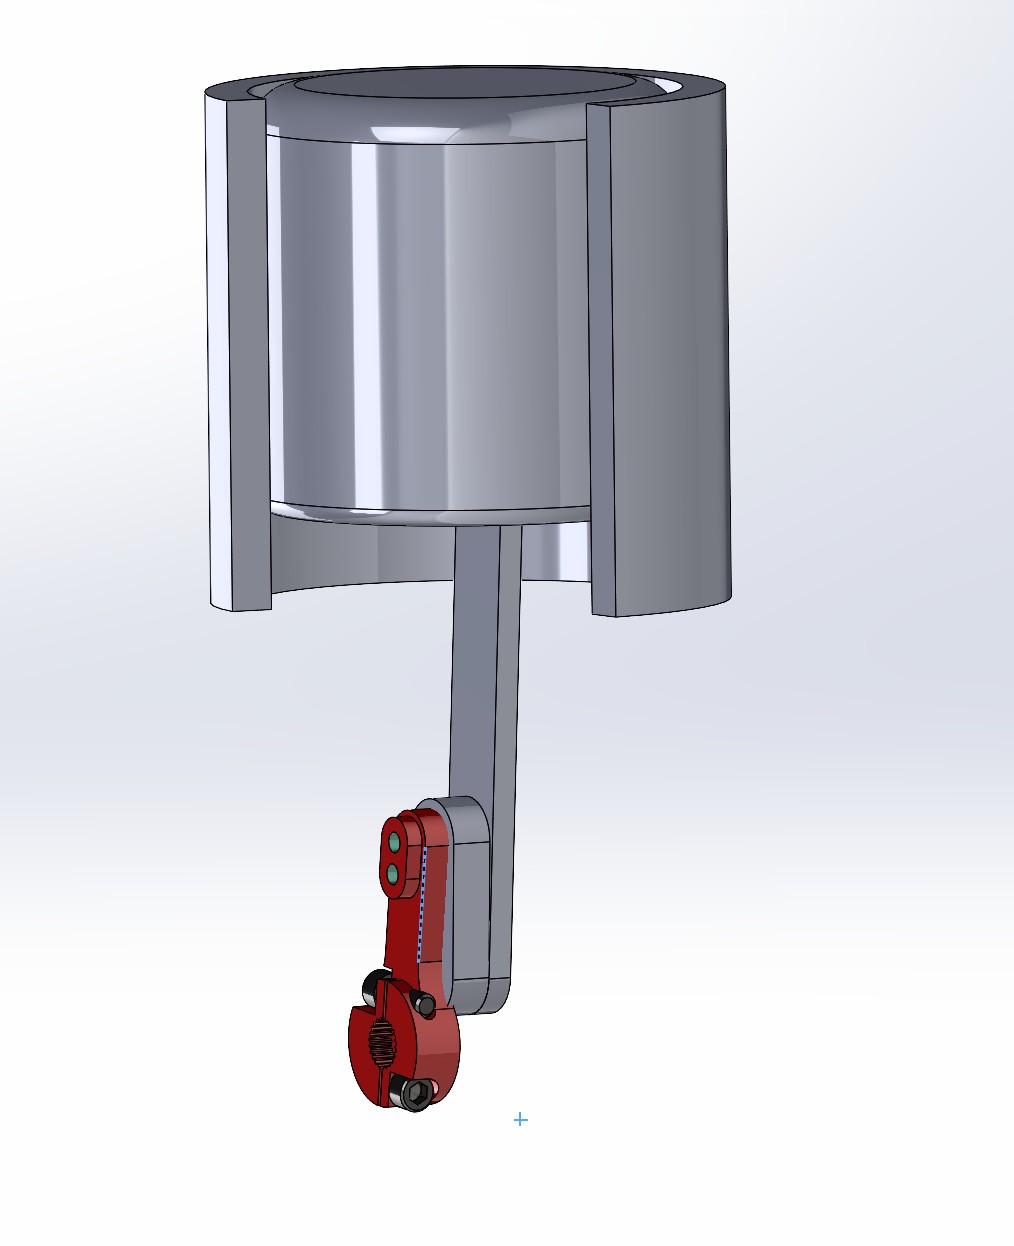
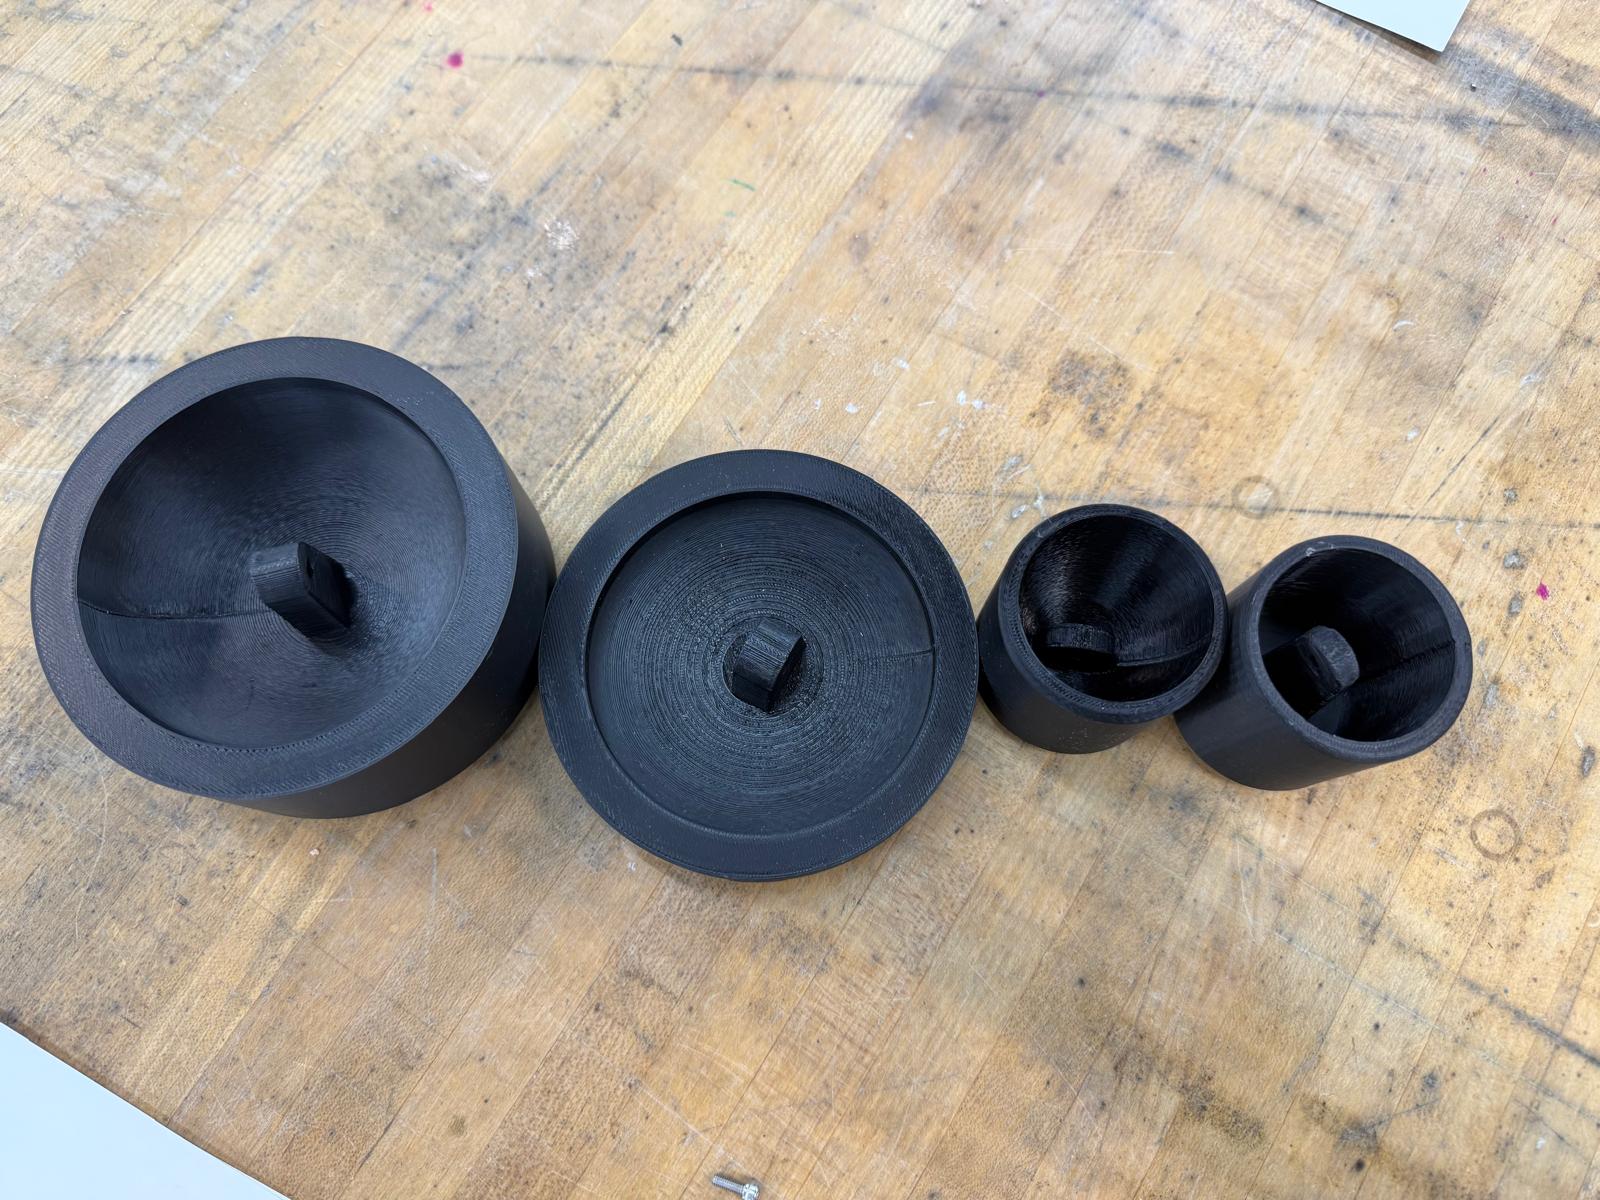
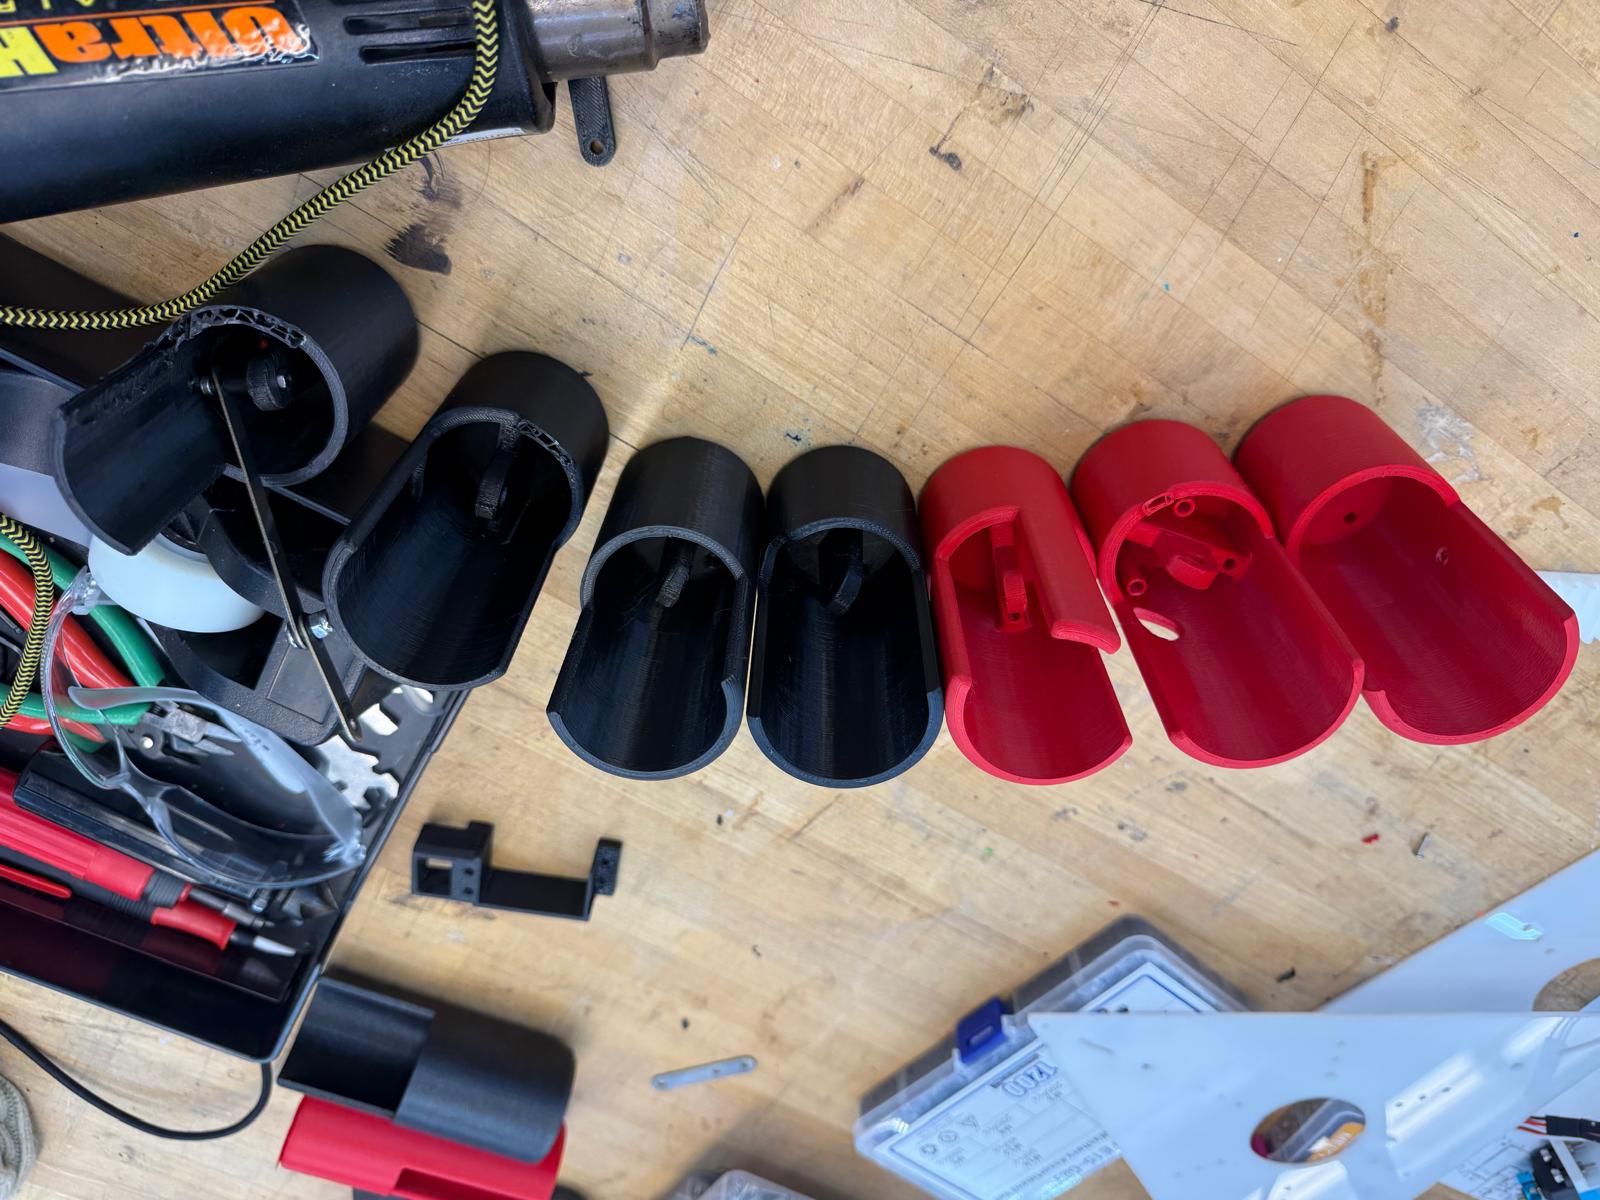

I did learn a lot about CAD and 3D printing during this. I had some prior experience in Solidworks, but it had been a while since I used it to create an Assembly with moving parts. This was my first time using a 3D printer to design, print, and rapidly iterate
System's Integration
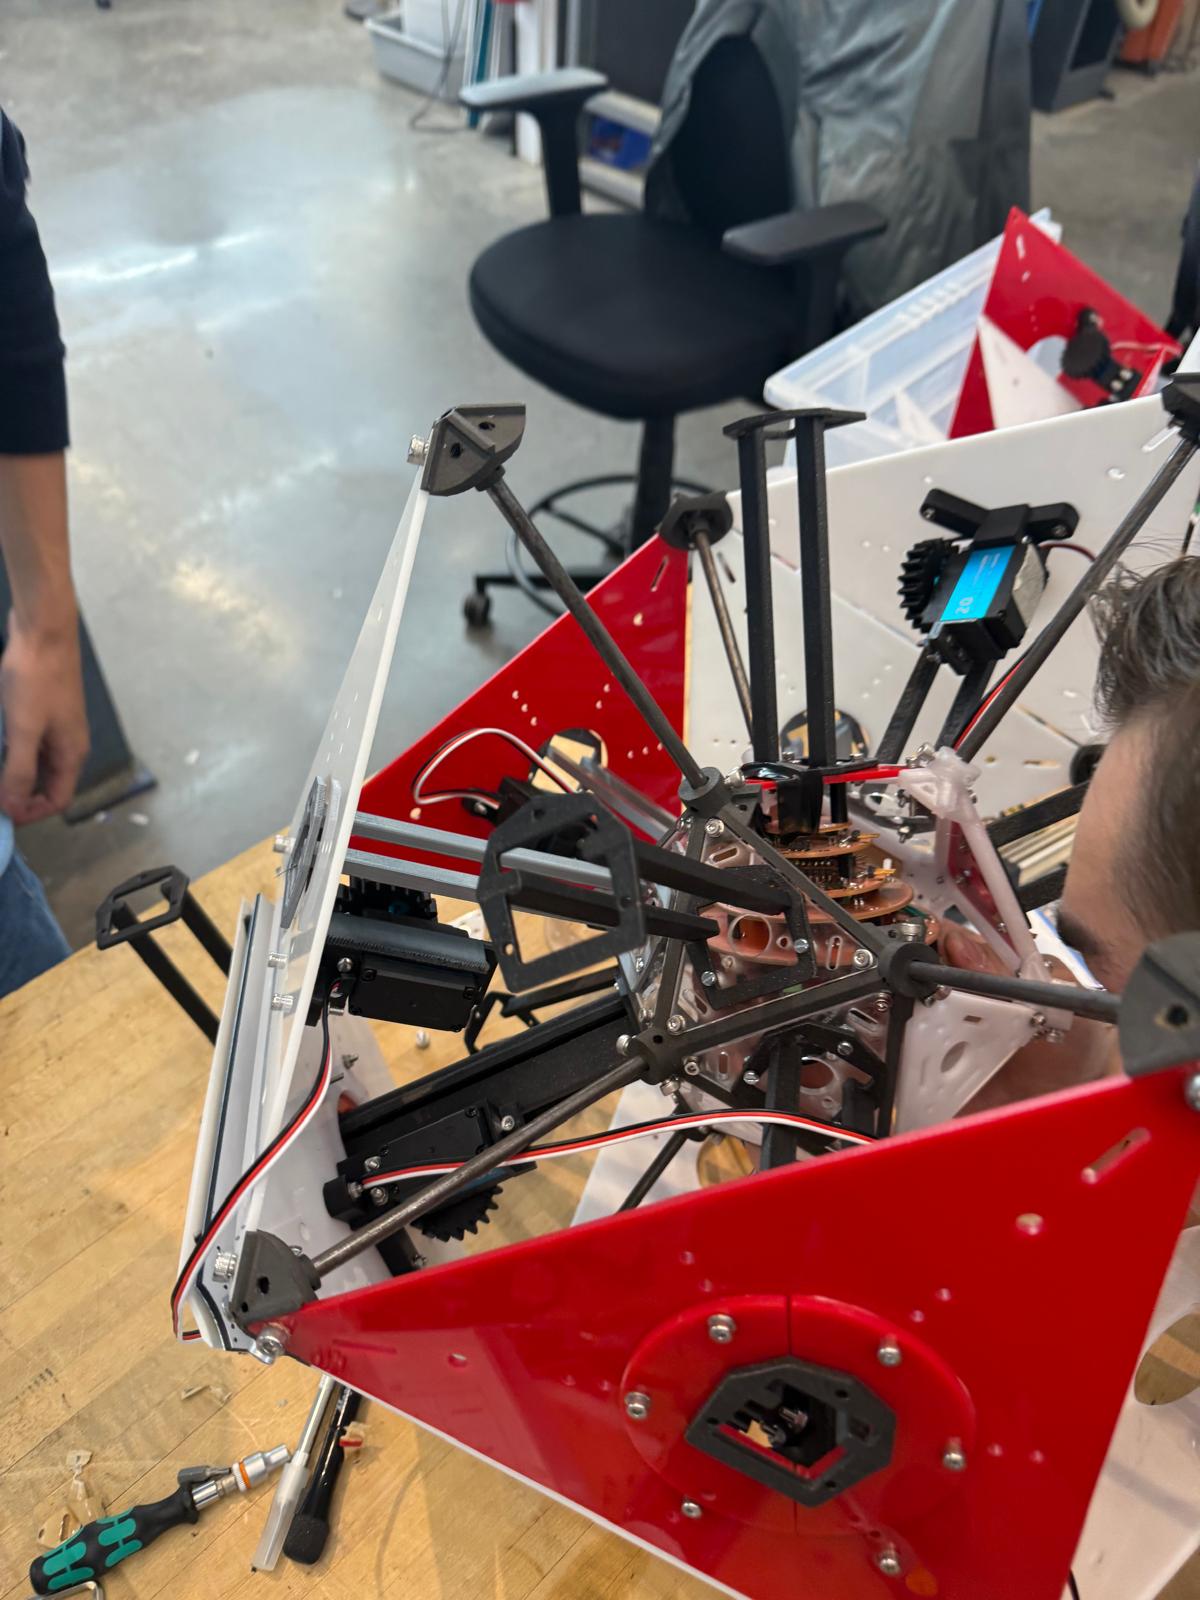
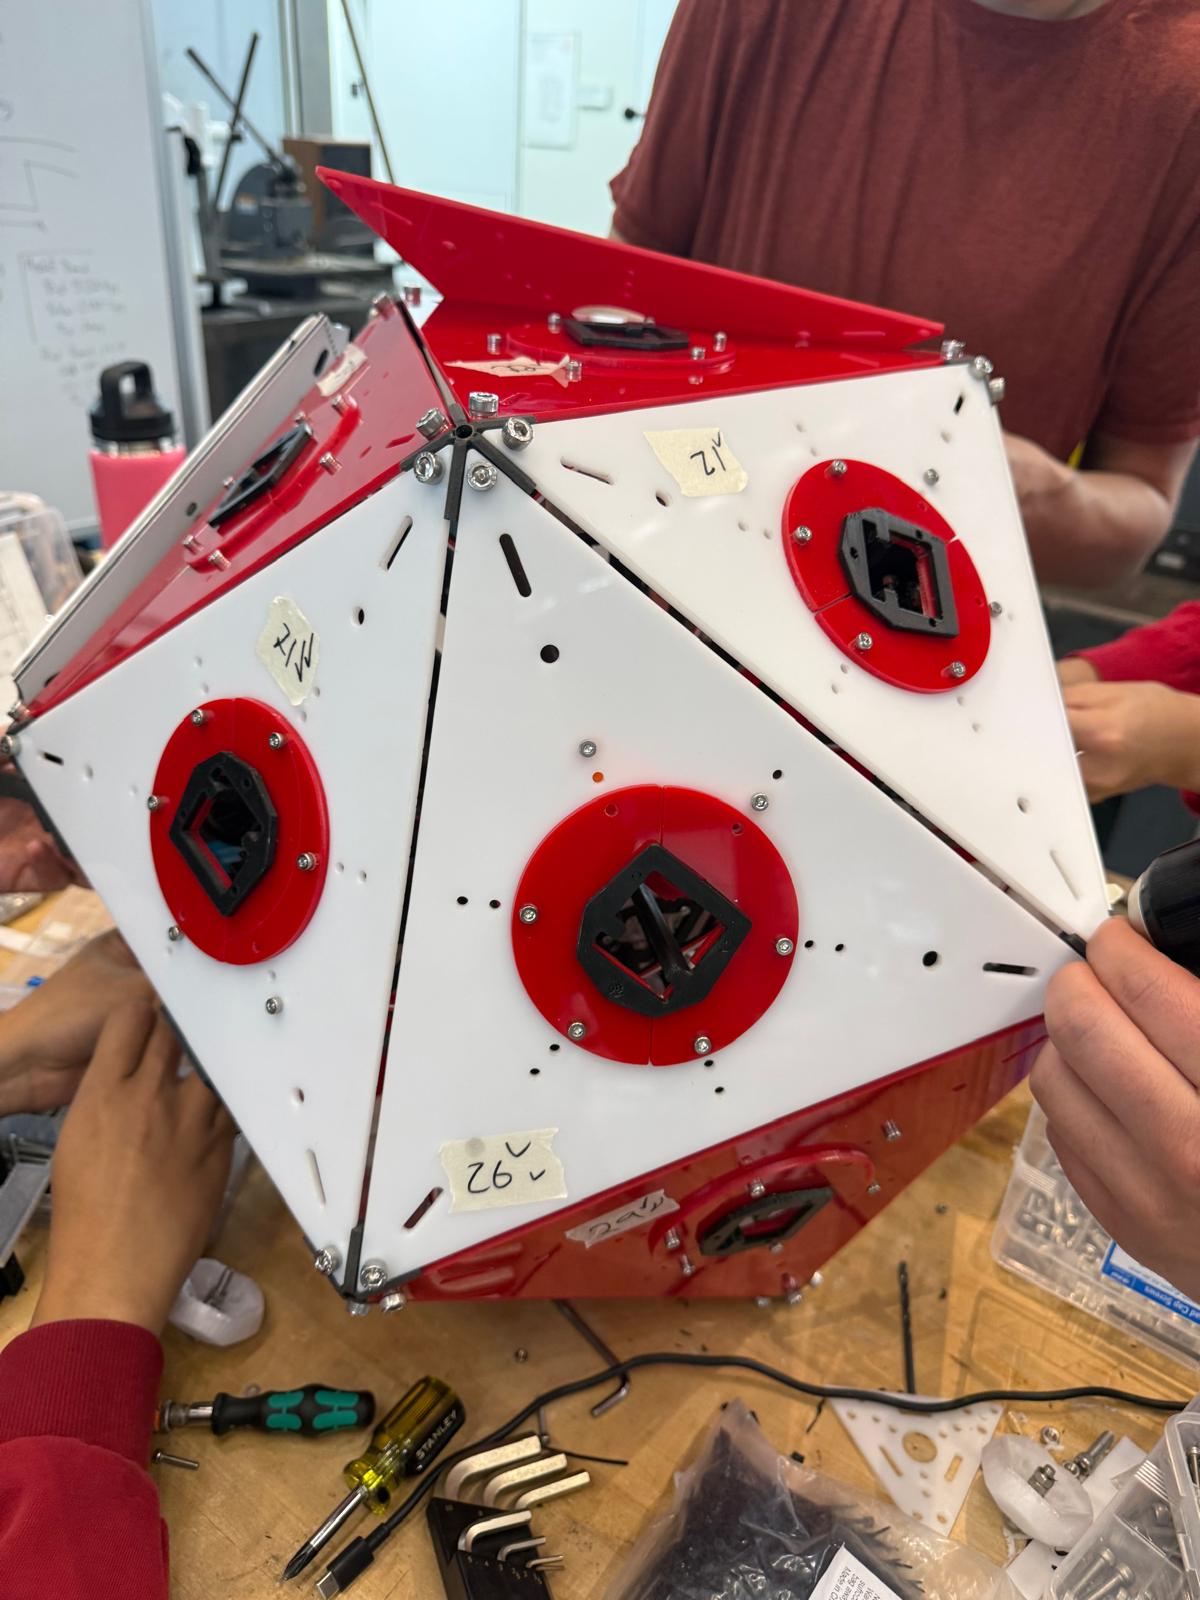
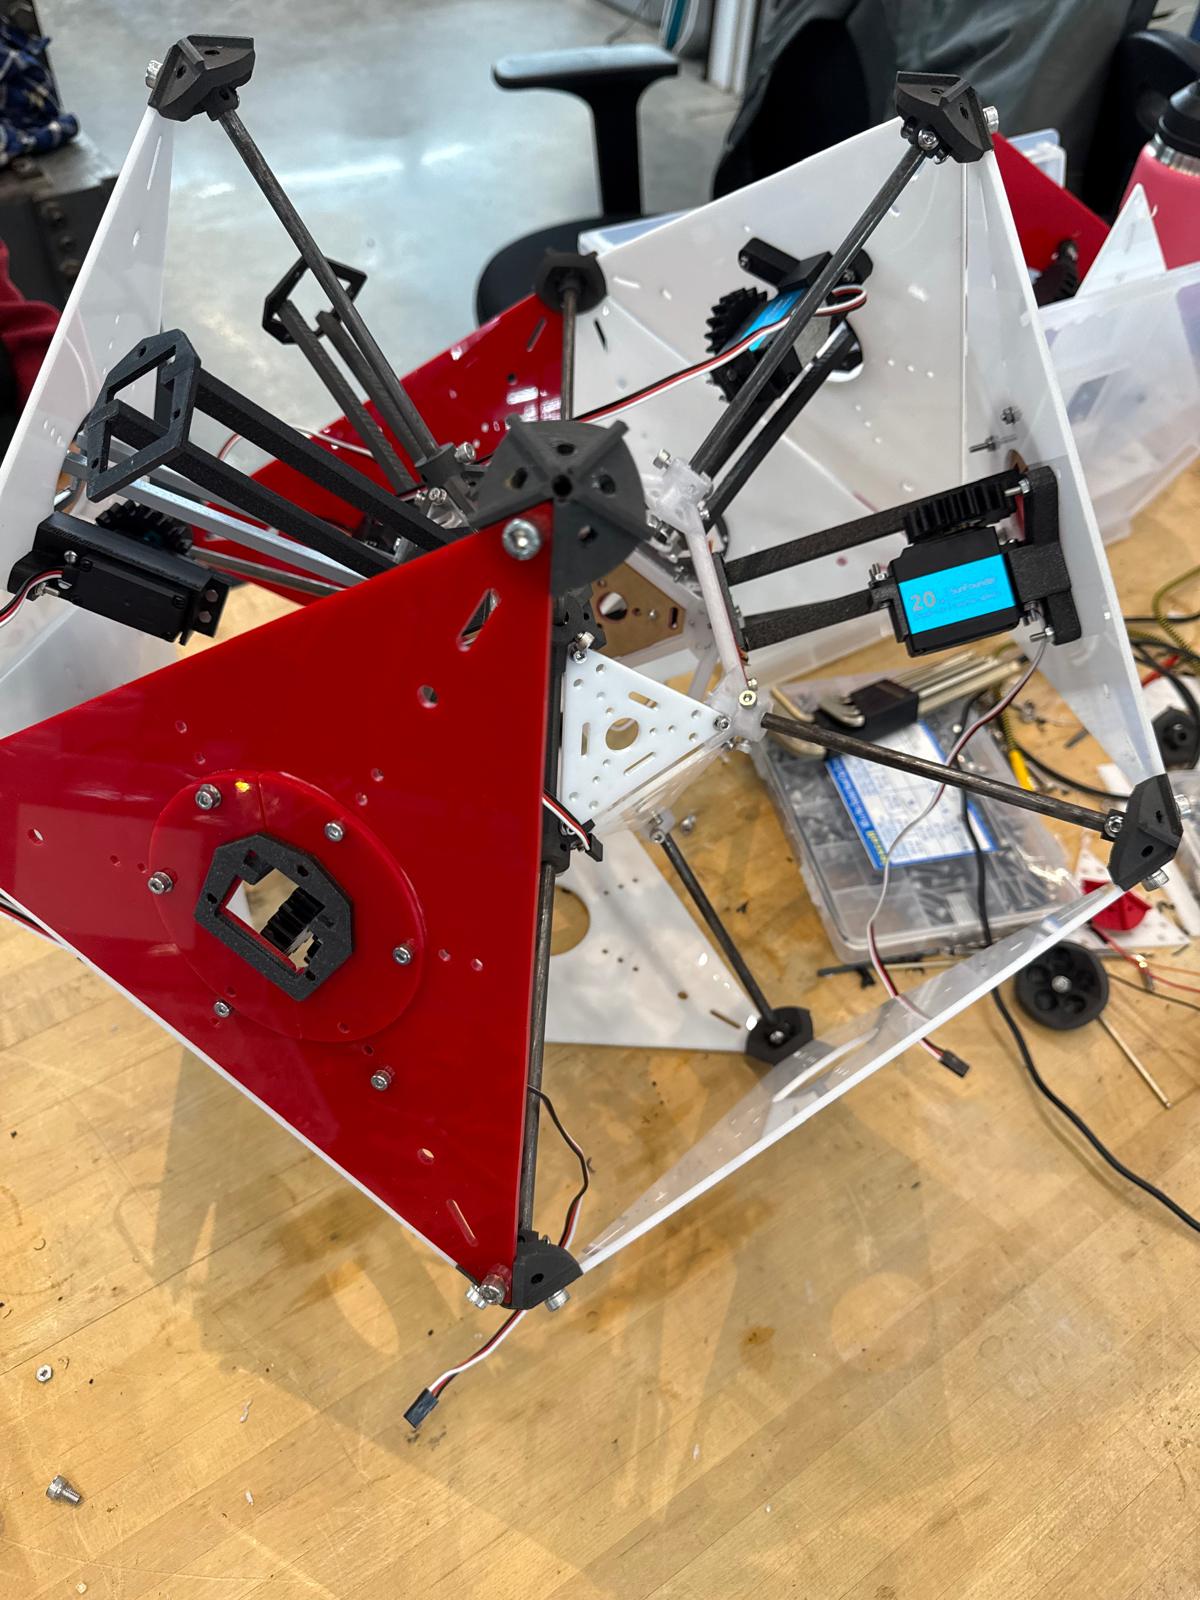
Additionally, I was responsible for assembling and integrating all the components. Since it was “all hands on deck,” I created an IKEA-style guide on how to assemble one of the unit cells and distributed it (Click Here for guide). Assembling all the unit cells and inserting the 9-layer PCB was a bit tricky, and we encoutered some unexpected problems along the way such as "how are we going to connect the servos to the PCB" and laser cut new inner triangles. In total, it took about 12-13 hours and hundreds of screws.
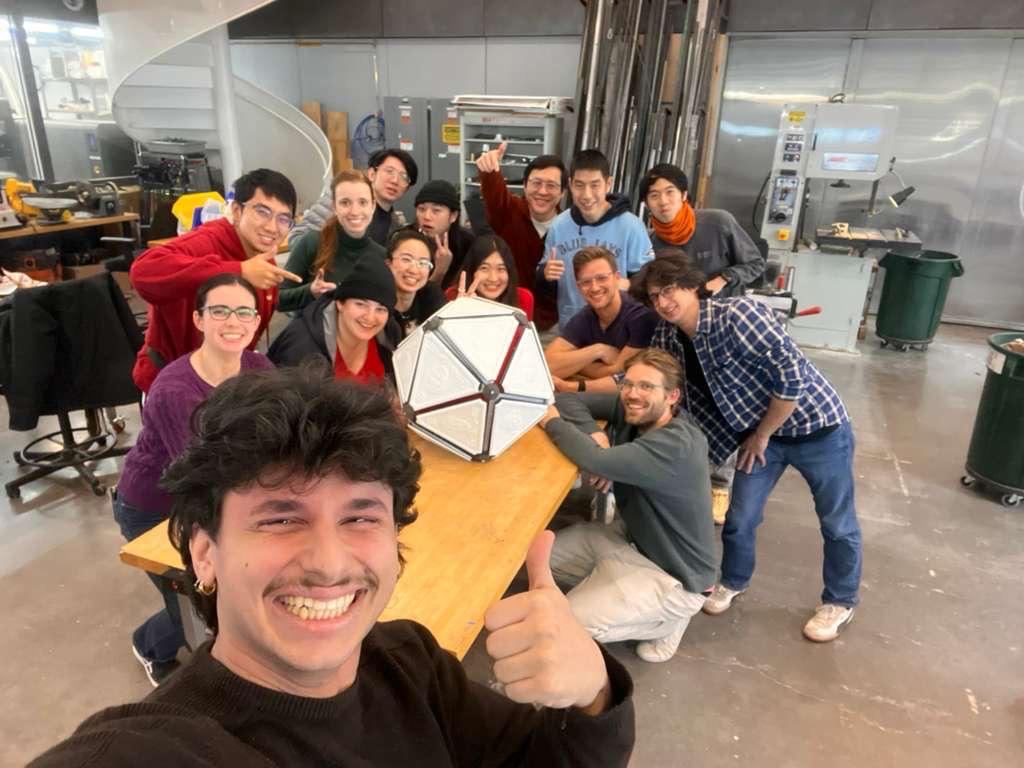
Here are some pictures (lots more pictures are on the group website):