Browse through the data sheet for a microcontroller
Write and test a program for an embedded system using a microcontroller
to interact (with local input &/or output devices)
and communicate (with remote wired or wireless connections)
Browse through the data sheet for a micro-controller
This week seemed a bit daunting at first, so to reacquaint myself with electrical engineering and prepare for recitation, I asked ChatGPT for an Electrical Engineering 101 review .
Recitation was a very helpful overview of electronics. I am considering using the RP2040 for my final project, so I chose to review its datasheet.
Write and Test a Program for an Embedded System using a microcontroller
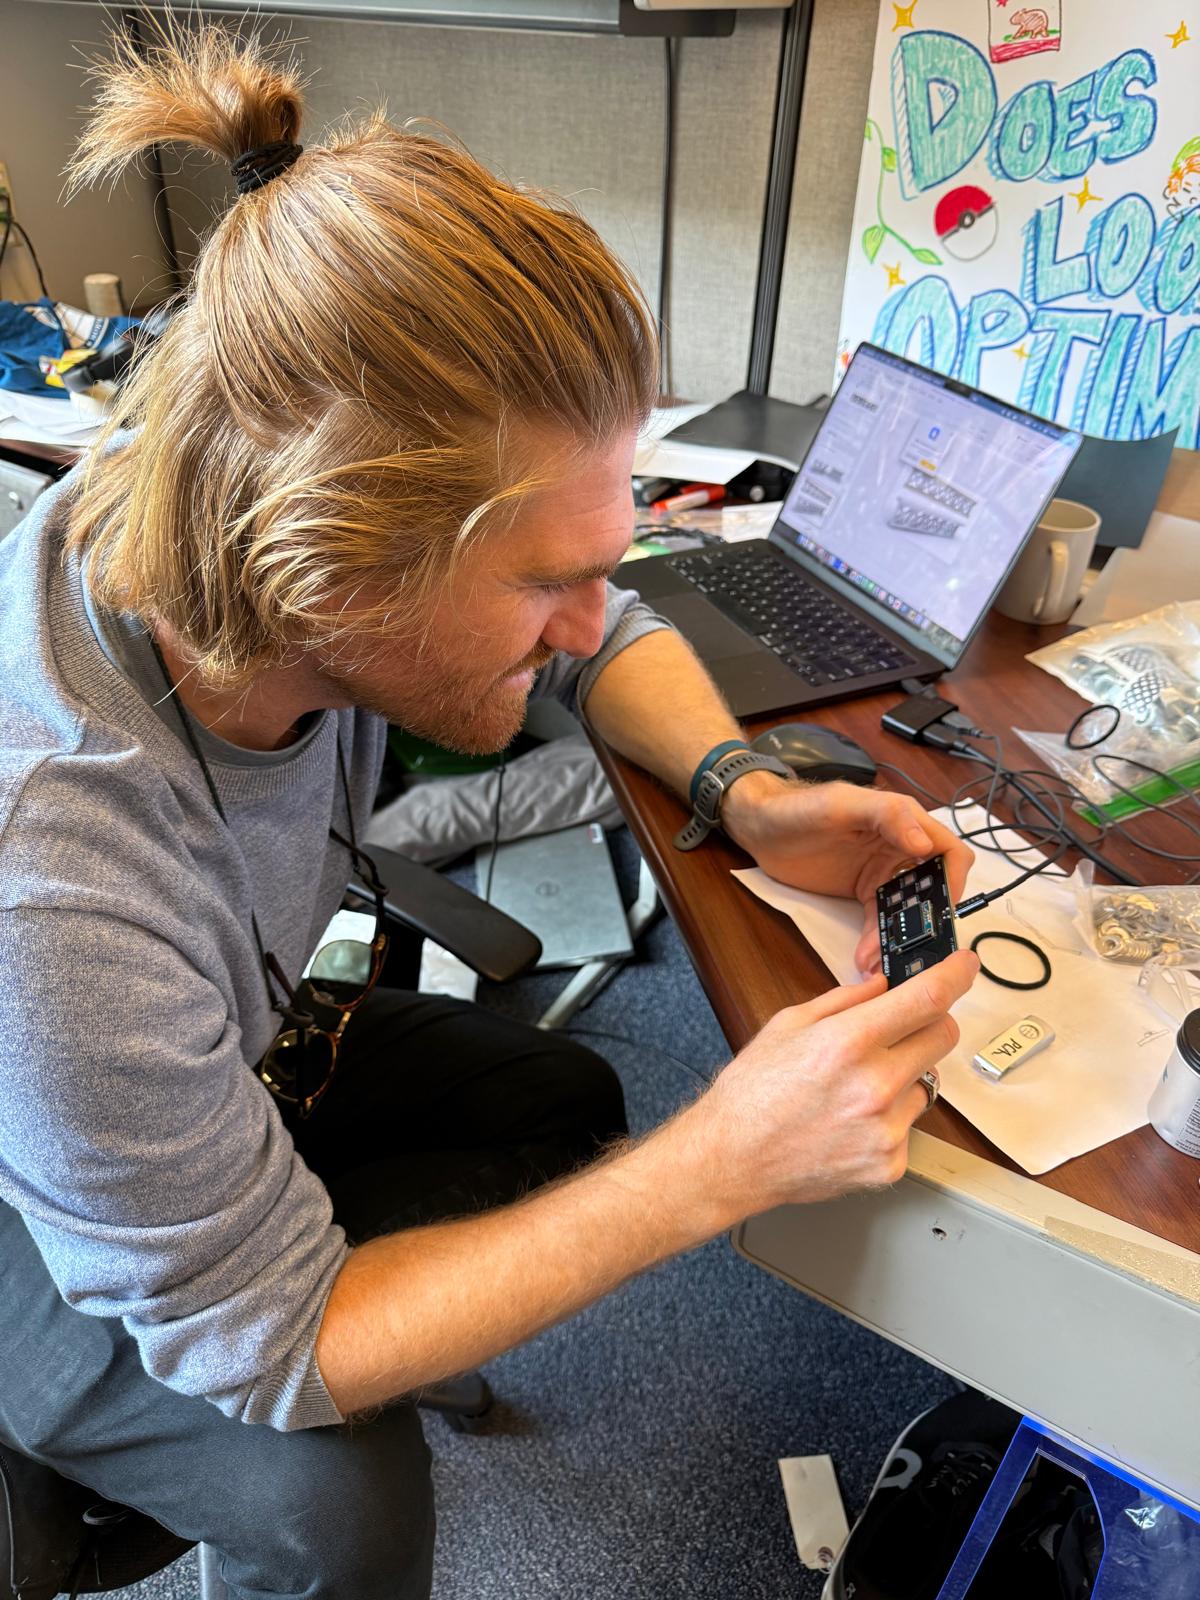
1. Assemble Embedded System
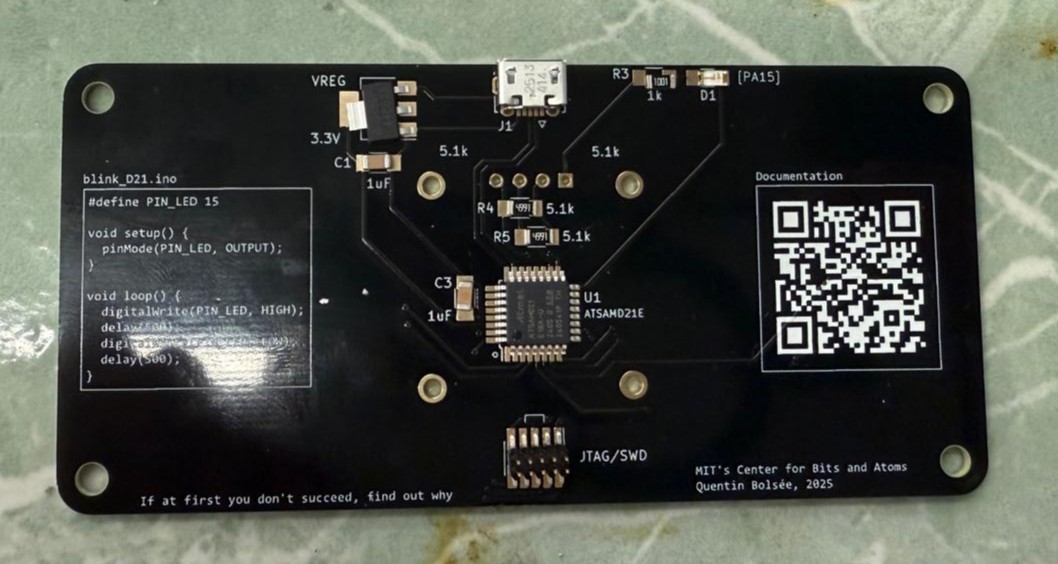
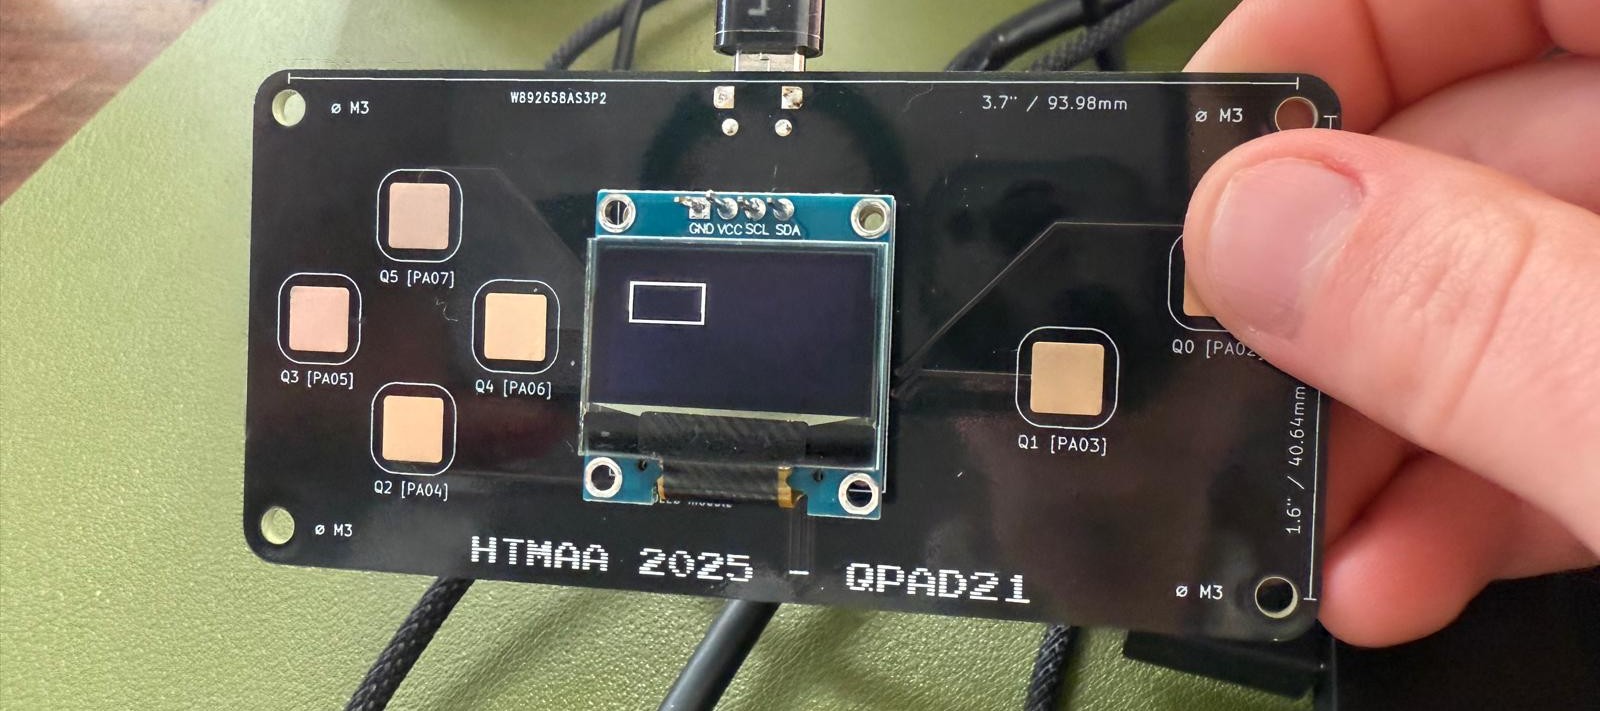
I attended the lab at 8:30 PM on Thursday to assemble the QPAD with a Micro USB and an ATSAMD21E. Quentin provided a great overview of how to solder, remove solder, and when to use solder paste. I had not soldered in a long time, so this was a much-appreciated overview.
Layout on the Board
Some Progress
Once complete, I received help with burning the bootloader, allowing me to program using the micro-USB. Quentin made easy-to-follow How-To instructions to use this board with Ardiuno, which can be found here.
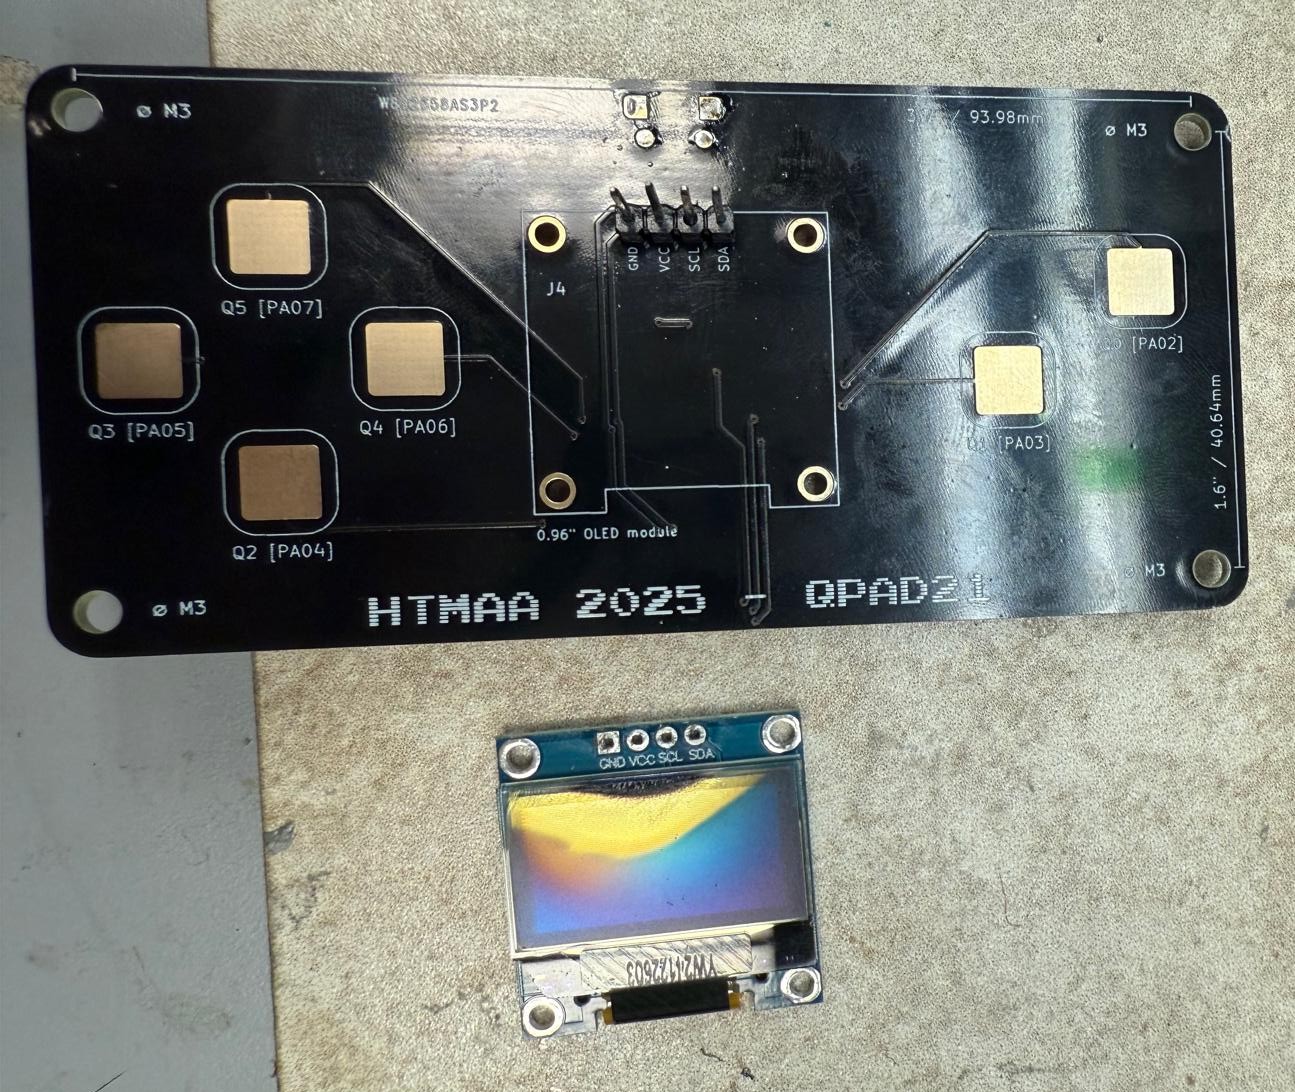
Performed a function check of all the buttons and found that the screen was broken. I tried using the solder heat gun to remove it, but it did not work.
Quentin recommended adding some lead solder and using a combination of a solder removal gun and wick to remove the solder that was preventing the screen from coming loose.
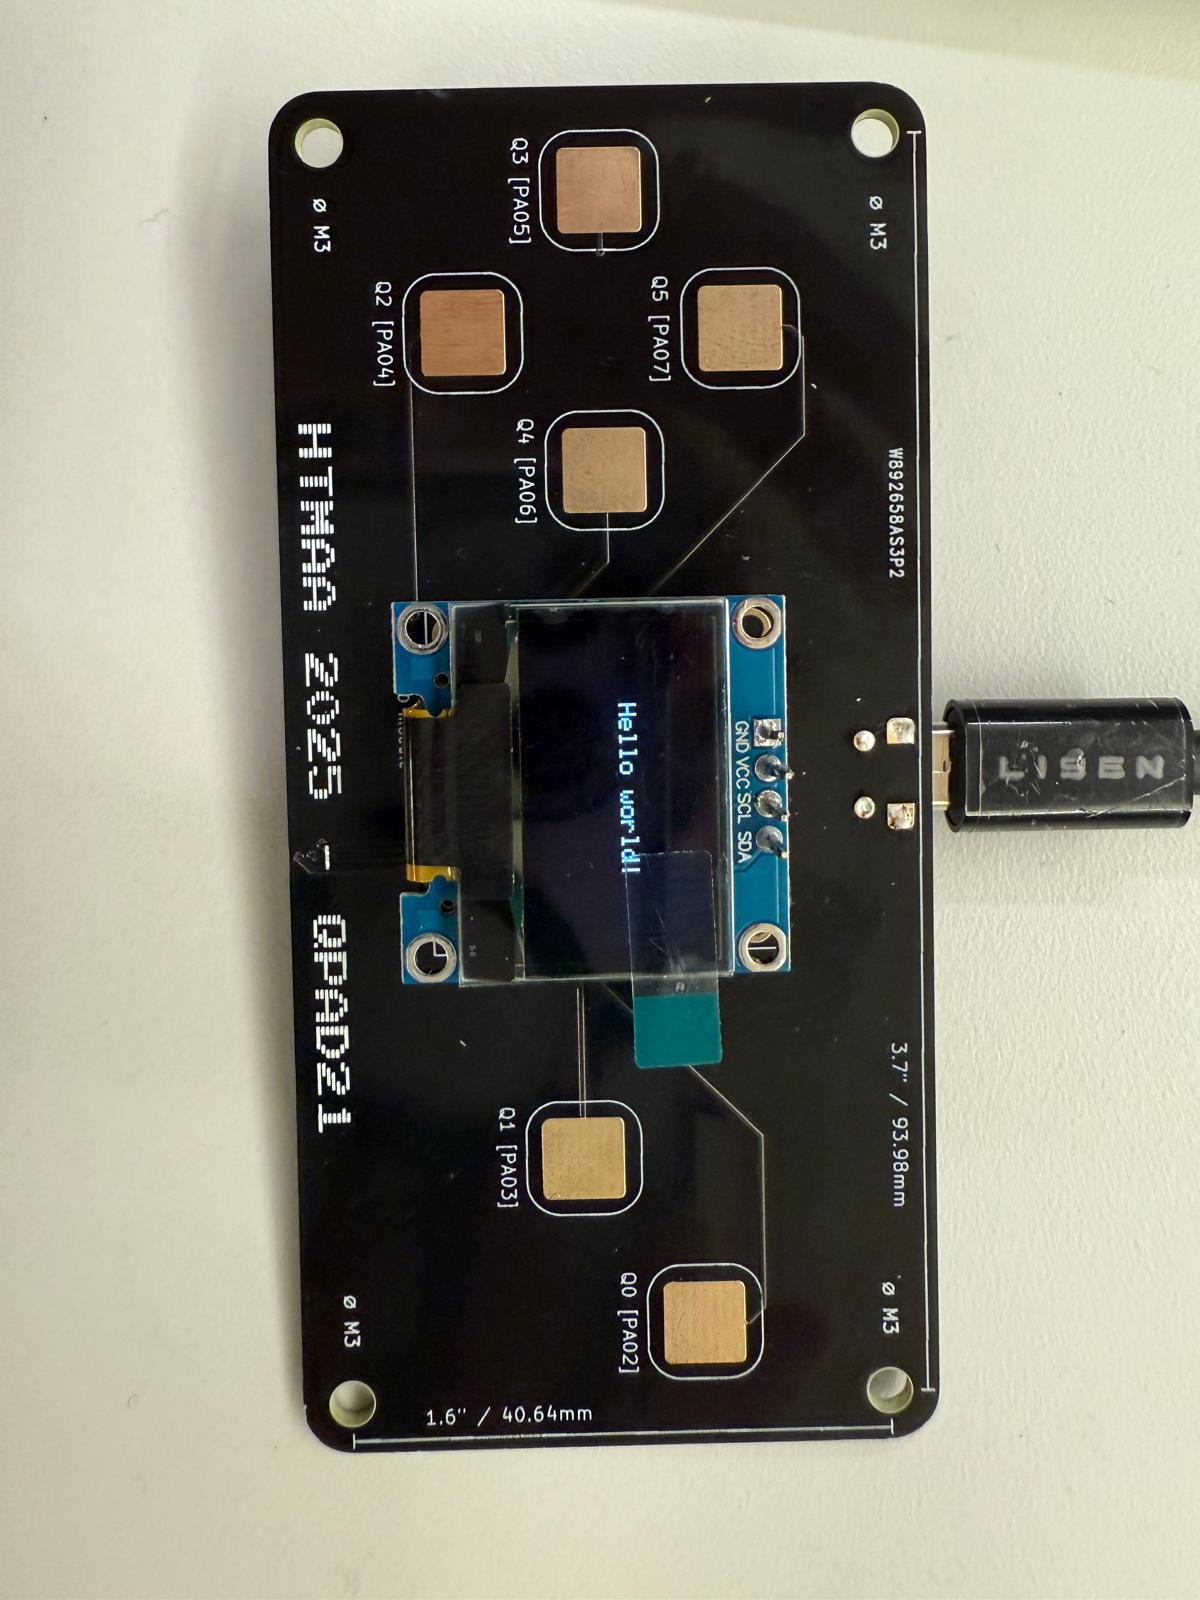
Complete
The new screen worked!
2. Downloaded Ardinuo IDE and Coding Basics
First, I downloaded the wrong Ardiuno IDE and wasted a bunch of time being confused. So, I went on the Arduino website and followed the instructions to download the software on to my laptop.
It was pretty straightforward to get things set-up and start running the example code from class. I looked through Ardinuo coding basics online
as well to get a general feel for it. Some big takeaways were only one setup function and one loop function per sketch and there is not a way to call a sketch into another sketches. I played around with the example code for a while, then decided I need to start my project.
3. Programming
Idea: Tetris or ping pong game. My husband shorted his Xbox controller a few months ago, so I wanted to program a game on the QPAD and give to him as MUCH CHEAPER replacement.
I didnt really know where to begin, I used the test_touch_D21.ino and the blinklight.ino sample code as a starting point and asked ChatGPT for assistance. Here is our conversation.
I did not want ChatGPT to do everything, so I opted not to use the Tetris code it output. It was probably too efficient for me to understand, and I wanted to do as much as I could on my own without watching numerous tutorials.
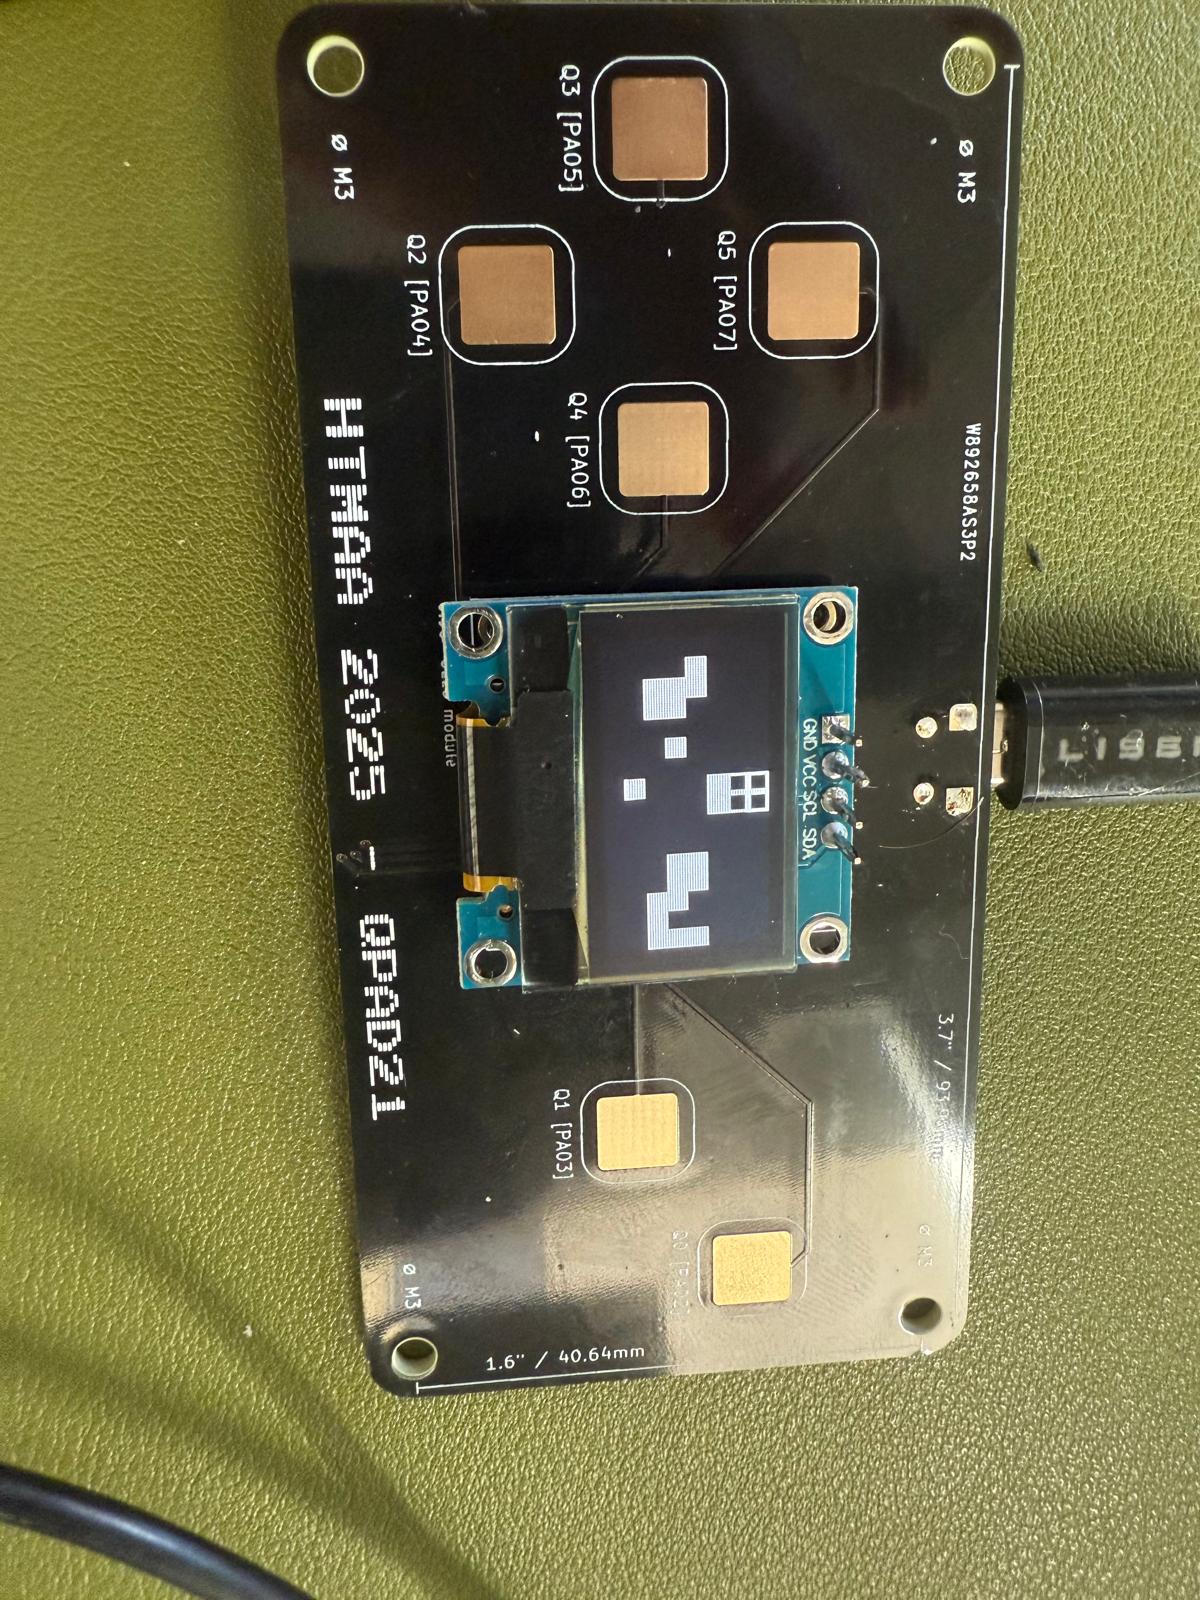
Step 1: Getting a block on the Screen and moving it around
I got a block on the board and move it up/down/left/right with the different touch pads. Suprisingly this took a lot more time than I expected.
Step 2:Getting different types blocks on the screen, locking them in place
First, divided the screen into cells, and rows/columns. In hindsight this recommendation from ChatGPT makes sense, I am mostly irritated that I didnt think of doing that first for this type of problem.
									const int CELL = 8;                        // 8x8 pixels per cell


									const int COLS = SCREEN_WIDTH / CELL;     // 128/8 = 16 columns


									const int ROWS = SCREEN_HEIGHT / CELL;    // 64/8  =  8 rows
I added eight different blocks (ChatGpt did the first 6 and I did the last 2), hoping it would replicate kinda what you would see in Tetris
ChatGpT helped me build a function that locked them into place and then render a new block, and not allow the blocks to exceed the boundaries of the board. Honestly, I almost ended here..... and called it a type of building blocks game.
Step 3: Make the Blocks Fall
Added a gravity function and a timer, essentially if the block can move down by one cell it will and happen at a set time interval.
Step 4: Clear Rows Function
The clear row function checks to see if the row is full. If true, then the row deletes and shifts everything down.
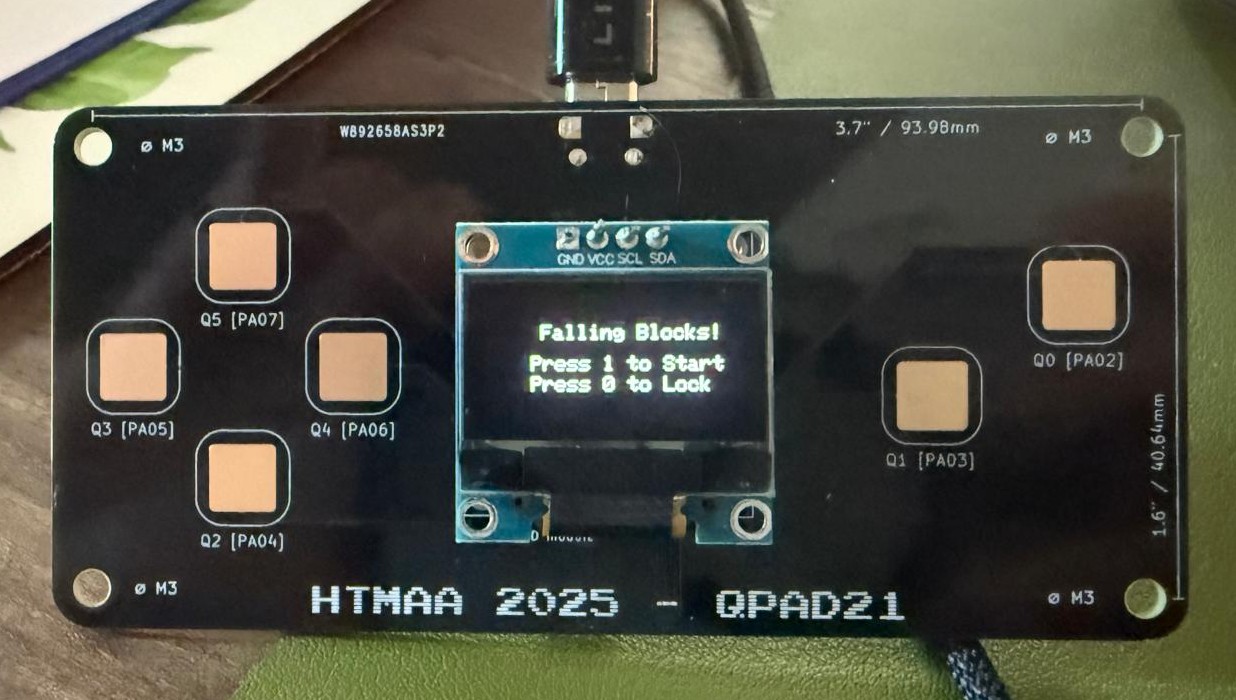
Step 5: Change start-up menu from "Hello World", have it display once the device is powered on
In the render () function I changed the order of what happened. So everytime the devices turns on, it shows the start-up menu. However, I did not take the time to figure out how to make and on/off button for the menu screen.
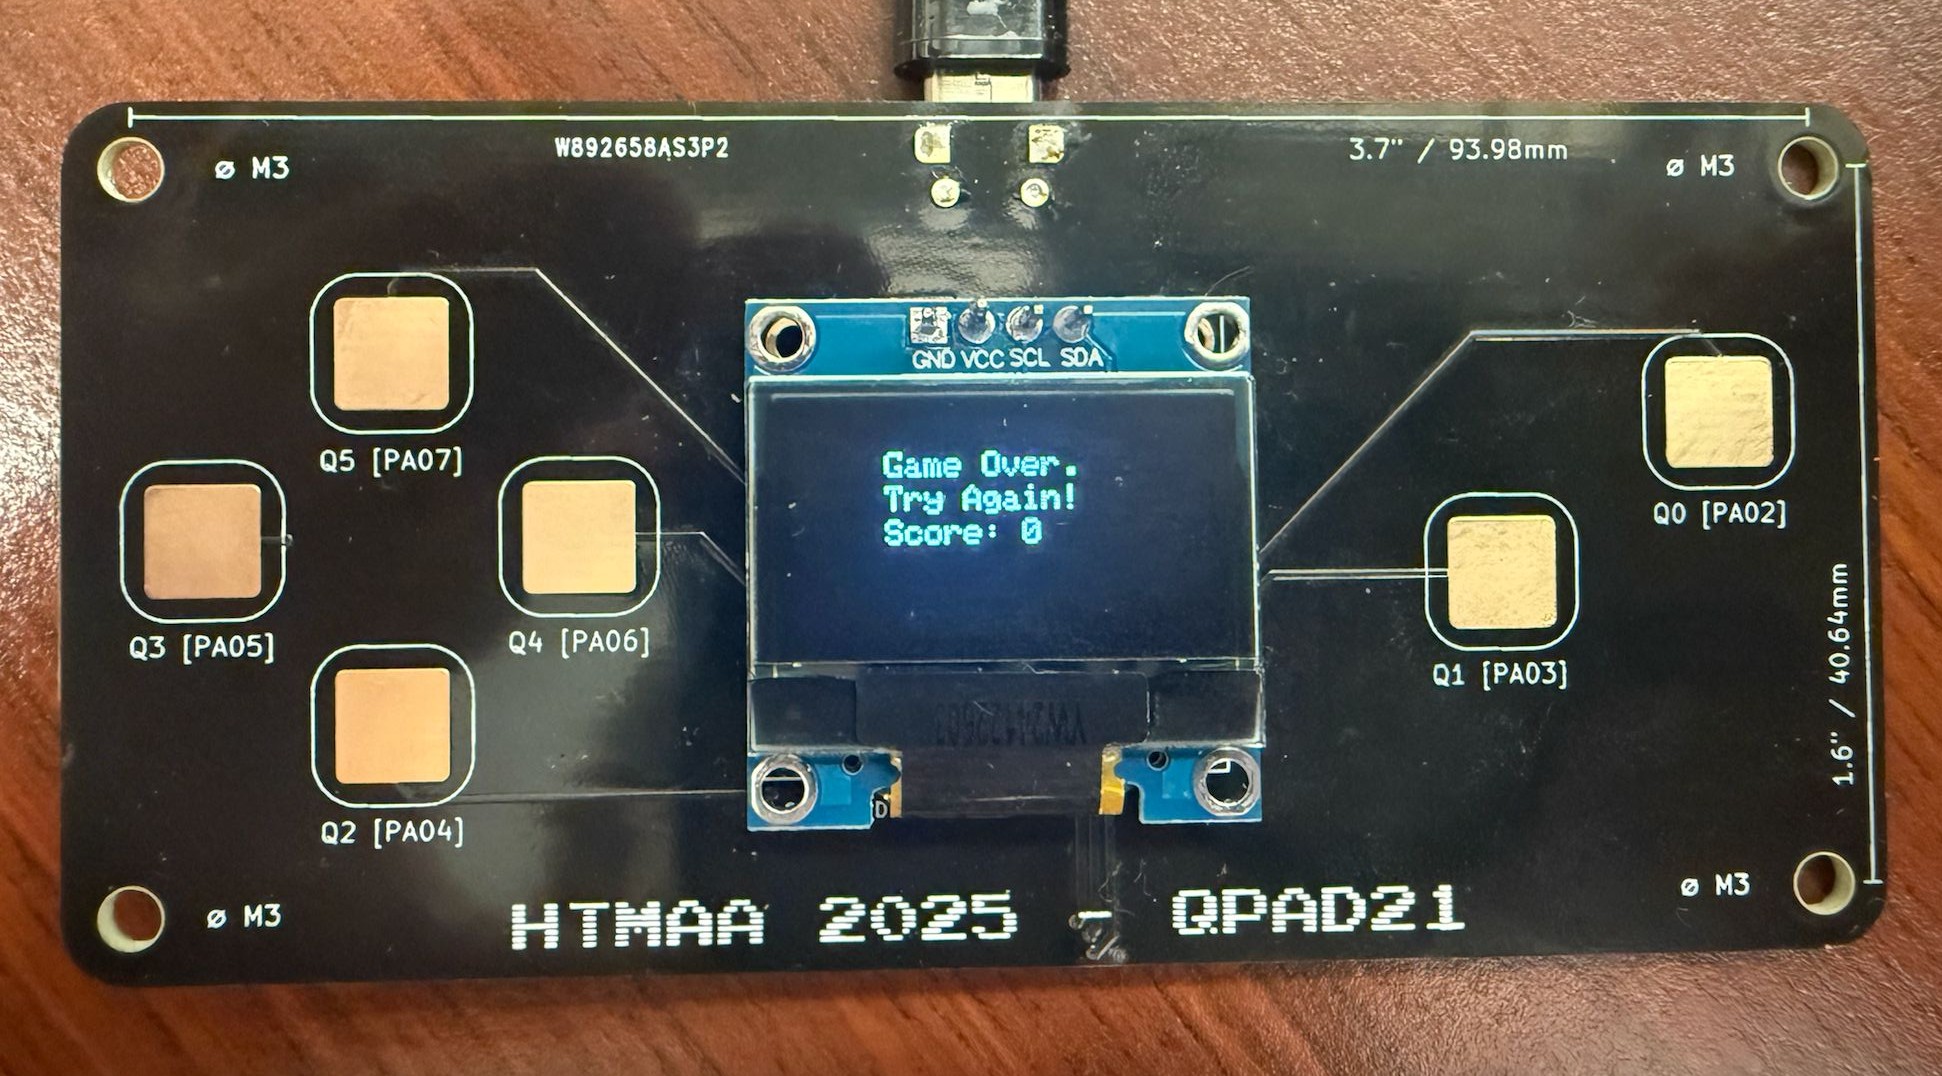
Step 6: Add End Game screen and keep score
To add score I inserted a line in the clear rows function, so each time the function cleared a row a score of 1 was added.
Step 7: Play!
Step 8: Ask people in my lab to test out the game and get some feedback
Jackson got the HIGH SCORE of 13! He recommended that I add a save high score function.
Unexpected Lessons Learned:
-Uploading videos on to git proved to be very challenging. I kept getting an unexpected error and that the file was too big. I had completed my site for the week and uploaded a bunch of files to my local repo. I didnt know what to do... and it was 30 minutes before class started. I asked ChatGPT and it was quite unhelpful.... I ended up uploading everything on Gitlab which was very annoying. Next I cloned a copy of the current of my git repo into my local repo and deleted the old repo.