Vinyl, Parametric Design, Laser Love, and Website Plating
Serves: One overworked but enthusiastic shop goblin ✨
Total Time: One (1) week fueled by coffee, friendship, and YouTube tutorials
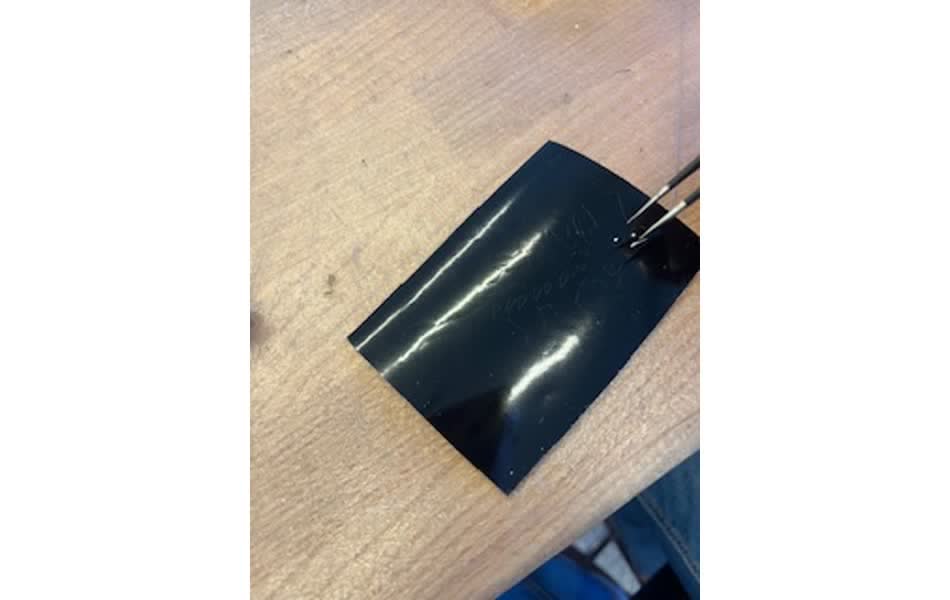
This week began with the vinyl cutter. I adore the ankylosaurus—my second favorite dinosaur—but it needed just a bit of panache. So, naturally, I gave it a top hat.
Here is the original PNG I used:
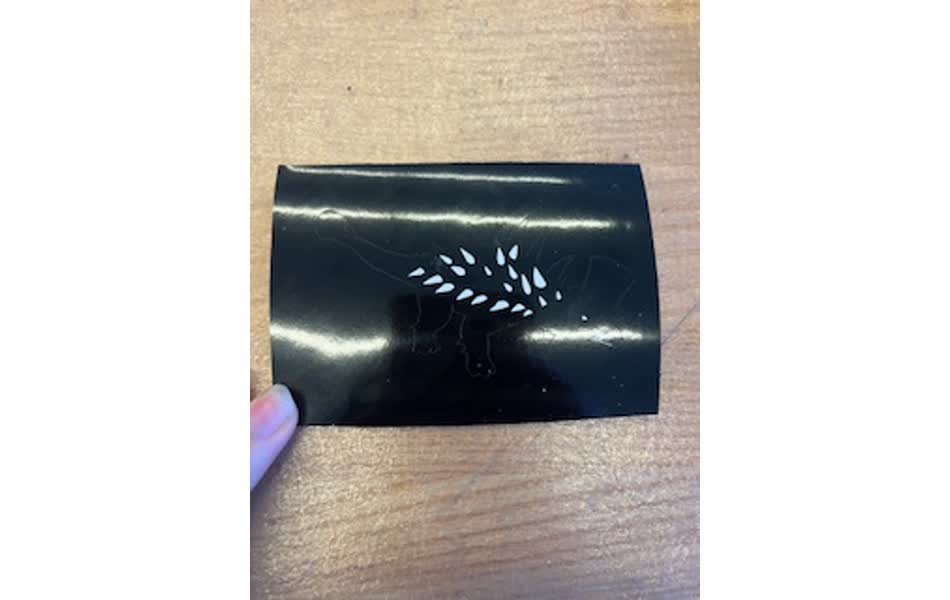
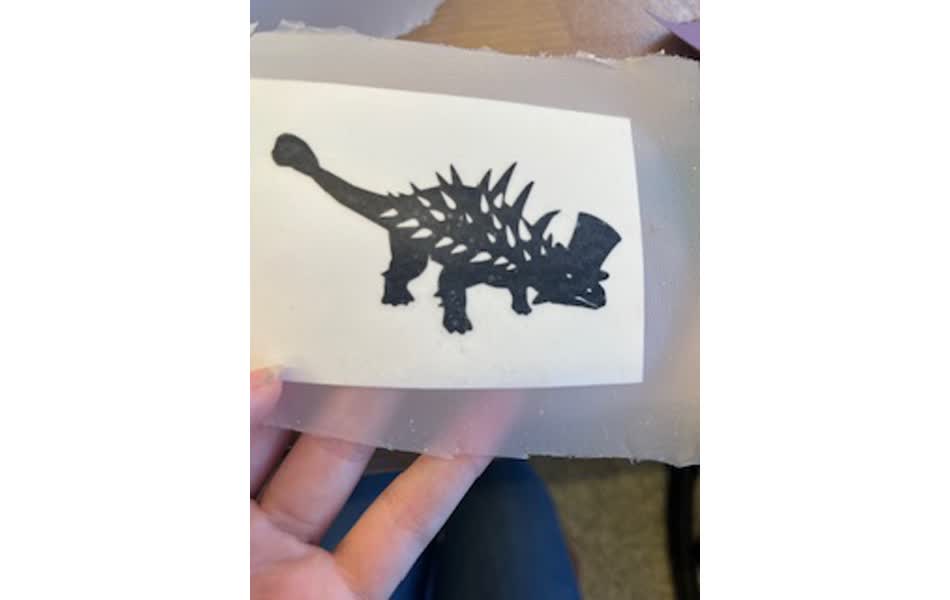
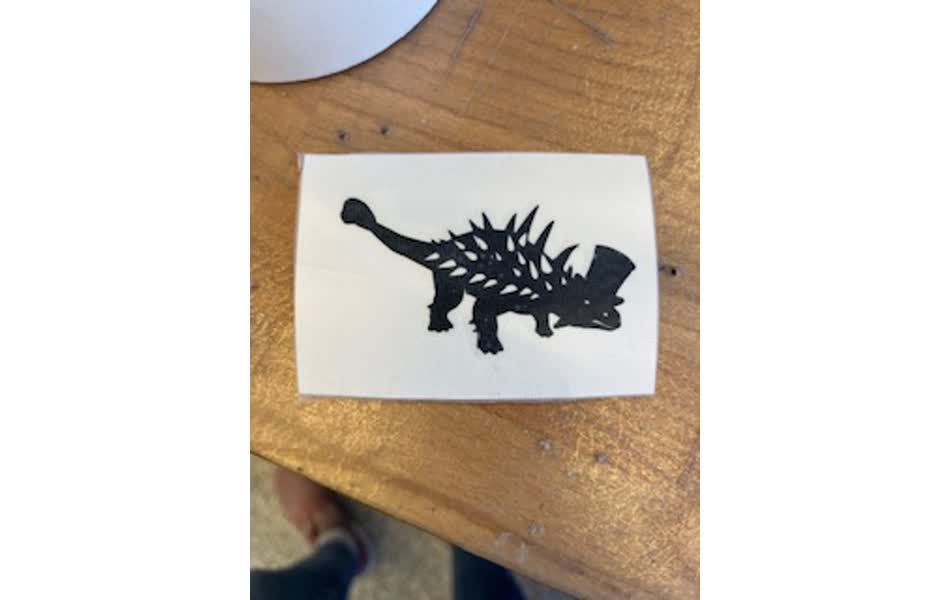
I cut it from black vinyl, then began the extremely meditative (and occasionally stressful) process of weeding: removing all the tiny pieces to reveal the final sticker. I have a deep fear of committing to permanent sticker placement, so instead I lovingly gifted the finished sticker to my boyfriend — so that it is now *his* burden to choose where it lives.
This week I built a small construction kit. I *should* have set slot widths parametrically (.14 in kerf space), but I learned this after the fact. Anthony helped me do the fallback approach: scaling slot widths in Inkscape. (This is legally classified as “The Lazy Fix™.”)
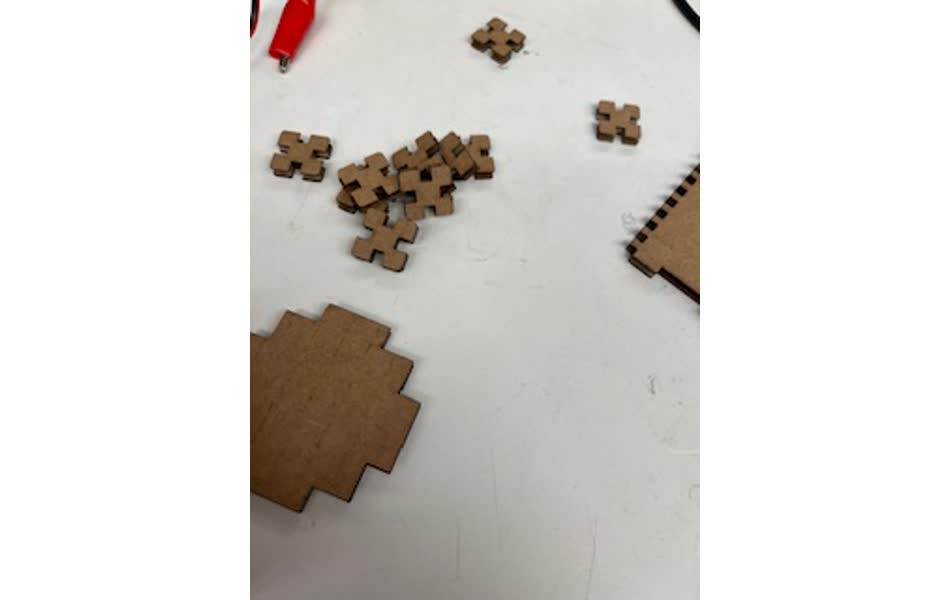
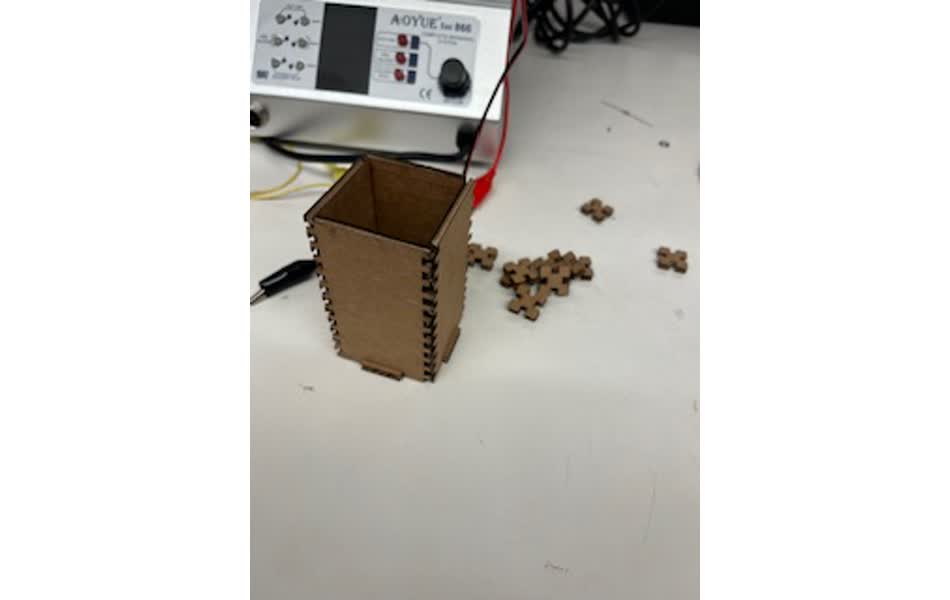
Download the parametric pieces:
Bottom Box STEPFriends in the Chorallaries of MIT had birthdays coming up! So I designed a birthday treble clef (our logo) and laser-cut it as a little celebratory token.
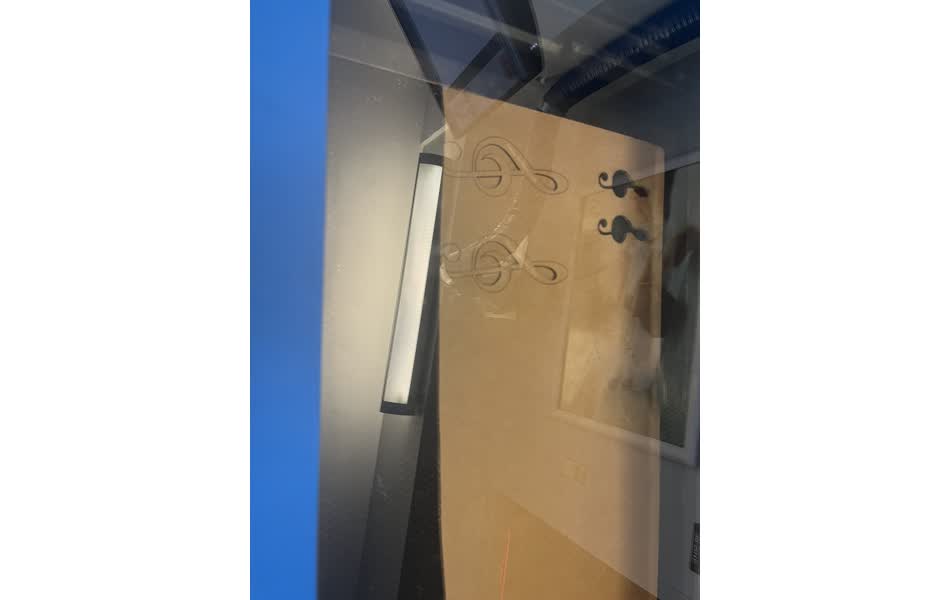
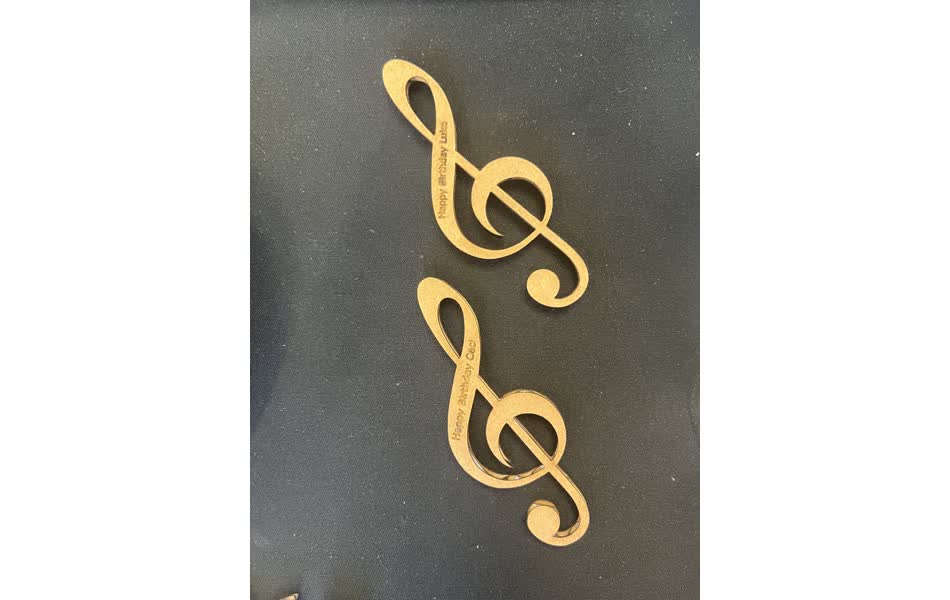
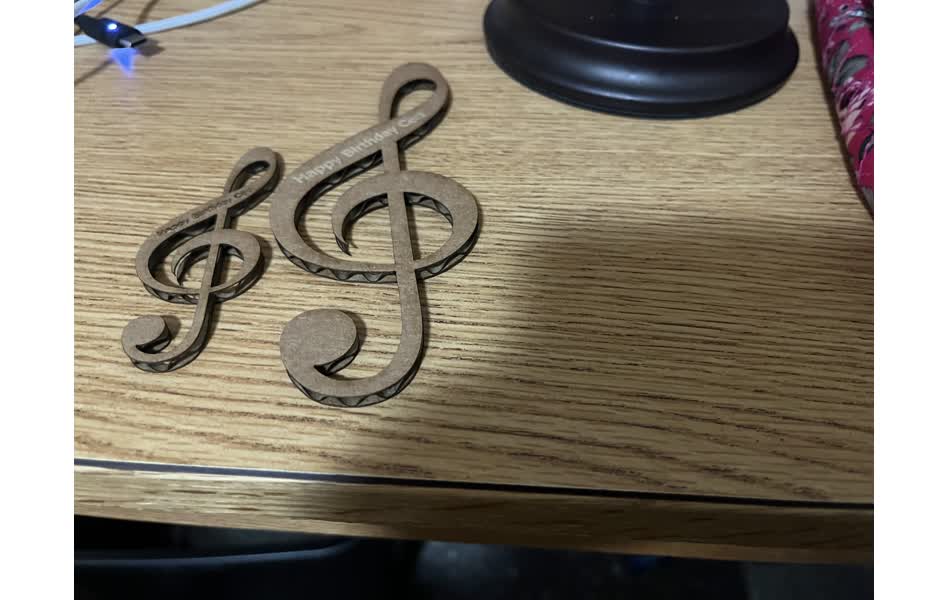
🎁 Download Birthday Treble STEP
As a CS major, I felt honor-bound to write my site in straight HTML. With the help of ChatGPT (prompt example: “How do I make my page look like a cookbook?”), plus some personal artistic seasoning, I made this site look fun, warm, and delicious.