Week 13: Wildcard Week
Project Plan
I needed this week to be helpful towards my final project otherwise I would have a hard time justifying to myself spending a bunch of
time on it. I figured that it would be a good opportunity to try and make the members between the actuators. I had considered 3D printing
then and that could be the back up plan but I was concerned that to achieve the rigidiy I was looking for it would become bulky but more
importantly, unnecesarily heavy.
After the presentations in class, I was debating between choosing composites, metal lasercutting and welding, and the waterjet. They all had
potential to create the strong, light limbs that I was looking for. I spoke to Alfonso about composites and he advised that while they are super cool
and would be a great fit for the project, they are very sensitive and mistakes cost lots of time. As there is still lots more to be done on my final
project, I decided composites wouldn't be the best use of my time. After I thought about it a little longer, the laser cutter was the best option
because I would be able to weld the components together and wouldn't need any additional components. If I waterjet them, I would need to attach them
somehow anyway so the laser would just leave me better off.
The Assignment
My self assigned assingment for the week is to learn to use the xtools metal laser cutter and some form of welding. To do so, I will design and make the members
that will connect the actuators in my final project.
Execution
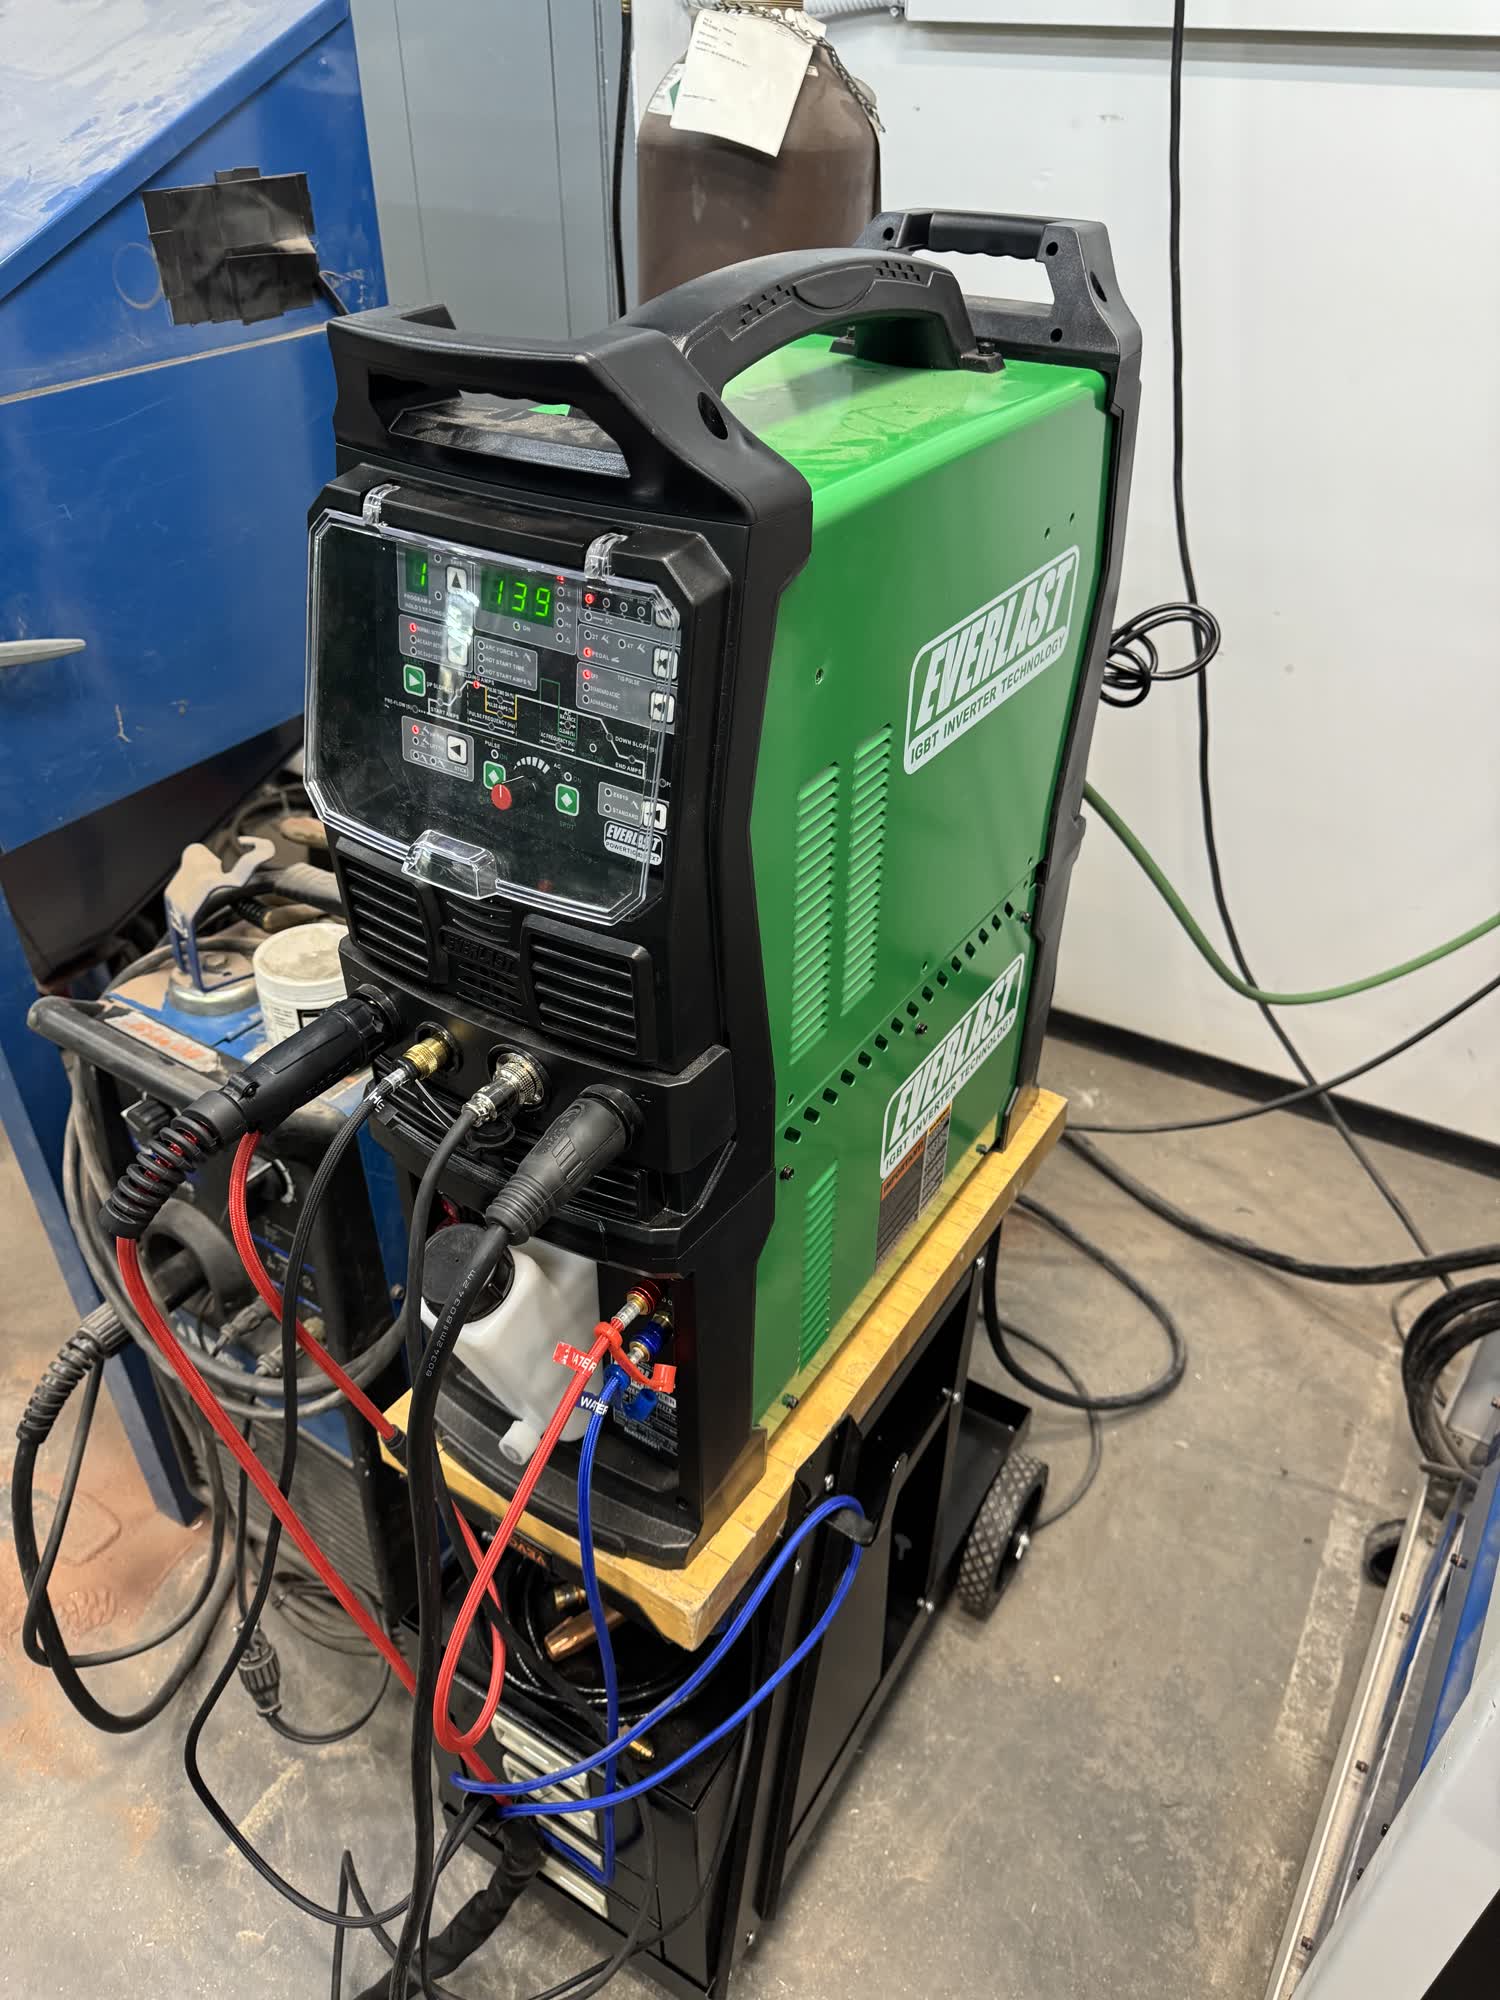
I met with Dan after class on Wednesday and we agreed that I would come in Thursday from 7-9 where he would show me how to use the tools and we could
talk through my plan. I knew he was short on time and again, I didn't want this week to take up a ton of time so I went home and began designing. I hadn't
gotten too much detail from Dan regarding what material we had access too or what the kerf and tolerances of the machine were and so I determined I
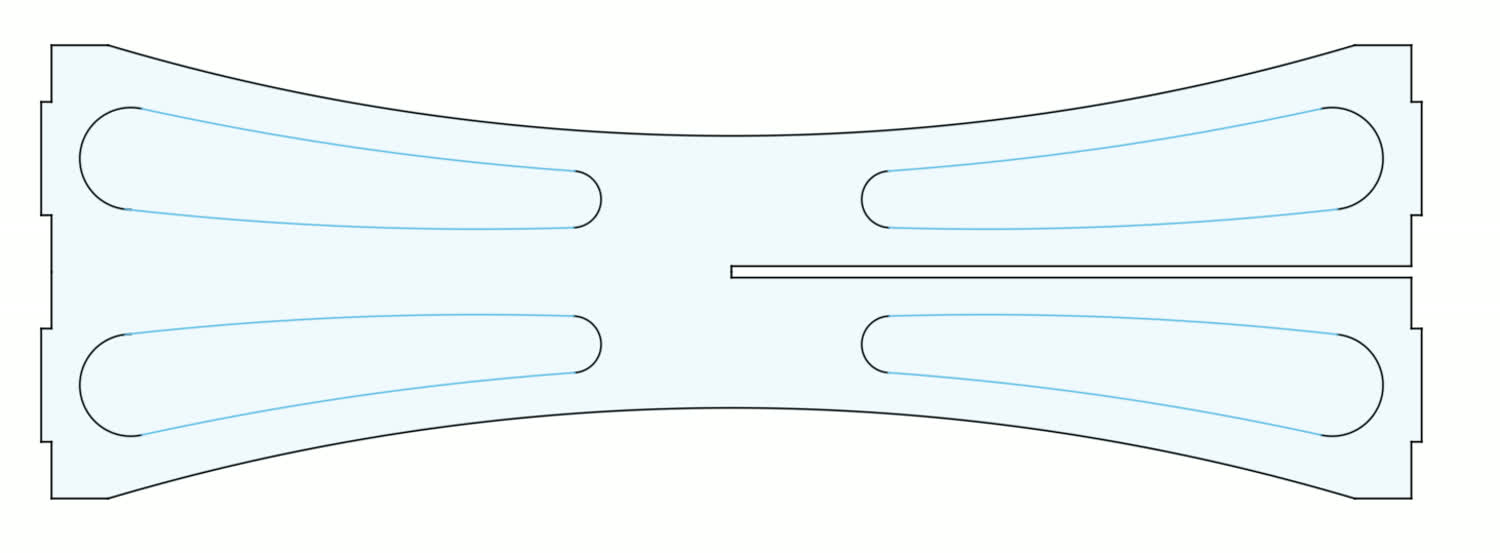
would make a fully parametric design so I could work around the material options that he had available.
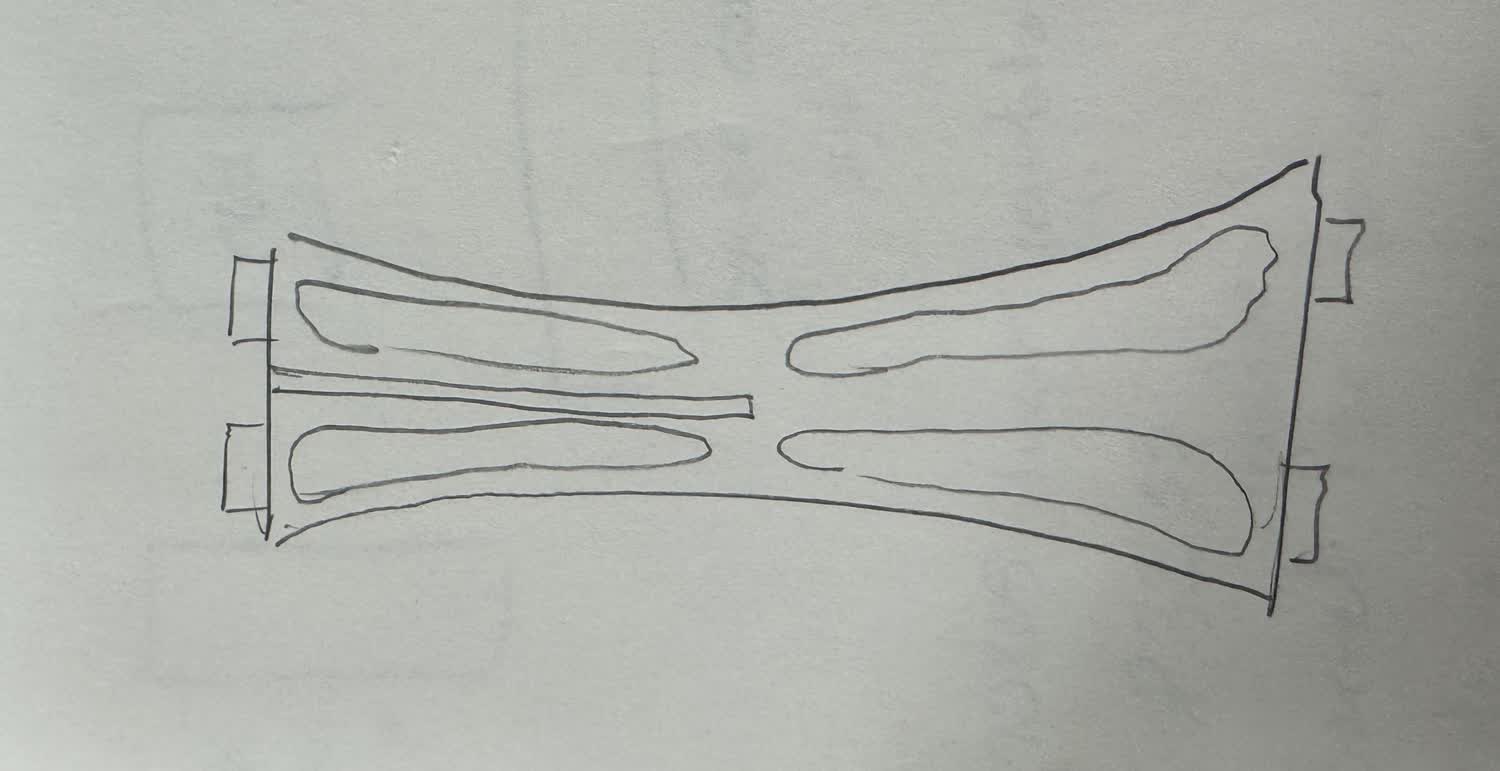
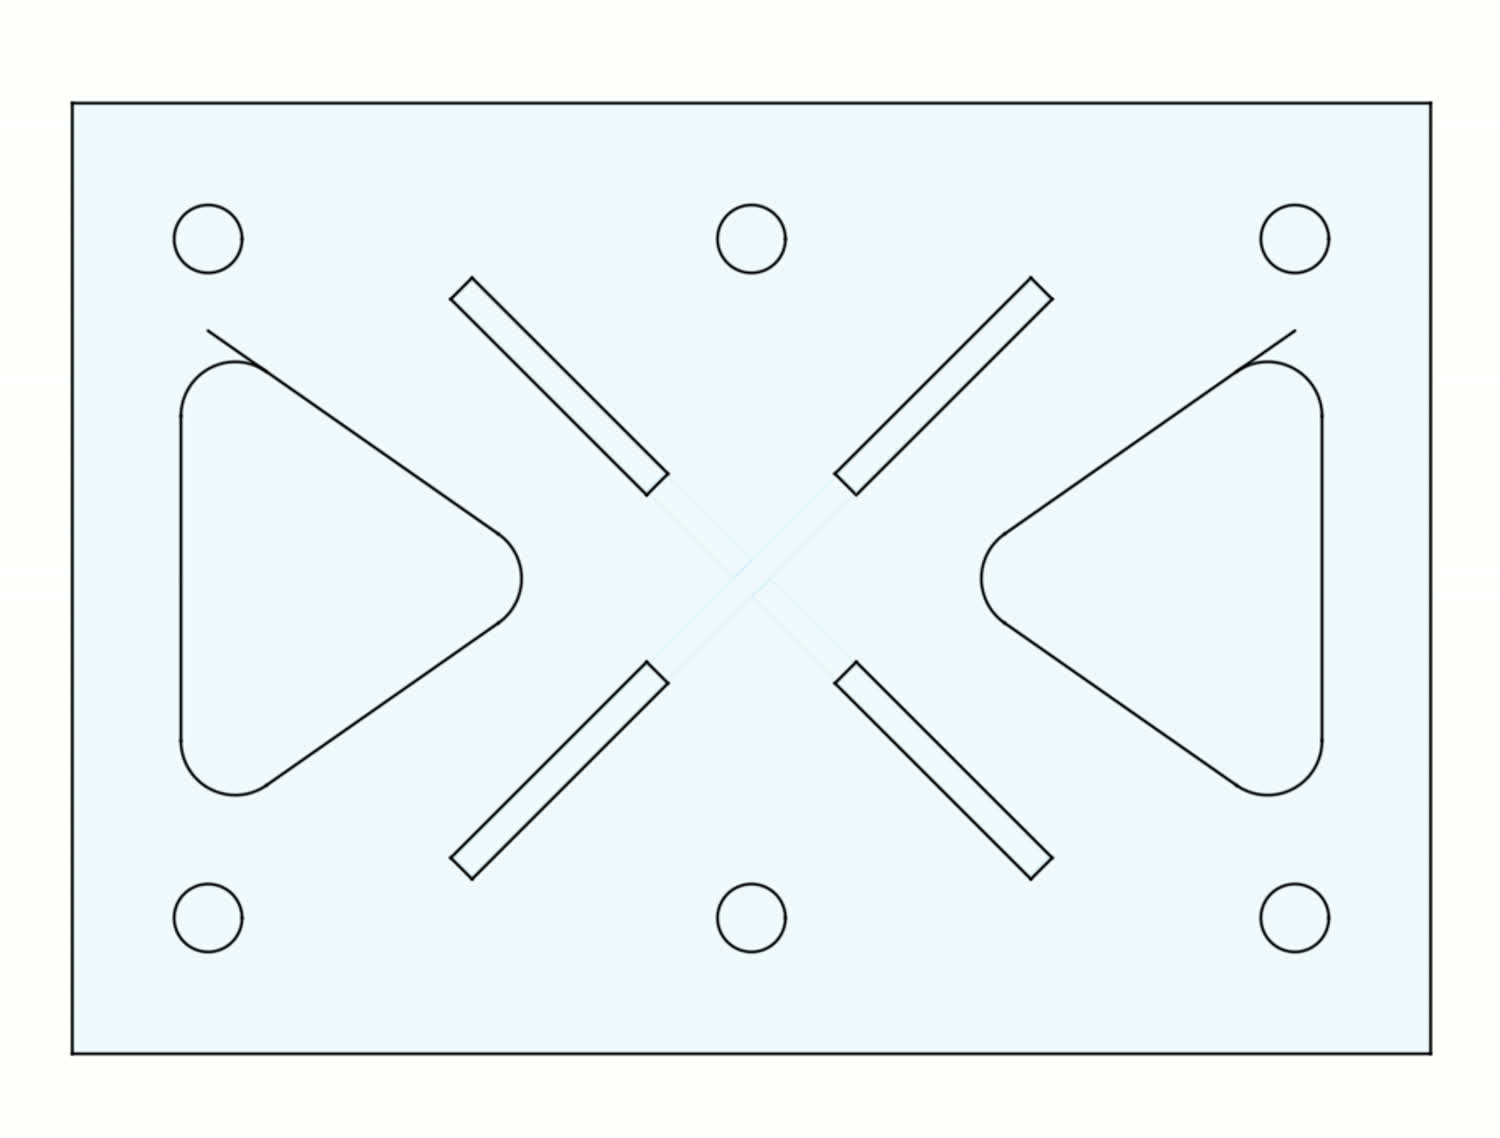
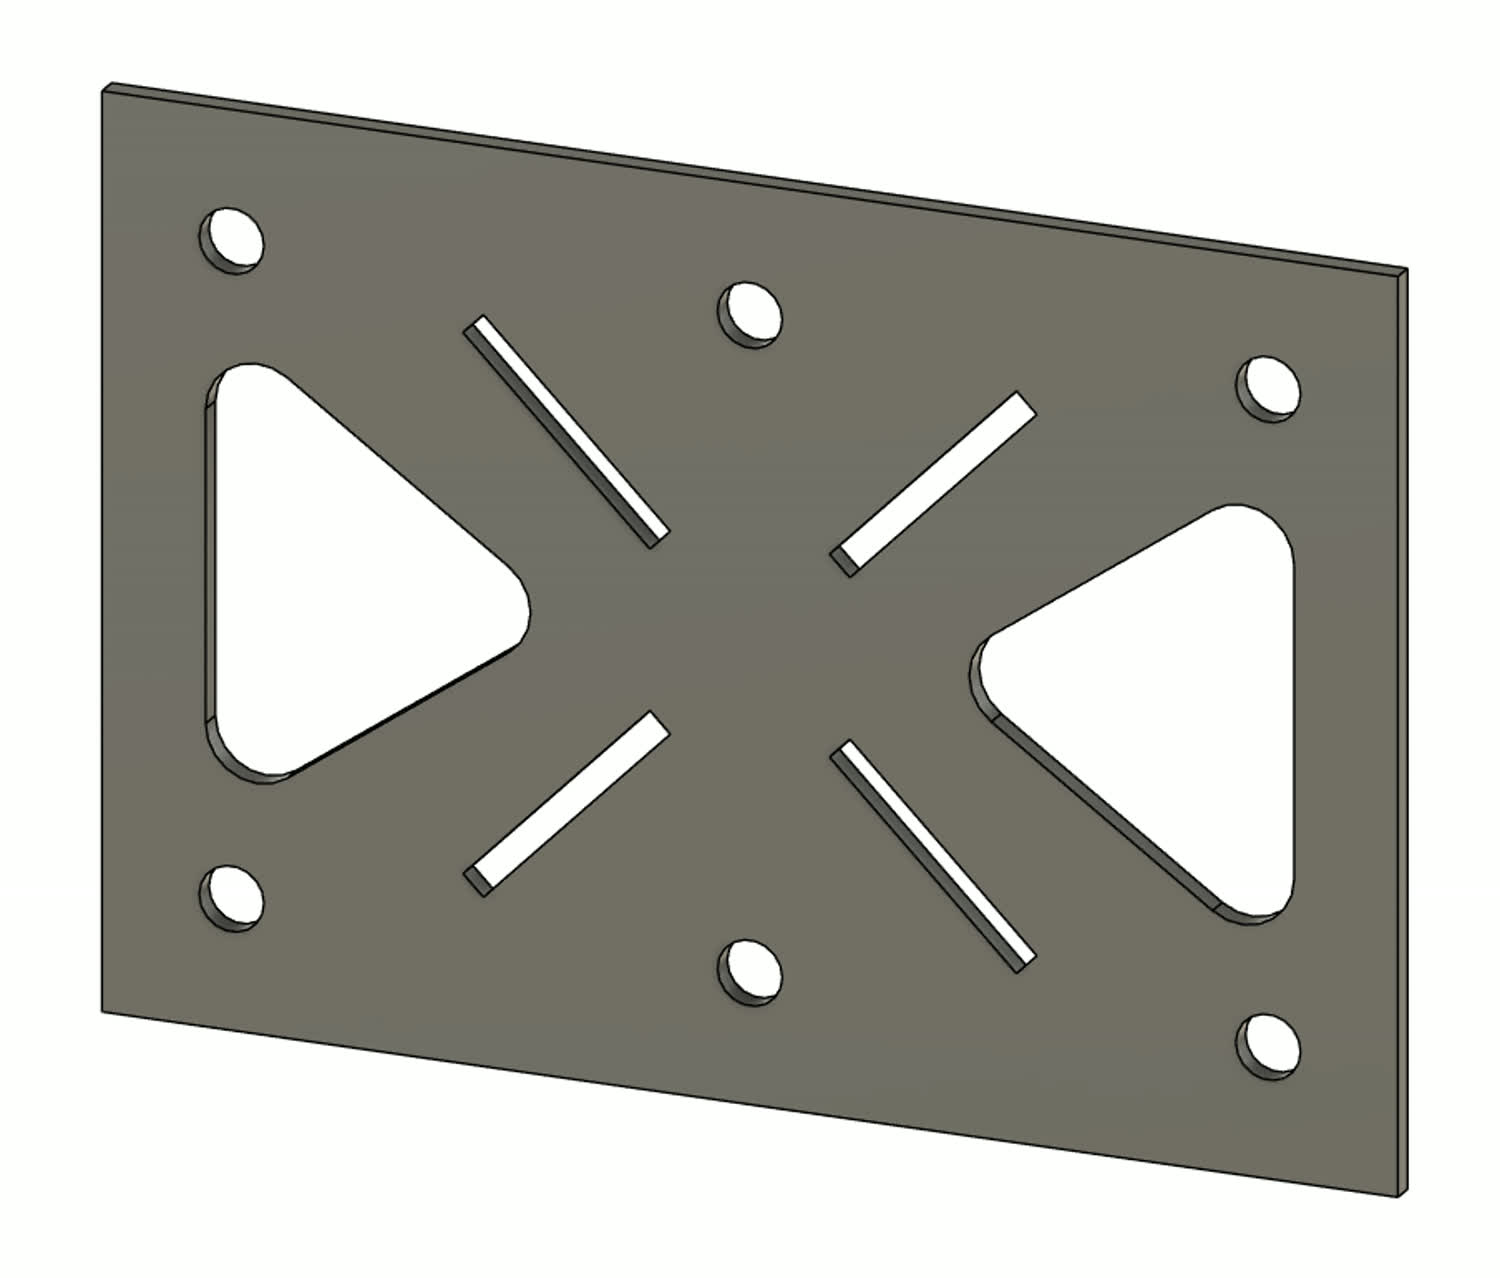
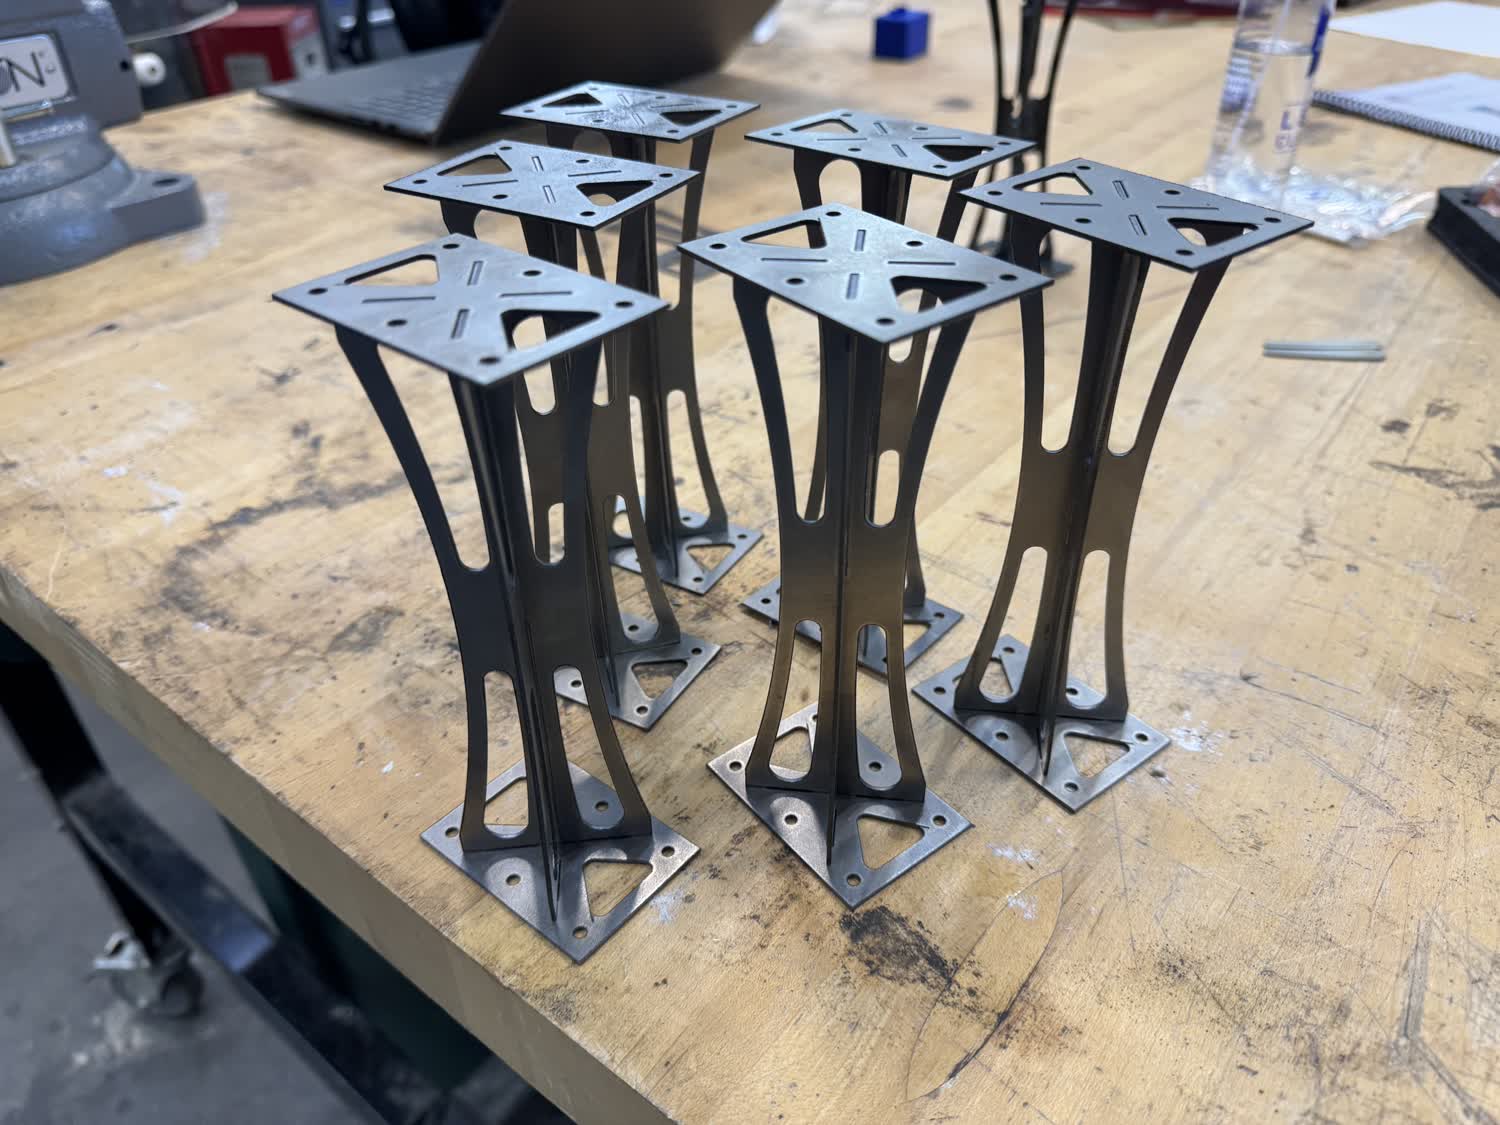
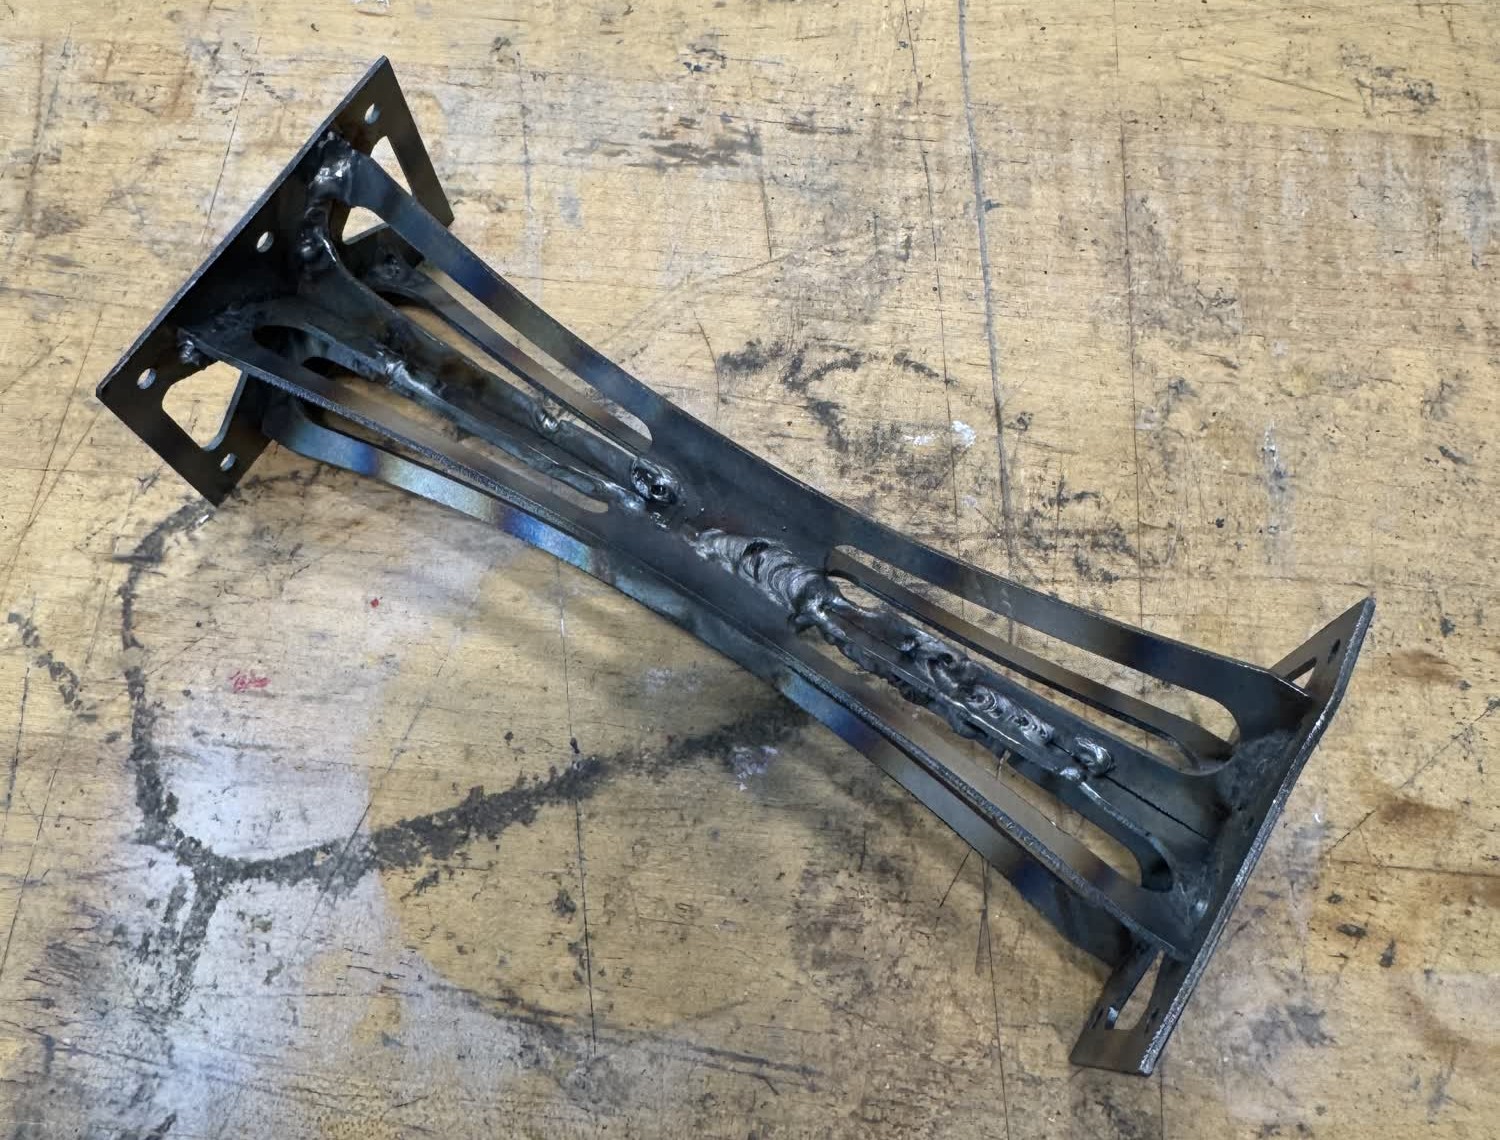
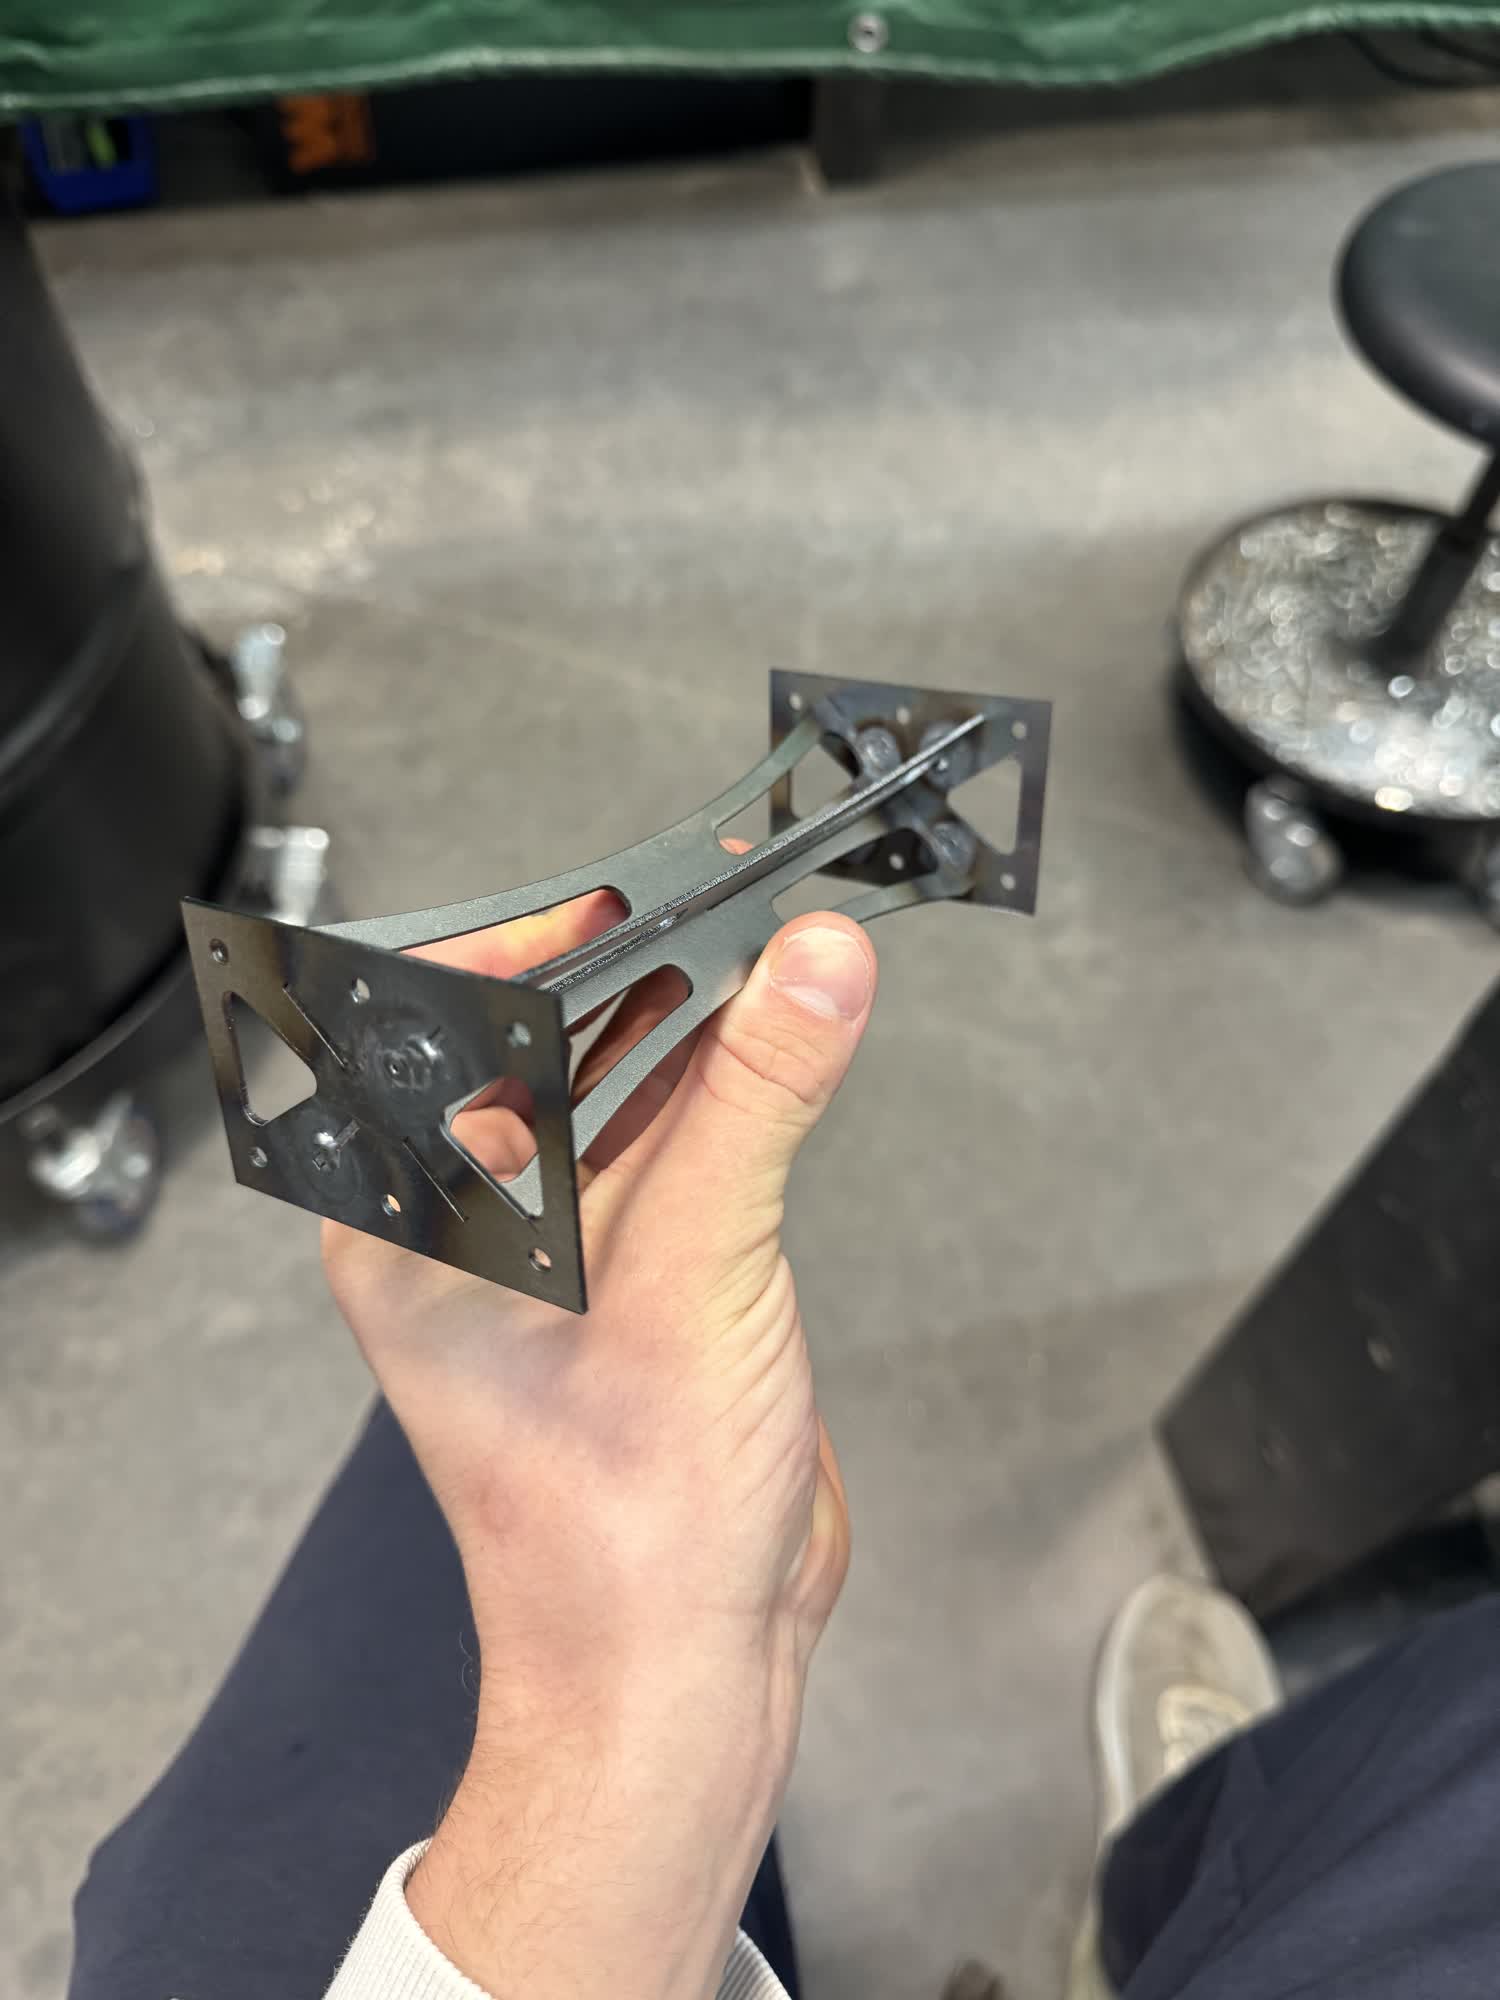
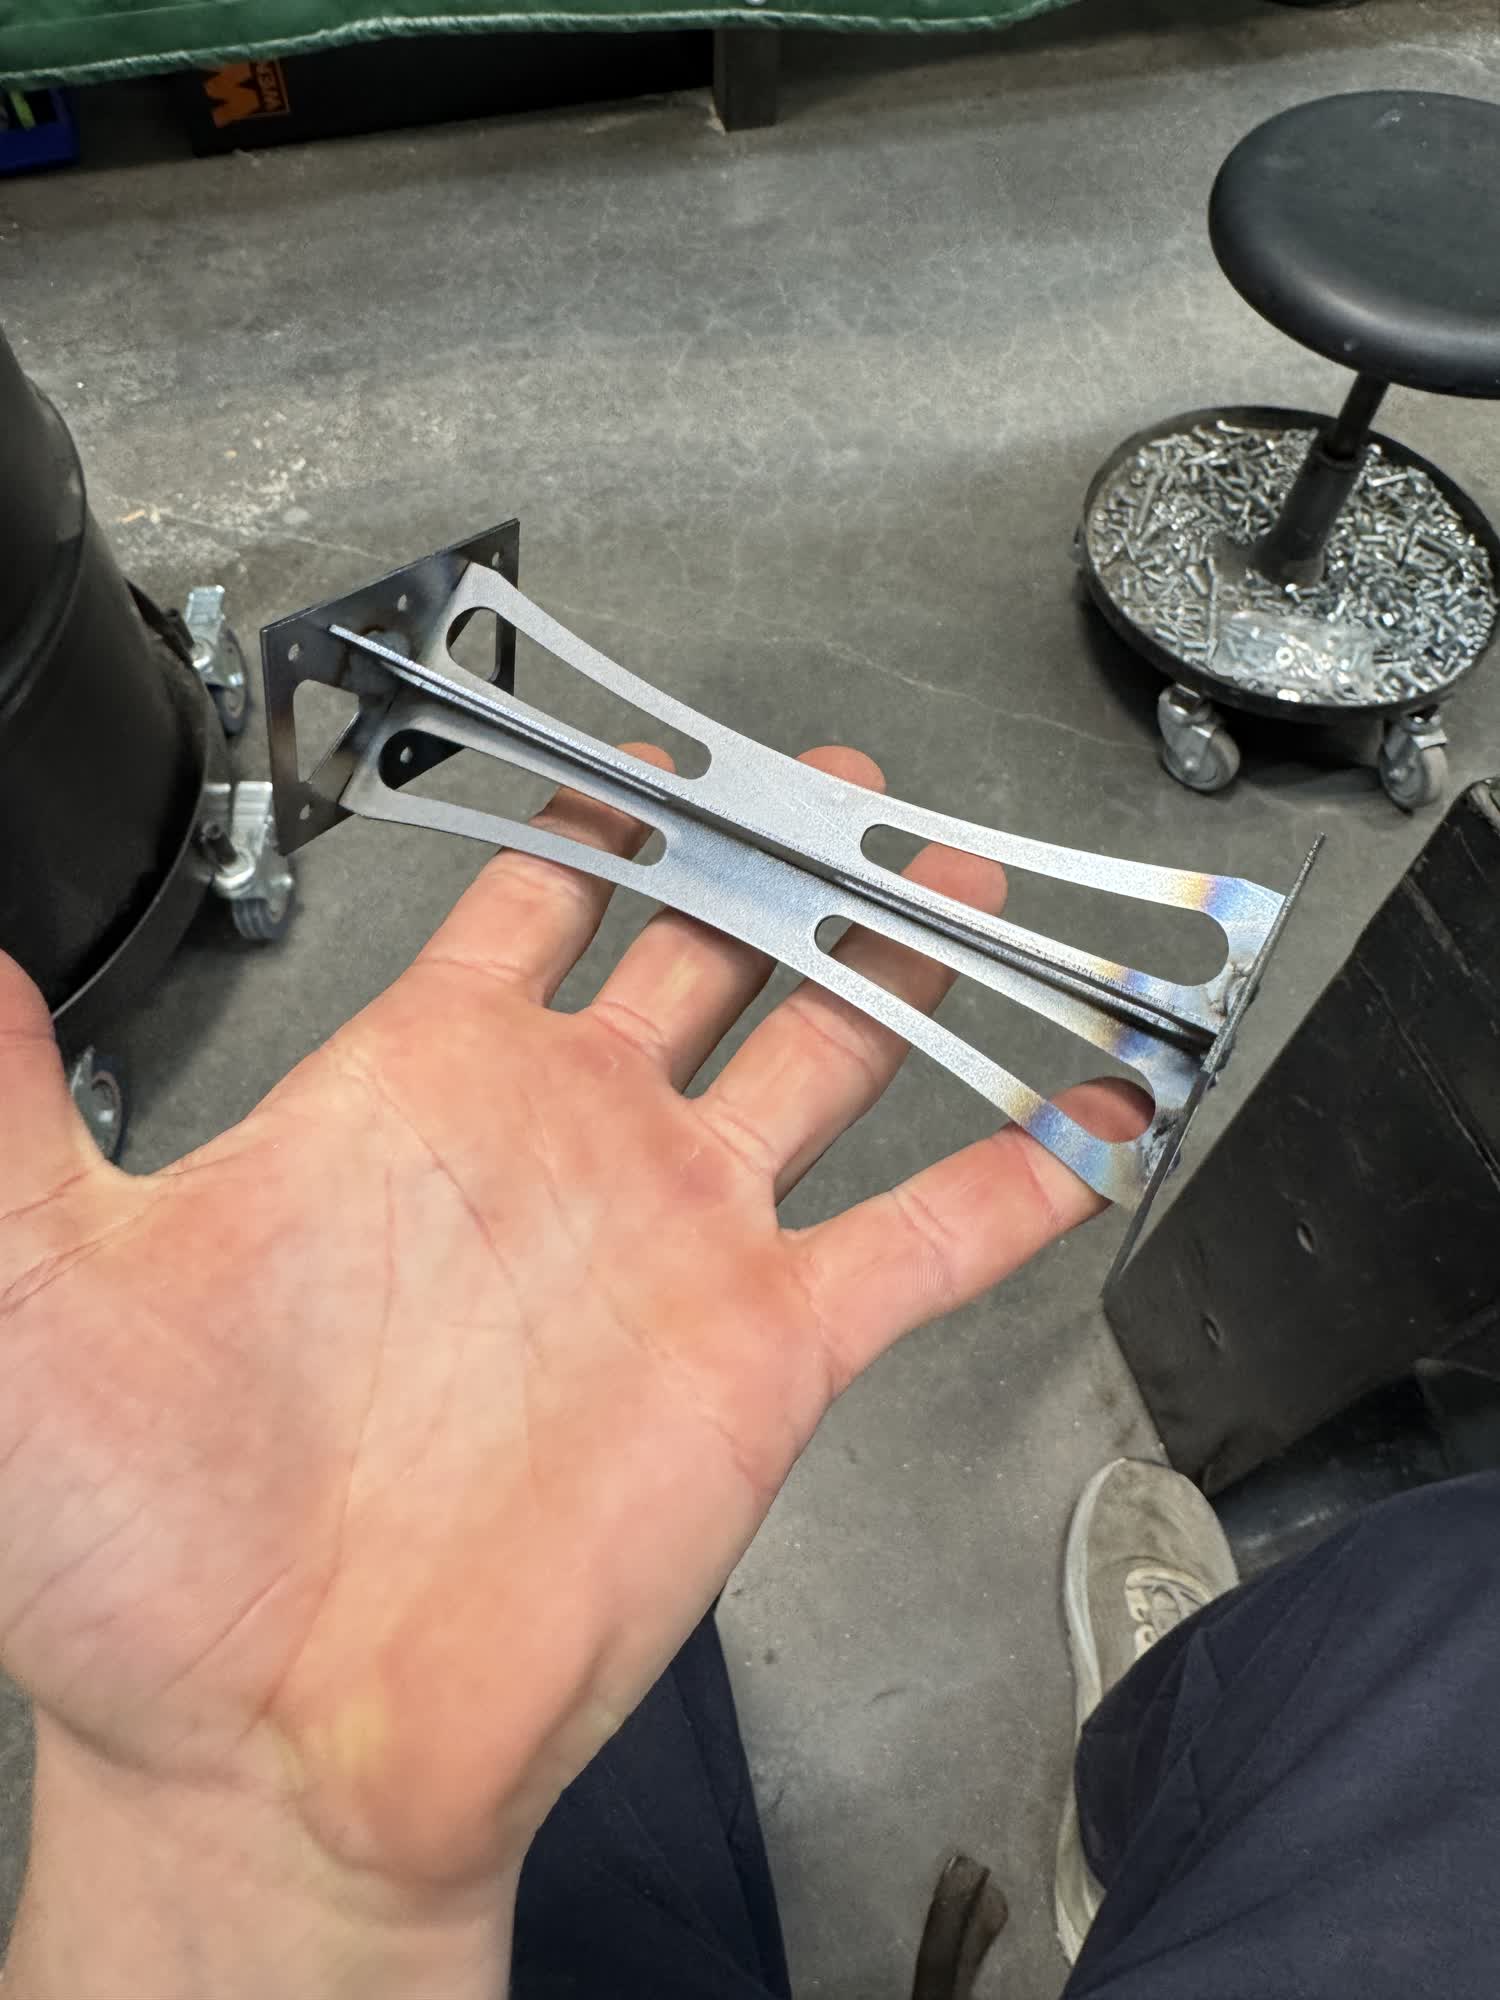
I thought back to the joint styles I used in lasercutting week and I thought that I could design a highly symmetric desing and have two pieces interlocking
and then two base plates that would sandwich and lock the interlocking pieces together. For the interlocking pieces, this was the initial idea that I had
pictured in my head, its a super rough sketch but it helped formulate the idea.
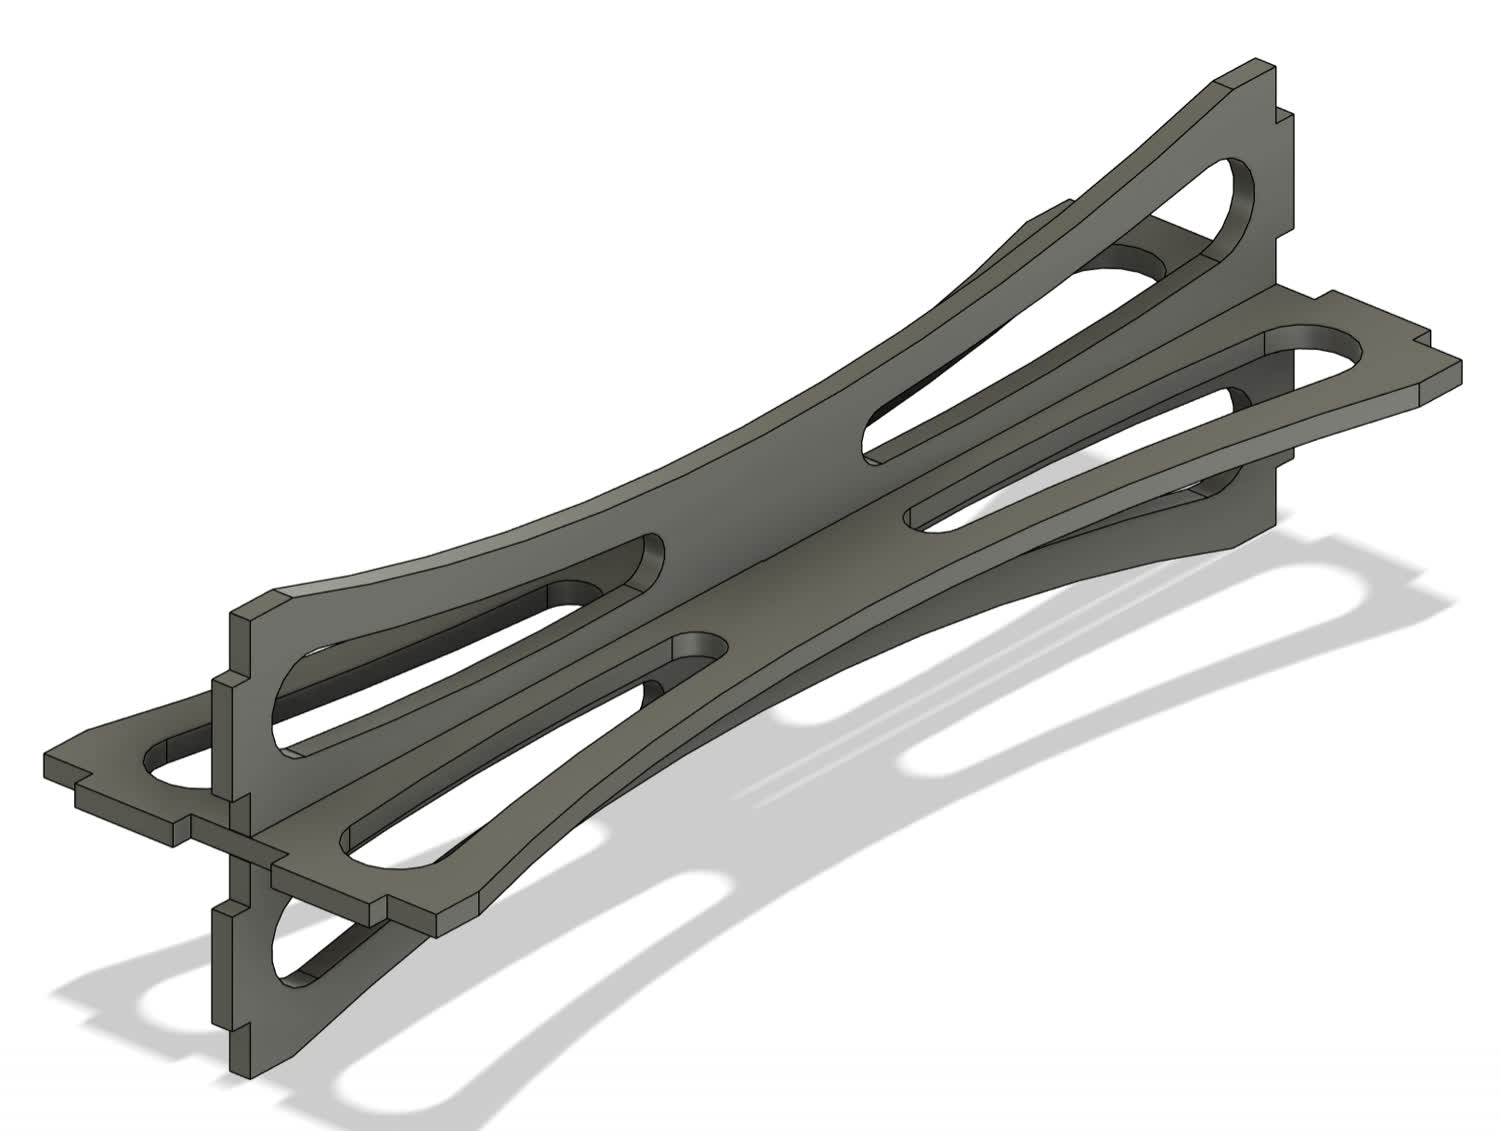

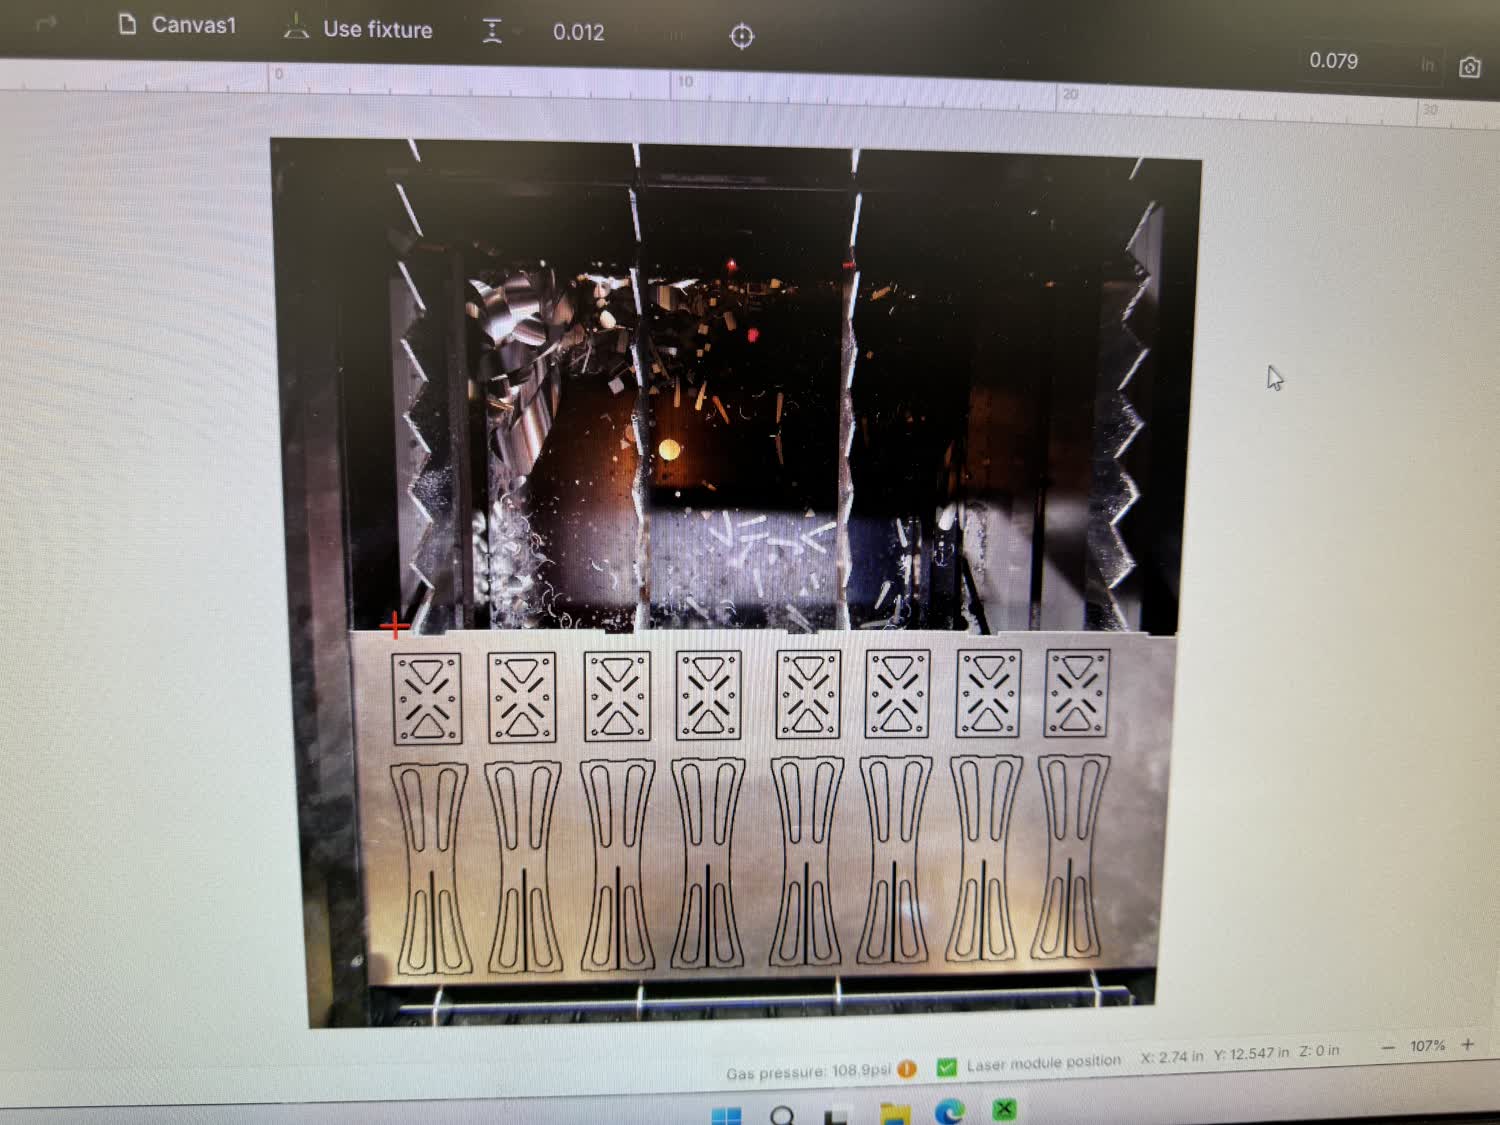
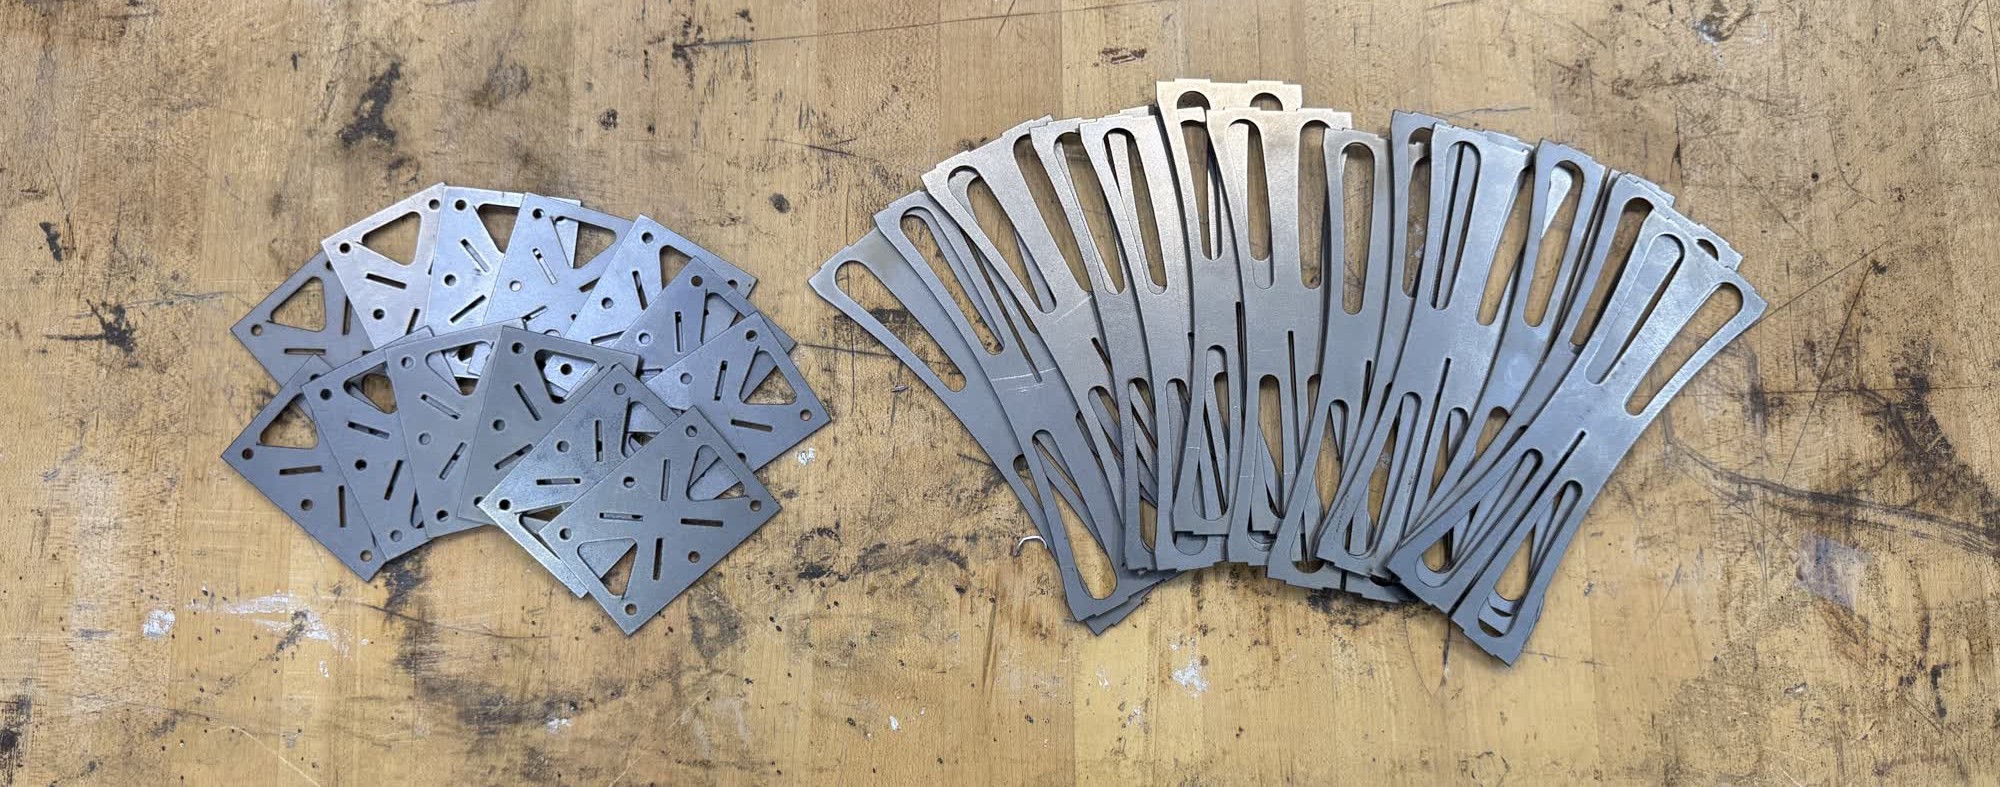
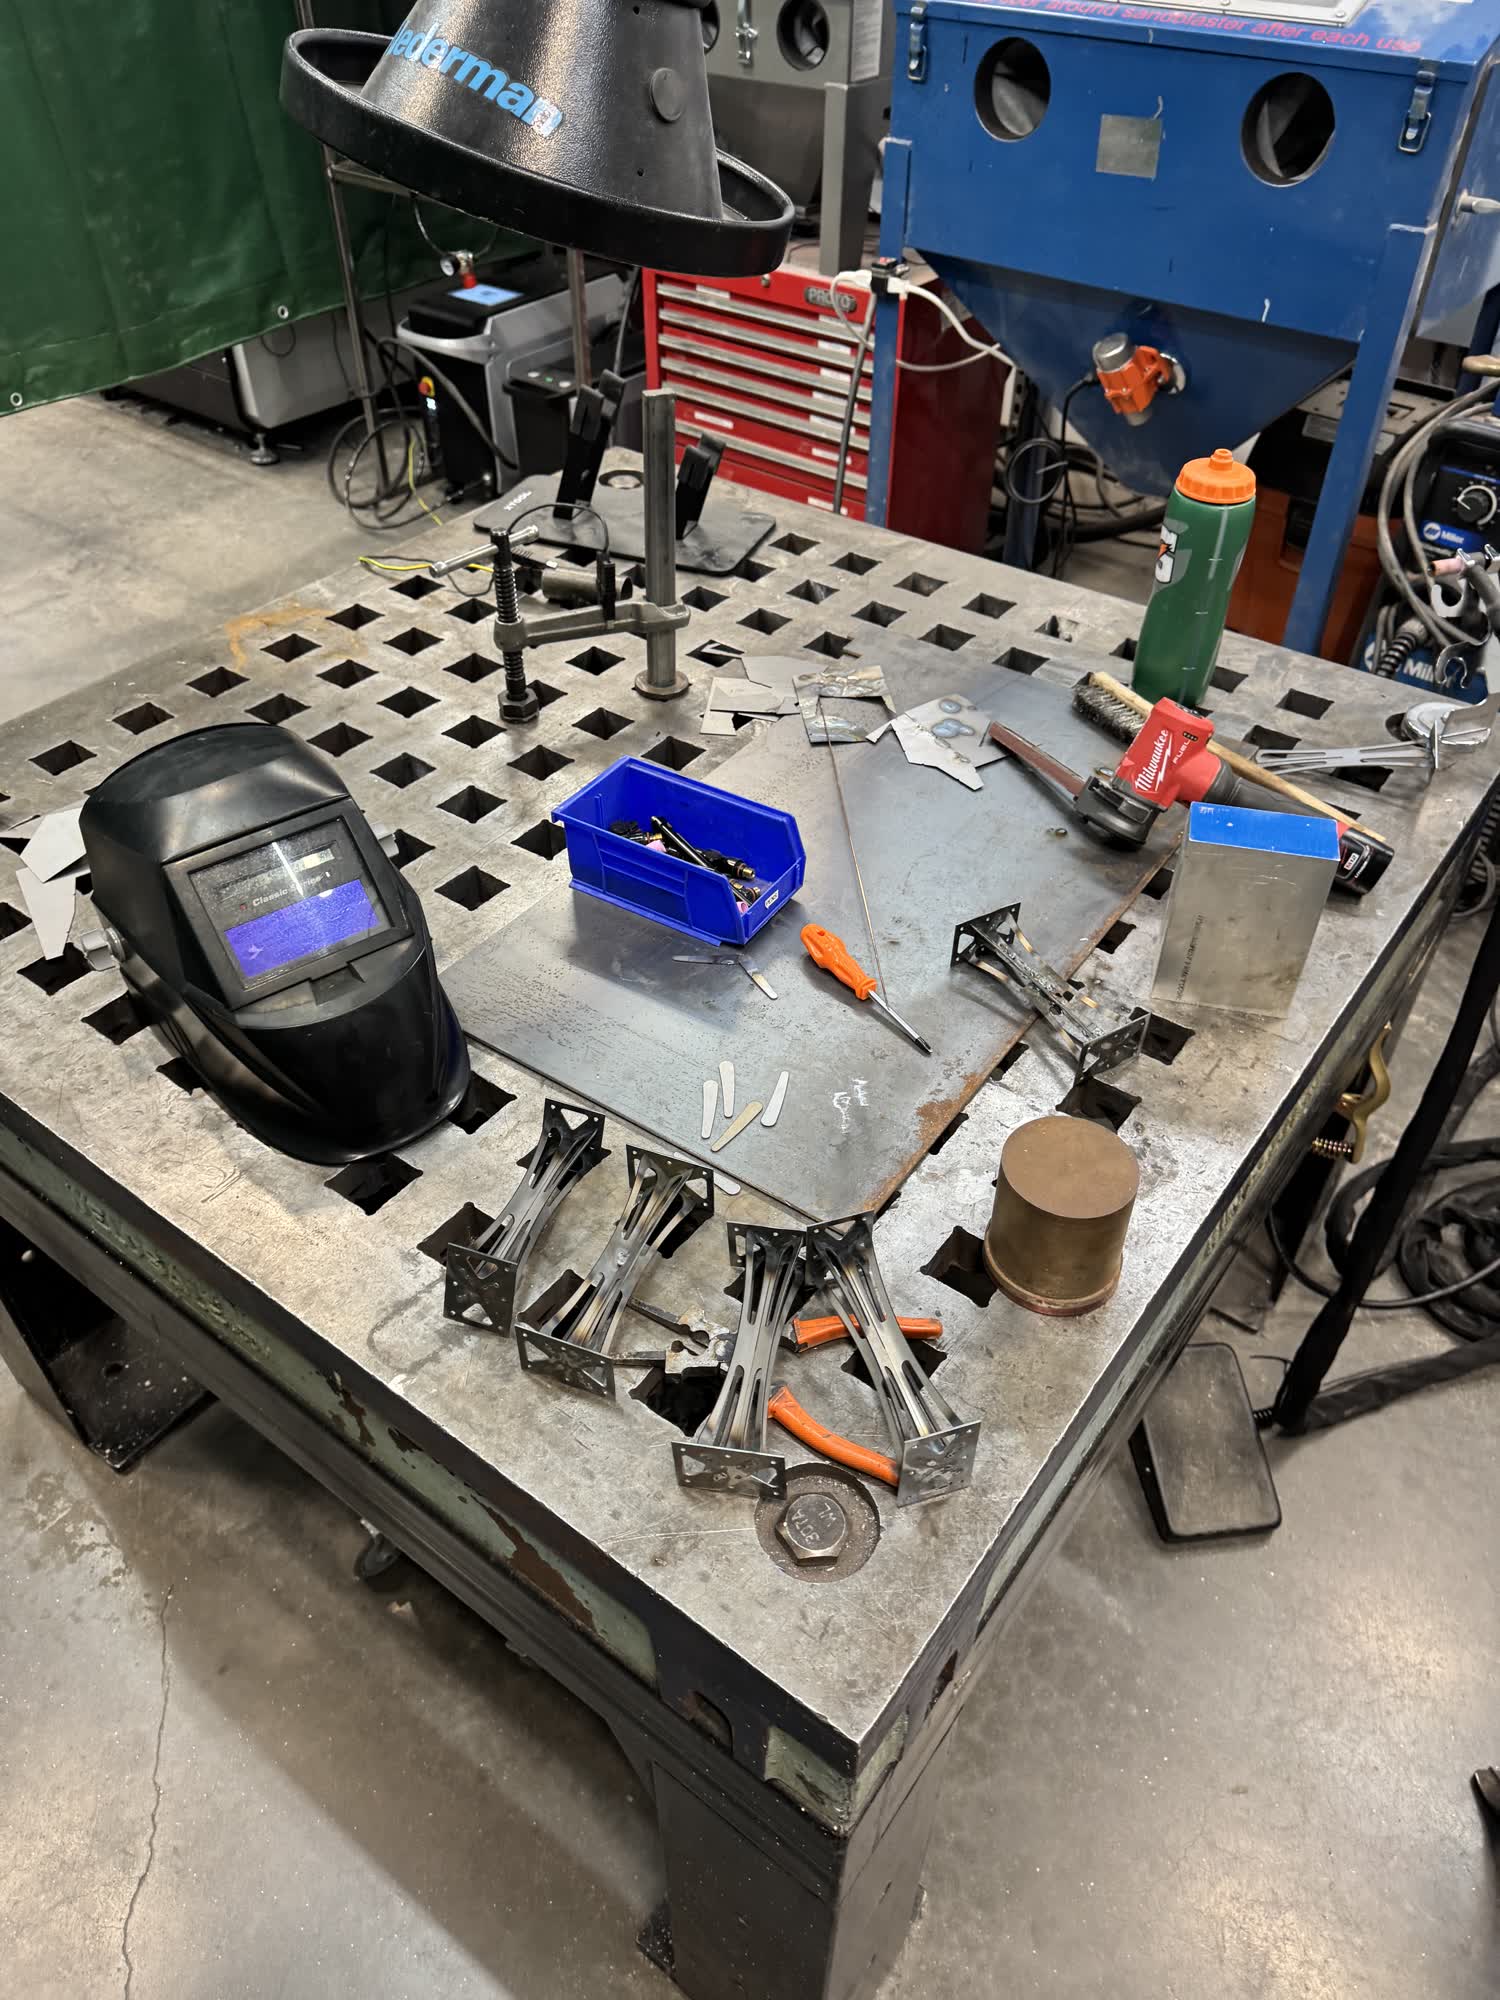
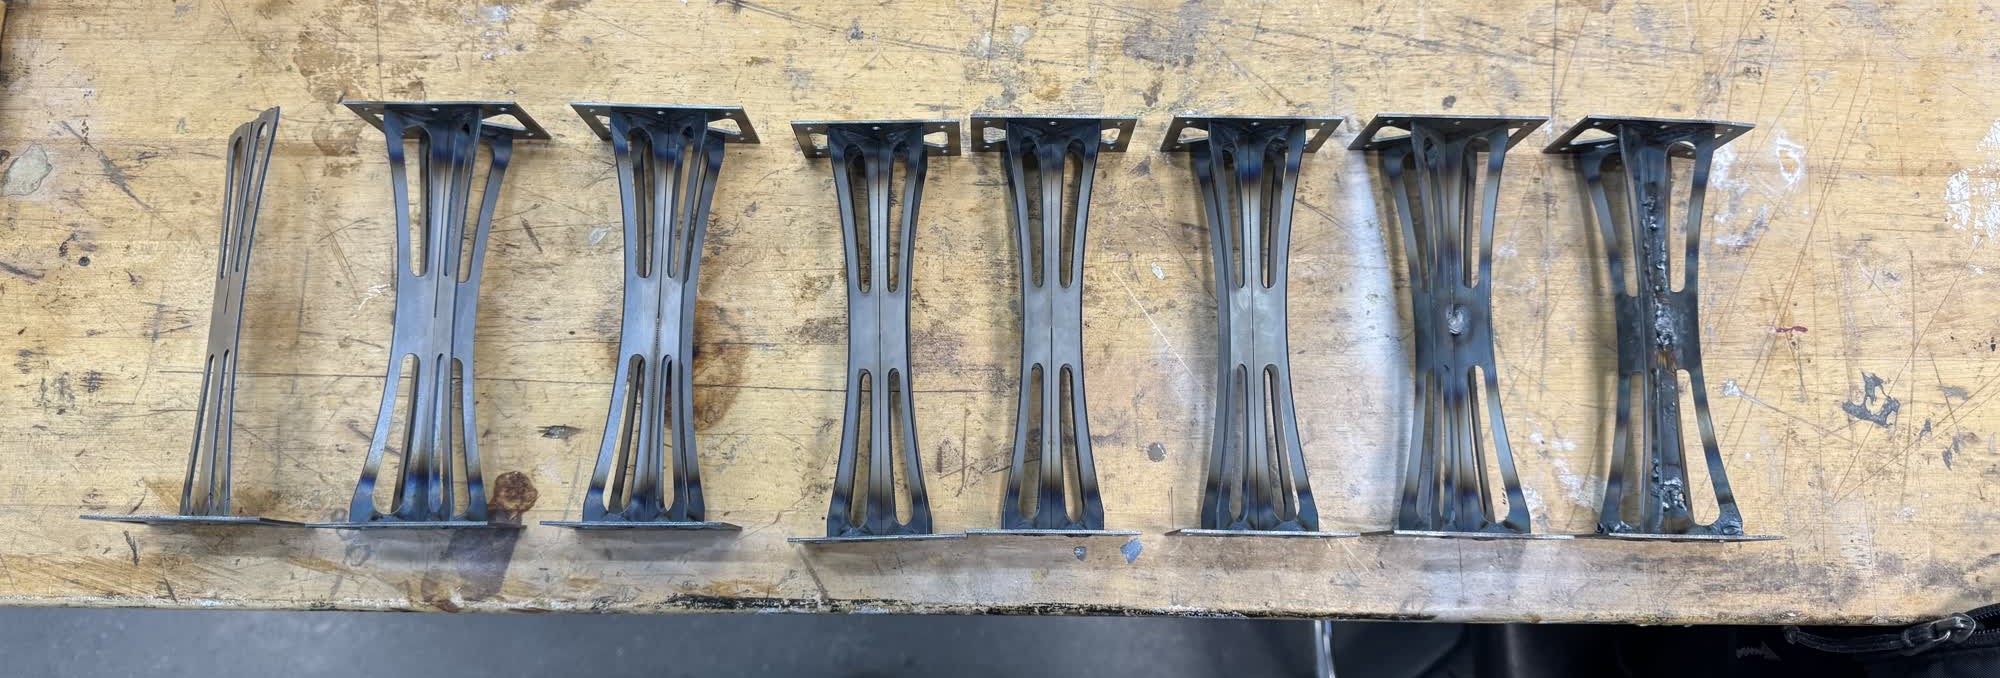
With them all cut, I was able to do an initial assembly of the components.


Thoughts and Reflection
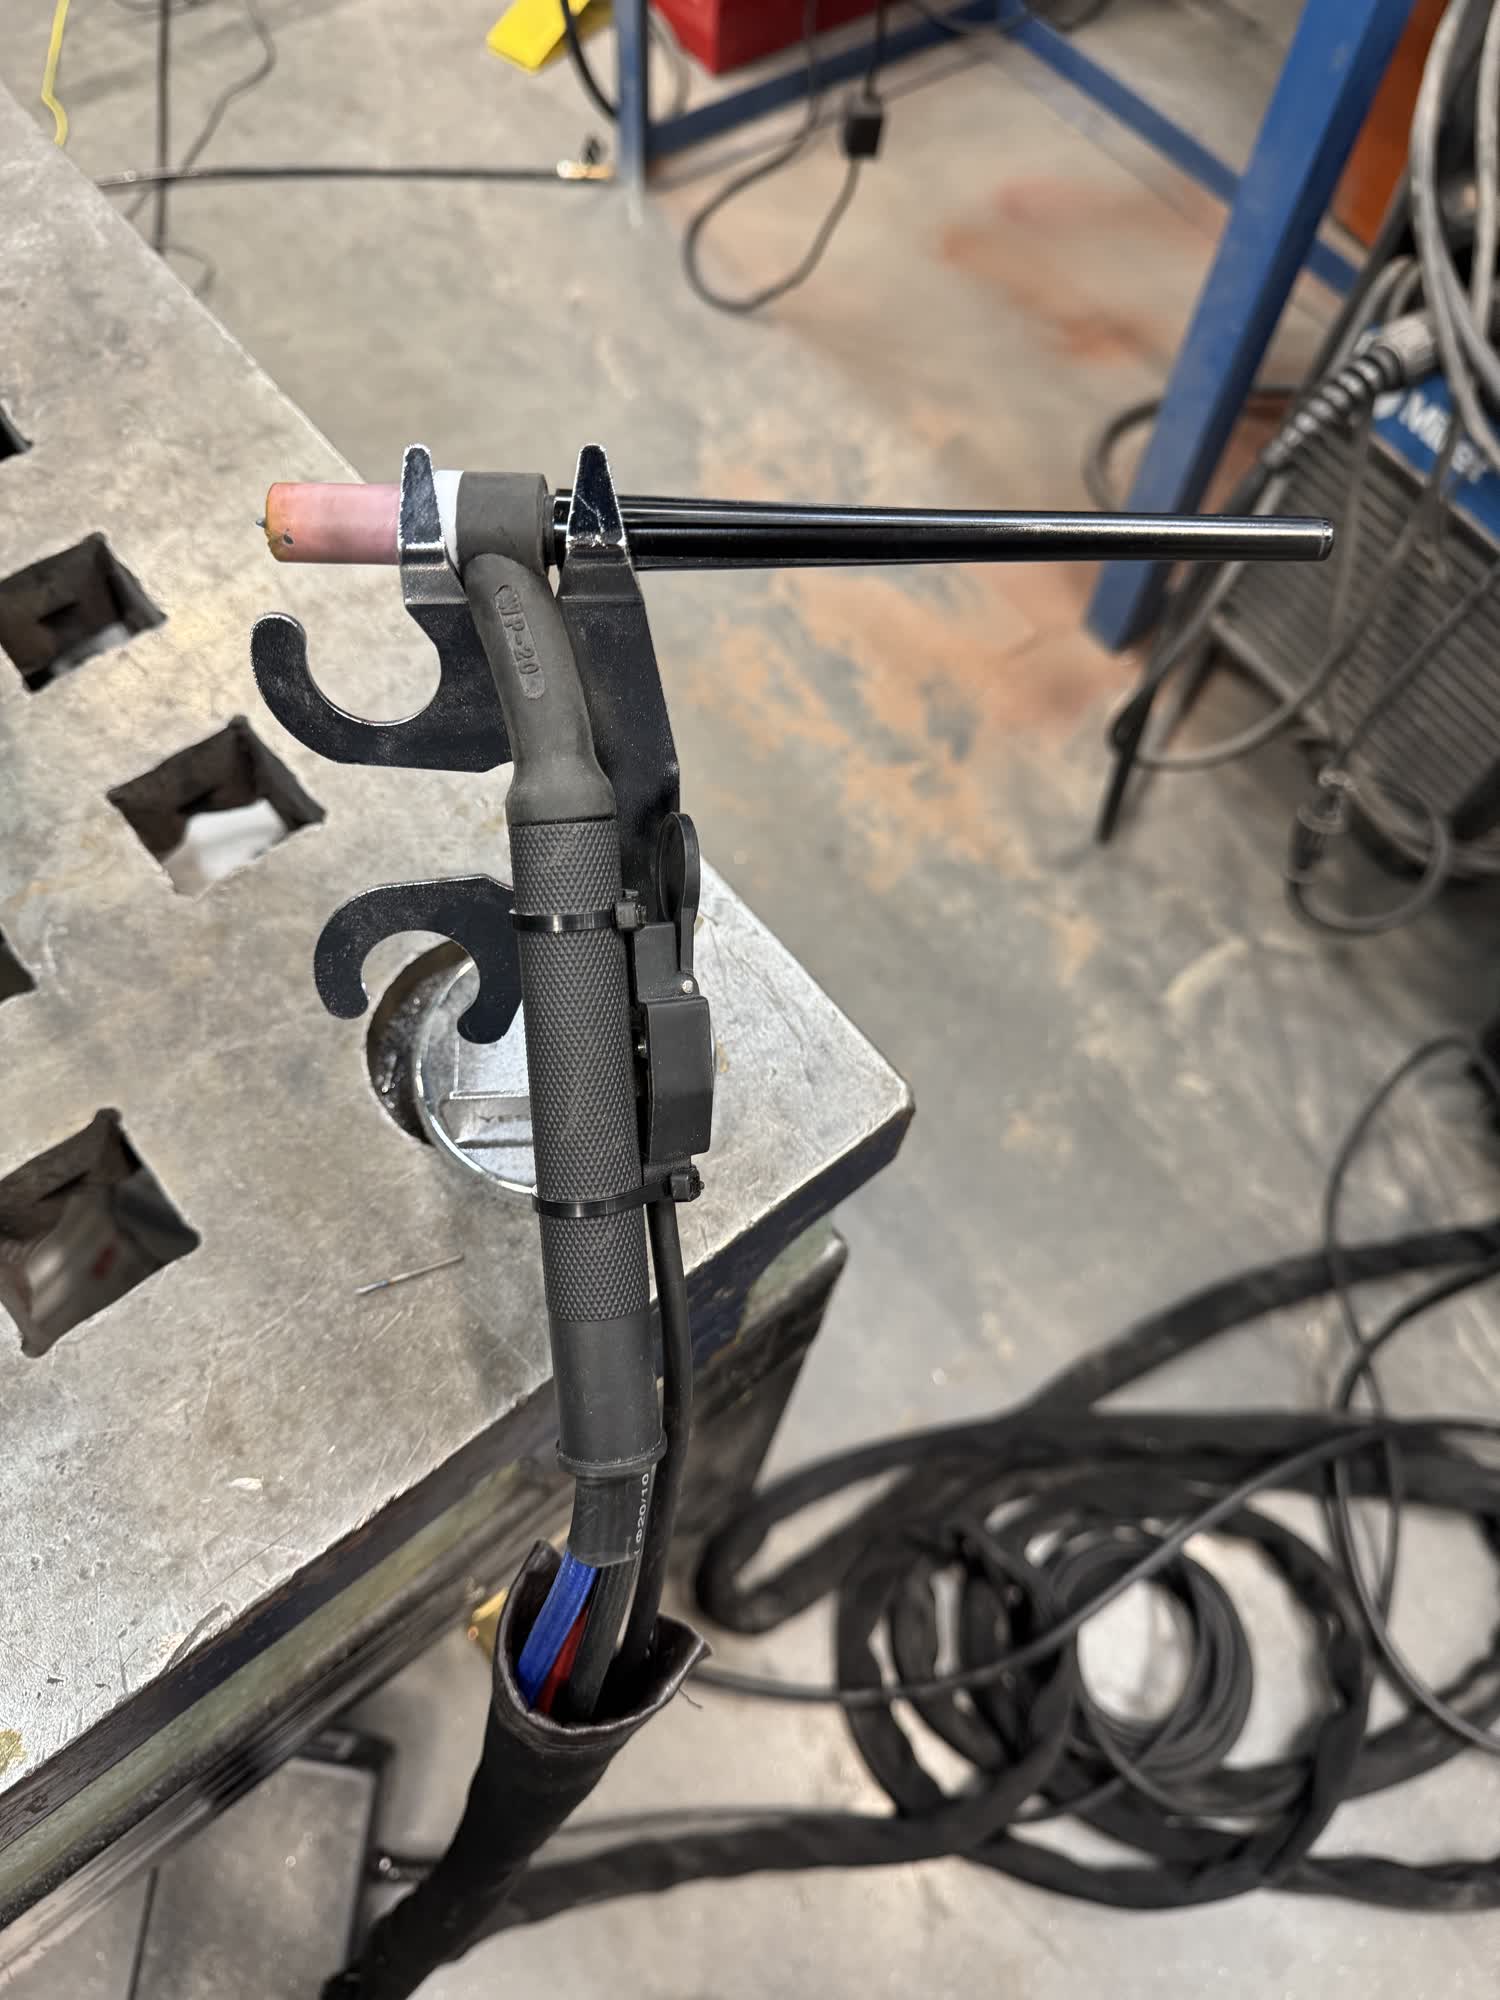
I was super happy with how this week turned out! I spent a good amount of time debating between the different machining systems and I'm really that I edned up choosing the laser cutter, I think it worked out great. I wasn't really sure how I was going to make the members between the actuators. I was nervous about having to 3D printing them as they could very easily get pretty bulky and unnecesarily heavy. Using TIG was not nearly as hard as I thought it would be and I'm looking forward to continue working on it in the future.