Interface and Application Programing
Real-Time Photo Album
Overview
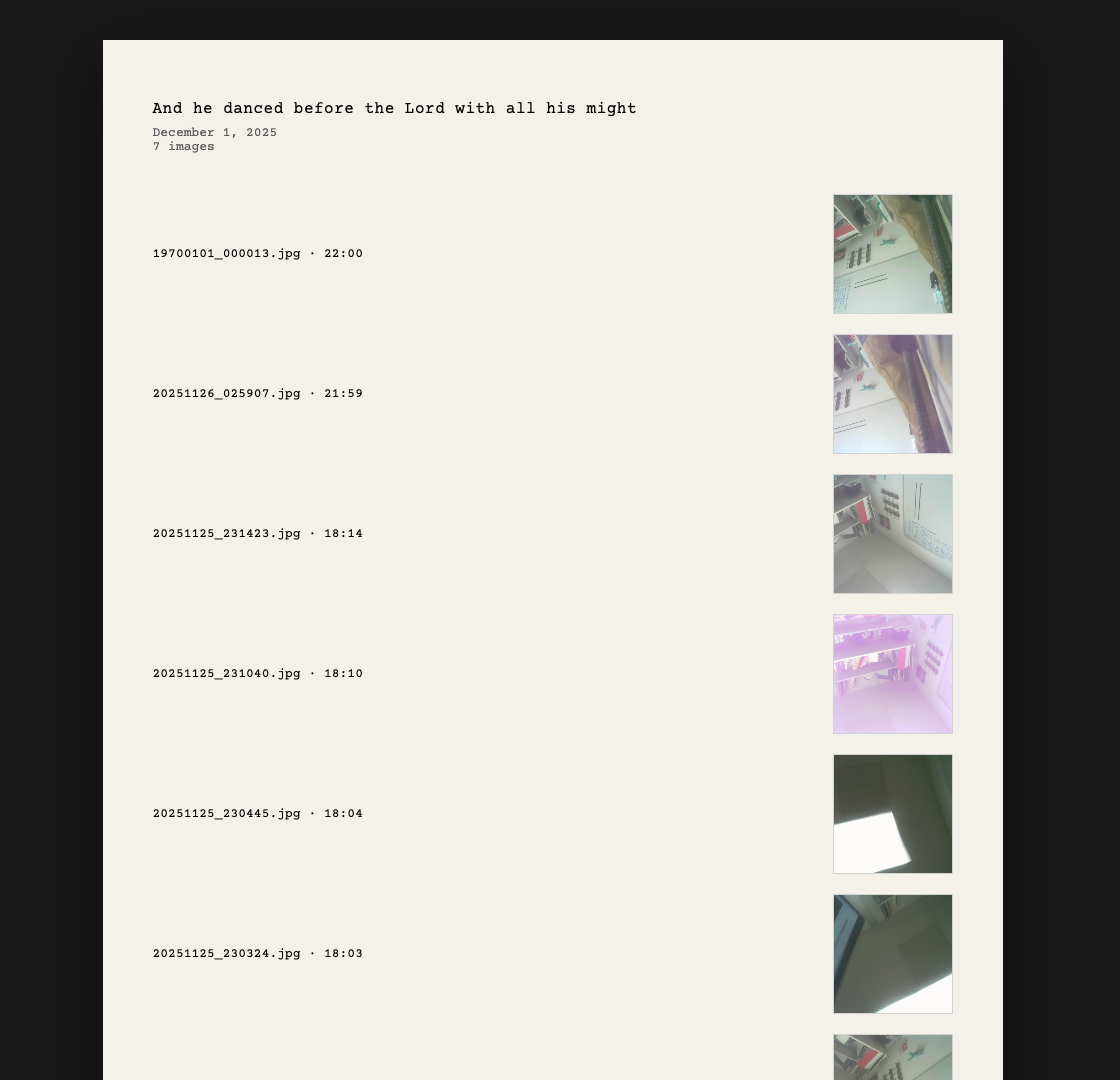
I developed a web-based archive interface that displays photos captured by an ESP32-S3 camera in real-time. The interface features a minimal, catalog-style design with automatic updates and thumbnail previews.
View the live archive: ESP32 Camera Archive
Prerequisites
Before starting, you'll need:
- An ESP32-S3 camera module already capturing images (see last week)
- Python 3 installed on your computer
- A folder where your ESP32 saves captured images
Architecture Overview
The system consists of three main components:
1. Backend Server (Python Flask)
A Flask server that monitors the photo folder, extracts metadata from images, and serves them via API endpoints. The server runs on your local machine and provides JSON data about all captured images.
2. Frontend Interface (HTML/CSS/JavaScript)
A single-page web application that displays photos in a catalog format. It polls the backend every 5 seconds for new images and updates the display automatically.
3. Public Access Layer (ngrok)
Optional tunnel service that makes your local server accessible from anywhere on the internet with a public URL.
Step 1: Setting Up the Python Environment
Create Project Directory
# Create a folder for your project
mkdir ~/esp32_camera_archive
cd ~/esp32_camera_archive
Set Up Virtual Environment
Virtual environments isolate your project dependencies from other Python projects.
# Create virtual environment
python3 -m venv venv

# Activate it (macOS/Linux)
source venv/bin/activate

# Your prompt should now show (venv)
Note: You'll need to activate the virtual environment every time you want to run the server in a new terminal session.
Install Dependencies
# Install Flask and Flask-CORS
pip install Flask==3.0.0 flask-cors==4.0.0
Step 2: Building the Backend Server
Create a file called camera_archive_server.py in your project folder.
Server Components
Import Required Libraries
from flask import Flask, render_template, jsonify, send_from_directory
from flask_cors import CORS
import os
from datetime import datetime
Configure the Server
app = Flask(__name__)
CORS(app)

# IMPORTANT: Change this to your ESP32 photo folder
PHOTO_FOLDER = "/path/to/your/esp32_images"
ALLOWED_EXTENSIONS = {'.jpg', '.jpeg', '.png', '.gif', '.bmp'}
Key Functions
The server includes several key functions:
- get_file_metadata(): Extracts file information (timestamp, size, etc.)
- get_all_photos(): Scans the folder and returns all images with metadata
- API endpoints: Serve photo data as JSON and individual image files
API Endpoints
@app.route('/')
def index():
    return render_template('archive.html')

@app.route('/api/photos')
def api_photos():
    photos = get_all_photos()
    return jsonify({'total': len(photos), 'photos': photos})

@app.route('/photos/<path:filename>')
def serve_photo(filename):
    return send_from_directory(PHOTO_FOLDER, filename)
Make sure to set PHOTO_FOLDER to the exact path where your ESP32 camera saves images. Use an absolute path for reliability.
Step 3: Creating the Frontend Interface
Create a templates folder and add archive.html inside it.
Design
The interface was designed with these principles:
- Minimal aesthetics: Clean typography, simple layout, no unnecessary decoration
- Library catalog inspiration: Based on Dewey Decimal catalog cards
- Information hierarchy: Filename and timestamp as primary metadata
- Inline thumbnails: Visual preview alongside text for quick scanning
Layout Structure
<div class="page">
    <div class="header">
        <h1>Your Title</h1>
        <div class="meta">Date | Total images</div>
    </div>

    <div id="catalog-container">
        <!-- Catalog items inserted here by JavaScript -->
    </div>
</div>
JavaScript Functionality
Auto-Refresh Mechanism
// Poll server every 5 seconds for new images
function startAutoRefresh() {
    setInterval(loadPhotos, 5000);
}

async function loadPhotos() {
    const response = await fetch('/api/photos');
    const data = await response.json();
    displayCatalog(data.photos);
}
Dynamic Content Generation
function createCatalogItem(photo) {
    return `
        <li class="catalog-item" onclick="openImage(...)">
            <div class="item-content">
                <div class="item-meta">
                    ${photo.filename} · ${timeStr}
                </div>
            </div>
            <img src="/photos/${photo.filename}" class="thumbnail">
        </li>
    `;
}
Modal Image Viewer
Clicking any item opens the full-resolution image in a modal overlay with keyboard support (ESC to close).
Step 4: Handling Port Conflicts
During development, you may encounter port conflicts if your ESP32 server or other services are already using common ports.
Finding Available Ports
# Check if a port is in use (macOS/Linux)
lsof -i :5000

# Kill a process on a specific port
lsof -ti:5000 | xargs kill -9
Choosing Your Port
In this project, I used port 5555 to avoid conflicts with:
- Port 5000: macOS AirPlay Receiver
- Port 8080: ESP32 camera live view
- Port 3000: Other web development servers
# In camera_archive_server.py, set the port:
app.run(debug=True, host='0.0.0.0', port=5555)
Step 5: Testing Locally
Start the Server
cd ~/esp32_camera_archive
source venv/bin/activate
python camera_archive_server.py
Verify Server is Running
You should see output like:
📁 Monitoring folder: /path/to/your/photos
🌐 Archive server starting at http://localhost:5555
 * Running on http://127.0.0.1:5555
Access the Interface
Open your browser to http://localhost:5555
Testing Changes
When editing the HTML file:
- Stop the server (Ctrl+C)
- Make your changes to templates/archive.html
- Restart the server
- Hard refresh your browser (Cmd+Shift+R or Ctrl+Shift+R)
Pro Tip: Use your browser's Developer Tools (F12) to debug JavaScript issues and inspect network requests to the API.
Step 6: Running in the Background
To keep the server running even when you close the terminal, I used GNU Screen for simple testing.
Install Screen (if needed)
brew install screen  # macOS
sudo apt install screen  # Linux
Start Server in Screen Session
# Create named screen session
screen -S archive

# Inside screen, start your server
cd ~/esp32_camera_archive
source venv/bin/activate
python camera_archive_server.py

# Detach from screen: Ctrl+A then D
# You'll see: [detached from XXXX.archive]
Managing Screen Sessions
# List all screen sessions
screen -ls

# Reattach to view/interact with server
screen -r archive

# Kill the session
screen -X -S archive quit
With the server in a screen session, you can safely close your terminal and the server will keep running.
Step 7: Making it Publicly Accessible
By default, your server only works on your local network. To share it with anyone on the internet, I used ngrok because it was free and really simple.
Install ngrok
brew install ngrok  # macOS
# Other platforms: download from ngrok.com
Set Up ngrok Account
- Sign up for free at ngrok.com/signup
- Get your authtoken from the dashboard
- Authenticate: ngrok config add-authtoken YOUR_TOKEN
Start ngrok Tunnel
# Open a new terminal (don't close the server terminal!)
ngrok http 5555
You'll see output like:
Forwarding https://abc123.ngrok.io -> http://localhost:5555
Share Your Archive
Copy the https:// URL and share it with anyone. They can access your camera archive from anywhere in the world!
Important: Keep the ngrok terminal window open. Closing it will terminate the public URL. On the free tier, the URL changes each time you restart ngrok.
Troubleshooting
No Images Appearing
- Verify PHOTO_FOLDER path is correct
- Check folder permissions (server needs read access)
- Ensure files have valid image extensions (.jpg, .png, etc.)
- Check browser console (F12) for JavaScript errors
Server Won't Start
- Confirm virtual environment is activated (see (venv) in prompt)
- Check if port is already in use: lsof -i :5555
- Verify Flask is installed: pip list | grep Flask
Changes Not Showing
- Make sure you're editing the correct file (check path)
- Restart the server after making changes
- Hard refresh browser (Cmd+Shift+R or Ctrl+Shift+R)
- Try opening in incognito/private mode to bypass cache
ngrok Connection Issues
- Verify authtoken is configured: ngrok config check
- Ensure server is running before starting ngrok
- Check if firewall is blocking ngrok