Link to Architecture Section Group Assignment
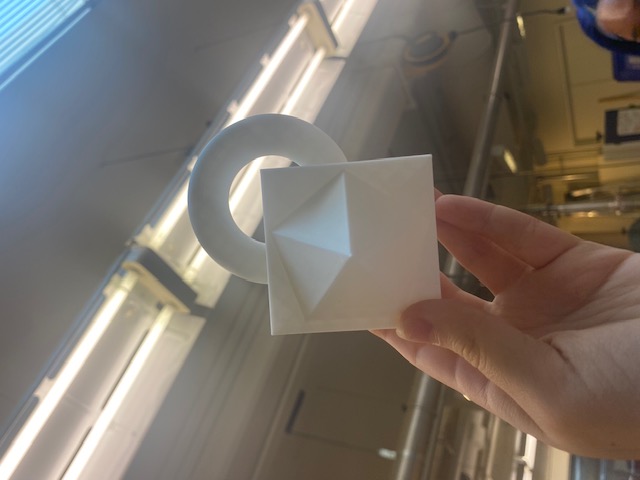
3D Scanning & Printing Individual Assignment:For 3D printing, I first had Gert train me on how to use the Bambu’s in the architecture shop. I have used Bambu’s before so this was a good refresher and I learned that you need to put an sd card into these printers which is different from the ones I used previously where you upload your file to a computer that will then send it to a printer. We printed this object that Gert quickly designed in Rhino.
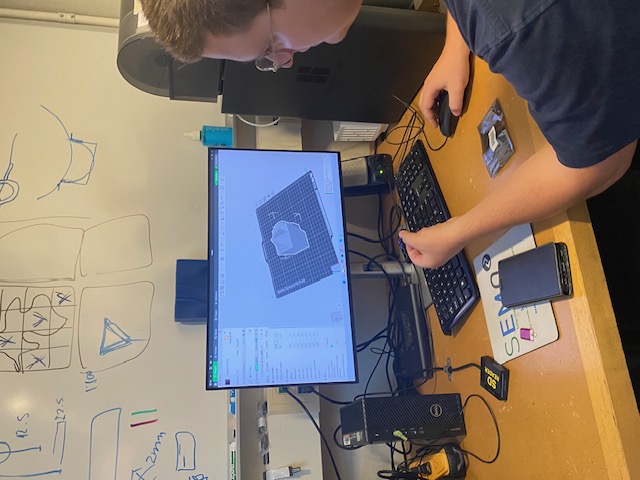
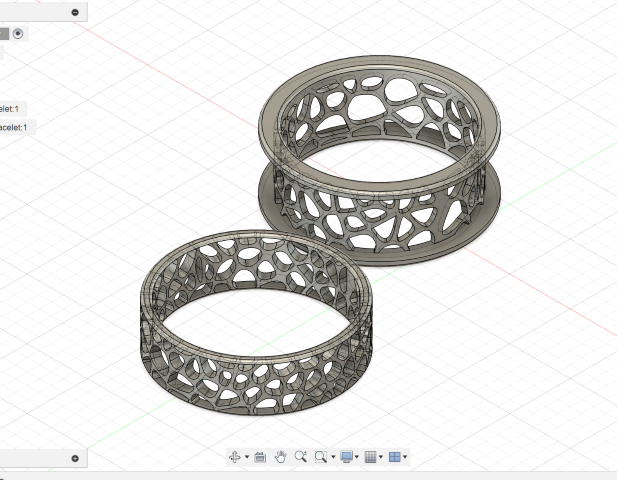
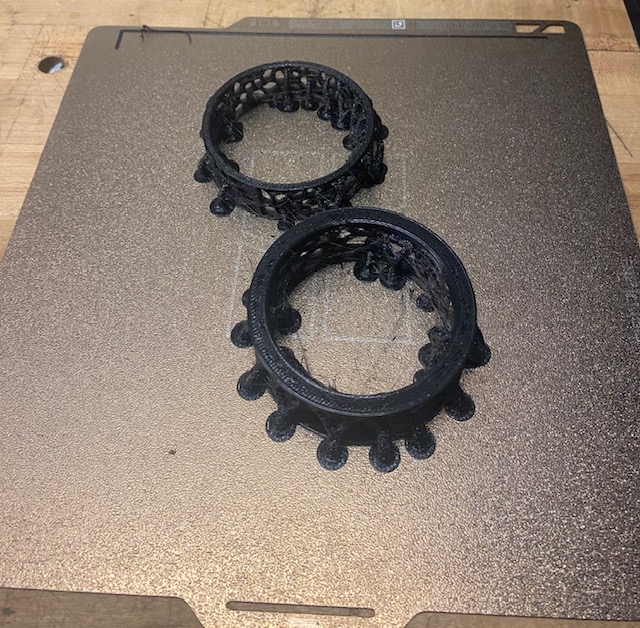
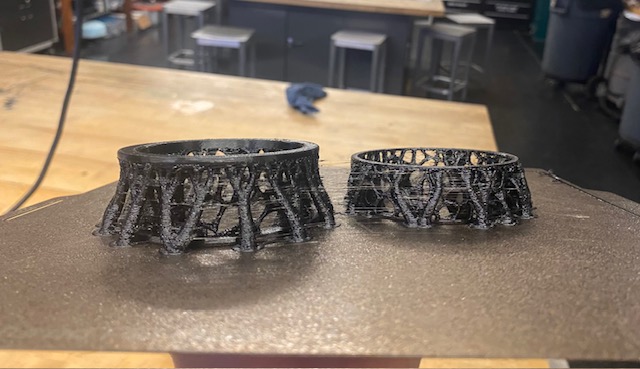
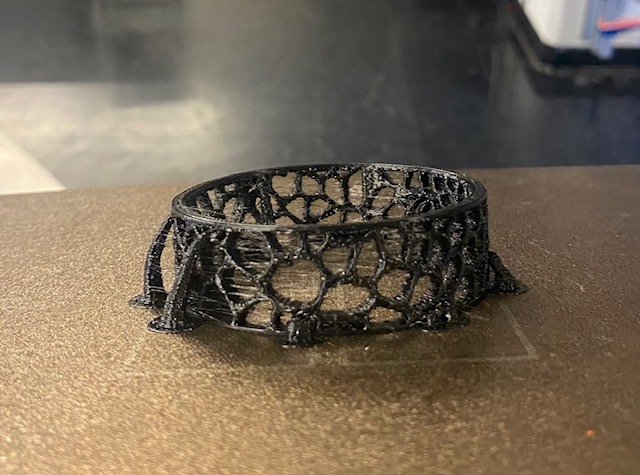
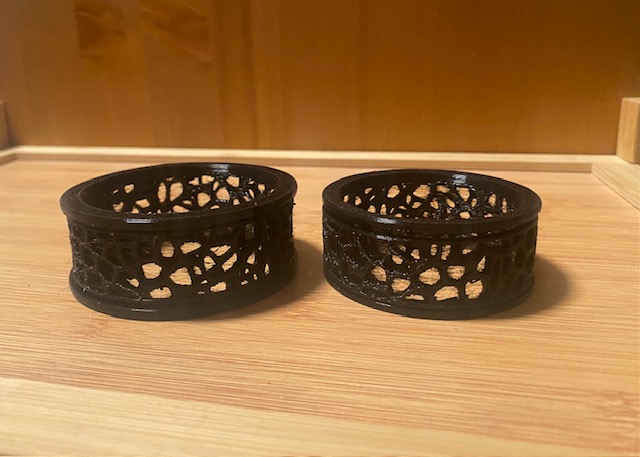
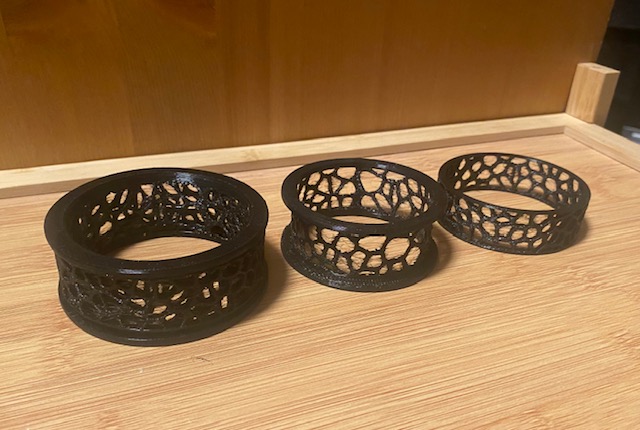
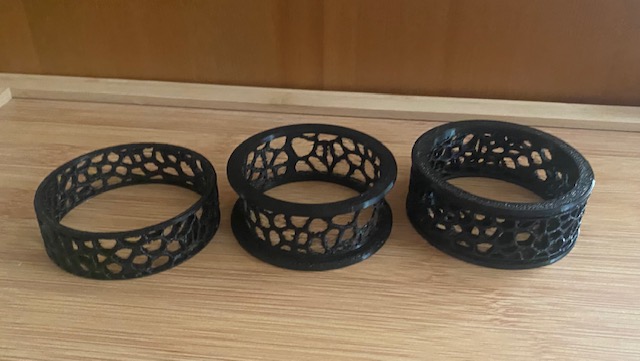
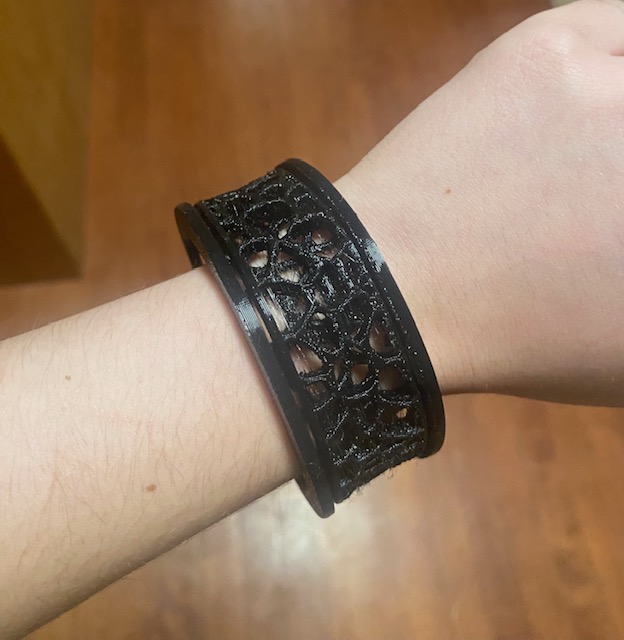
For my object, I wanted to create a bracelet that I could wear. I was inspired by organic cell like patterns and ended up using a voronoi generator to create two different patterns for my bracelet. I wanted the bracelet to double as a fidget so I decided to make it out of two components with an outer ring that would spin on the inner ring. I designed the components of the bracelet in fusion 360 and used the emboss feature to insert svgs of the pattern from the website. I’ve never printed with TPU before so I wanted to experiment with it. I ended up using the Bambu’s in MAD as they have one dedicated to TPU that comes with preset settings. At first I attempted to print the bracelet in one piece, using tree supports that start at 30 degrees to ensure the two rings didn’t stick together. Unfortunately, this did not work and the print fused together. Afterwards, I talked to Chris (he runs MAD) and he told me that this is common for TPU prints. I then printed the bracelet as two separate pieces, using the TPU settings in the bambu slicer and tree supports that start at 30 degrees. Then I squished the inner ring to insert it into the outer ring and it spun quite nicely. Unfortunately, the bracelet did not fit me so I decided to scale the print and print it again. However, on the scaled print the outer bracelet came out warped and this caused the bigger one to not have such a nice spin. I’m not quite sure why it turned out warp, but below there's a photo of both sets where you can see the bigger outer circle is not as circular as the rest of the circles. Another issue I encountered was that there was a lot of spaghetti in my prints. I think this is because of all the gaps in the print. I think the spaghetti can be removed if I quickly heatgun my prints.

I tried two different approaches for 3D scanning with the help of Gert.
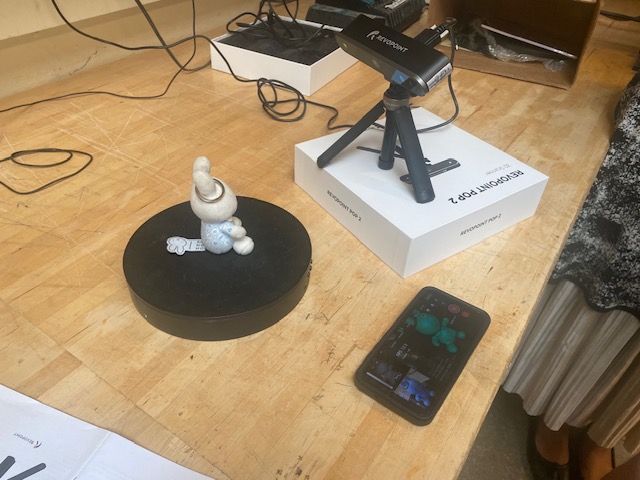
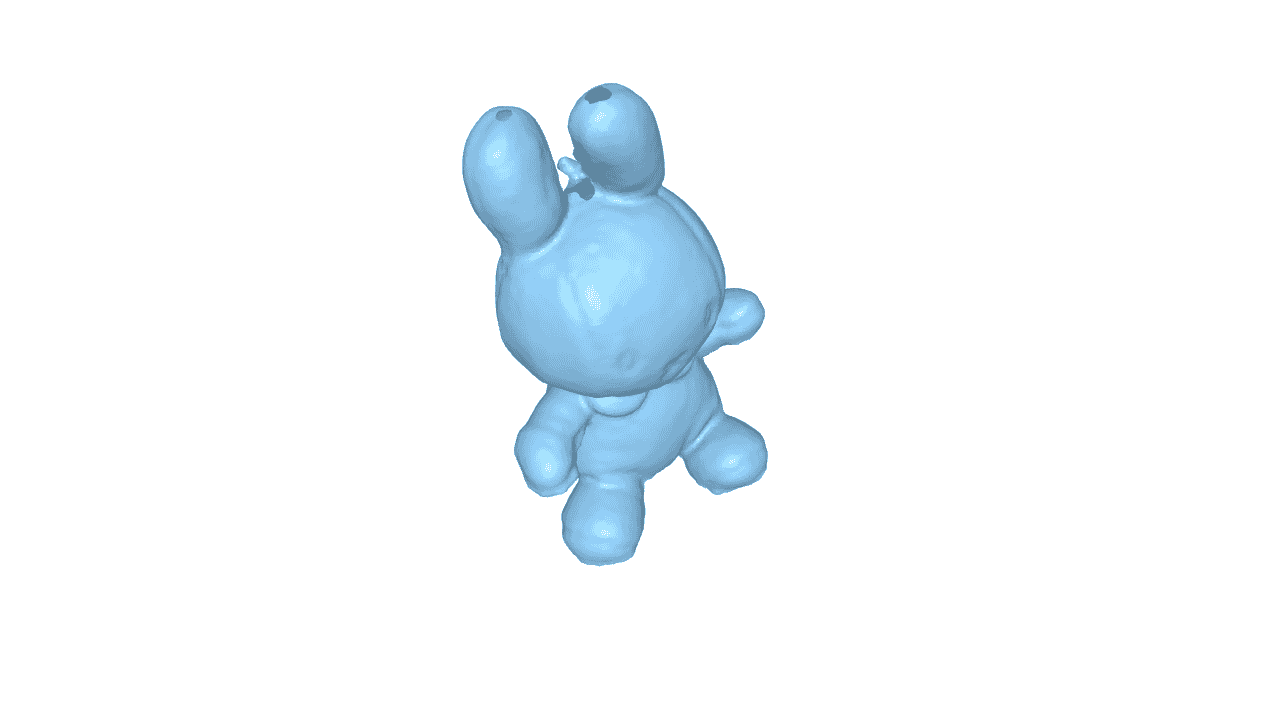
Revopoint Scanner: a physical scanner that creates a digital mesh for which we placed the object on a rotating platform. The one in the architecture shop has trouble connecting to iphones so if I ever want to use it I need to find someone with an android. The scanner was intuitive to use and gave good quality scans. We used it to scan my Miffy keychain. An interesting feature we found was that the scanner was bad at scanning black objects and metallic objects. I think it might be due to how light reflects and how the scanner uses light. The scanner app also has options to clean up your mesh and easily exports to many different formats. Shout out to Ryan for using his phone to get the scan of my Miffy keychain. You can see in the scan of Miffy that not all features were scanned, this is partially due to the metal keyring that the scanner couldn’t get. Additionally, it seems that since we had the scanner placed pointing down the mesh had holes for underneath her arms and parts of the underneath her head. We also tried to scan a classmate's face by moving the scanner around him, Polycam did a better job at this than the Revopoint Scanner.
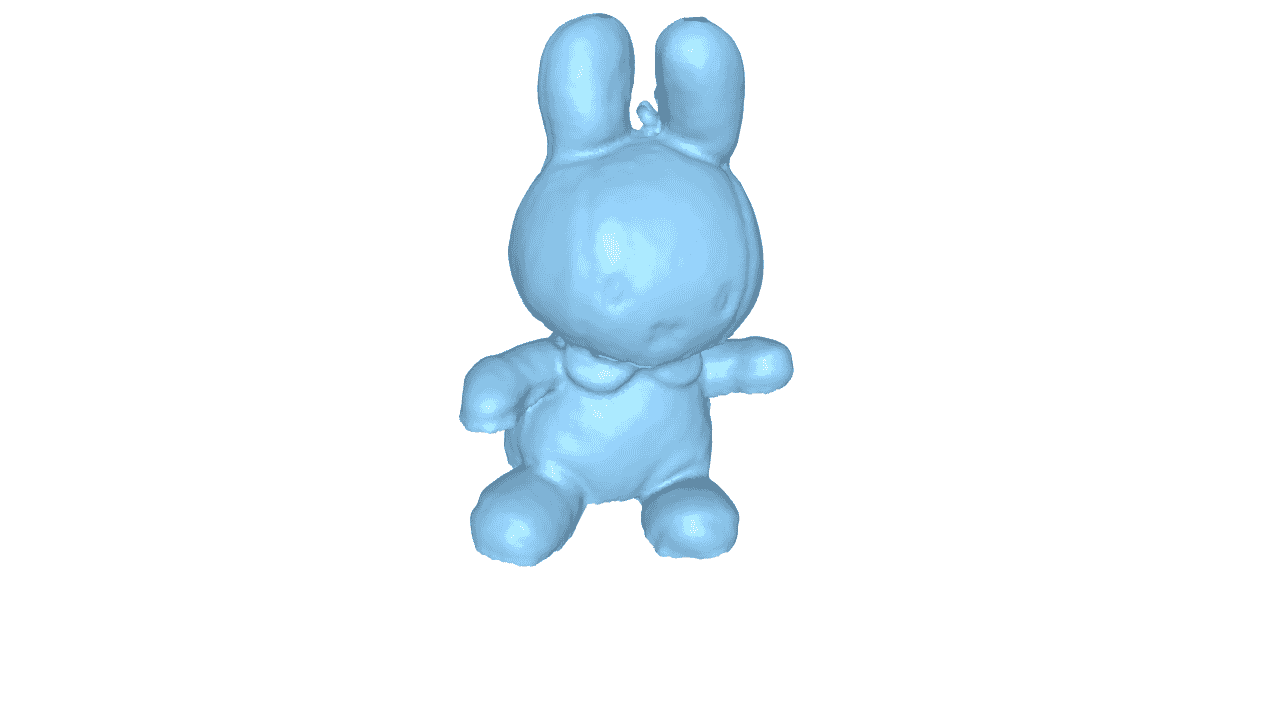
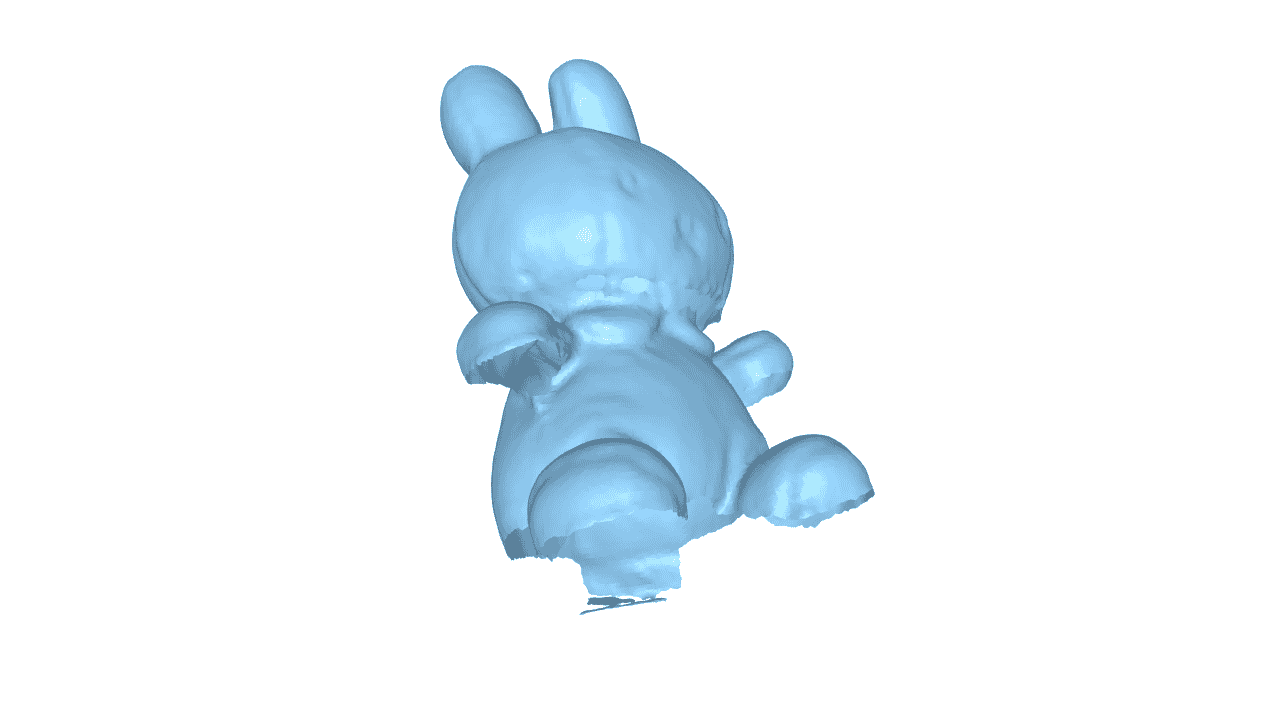
Polycam: an app that creates a 3d scan based on photos from your phone. This app was easy to use and created a surprisingly good scan. I also scanned my Miffy keychain and while the scan isn’t perfect it's quite good. This scan is in color and you can even see Miffy’s fabric texture. My classmates have shown me some of their scans and I’ve seen ones that are better than mine so I think if I played around with it more and was more careful with the photos I took I could get rid of some of the imperfections of my scan. Polycam did include the table that Miffy was on into the scan, so if I wanted to 3D print something that I scanned then I would have to do some post processing outside the app. The biggest drawback of Polycam is that without paying you can only export your scan as a GLTF, ESX, video, or image, I cannot export my scan and edit it without paying.