
Introduction
This week was Machine Week, which came with three big goals for our group:
- actuate and automate our machine
- document both the group project and our individual contributions
- prepare a live demo for the next class
The Architecture team met at the start of the week and quickly agreed on a direction: we were going to build a fully functional Ouija board machine. That decision shaped everything, from the mechanics to the storytelling. You can find the complete Machine Week documentation here: https://fab.cba.mit.edu/classes/MAS.863/Architecture/Machine-Week.html

Cursor Design Team
I joined the Design team and especially the Cursor Design subteam.
Our group worked on making the cursor both look right and work right. We addressed everything from the first measurements to the final paint job and testing. Here’s how it all happened.
Figuring Out the Look
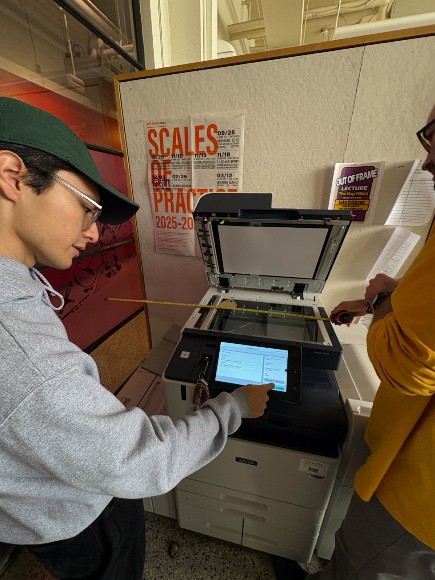
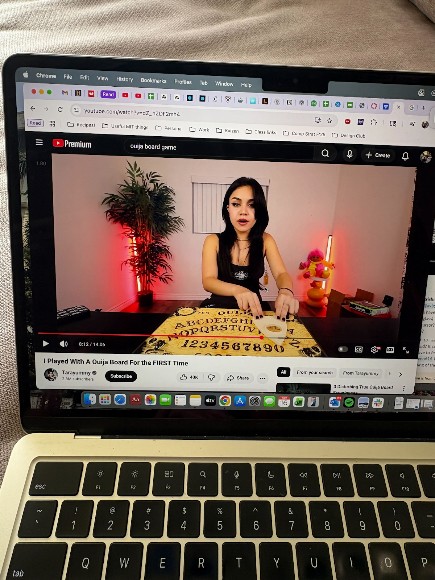
We started by buying a commercial Ouija board just to see how these things are supposed to feel and sit on a board. We measured everything - its proportions, how high it sits, how the viewing hole lines up with the letters, all of it. That gave us a clear idea of how our version should behave.
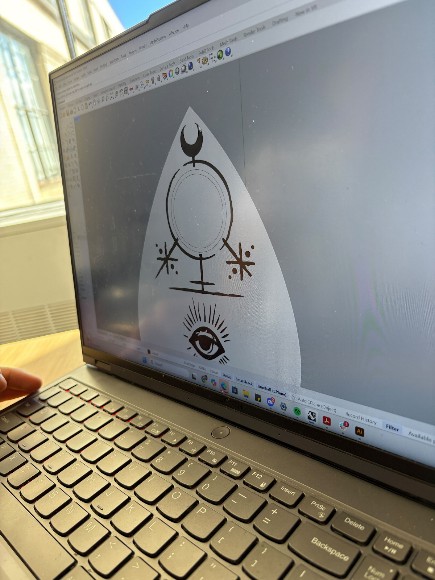
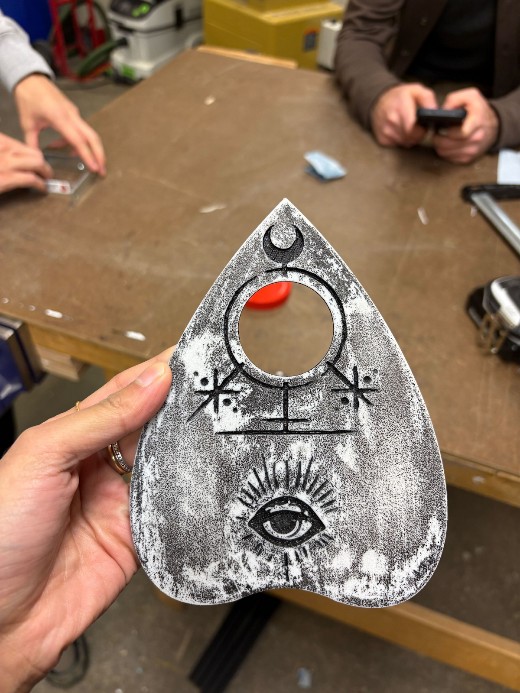
With that reference in mind, we began sketching. We focused on making sure the decorative lines matched the style that Adin, Alex, and their team designed for the board. Once we were happy with the sketch, I worked with Rodrigo to turn it into clean vector artwork so we could engrave it on the top of the cursor. The whole point was to make the cursor look like it really belonged with the rest of the board.
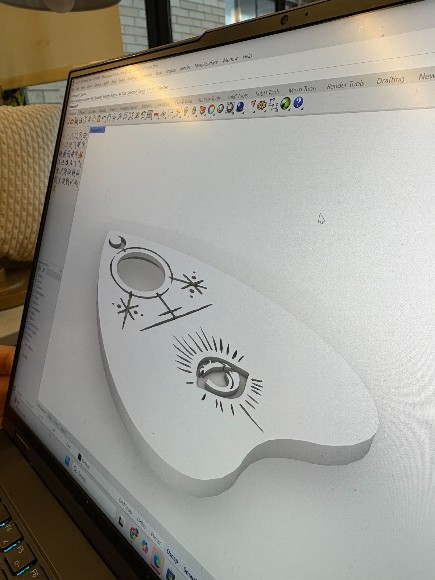
Building the Shape in CAD
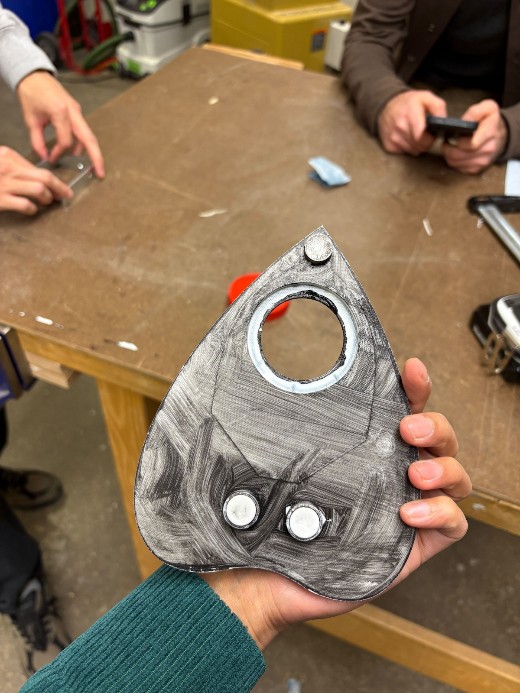
After the drawings were ready, we modeled the whole thing in Rhino. I helped shape the outline, place the legs underneath, and add the magnet pockets that let the cursor connect to the system under the board. Those pockets had to be lined up just right with the moving magnets below so the cursor would actually follow them.
I also worked on sizing the through-hole for the convex lens, the little window that points to the letters. While modeling, we tried to keep the cursor strong but not too heavy so it could slide smoothly without feeling flimsy.
Printing, Painting, and Testing
Once the 3D model looked good, we printed it in white PLA. The print came out with the usual layer lines, so we sanded everything down to make it smoother. Then we painted the engraved artwork black and left the rest lightly sanded so it had a sort of vintage grey finish.
After the paint dried, we glued the magnets into the pockets on the bottom and popped the convex lens into the front hole. Then we tested the finished cursor on the real machine - checking that it moved smoothly, stayed aligned with the magnets underneath, and pointed to the letters cleanly.
Video Production Team
This week I also worked with Aditi and Rodrigo on the video side of our project. I helped by shaping the story, planning scenes, and figuring out how to tie everything together. Rodrigo brought his camera and together with Aditi we handled most of the filming and directing on set. We ended up producing two videos, each with a totally different tone:
- Documentary Video: it has a structure that mixed the “why” and the “how” - why a Ouija board, how each subsystem (gantry, end effector, electronics, cursor) worked, and how everything came together. We organized interviews with key contributors, making sure the video showed both what we built and how we collaborated.
- Music-Video Story: This one let us get way more creative. We built a full narrative about a lonely girl who falls in love with a spirit and disappears into the spirit world at the end. Aditi drove the artistic direction; I contributed by helping outline the story, mapping out each scene, casting our section members, directing performances, and also playing a key part (check the video! :P). The whole thing was loosely inspired by a Taylor Swift music video.