
Introduction
This week was all about molding and casting.
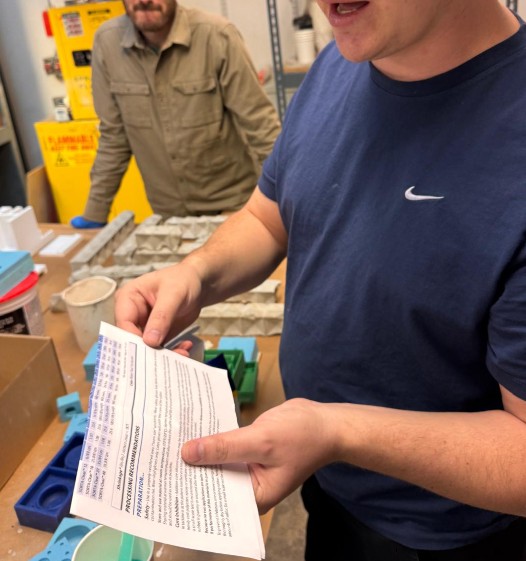
The group assignment focused on reviewing the Safety Data Sheets (SDS) of different molding and casting materials, making test casts, and comparing their performance.
The individual assignment required designing a mold tailored to the chosen process, aiming to minimize toolmaking paths and optimize the casting workflow.
Group Assignment
I joined Gert’s Friday session, where we experimented with two materials: silicone and cement.
For silicone, we used OOMOO, a line of tin-cure (RTV) silicone rubbers made by Smooth-On. It’s designed for simplicity:
- Mix ratio: 1:1 by volume - no precise scale required.
- Low viscosity: easy to pour around detailed models.
- Room-temperature curing (~23 °C / 73 °F): usually no vacuum chamber needed thanks to its fluidity.
For cement, we tested Rockite, a rapid-setting hydraulic cement. Mixed with water, it becomes a pourable paste that sets within ~15 minutes and reaches high compressive strength (~4,500 psi / 31 MPa) within an hour.
In both cases, thorough mixing and gentle shaking of the mold were essential to remove trapped air bubbles.
Individual Assignment
I decided to have some fun with this one and design something playful – a skatepark-shaped ashtray. No deep reason; I just wanted a cool project to practice Fusion 360 and casting.
Design
When designing for casting, I kept several things in mind:
- Avoid thin walls – they tend to break when demolding.
- Add draft angles to vertical surfaces for easier mold removal.
- Avoid undercuts or geometries that trap the mold.
- Design parts for simple parting lines and easy mold alignment.
- Ensure uniform wall thickness to prevent uneven curing or cracking.
You can find the ashtray file here.
Version 1: plaster + one-step mold
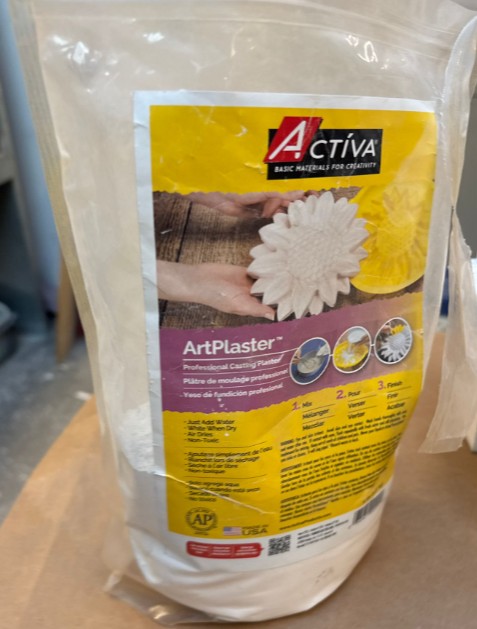
For the first version, I used ACTÍVA Art Plaster Professional Casting Plaster, a fine, fast-setting plaster designed for mold-making and sculpting.
- Mix ratio: approximately 2 parts powder : 1 part water (by volume).
- Working time: ~10 minutes.
- Set time: about 30 minutes, then air-dries.
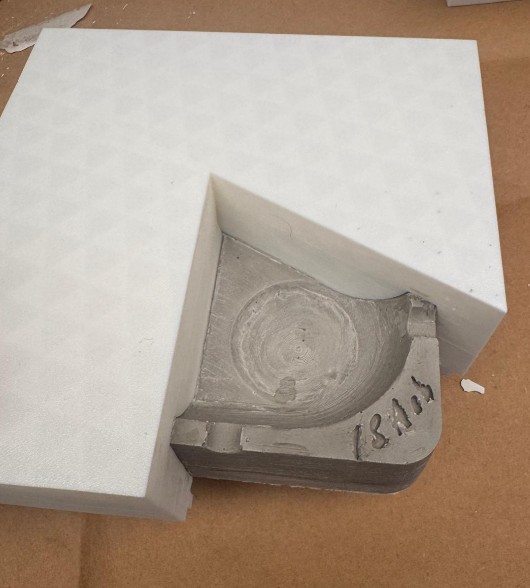
I created a five-part PLA mold – three main body pieces, one lid, and a base to hold everything in position. During printing, I enabled the “ironing” option to make the top layers smoother (though the effect was minimal).
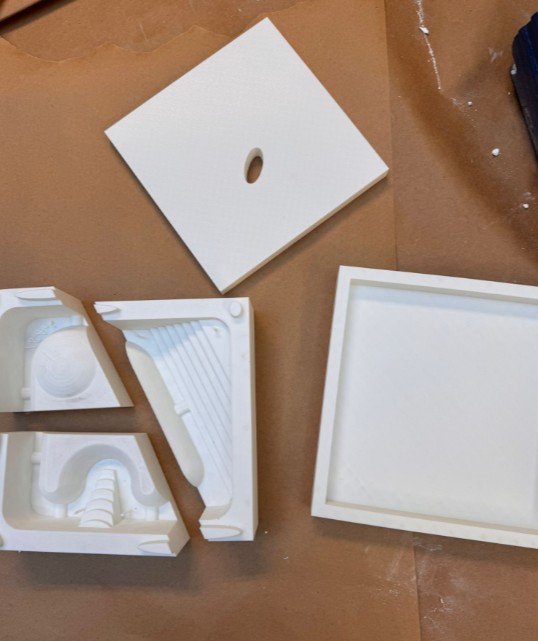
After sanding to remove print marks, I coated the mold with Vaseline as a release agent, poured the mixed plaster, and left it to cure for 24 hours. Demolding went well, but one small section broke off.
The overall look was nice, but plaster was too soft and fragile for the durability I wanted.
You can find the mold files here.
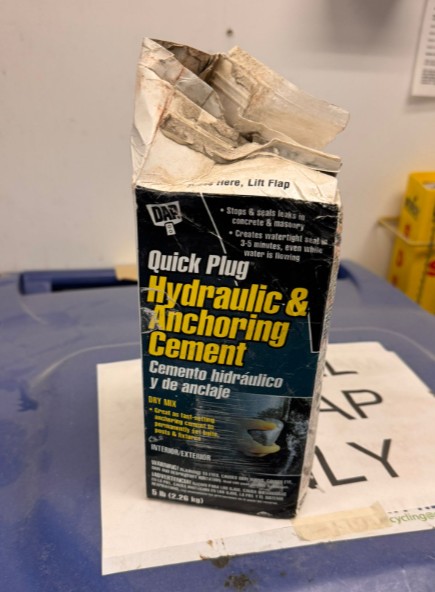
Version 2: DAP Cement + one-step mold
While waiting for Rockite to arrive, I reused the same mold with DAP Quick Plug Hydraulic & Anchoring Cement. This is a rapid-set hydraulic cement formulated to stop leaks and anchor fixtures.
- Mix ratio: about 3 parts powder : 1 part water.
- Initial set time: 3–5 minutes.
- Full cure: up to 28 days.
It’s very strong and watertight, but also brittle once cured, so it’s not ideal for pieces that might take impact. After pouring, I let it cure for a full day.
The texture and look were great – it resembled an old, worn skatepark, which fit the concept perfectly. However, the piece still felt fragile and could easily chip if dropped.
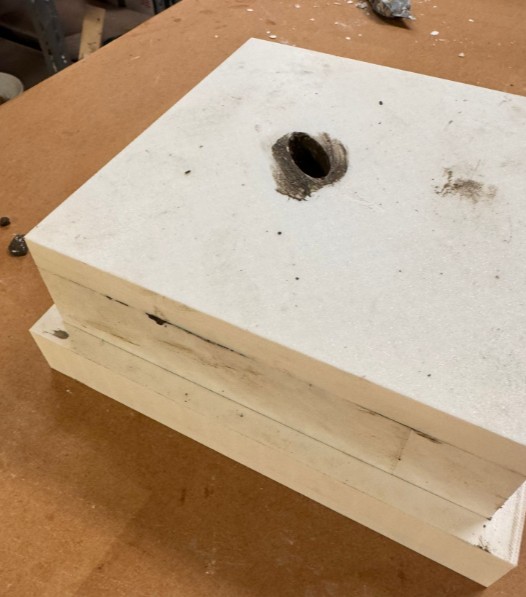
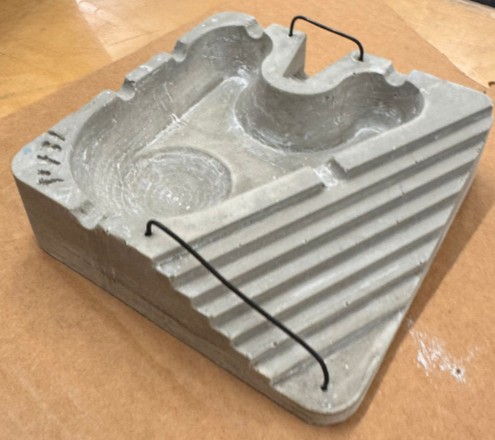
Version 3: Rockite + one-step mold
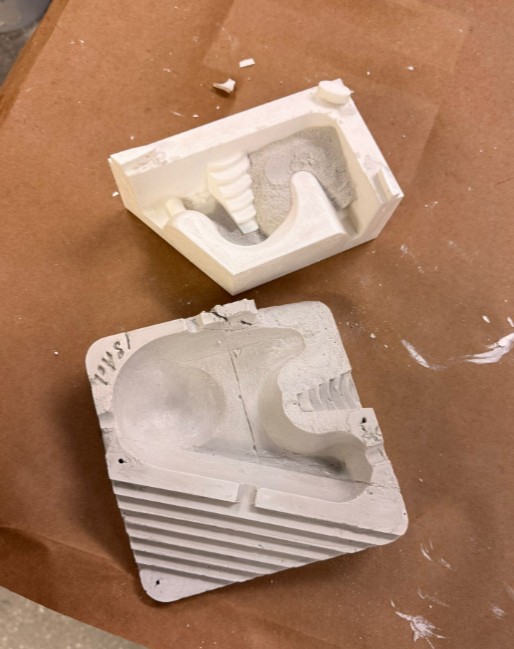
Once Rockite finally arrived (thank you, Mr. Bezos), I redid the pour using the same mold. This time, I was careful to apply only a thin layer of Vaseline with a brush to avoid surface defects caused by excess release agent.
I poured the mix, let it sit overnight, and demolded it the next day.
The process went smoothly, and after a quick sanding, the final piece looked clean and solid.
Among all materials tested, Rockite clearly gave the best result – strong, smooth, and consistent.
Version 4: Rockite + Two-step mold + Pigment
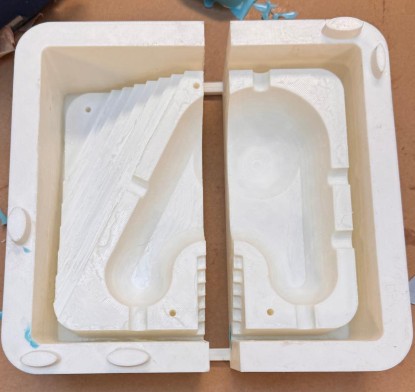
For this last pour, I decided to experiment with a two-step molding process – first creating a silicone negative mold, then using it to cast the final ashtray in Rockite.
I went back into Fusion 360 and designed a two-part positive mold in which to pour silicone. The idea was to minimize silicone use by designing thin walls and compact cavities. In hindsight, that wasn’t the best decision: the thin walls lacked rigidity and couldn’t stand vertically on their own, which made assembly and pouring more challenging.
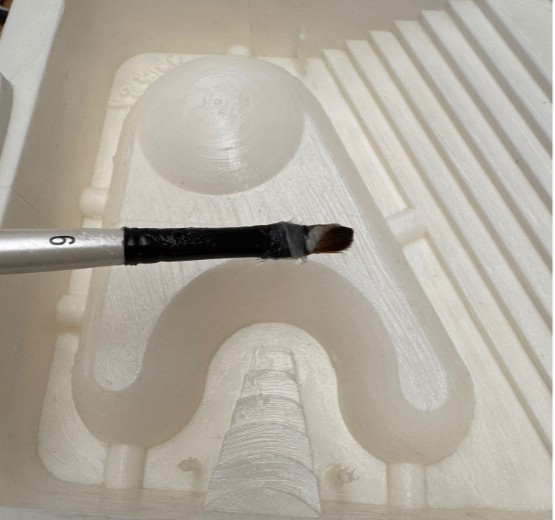
I printed the mold in PLA, sanded the inner surfaces, and applied a thin coat of Vaseline to prevent the silicone from sticking to the plastic.
You can find the mold files here.
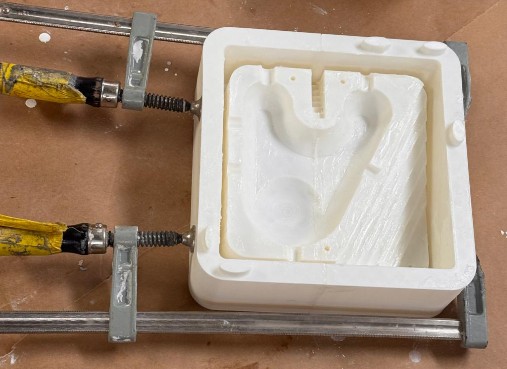
I mixed the silicone according to the manufacturer’s 1:1 ratio and began pouring into the mold. Because silicone quantity was limited, I decided not to fill the mold completely to the top – my plan was to later add a final layer using Rockite from the lab to save material.
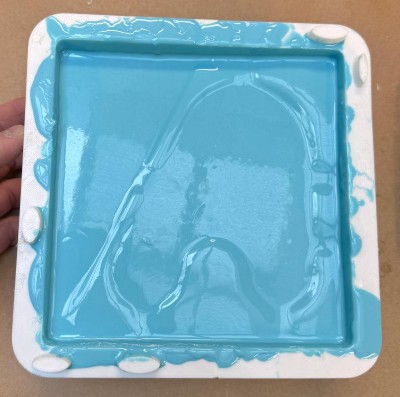
That shortcut ended up creating some problems. The “Rockite” I used for the top layer wasn’t actually pure Rockite – it had likely been mixed or contaminated with another material – and as a result, those upper layers cured extremely brittle. The base of the mold became fragile and slightly uneven.
After letting everything cure for a full day, I demolded the silicone. The result was decent overall – not perfect, but functional. The detail capture was fine, but the thin walls and uneven bottom made it a bit unstable. I’d rate it roughly a 6/10 in both look and performance.
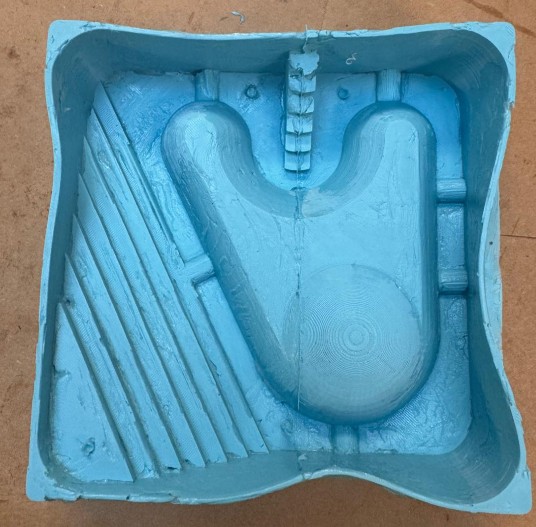
To stabilize the silicone mold, I went back to Fusion 360 and designed external support walls matching the slope and inclination of the silicone surfaces. I printed these supports in PLA, allowing the silicone to sit snugly inside and maintain its intended geometry. This reinforcement worked perfectly – the mold was now stable, well-aligned, and ready for casting.
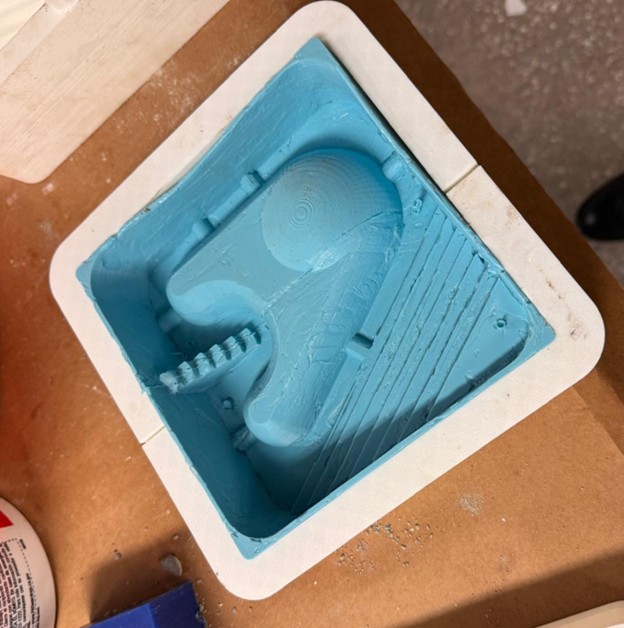
MOLD IS READY!
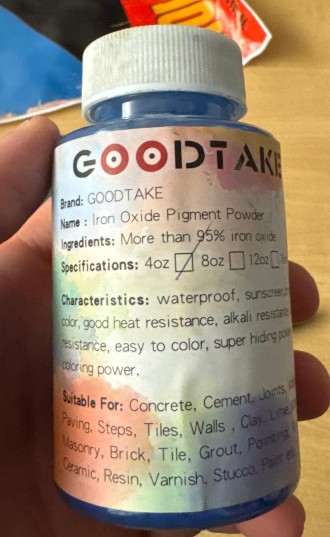
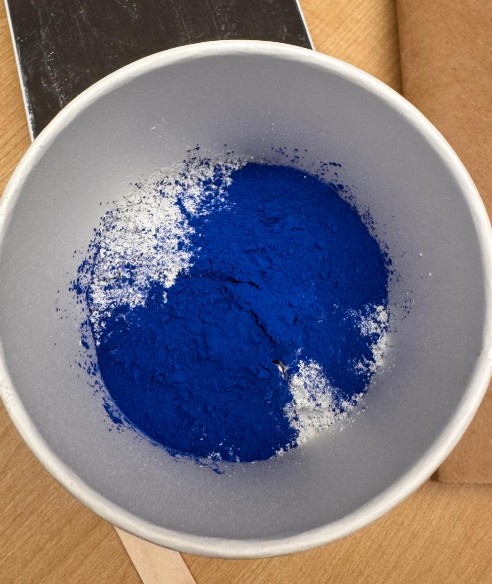
For the casting material, I again used Rockite, but this time I wanted to add color. I mixed it with GOODTAKE Iron Oxide Pigment Powder, a fine natural pigment designed for coloring materials like concrete, plaster, and resin.
The manufacturer recommends using 3–10 % pigment by weight, so I went for a 5 % mix ratio relative to the amount of Rockite. The pigment is waterproof, non-toxic, and known for its “super hiding power”, meaning it tints materials strongly even at low concentrations.
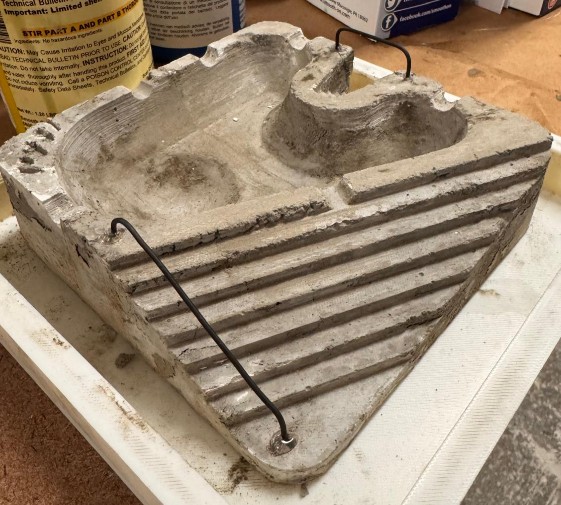
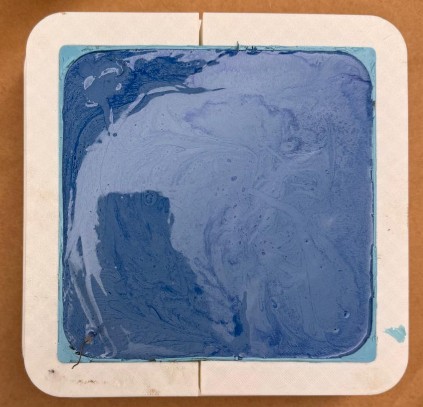
I mixed the Rockite and pigment together before adding water to ensure uniform color distribution. Then I added water gradually until reaching a smooth, pourable consistency – roughly 4 parts powder : 1 part water. After mixing thoroughly, I poured the colored Rockite into the silicone mold, gently tapping the sides to release trapped air bubbles.
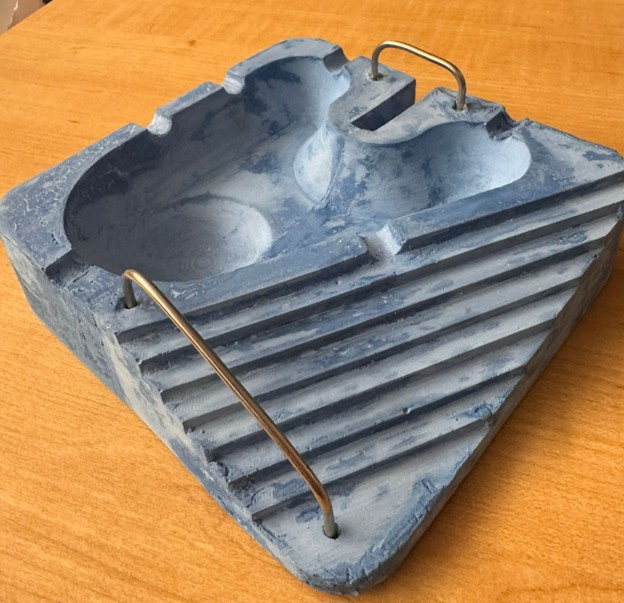
After letting the cast cure overnight, I demolded it carefully. The result was solid and consistent, similar in strength and surface finish to the uncolored Rockite version. The color came out evenly distributed, producing a clean, stone-like tone that felt both refined and durable.
This experiment gave me an idea for a two-tone “pool ashtray” version: I could pour blue-tinted Rockite into the “pool” section and gray Rockite into the ramps and edges, creating a visual effect reminiscent of a concrete skatepark with a water-filled bowl. Unfortunately, I ran out of Rockite and time this week, so that will have to wait for a future iteration.
Despite a few issues with material quantity and thin mold walls, this final version was the most educational and complete. It confirmed that Rockite is the most suitable material for my application – strong, fast-curing, and visually satisfying – while the two-step mold opens up creative possibilities for future projects (like multi-color casting or resin combinations).
Final Project
Please note that for my final project I casted silicone wheels. It is well documented in my final project page.