Introduction
For this week, the group assignment is to do the lab's safety training and characterize the lasercutter's focus, power, speed, rate, kerf, joint clearance and types. On the individual side, this week’s assignments focused on three areas: (A) designing a construction kit to learn the laser cutter, (B) practicing with the vinyl cutter, and (C) beginning the development of our web page. In what follows, I will concentrate primarily on A and B, while C remains a work in progress that will evolve throughout the semester.
Group Assignment
For the group assignment, I scheduled with Jen a slot to conduct the lab safety training. Then, on Friday, we had our first hands-on introduction to the fabrication tools, where Gert walked us through the operation of both the Roland GX-24 vinyl cutter and the Epilog Legend 36EXT laser cutter. After the training, we experimented as a group with a sample cardboard material to dial in appropriate cutting parameters. Once we had a rough sense of how the material behaved under the laser, we moved on to the cardboard that would actually be used for the assignment.
Together with Gert, we determined that on the 75-watt laser, clean cuts were achieved using two passes at a speed of 20, power of 25, and a frequency of 500. With reliable cutting settings established, we then shifted our focus to measuring the laser kerf.
We estimated the cardboard thickness to be approximately 6.2 mm and decided to evaluate the kerf in both cutting directions. To do this, we used a kerf-testing file generated by an online tool that had been shared on a previous HTMAA project site. Using this file, we laser-cut two kerf test pieces and evaluated how the slots fit together. Based on these tests, we found that a slot width of 6.15 mm produced the best fit, corresponding to a laser kerf of approximately 0.025 mm.
Individual Assignment
A - Construction Kit
Approach
I set three objectives for this project. First, I wanted to use it as a chance to strengthen my skills in Fusion 360, which will be essential for both future assignments and the final project. Second, I aimed to push myself toward something ambitious, while still realistic to complete. Third, I wanted the result to feel meaningful, not just an arbitrary design exercise.
Inspiration
Looking at previous years’ work, I noticed two common strategies: start with a concrete design and modularize it, or design modular parts and assemble them into an abstract form. I chose the first. After brainstorming, I narrowed my options to three: (1) a chessboard with interlocking tiles and simple pieces, (2) a stylized animal head inspired by a geometric trophy gifted to me, or (3) a stadium, which naturally lends itself to modular repetition. The chessboard seemed straightforward, while the animal head was beyond scope. I settled on the stadium and, since I am Italian, I called it the COLOSSEUM.
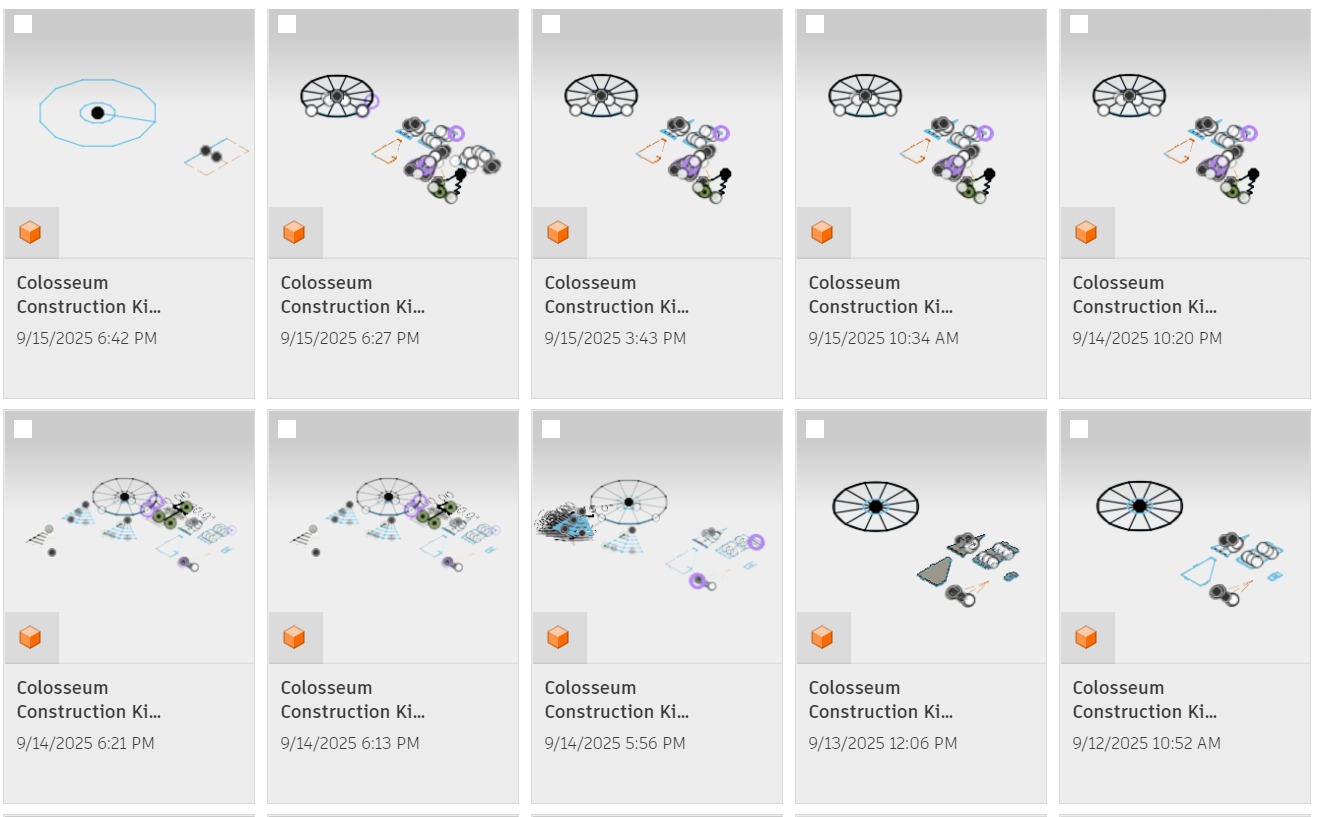
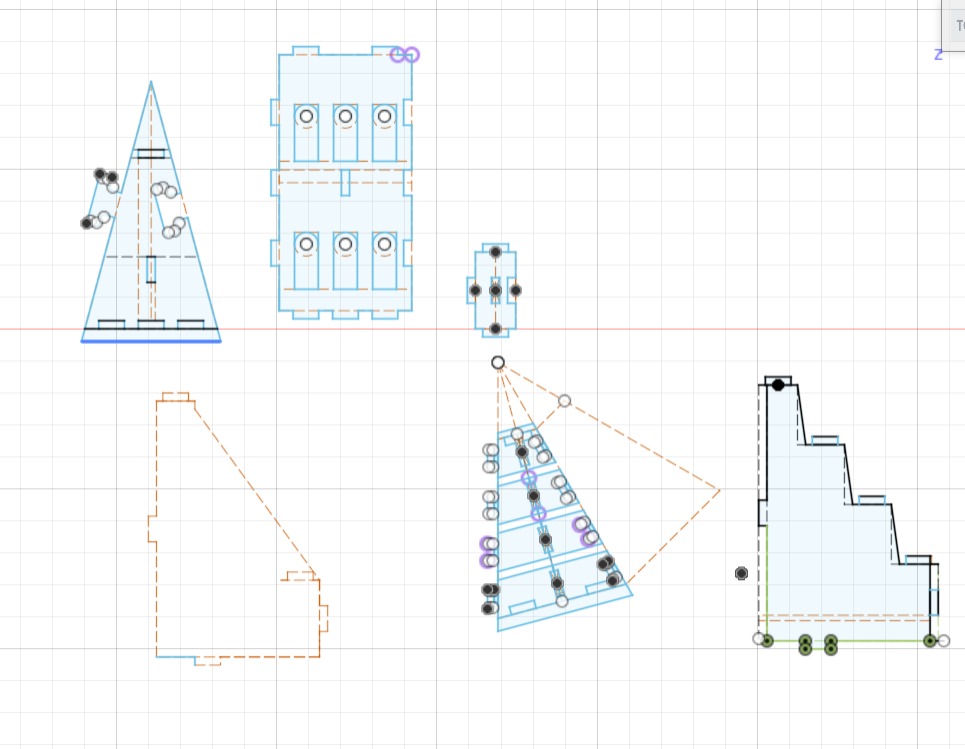
Design
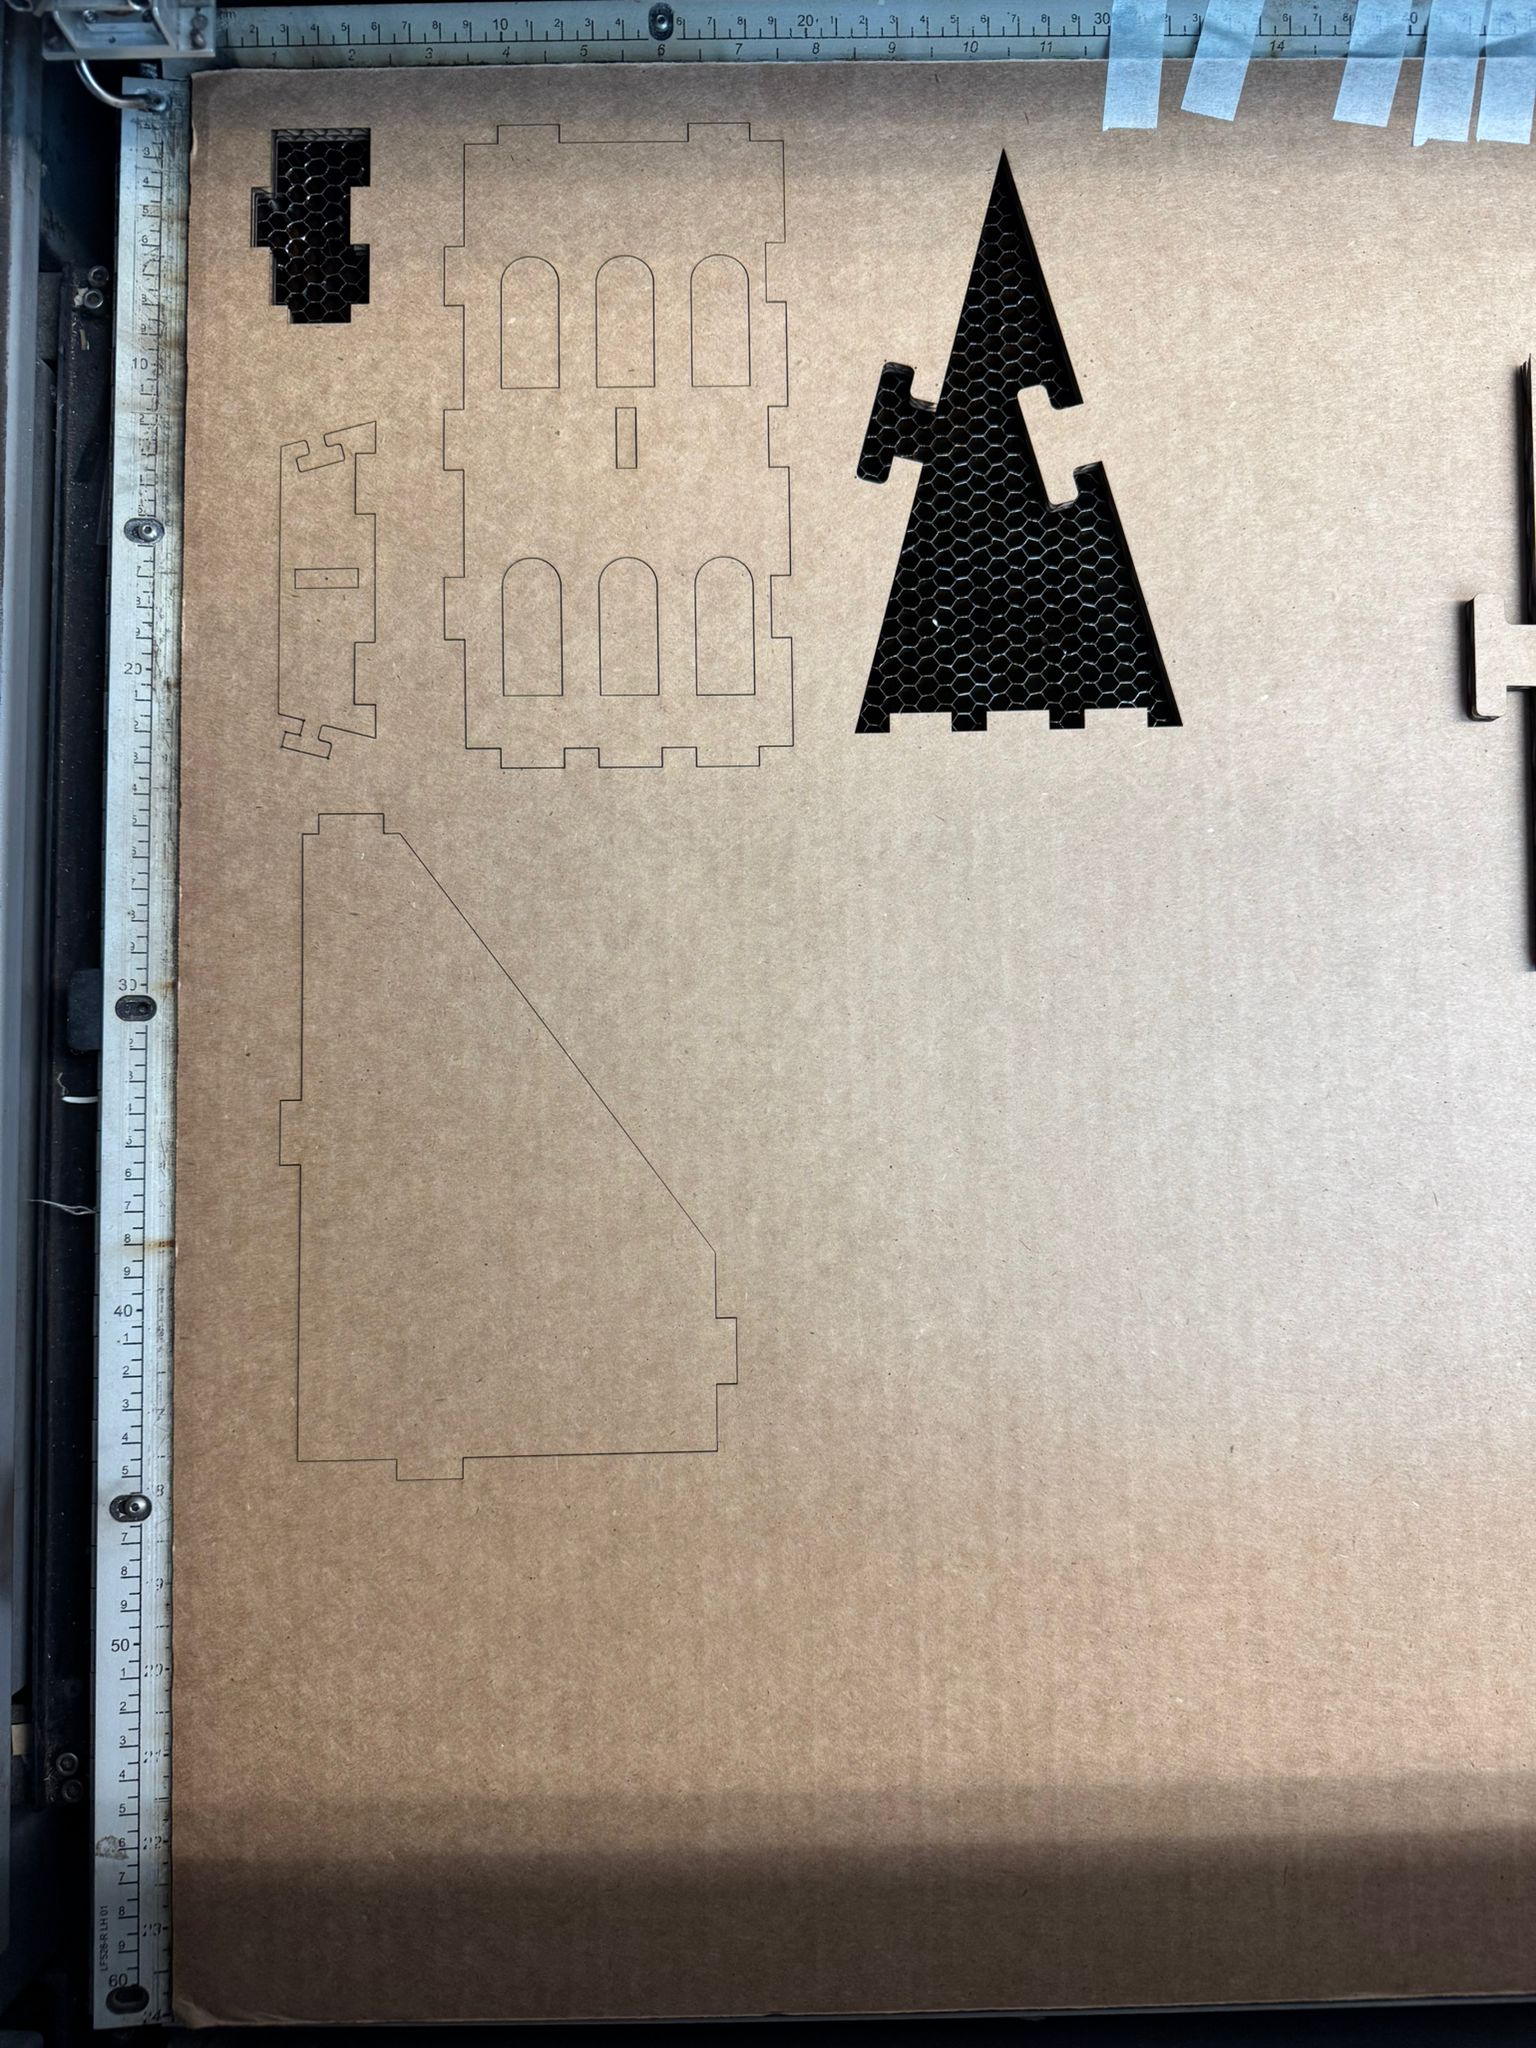
I reimagined the Colosseum as a dodecagon, which allowed me to repeat the same module 12x times. Each module consisted of a base plate, an exterior wall with arches, an interior wall, an internal support wall, and four stands. For this assignment, I focused on 2D design rather than 3D. Reaching the final version took several iterations over 5 to 6 hours of Fusion 360 design.
You can download the file here .
Cutting
Learning to use the laser cutter was fairly intuitive once I had tested it. I experimented again with different joints to evaluate their fit, and with cut depths to match the cardboard thickness. I eventually standardized on 6.35 mm to allow different joint types. One key discovery was that sometimes two passes were needed to fully cut through the material.
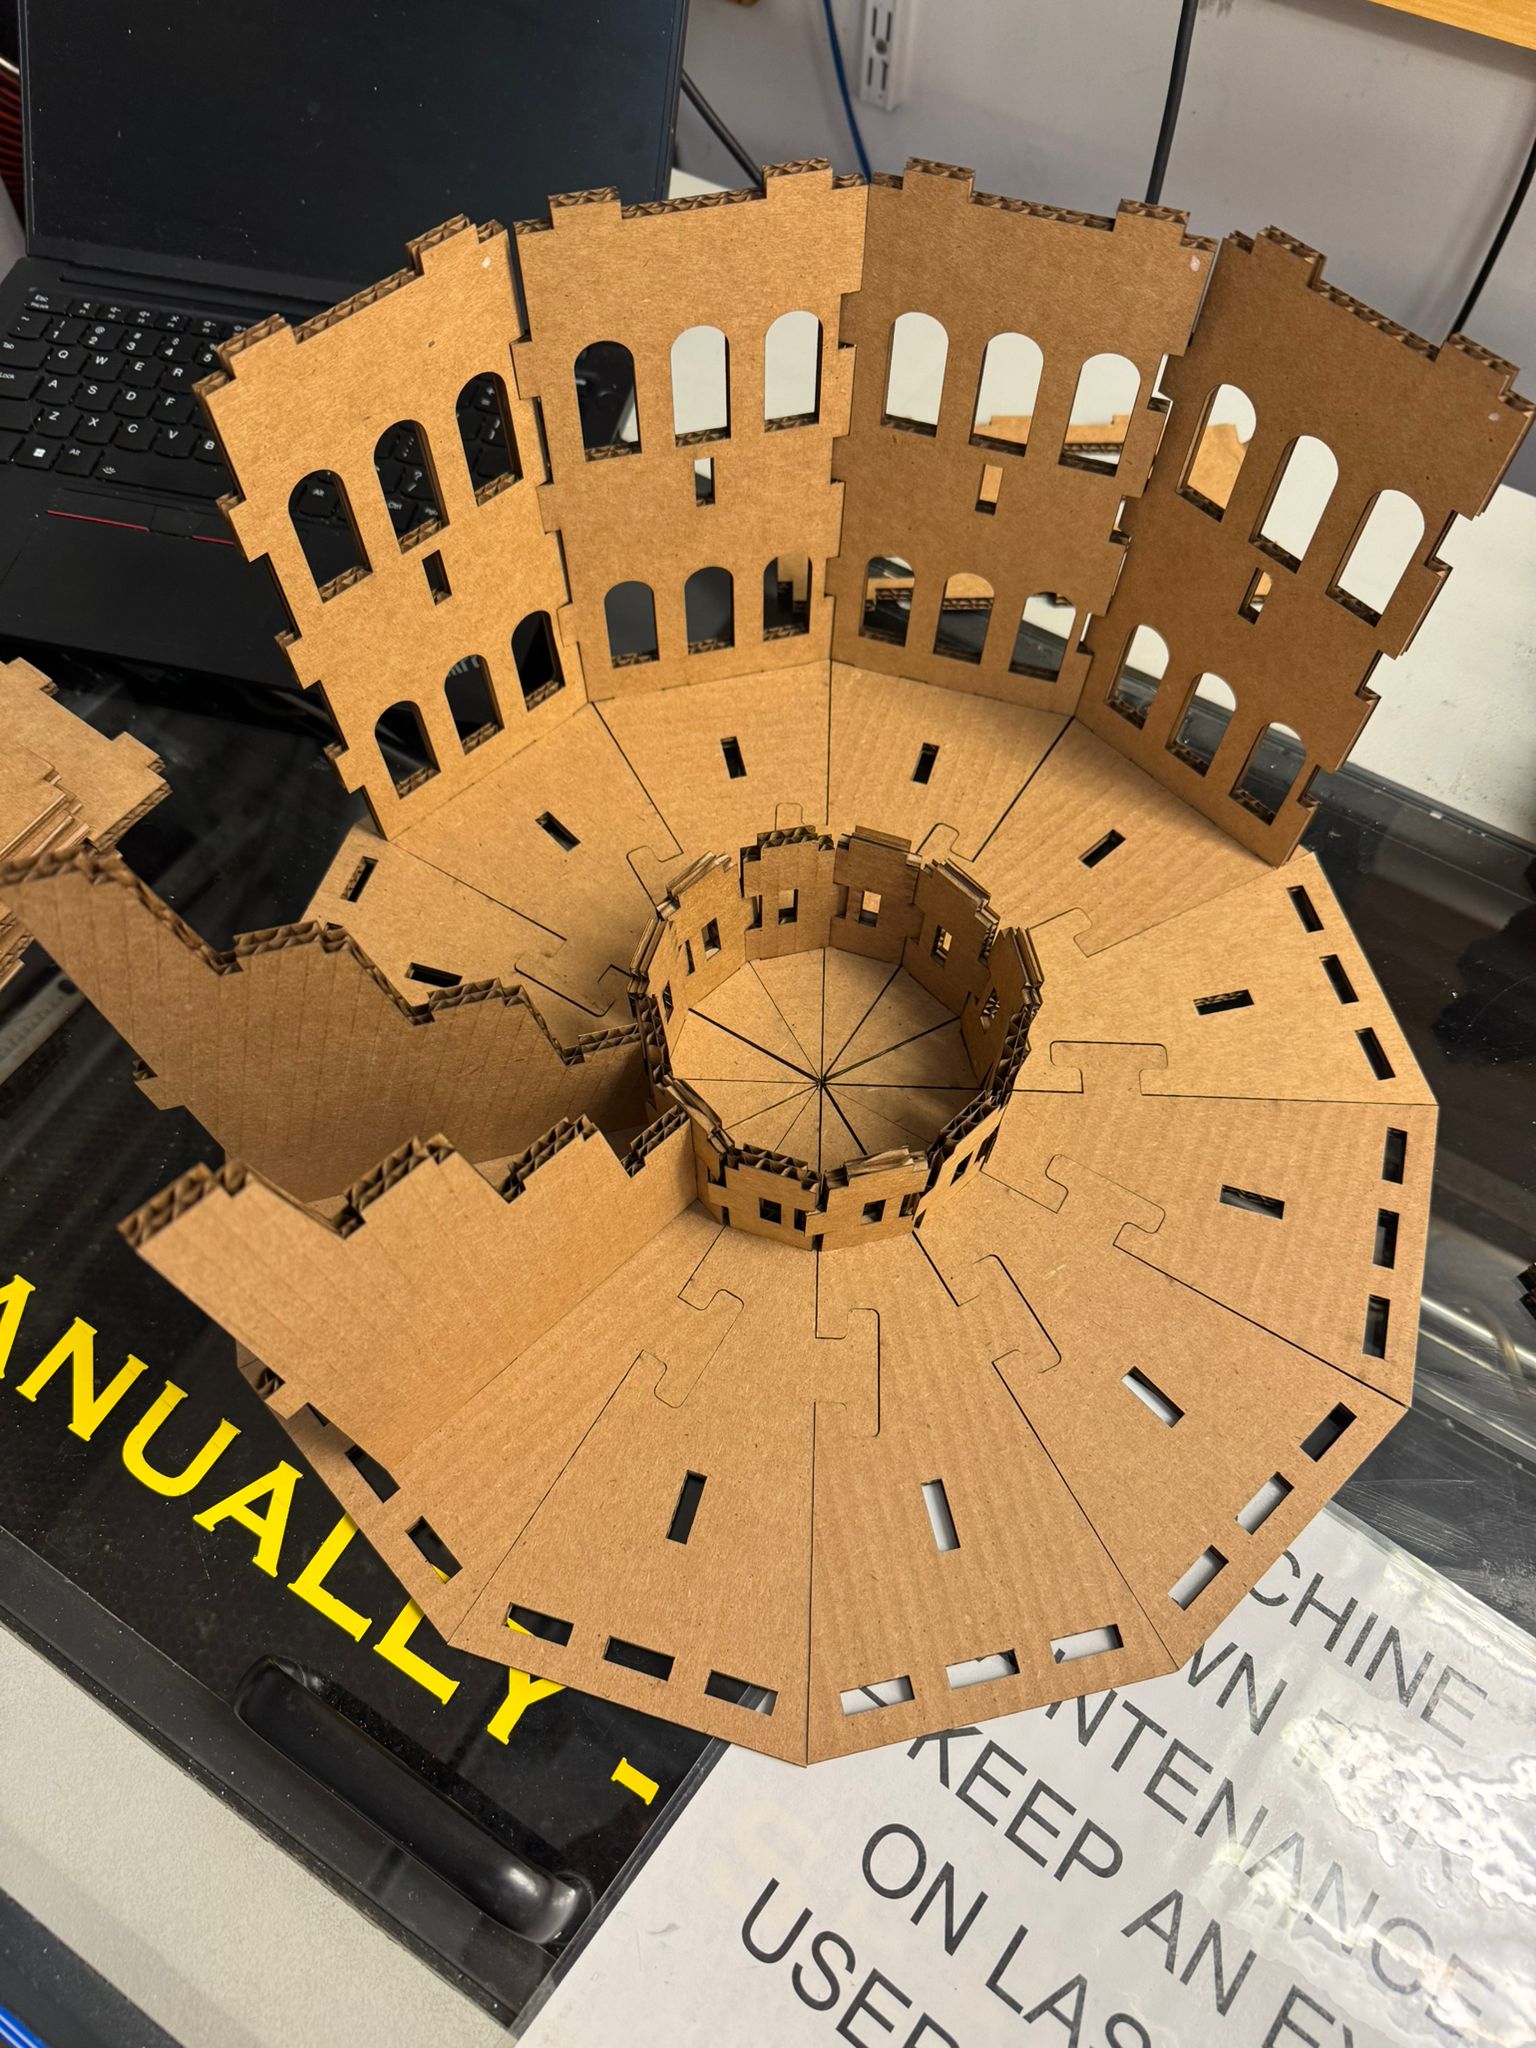
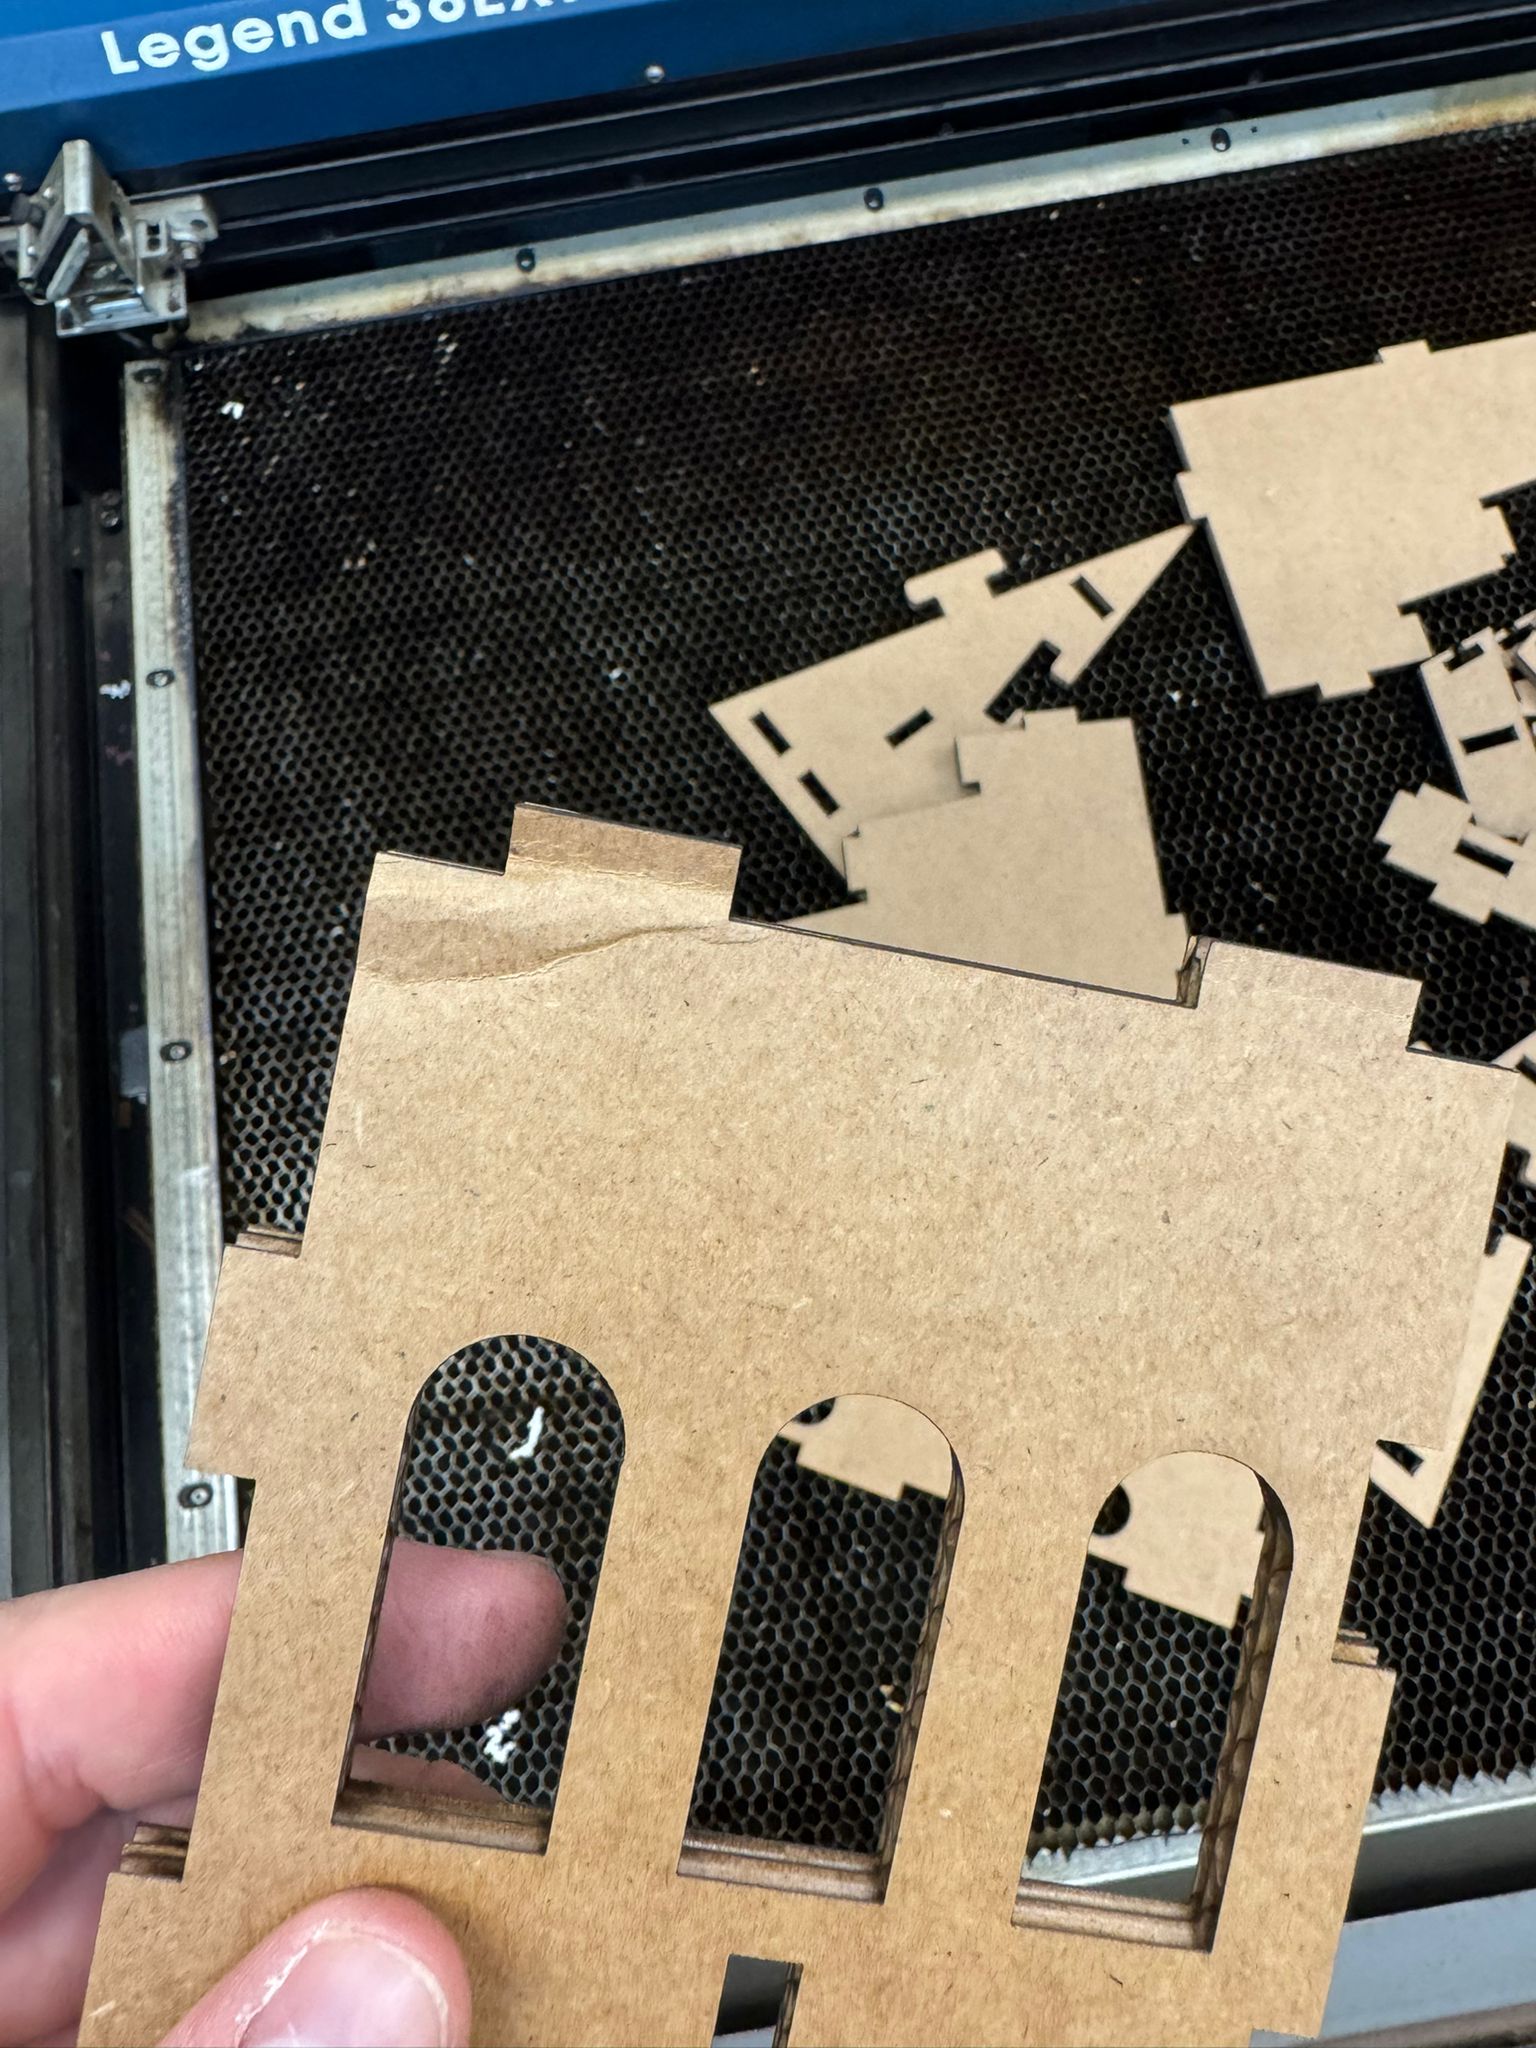
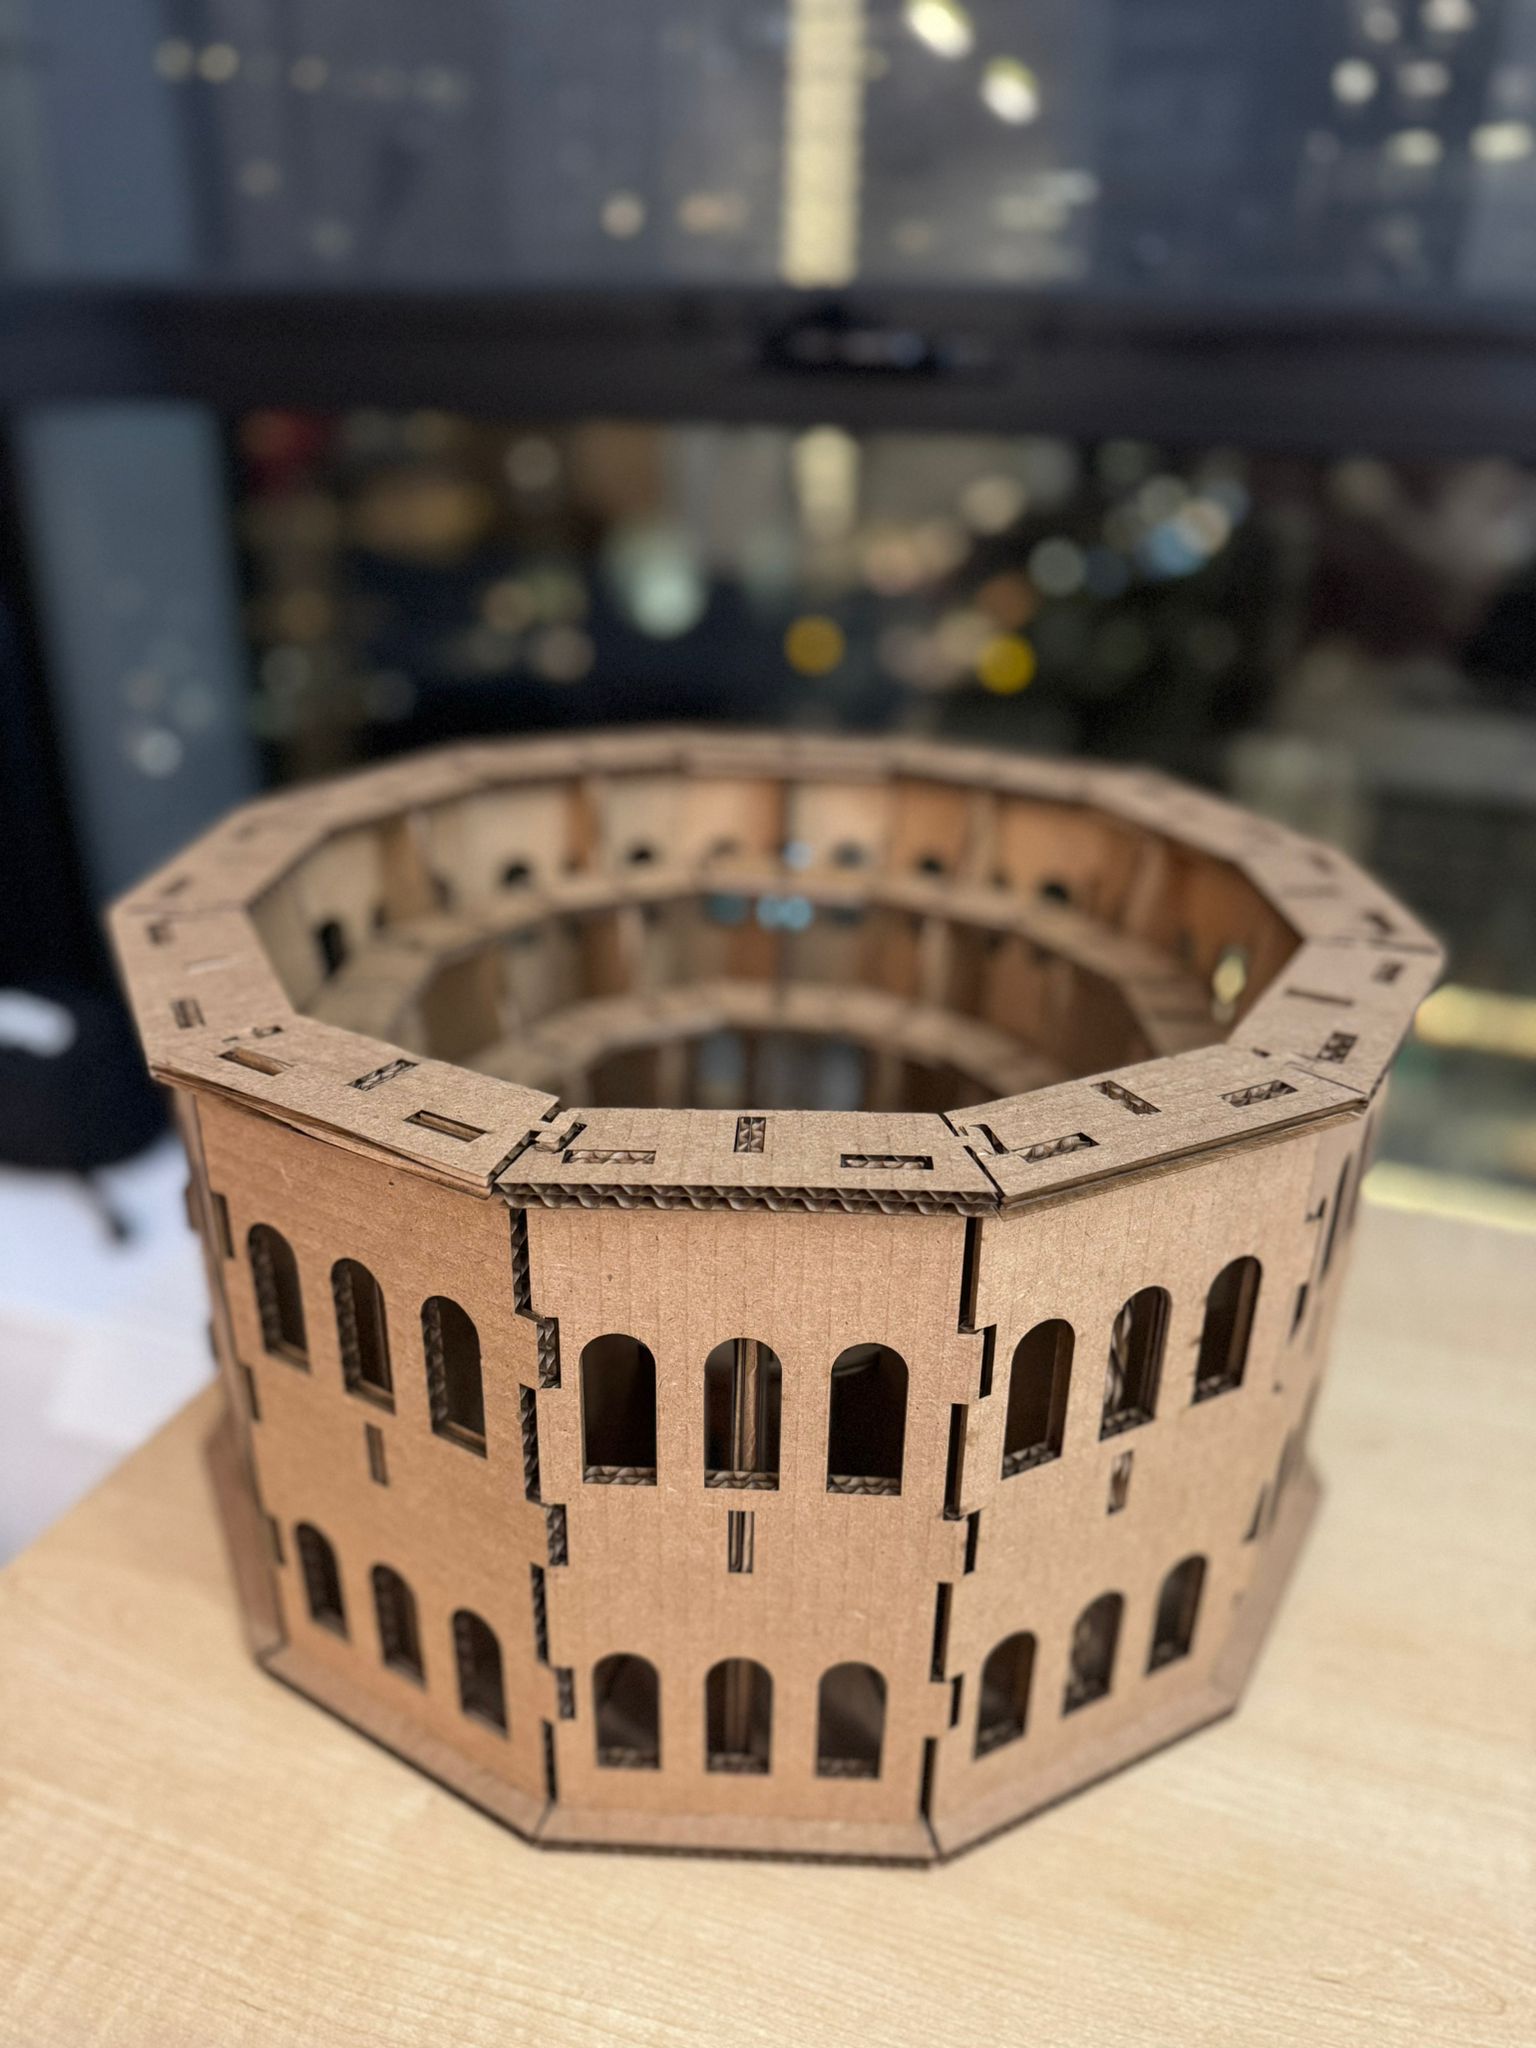
Final Product
The finished model resembles the Colosseum more closely than I expected, and I was impressed by how well the joints fit together, especially given that the build required 96 individual parts. The structure feels surprisingly sturdy and holds together well.

Takeaways
- Account for cut line width when designing.
- Avoid printing too close to cardboard edges to prevent warping.
- Plan ahead for the Fusion 360 to Rhino export process.
- Joints that are too small will snap under stress.
- Incomplete cuts often require a second pass before removing the piece.
- Think assembly through - cardboard is flexible, other materials are not.
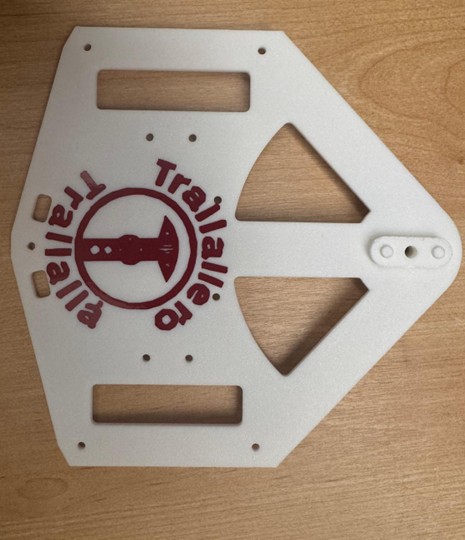
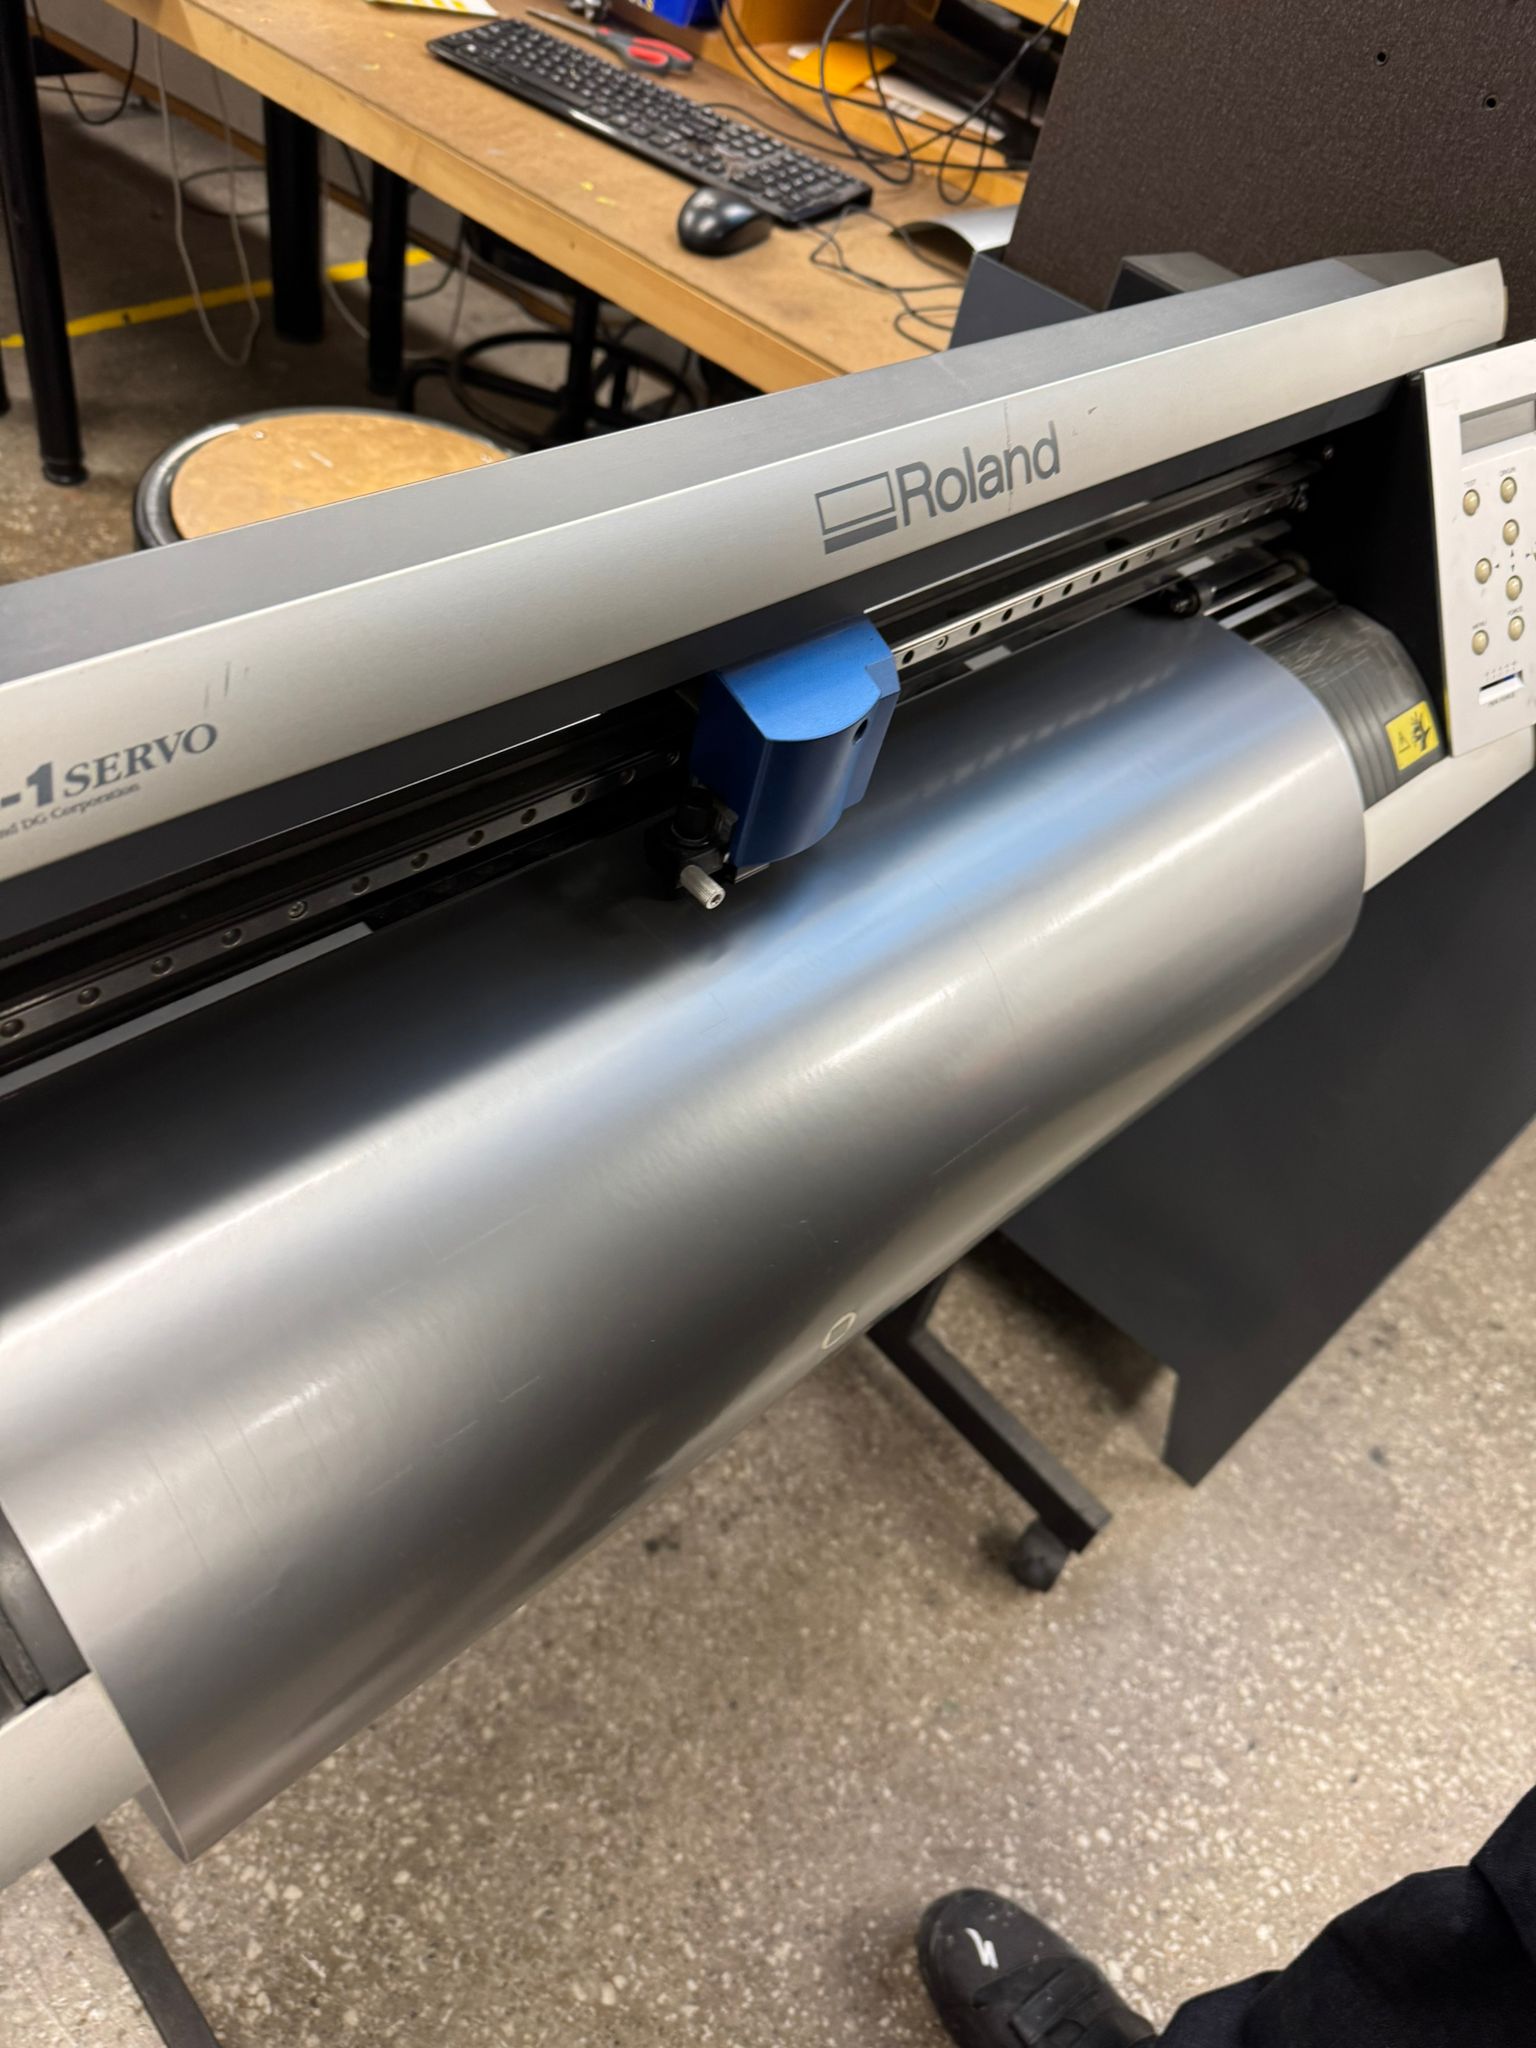
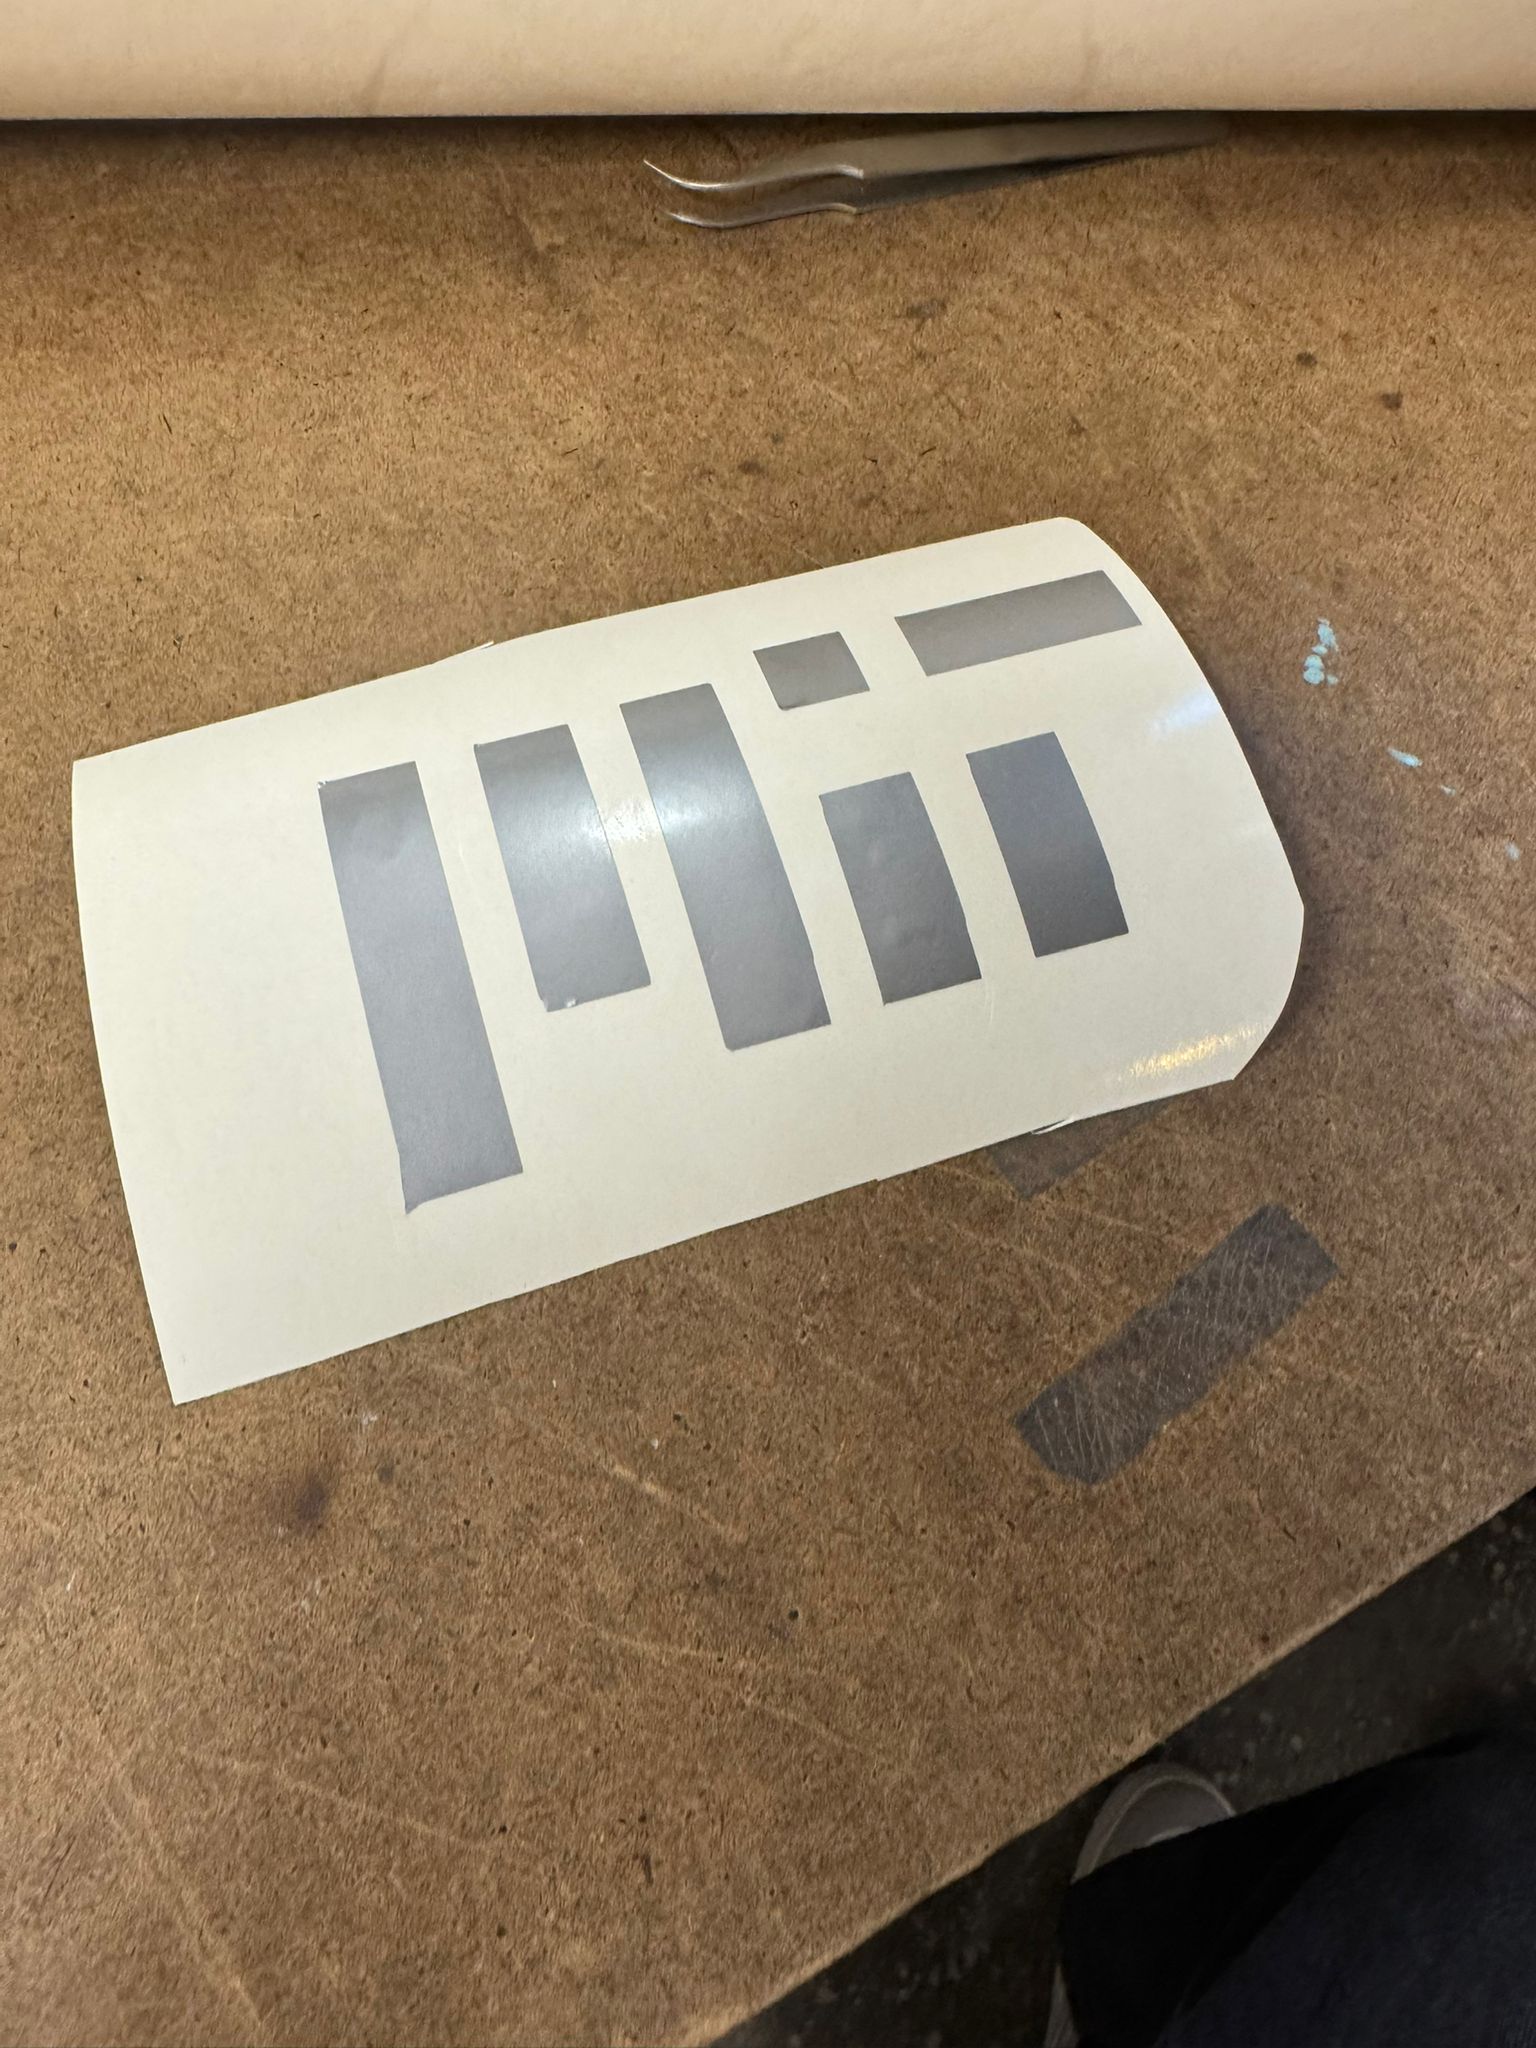
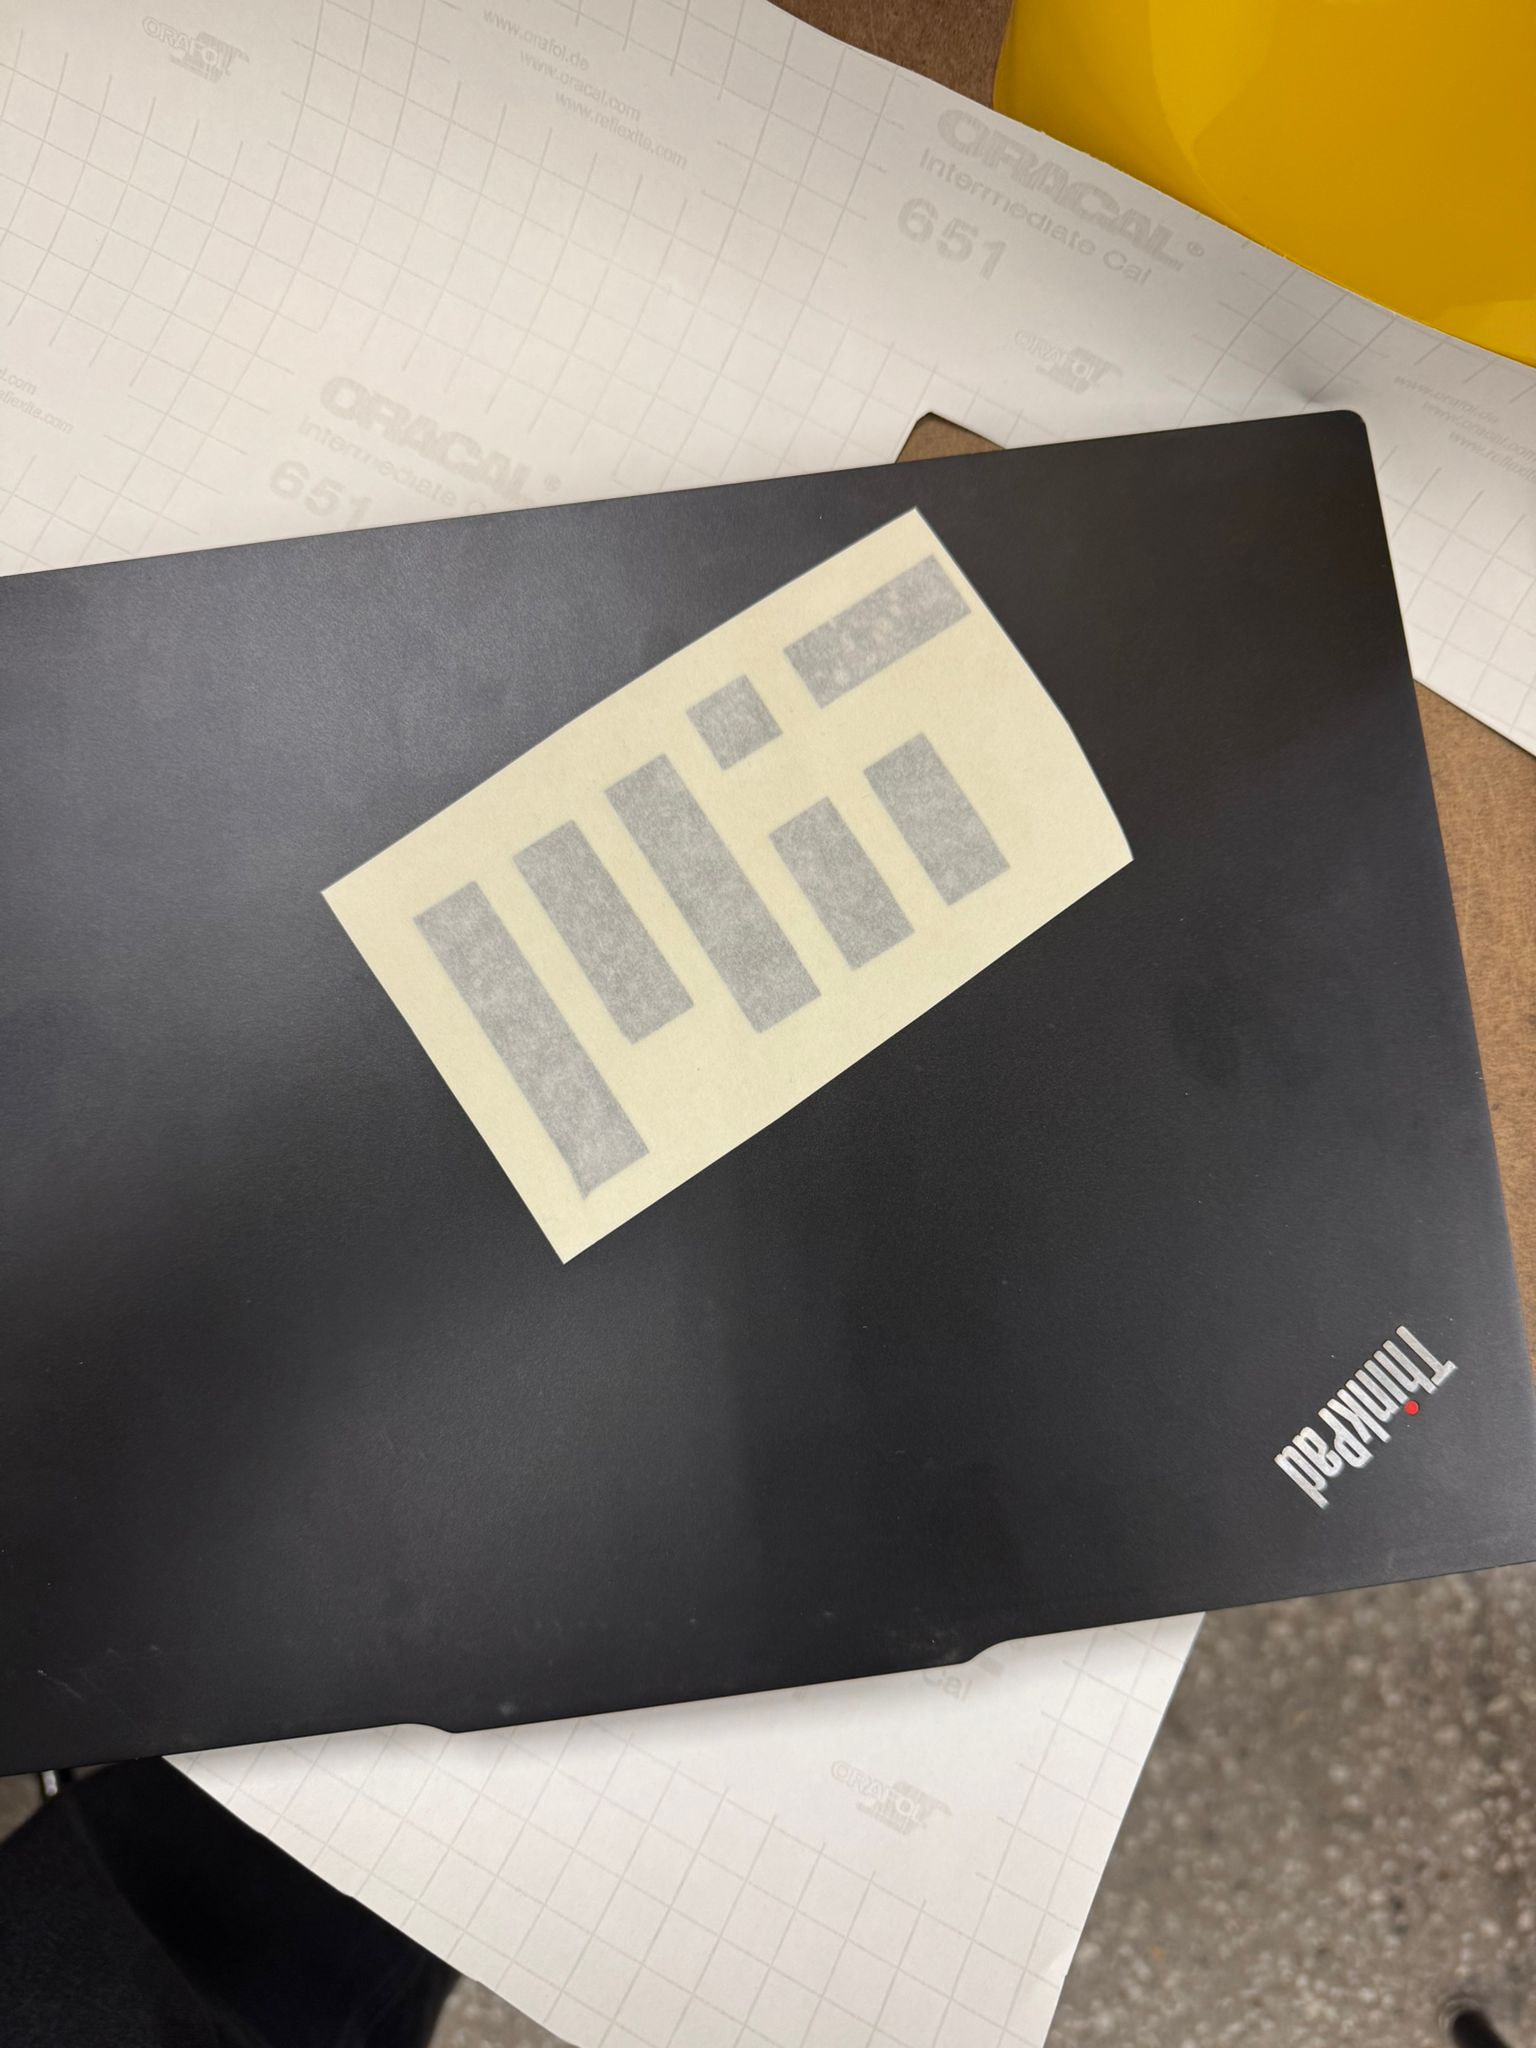
B - Vinyl Cutter
Learning to use the vinyl cutter was relatively straightforward, but it still required quite a bit of trial and error. Along the way, I picked up three key lessons:
- Follow the instructions on the Arch website carefully.
- Double-check that the origin is set correctly before starting.
- Make sure there is enough clearance behind the machine so the roll can move freely without touching anything.
Please note that as part of my final project, I have also created other stickers. Their manufacturing process is documented in the Week 14 page of the Final Project page.