
Introduction
This week’s topic is embedded programming. As part of the assignment, I had two main tasks: (A) build a microcontroller, and (B) write and test programs that allow the microcontroller to interact and communicate. On the other hand, the group assignment has been to demonstrate and compare the toolchains and development workflows for available embedded architectures.
Group Assignment
For the group assignment, we met as a group on Thursday afternoon. We have uploaded our documentation here .
Individual Assignment
A - Microcontroller Assembly
To build my microcontroller, I attended the evening recitation (7–8:30 pm). The room was packed. Anthony kicked things off with a great demo on soldering, showing both flux and solder paste techniques. It all looked straightforward - until I tried myself.
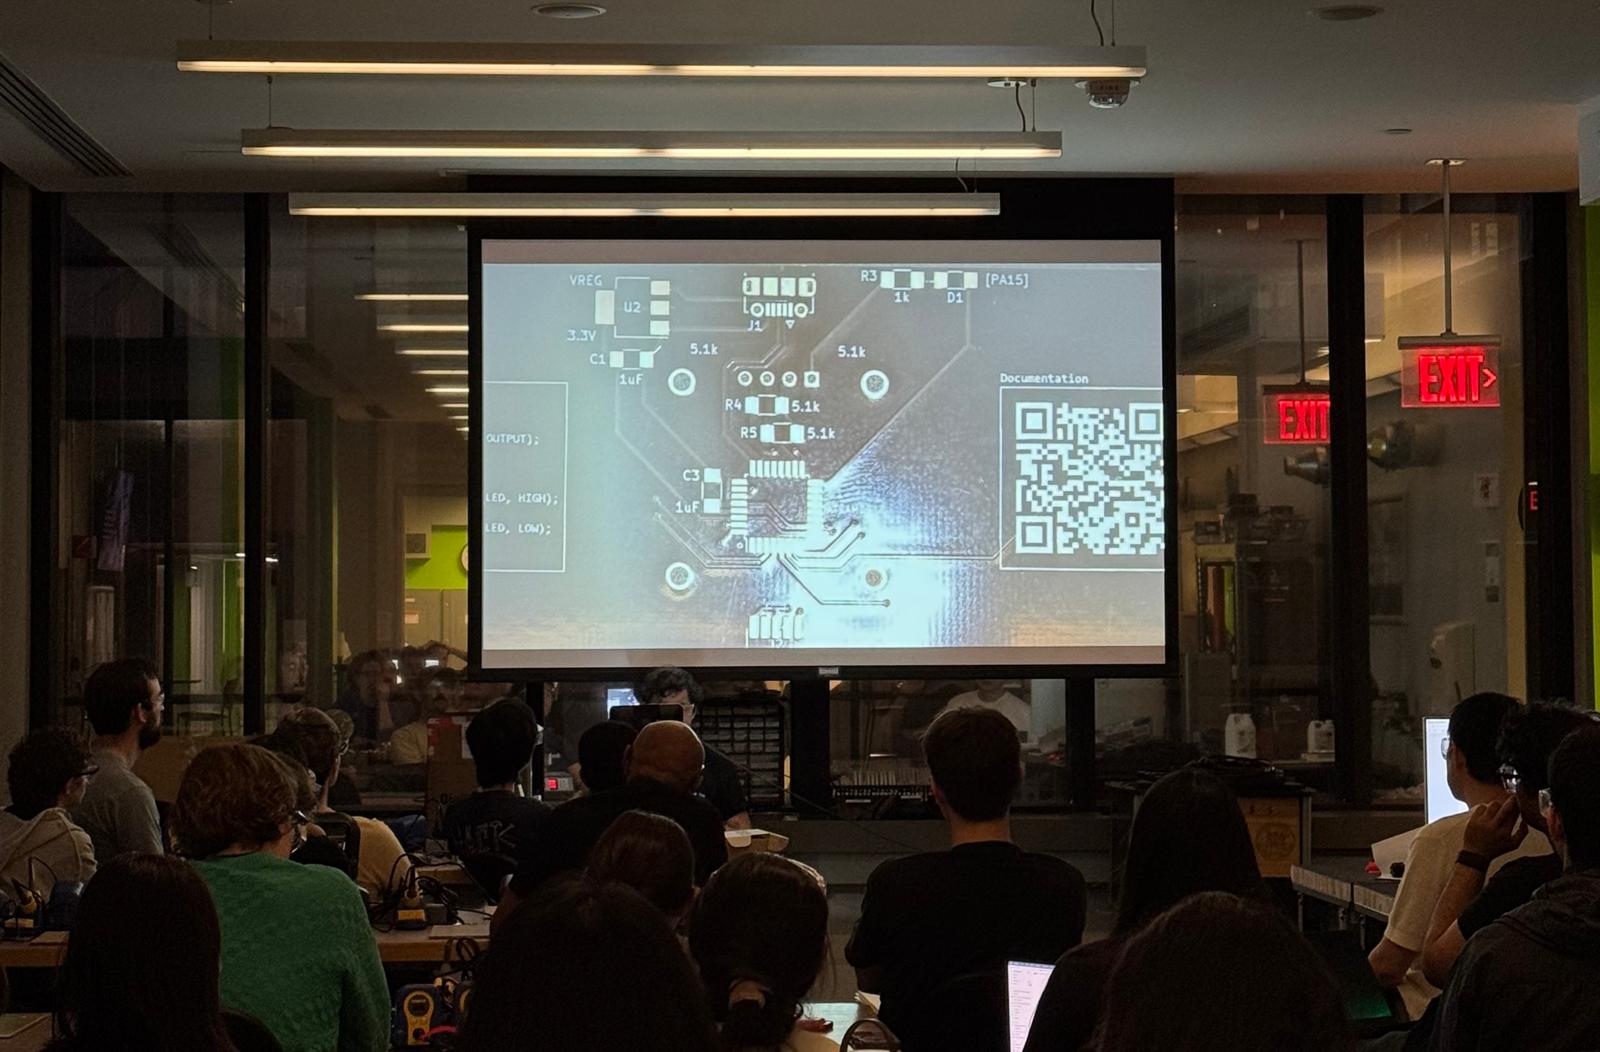
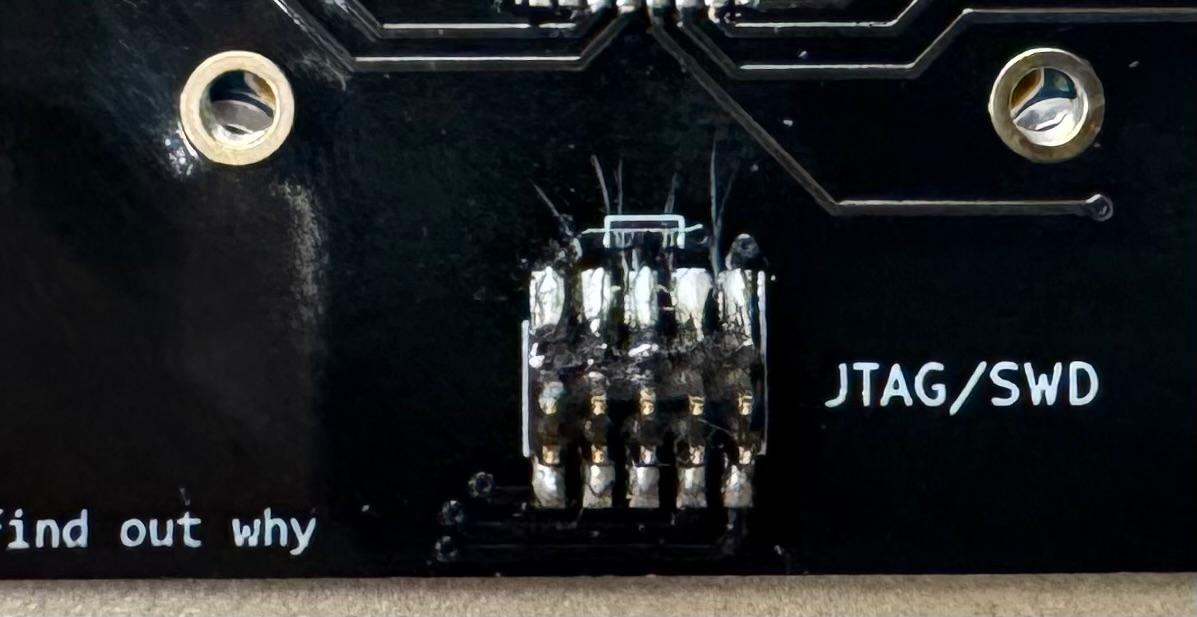
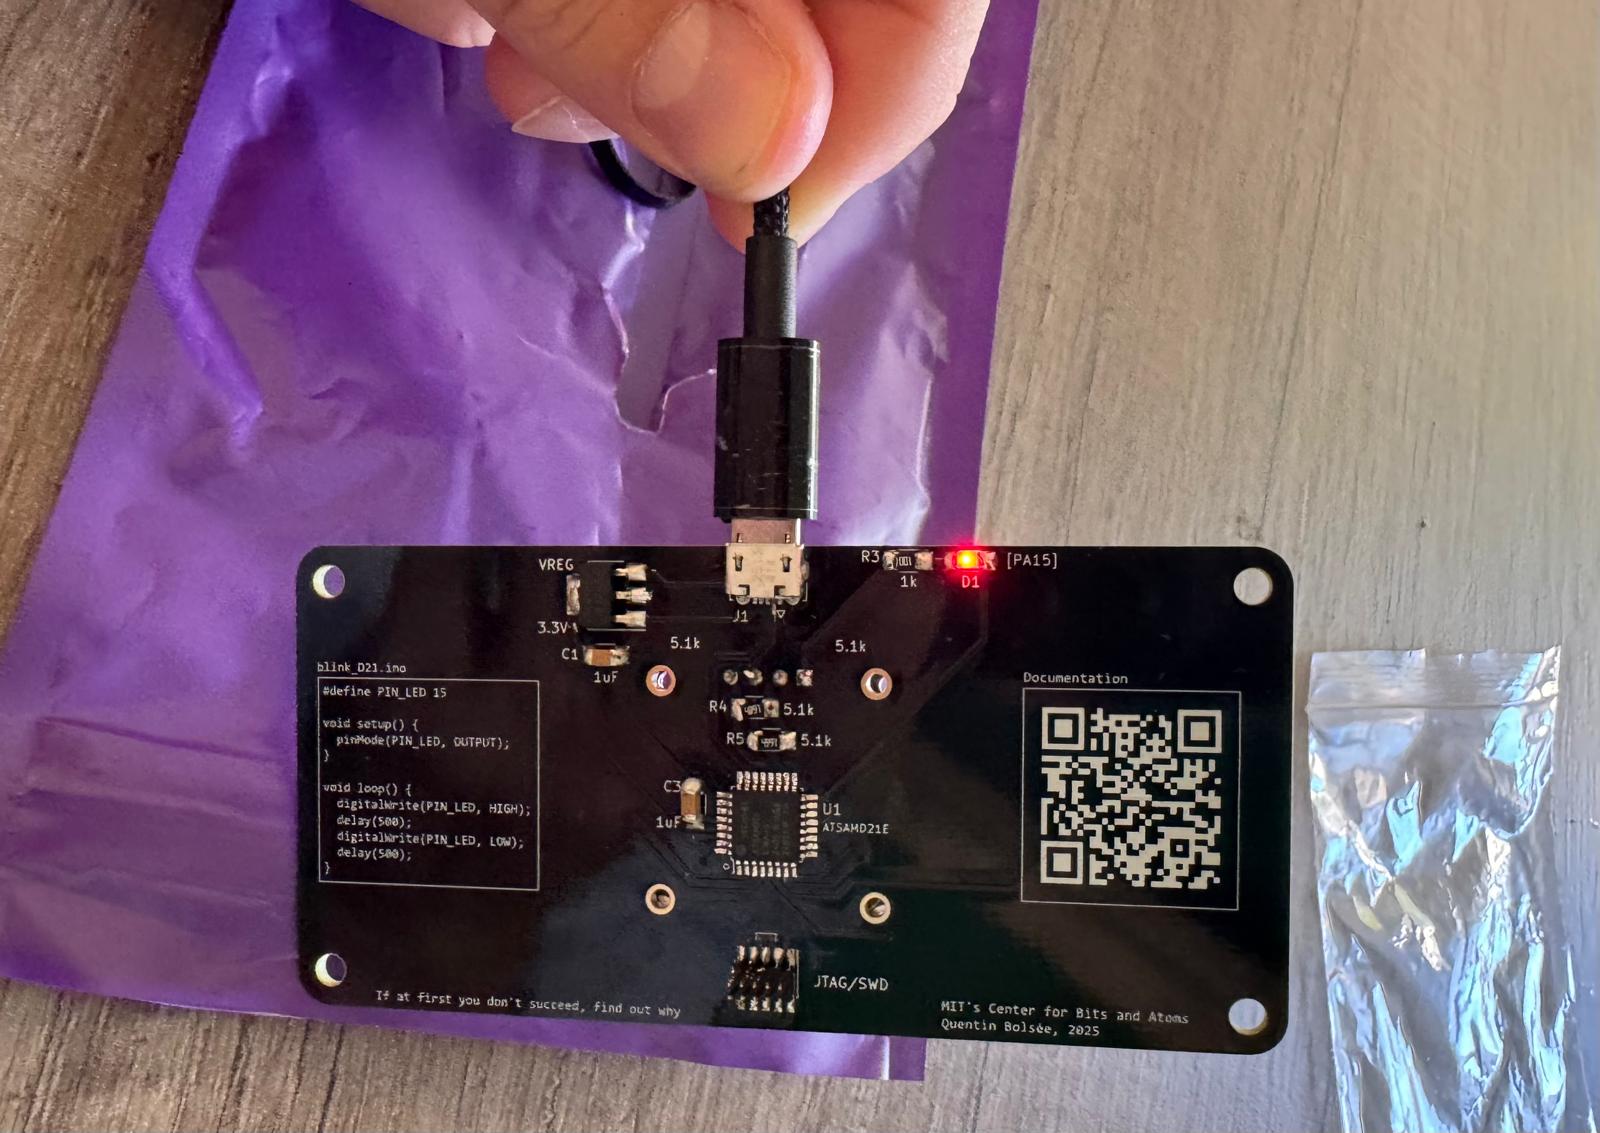
After a great intro, I decided to assemble the QPad21 (ATSAMD21) , a custom ATSAMD21E board designed by Quentin. The components required included: USB micro-B connector, 3.3V regulator + capacitors, 10-pin SWD header, Resistors, LED screen. For assembly I used a soldering iron, flux, and tweezers – ended up not using hot air and solder paste.
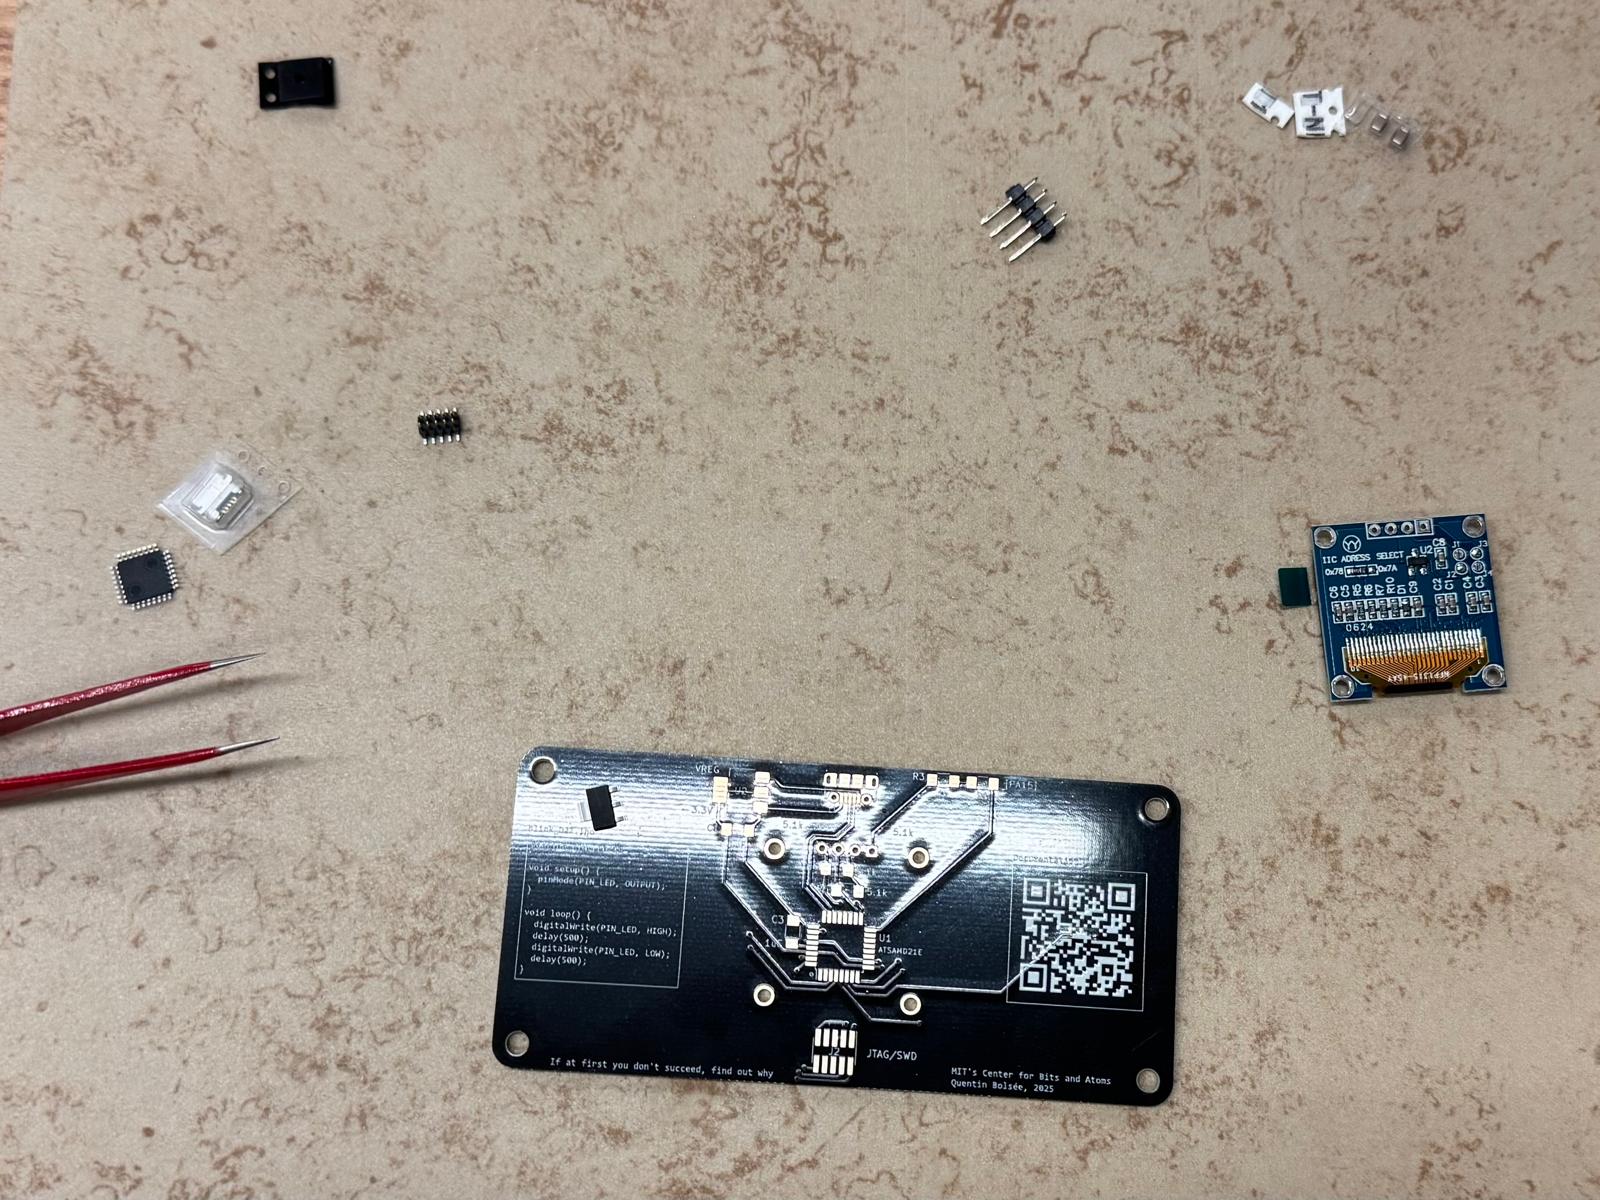
It took me no less than an hour and half to assemble the board. The biggest challenge I had was by far removing solder bridges, which demanded extreme patience and precision.
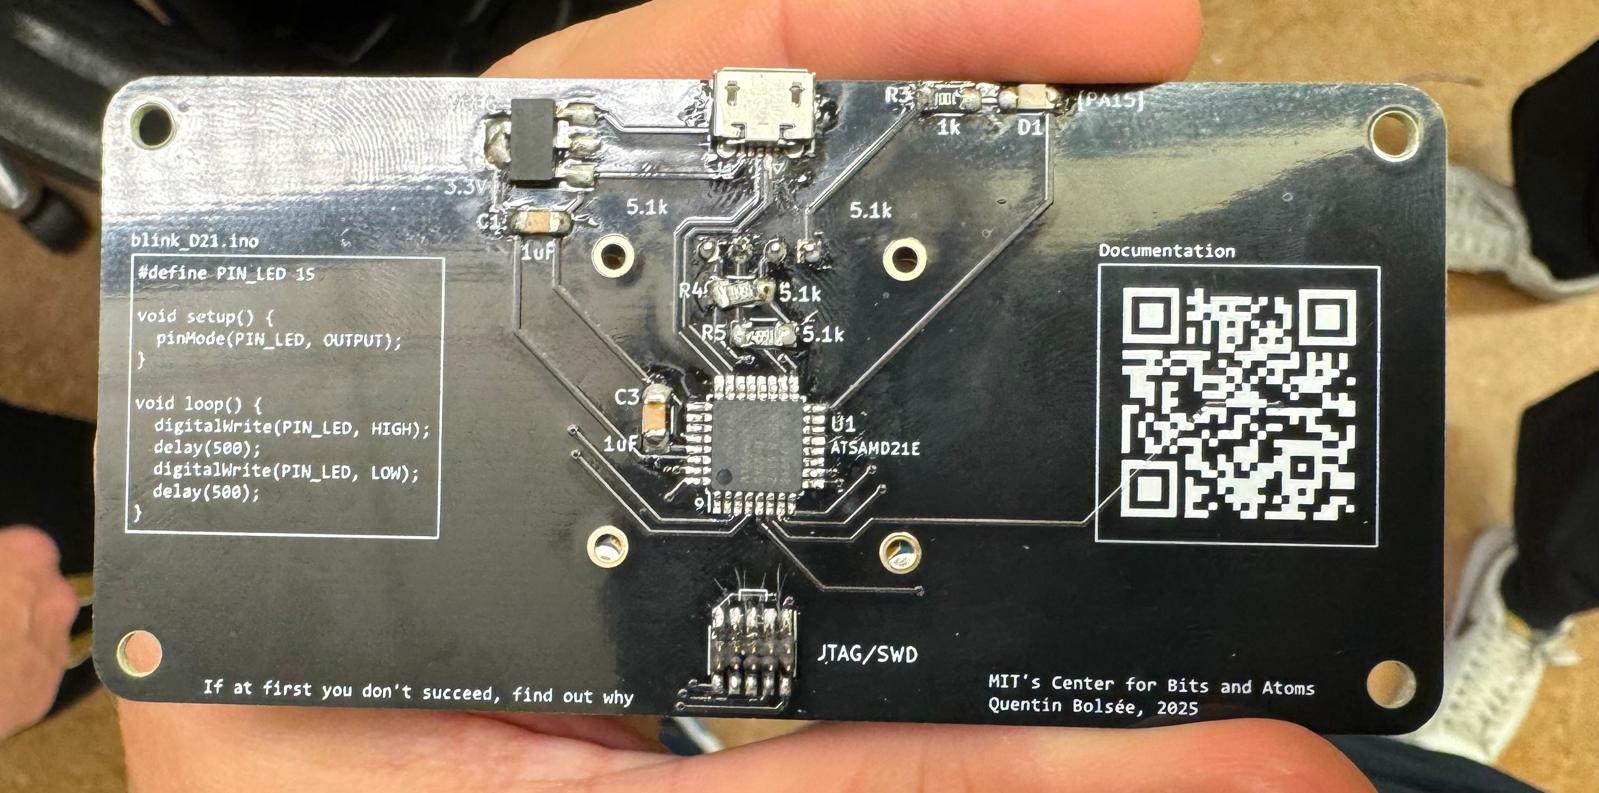
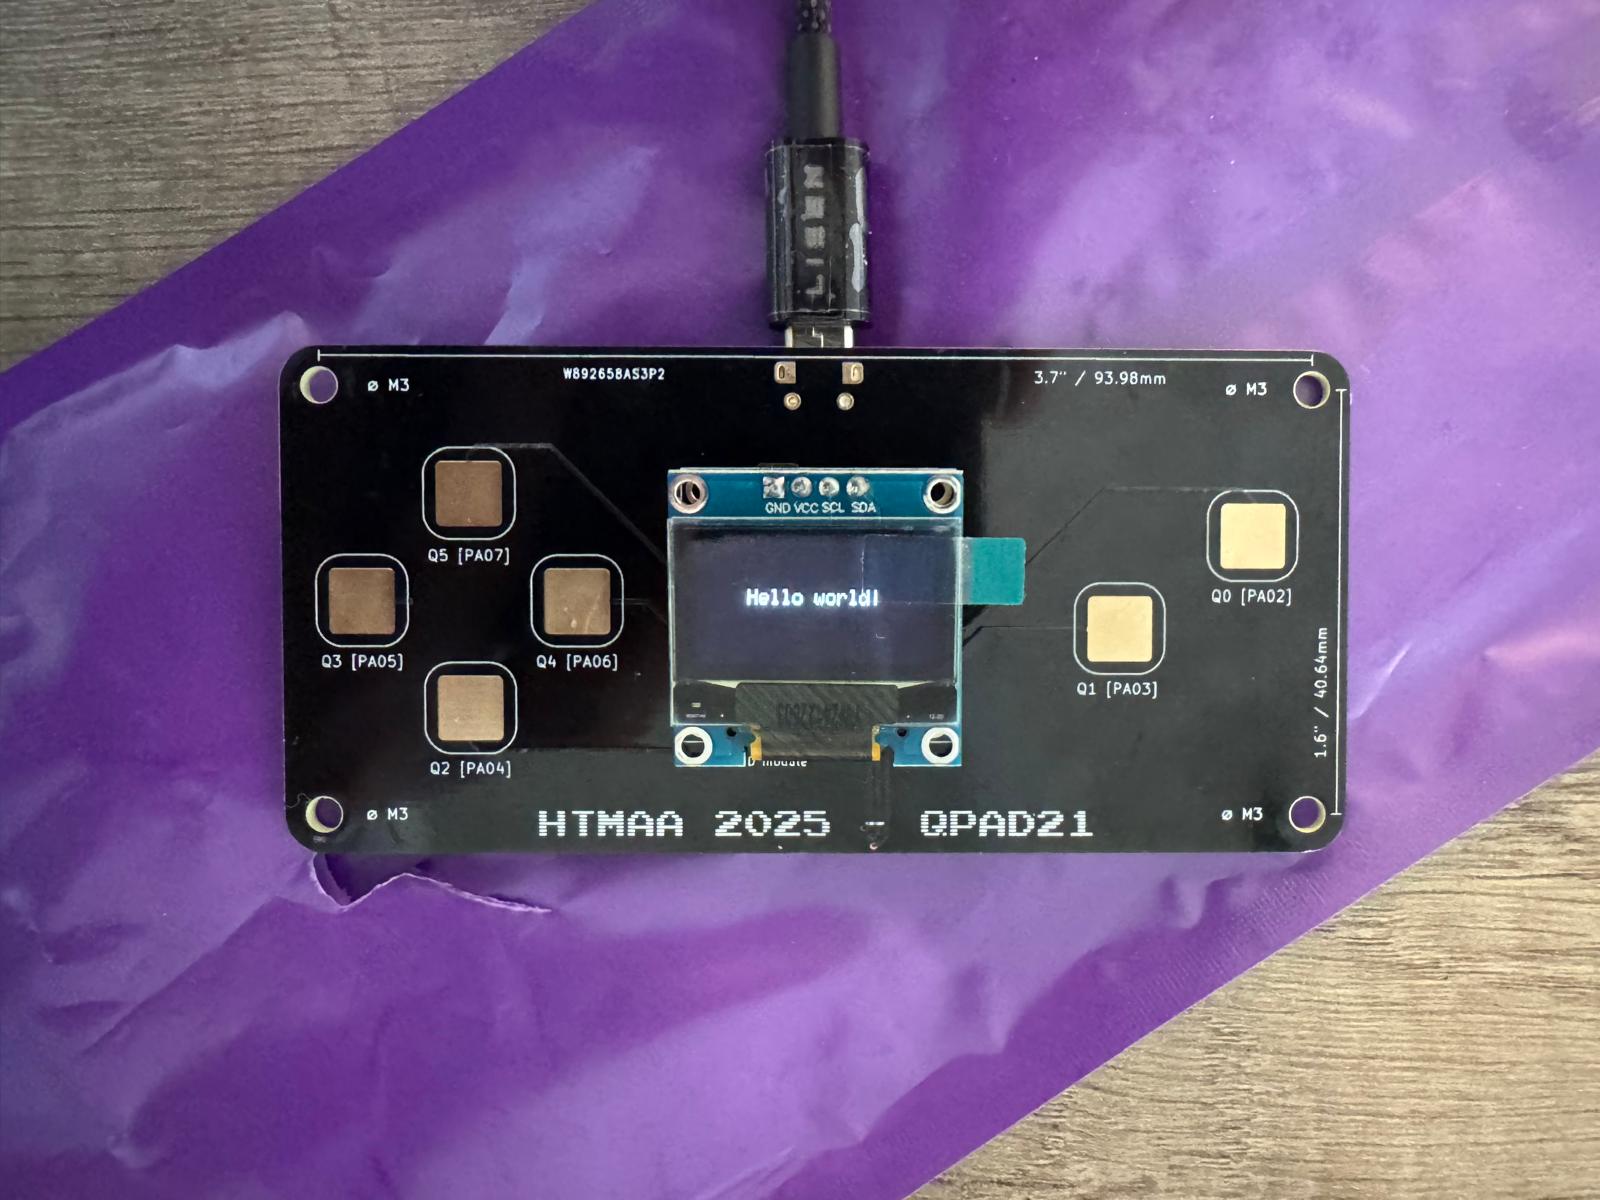
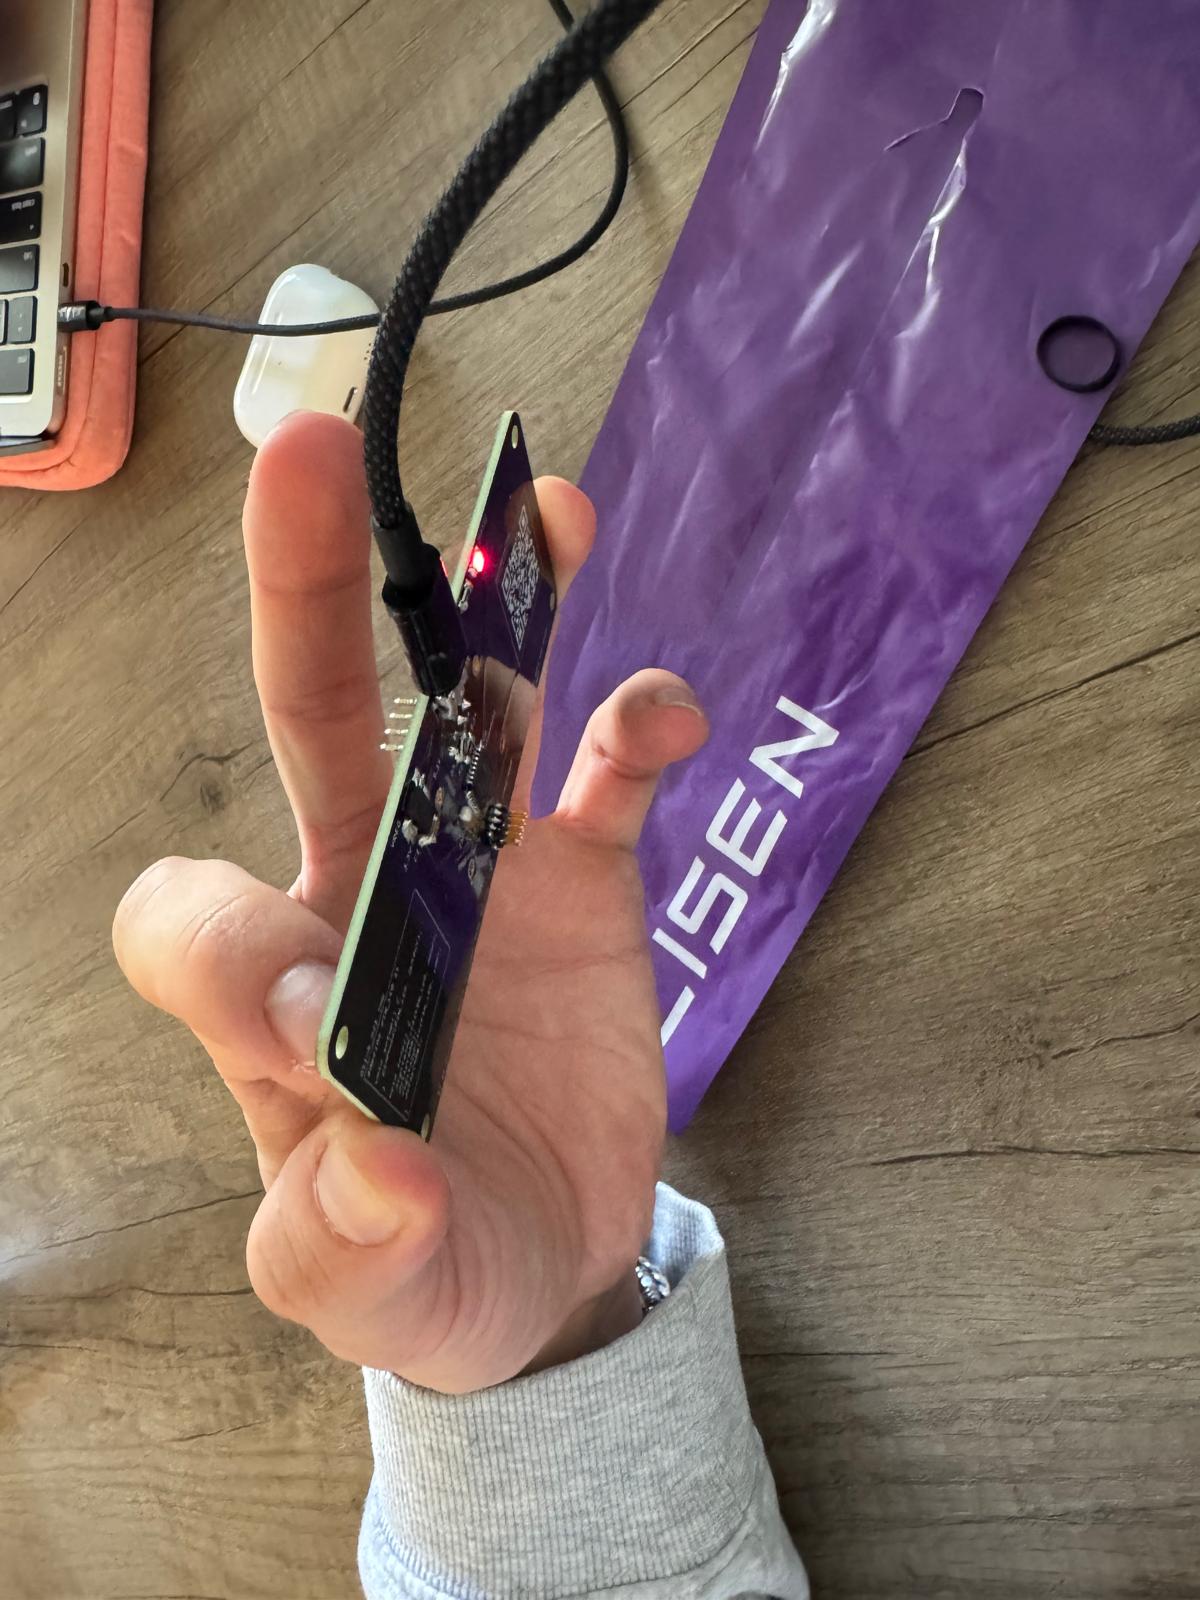
In the end, after many reiterations (it was already 10 pm!) I tested the board with Quentin (huge thanks to him - super helpful!) and everything worked fine. Here’s the finished product:
B - Writing and Testing Programs
The next day, with the board assembled, I followed the documentation on Quentin’s QPad21 GitLab page. I decided to go with the Arduino IDE, and hence installed it and downloaded the necessary libraries.
Program 1 – make it blink
As a first test, I uploaded the sample “blink” code to check whether the board was functioning. Success! The LED started blinking. As Neil predicted, I was unexpectedly excited by something so simple.
Program 2 – make it write
Next, I tested the LED screen with the sample “Hello World” program. Again, seeing those words light up on my own board was majestic.
Program 3 – make it read (my finger pressure)
I then tested the code for reading pad pressure. When I pressed the pads and saw the red light respond, I was thrilled.
Program 4 – make it play
Finally, I wanted to push further by writing my own program. I decided to attempt a simple Flappy-Bird-like game. Why this choice? A few years ago, a friend applying to Bending Spoons was asked to recreate a Flappy Bird game during his interview – it was a take-home assignment and he had one week to hand it in. Inspired by that challenge, I gave myself around one hour to see how far I could get. My friend ChatGPT definitely made the heavy lifting of writing the structure of the code. Hence, the hardest part was tweaking parameters so that the game was actually playable. Gravity, sensitivity of the pads, and timing all needed adjustment. After ~10 iterations, I had a version that worked. Then came the fun part: playing. I spent around another hour testing it. After all this time, I got to a maximum score of 4 - and called it a day.
Full Source Code (Flappy-Bird-like)
Final Project
Please note that Embedded Programming is also a key part of my final project, where I use a PCB to drive a combat robot. Everything is documented in the Final Project page.