Week 2
Project Management and
Computer-Controlled Cutting.
Engineering Files
Git and Web Development
Both topics were fairly familiar to me, and I felt confident setting up my GitLab environment as well as customizing a new website from existing templates. For my Git setup, I used Visual Studio Code as my editor with several extensions/setups that were extremely useful.
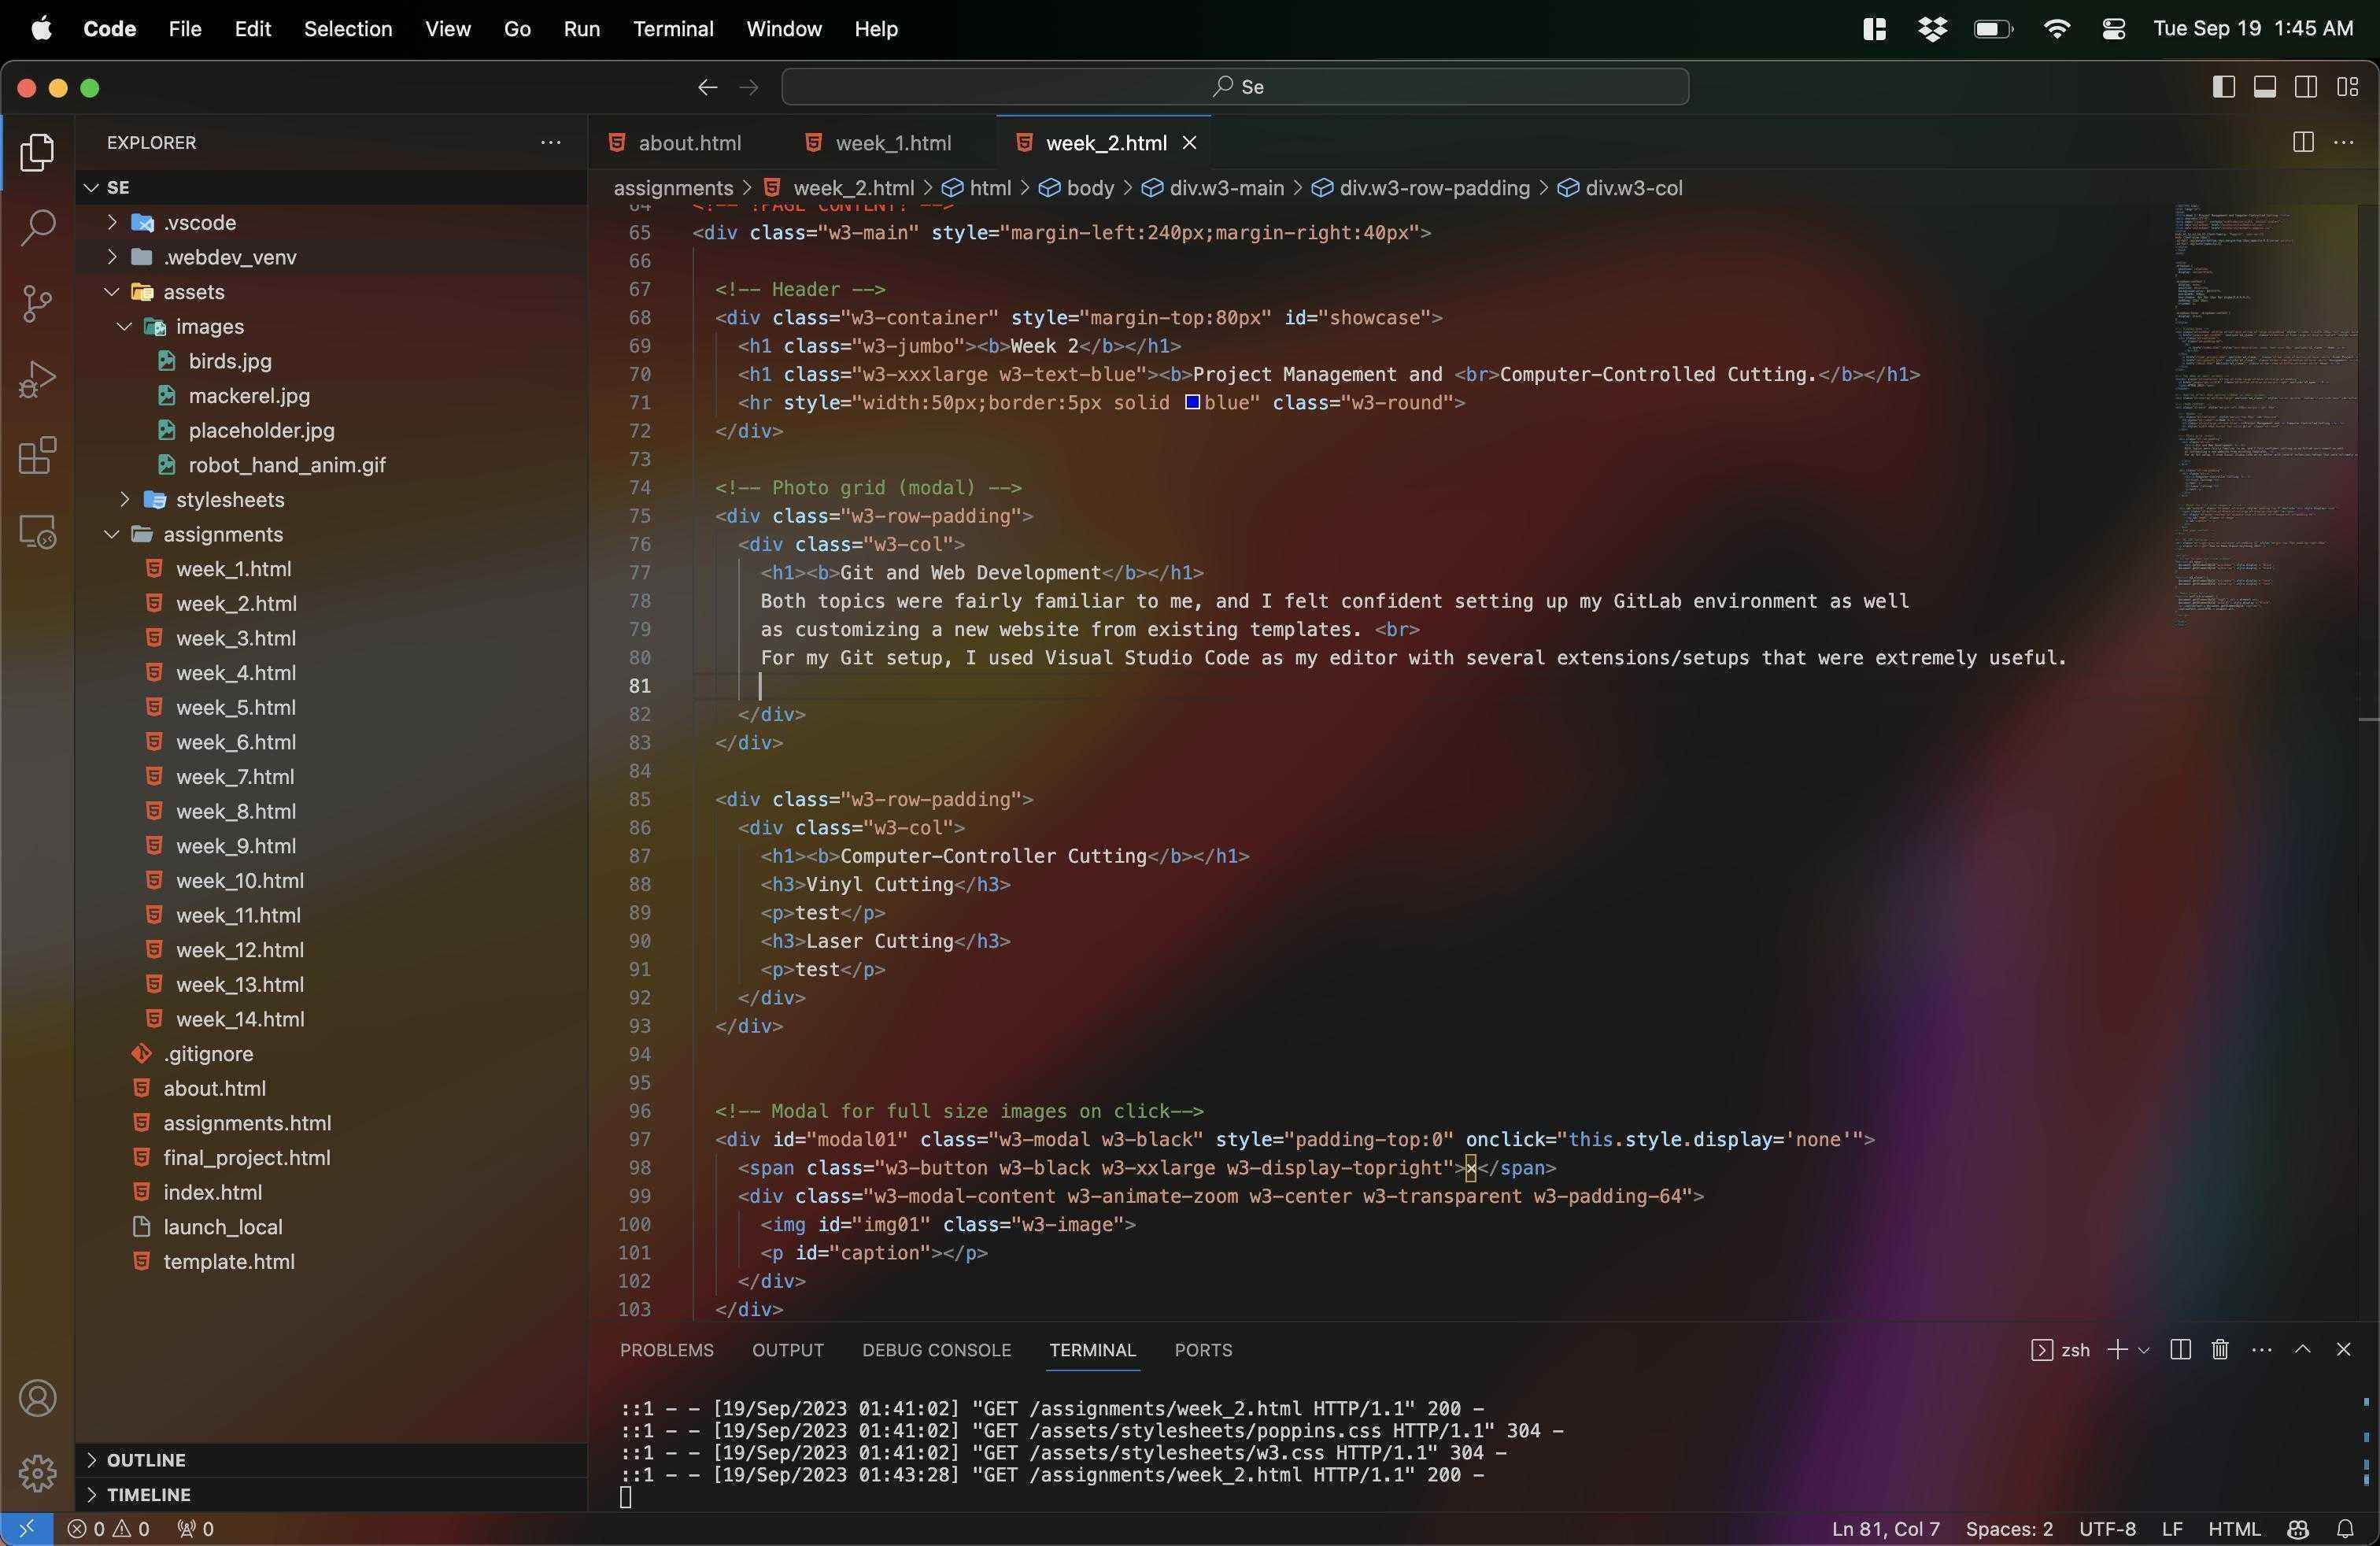
The extensions I always have active for VSCode are Better Comments, for the ability to color-code
comments, Vibrancy, for the transparent effect, and GitHub Copilot, which is incredibly
useful at autofilling chunks of code and text in HTML.
Before I began my website however, I realized I needed a way to quickly iterate on my website without constantly committing, pushing,and checking the hosted site to see my changes. With some Googling, I learned that Python has a convenient built-in web server that can be used to host websites locally.
However, from some painful experiences managing Python and dependency versions in the past, I've learnt to be
extremely carefully about brazenly pip install-ing whatever I find on the internet.
So I created a Python virtual environment with python3 -m venv .webdev_venv, where I could
specifically install Python's HTTPServer library in my new virtual environment.
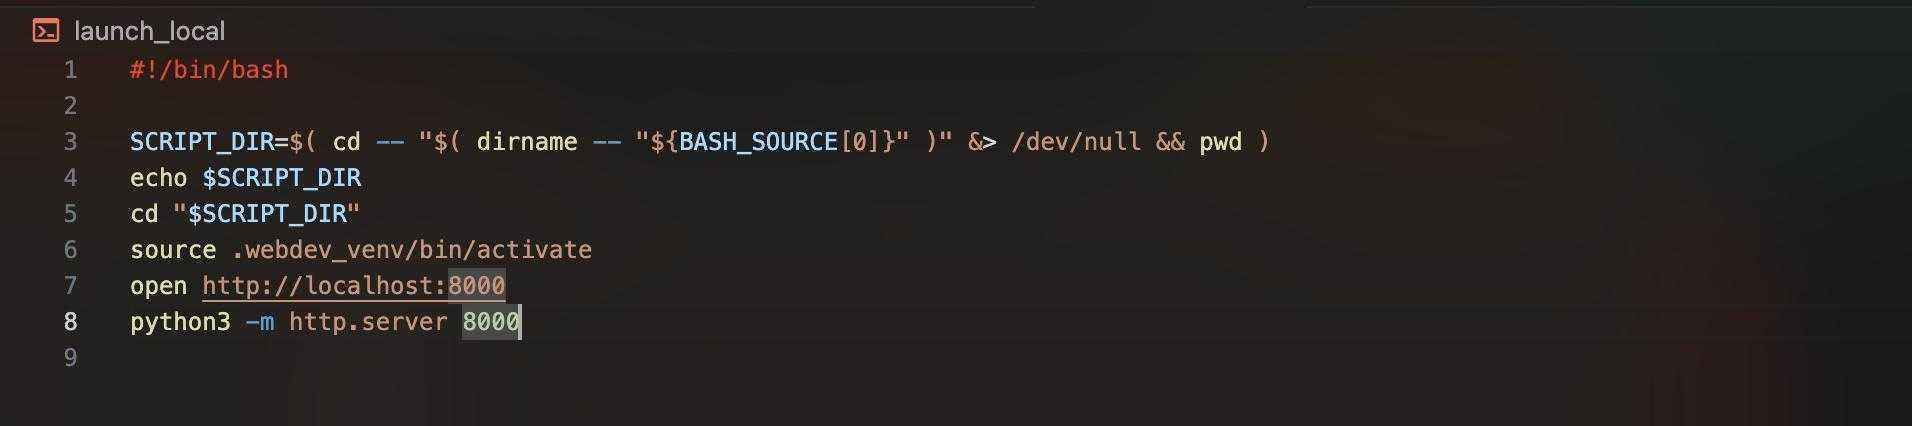
Then, I didn't want to have to remember the specific Python commands to launch a server
(python3 -m http.server 8000), so I created a bash script to source my virtual environment, launch
a browser with the locally hosted server, and start the website on that server.
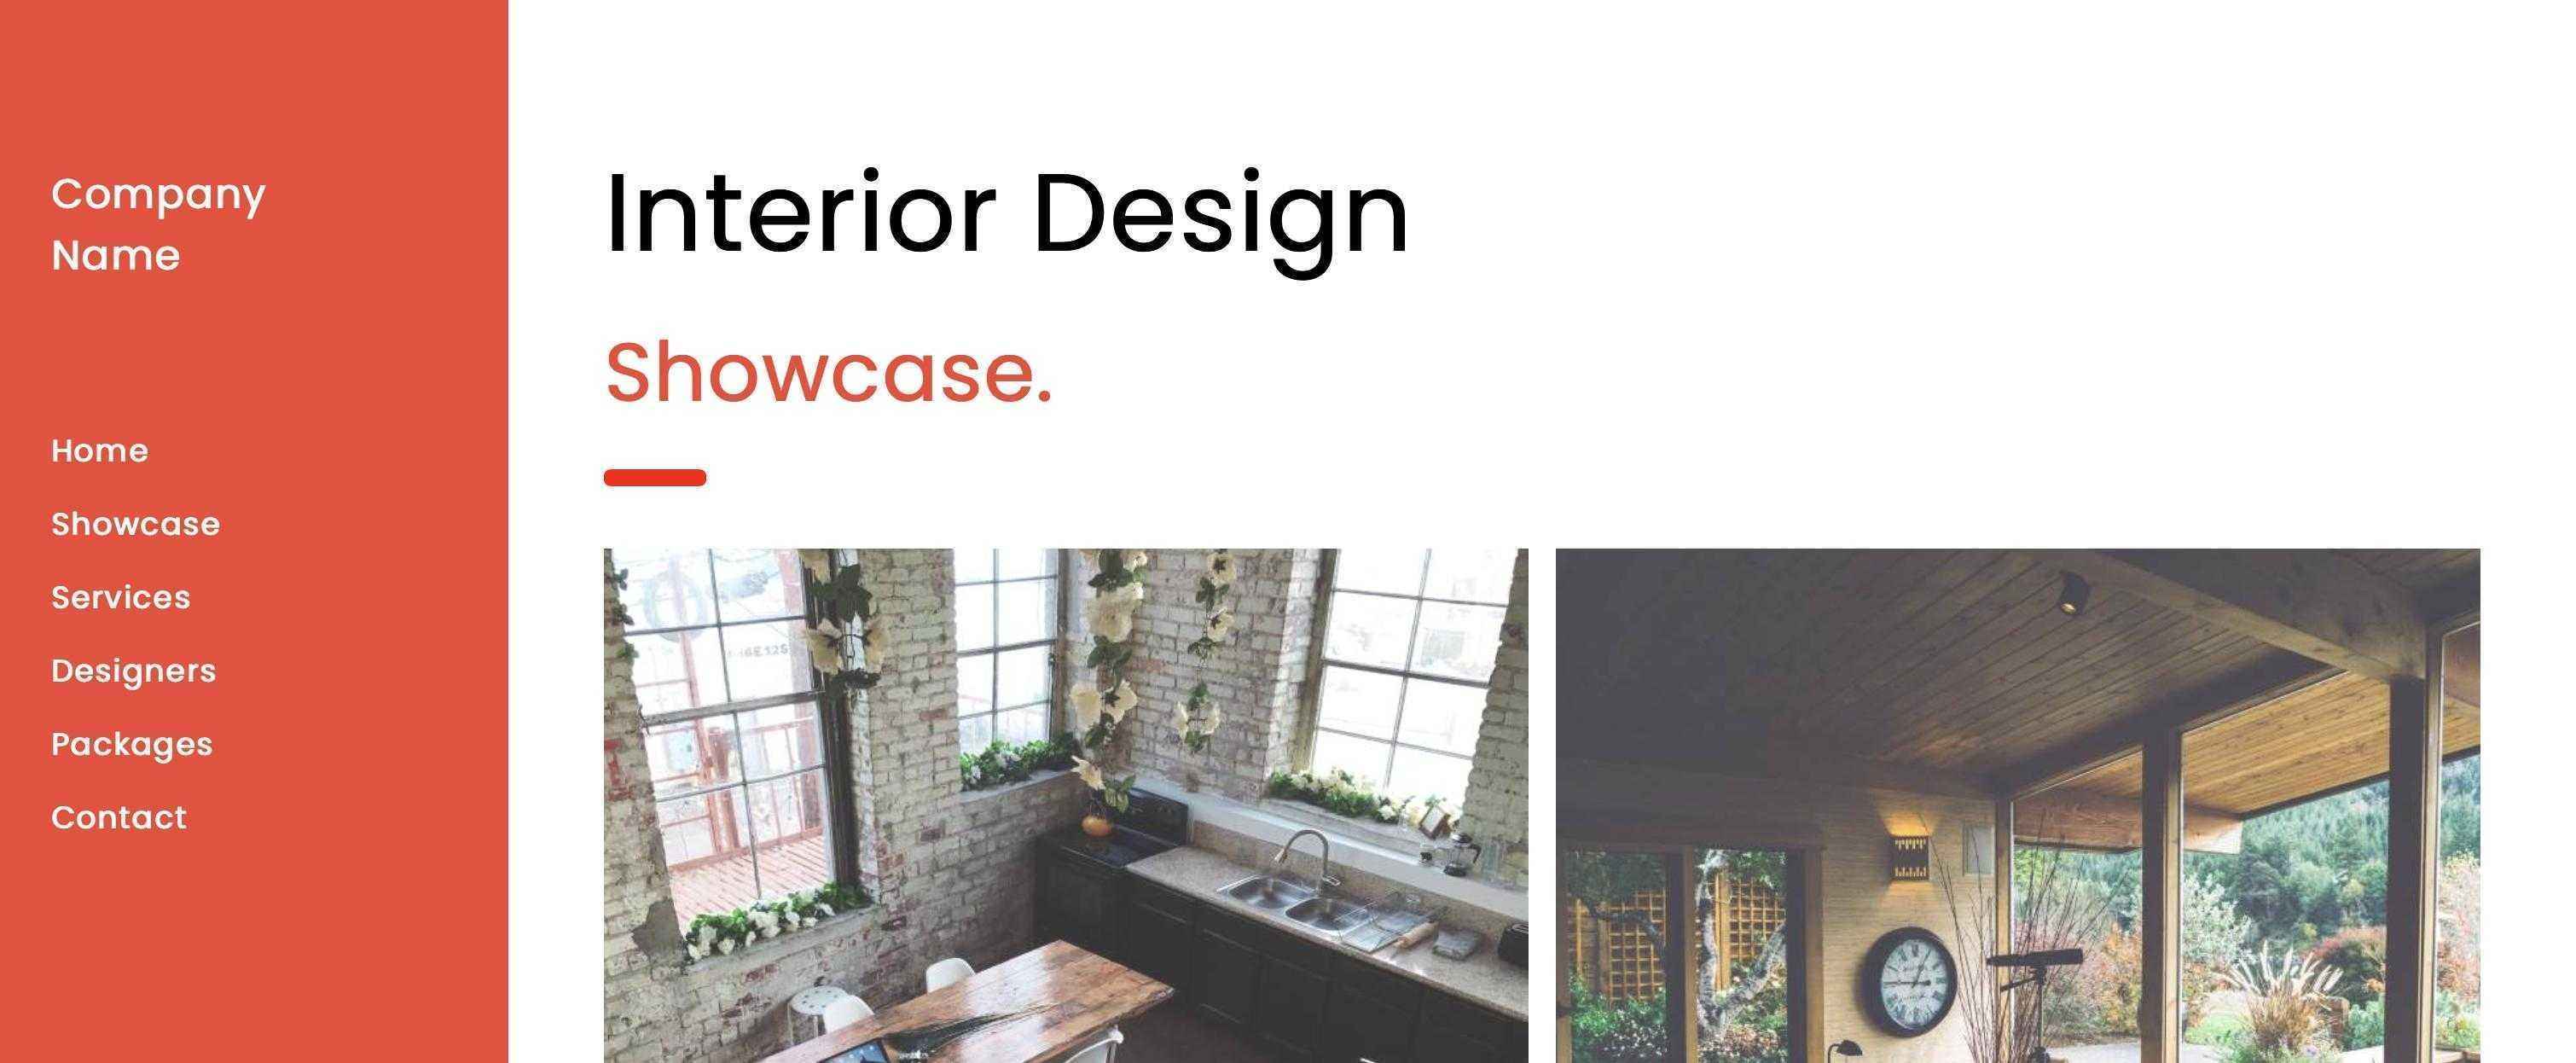
Now that I had a consistent workflow to iterate on a website, I could begin browsing for templates. While I know the basics of HTML and CSS, I wanted to get a simple and functional website running as easily as possible.
I found a template that I liked on W3Schools and downloaded the source code. I then began customizing the template to my liking, and I was able to get my website up and running in a few hours.
After changing some font sizes, colors, page directories, I was satisfied with the layout of my site, and pushed to our class GitLab. Typically, I would create a branch, commit many times to that branch, squash, and merge back into the master branch, but with the ability to prototype locally, I felt most of my commits would only contain significant changes, and branching was less effective.
As a final touch, I added another bash scripts that would loop over all the images in my assets/images folder
and automatically convert every image file to a compact jpg file. This was useful to automate the process of
compressing the images I would be uploading to GitLab.
From now on, I also want to start experimenting with writing up my documentation with generative AI tools. I've begun to use it heavily to quickly summarize things and generate ideas, and I think it would be a great way to expedite the process of documenting my work. I'll record all my original documentation somewhere obvious for comparison.
Computer-Controlled Cutting
Vinyl Cutting
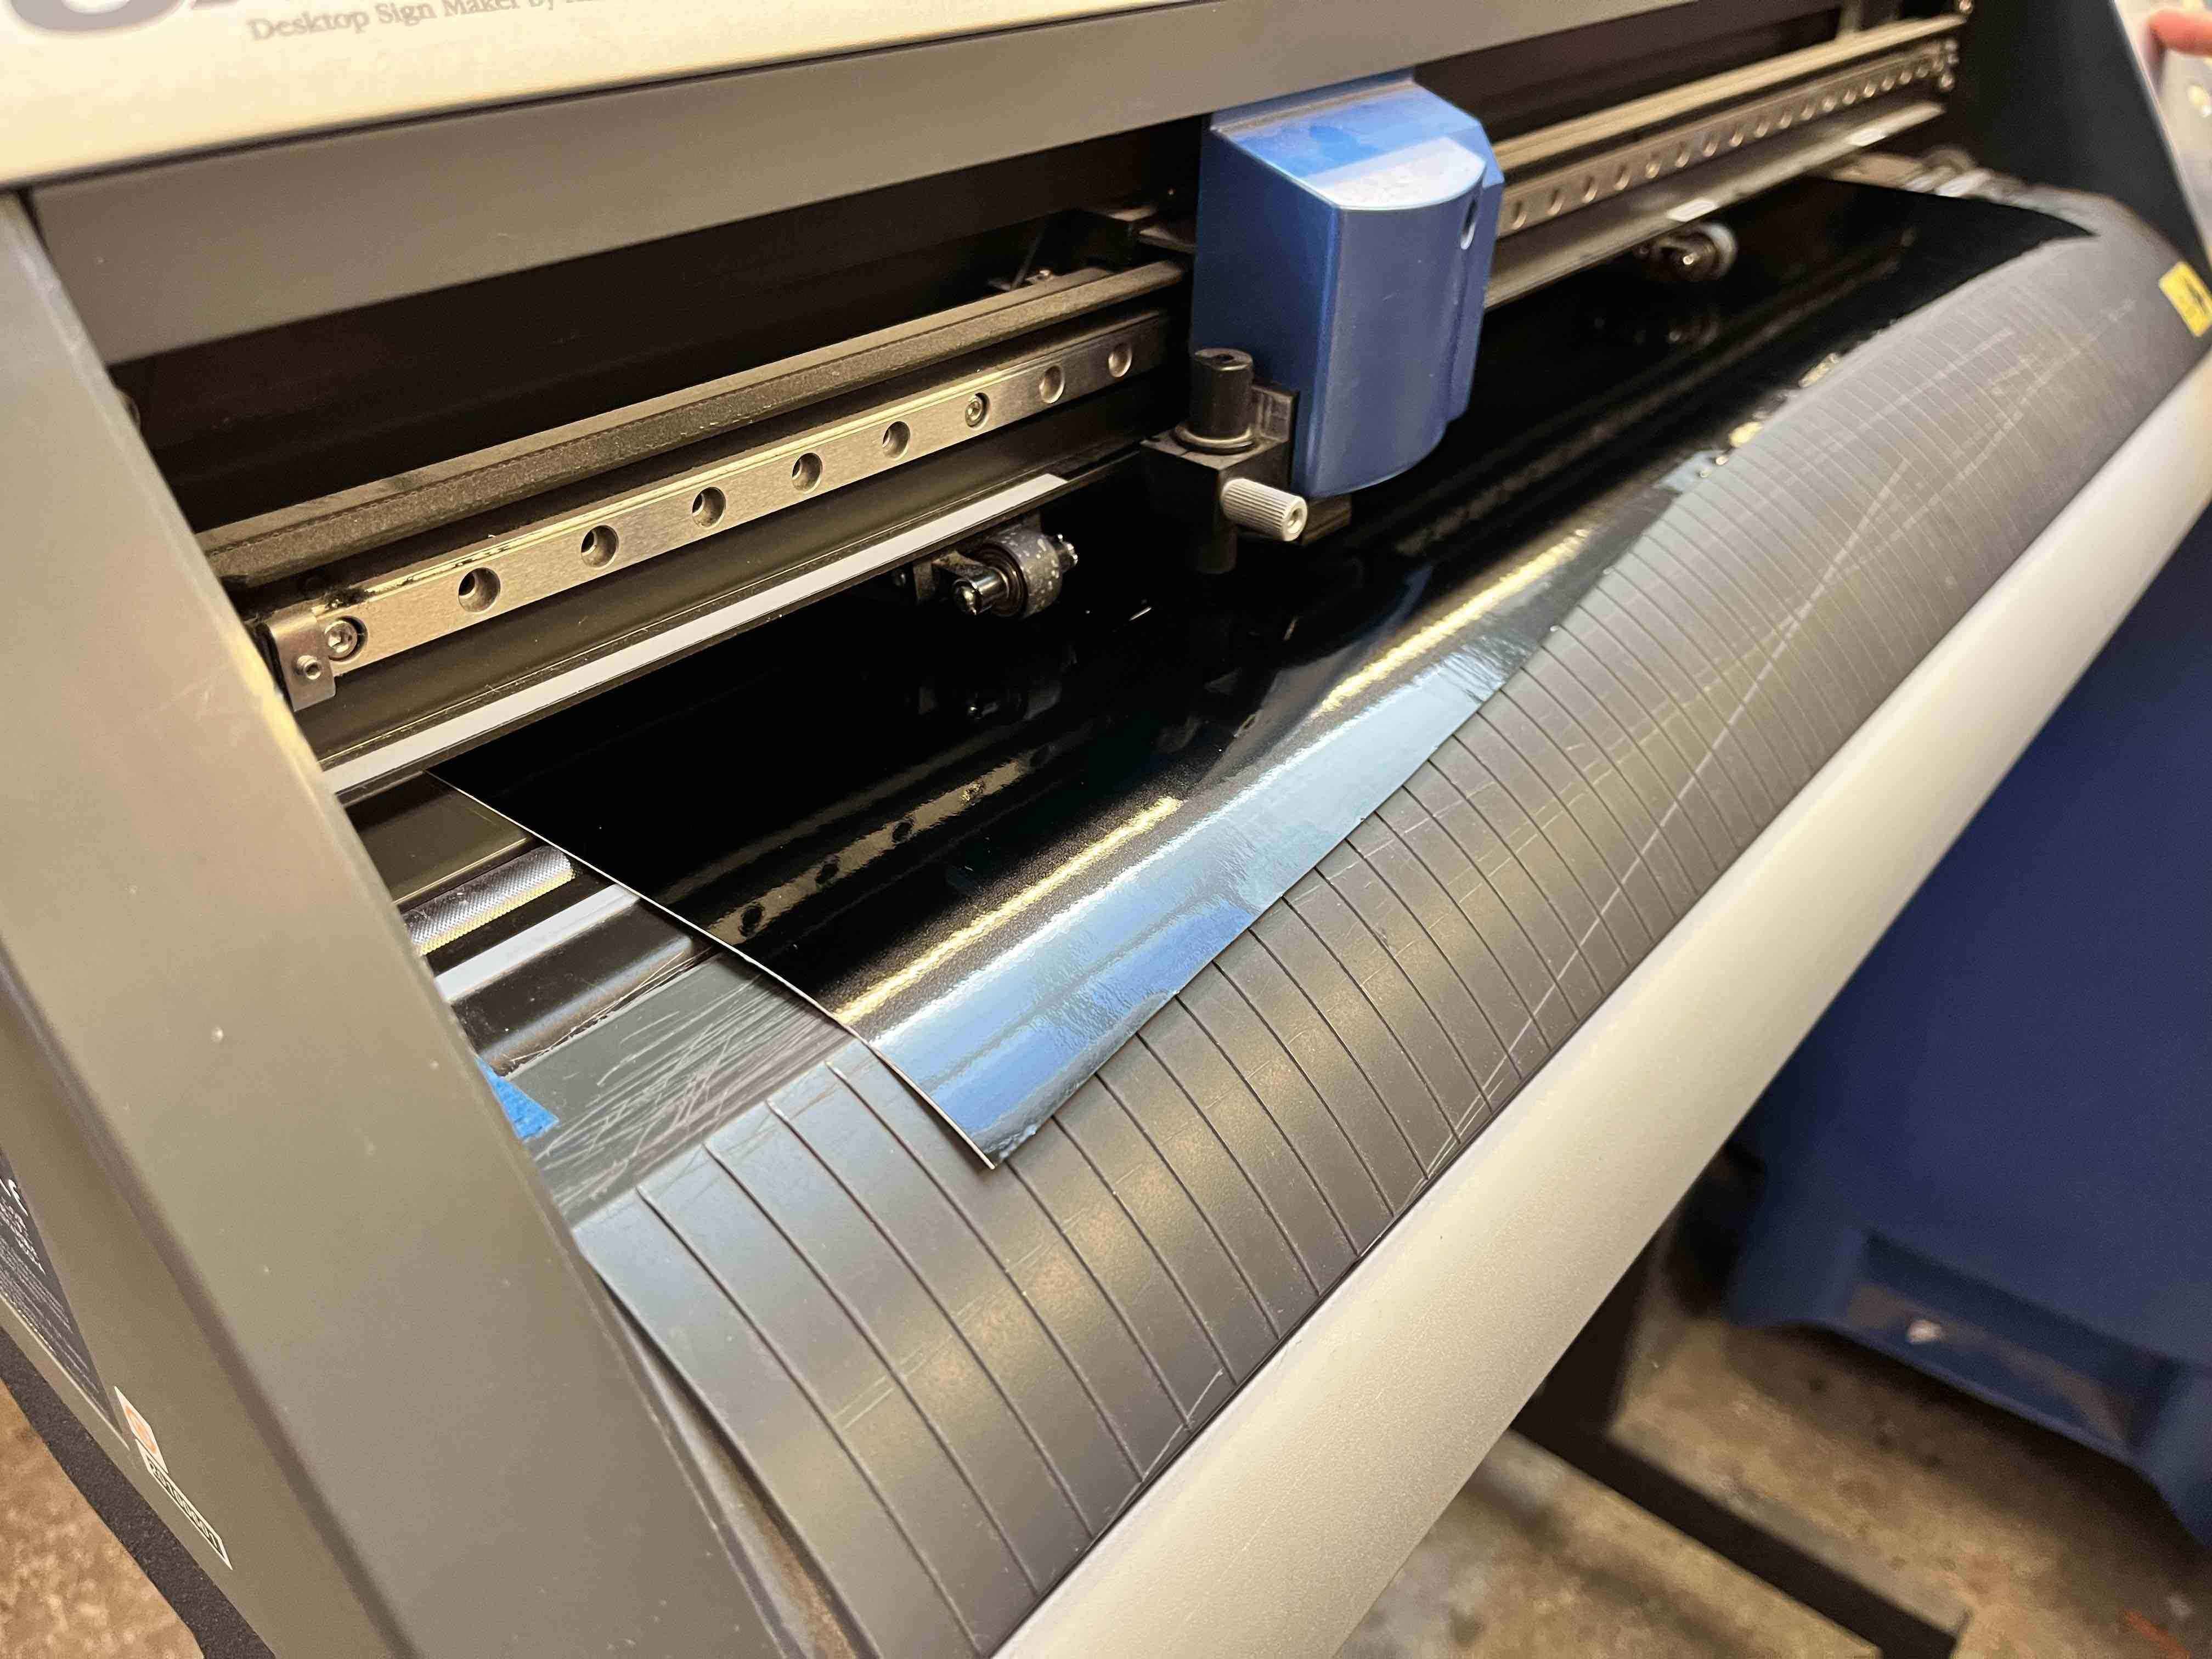
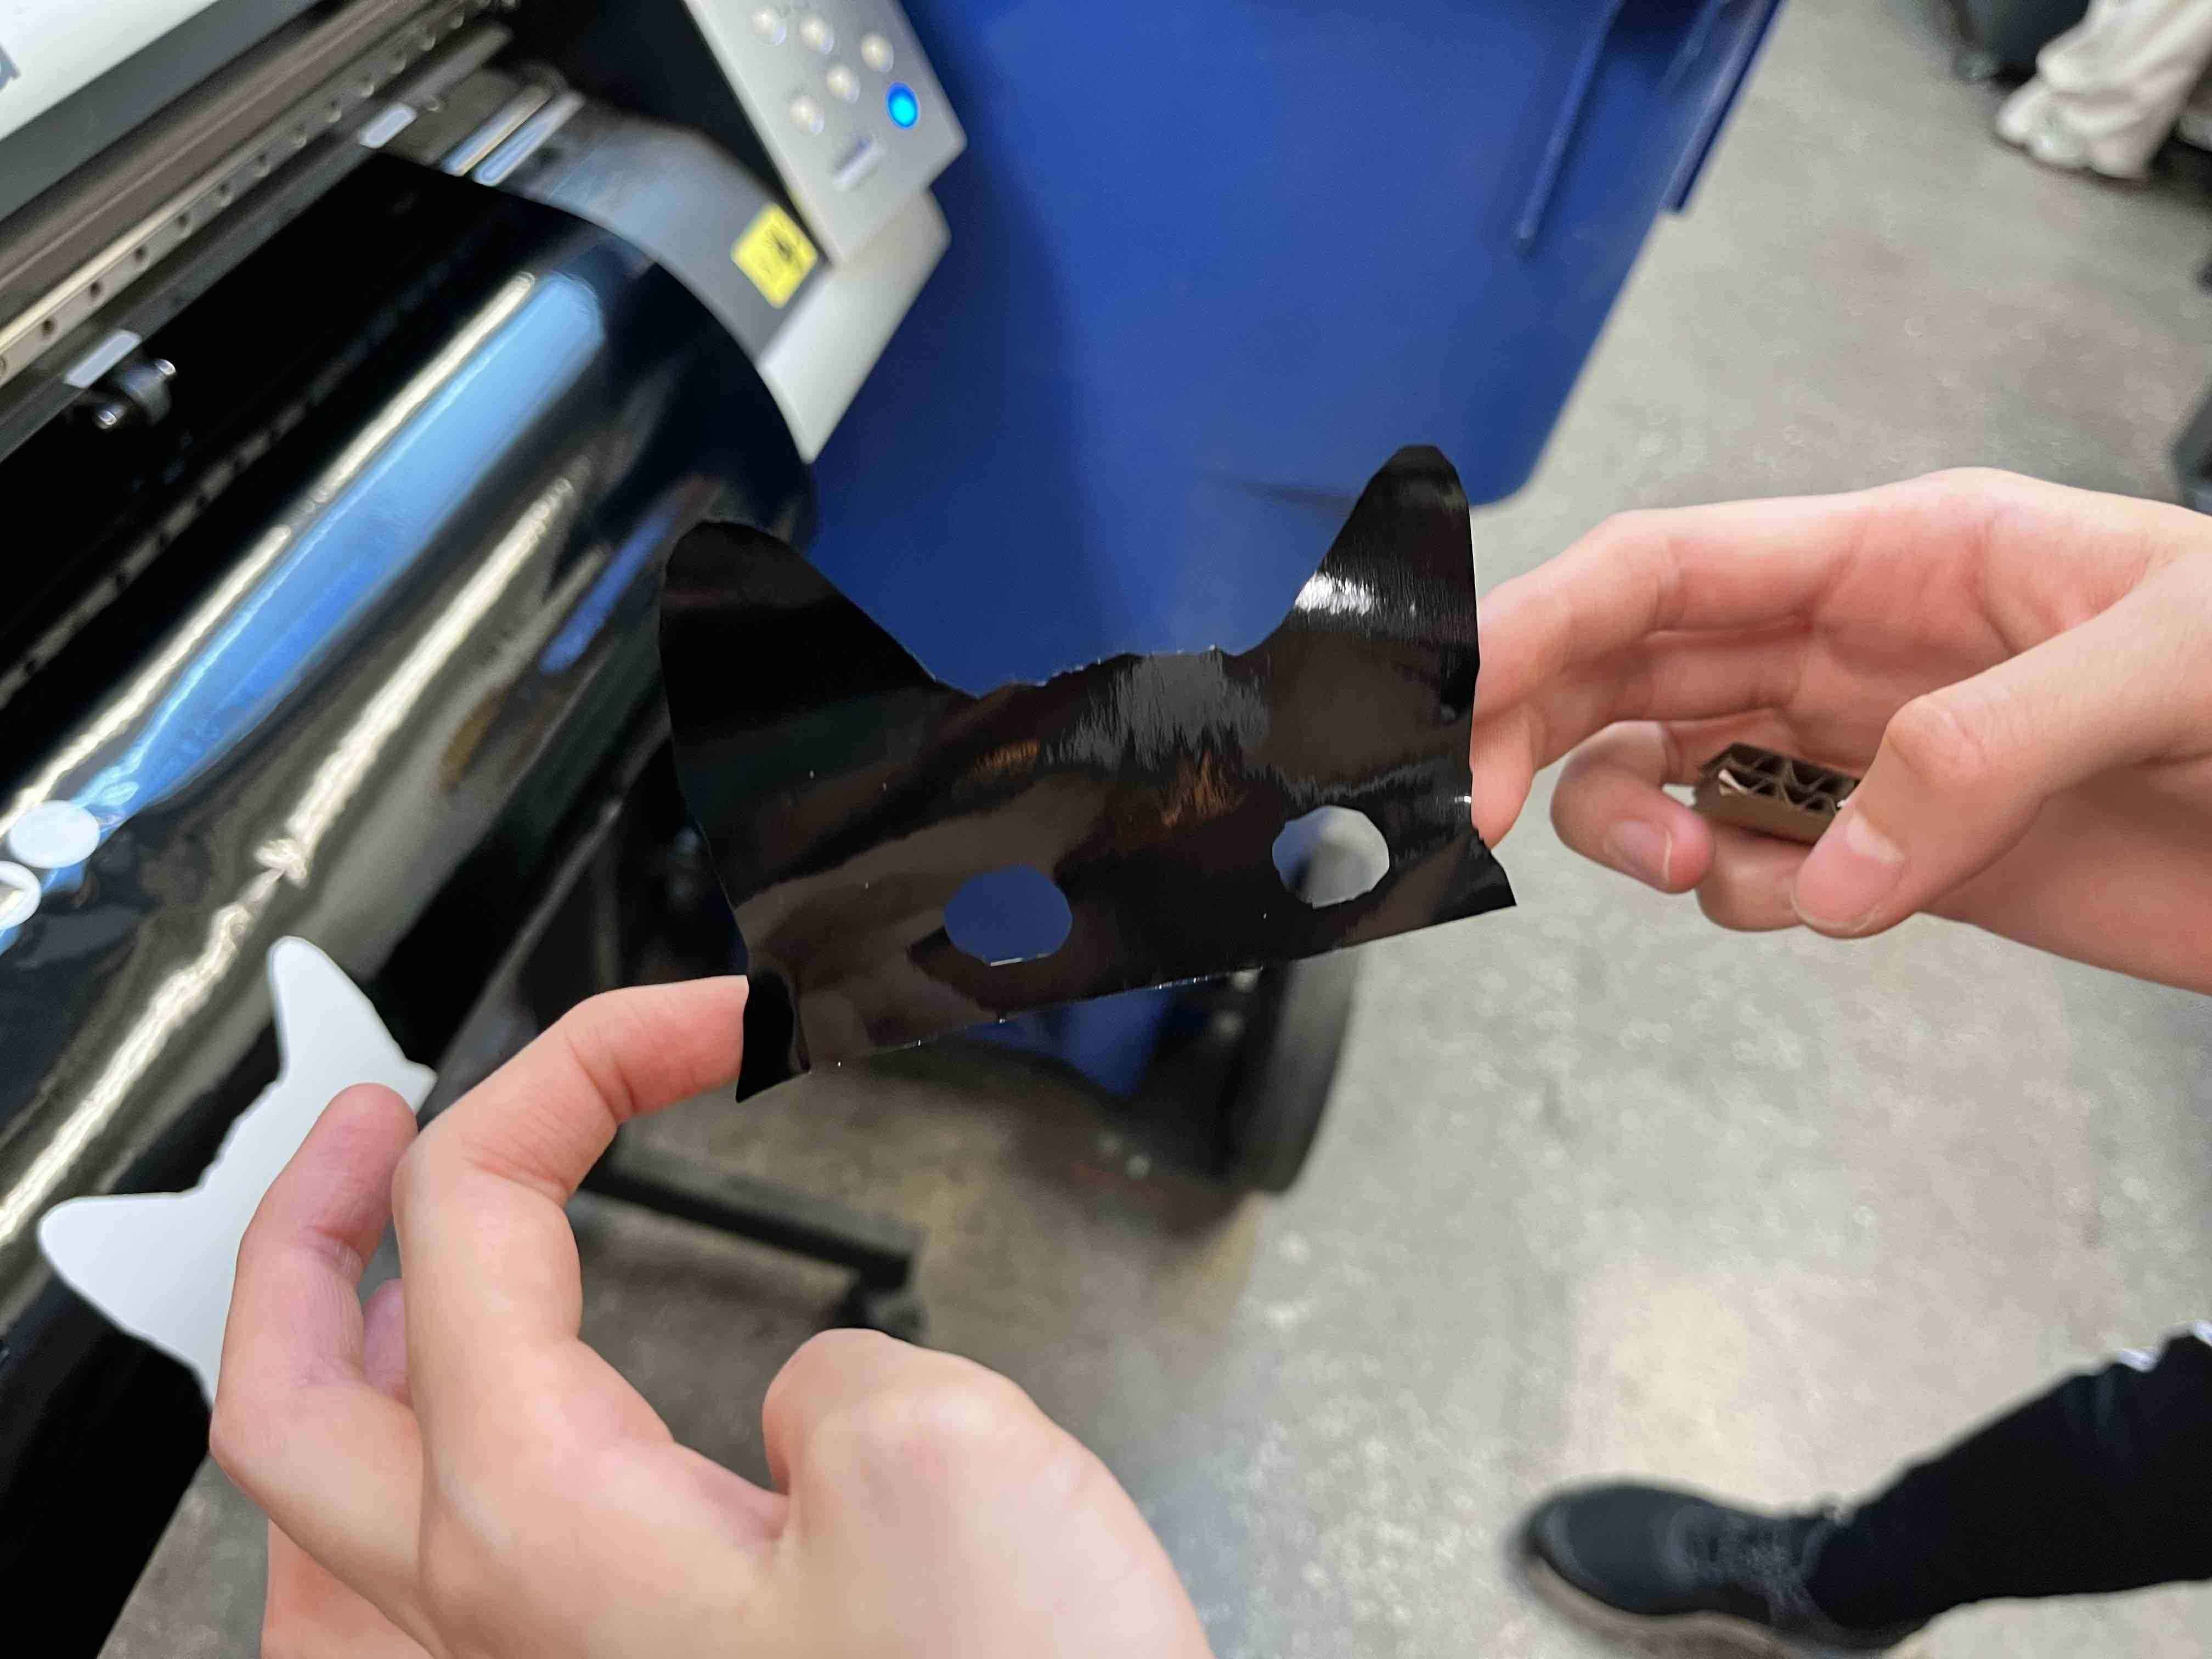
On Sunday, I met with a few others in the Architecture section to try out the vinyl cutting machine. While each of us wanted to learn how to use the machine, we didn't have a clear idea of what we wanted to make. Instead, we decided to at least print test pieces using whatever images were already on the computer.
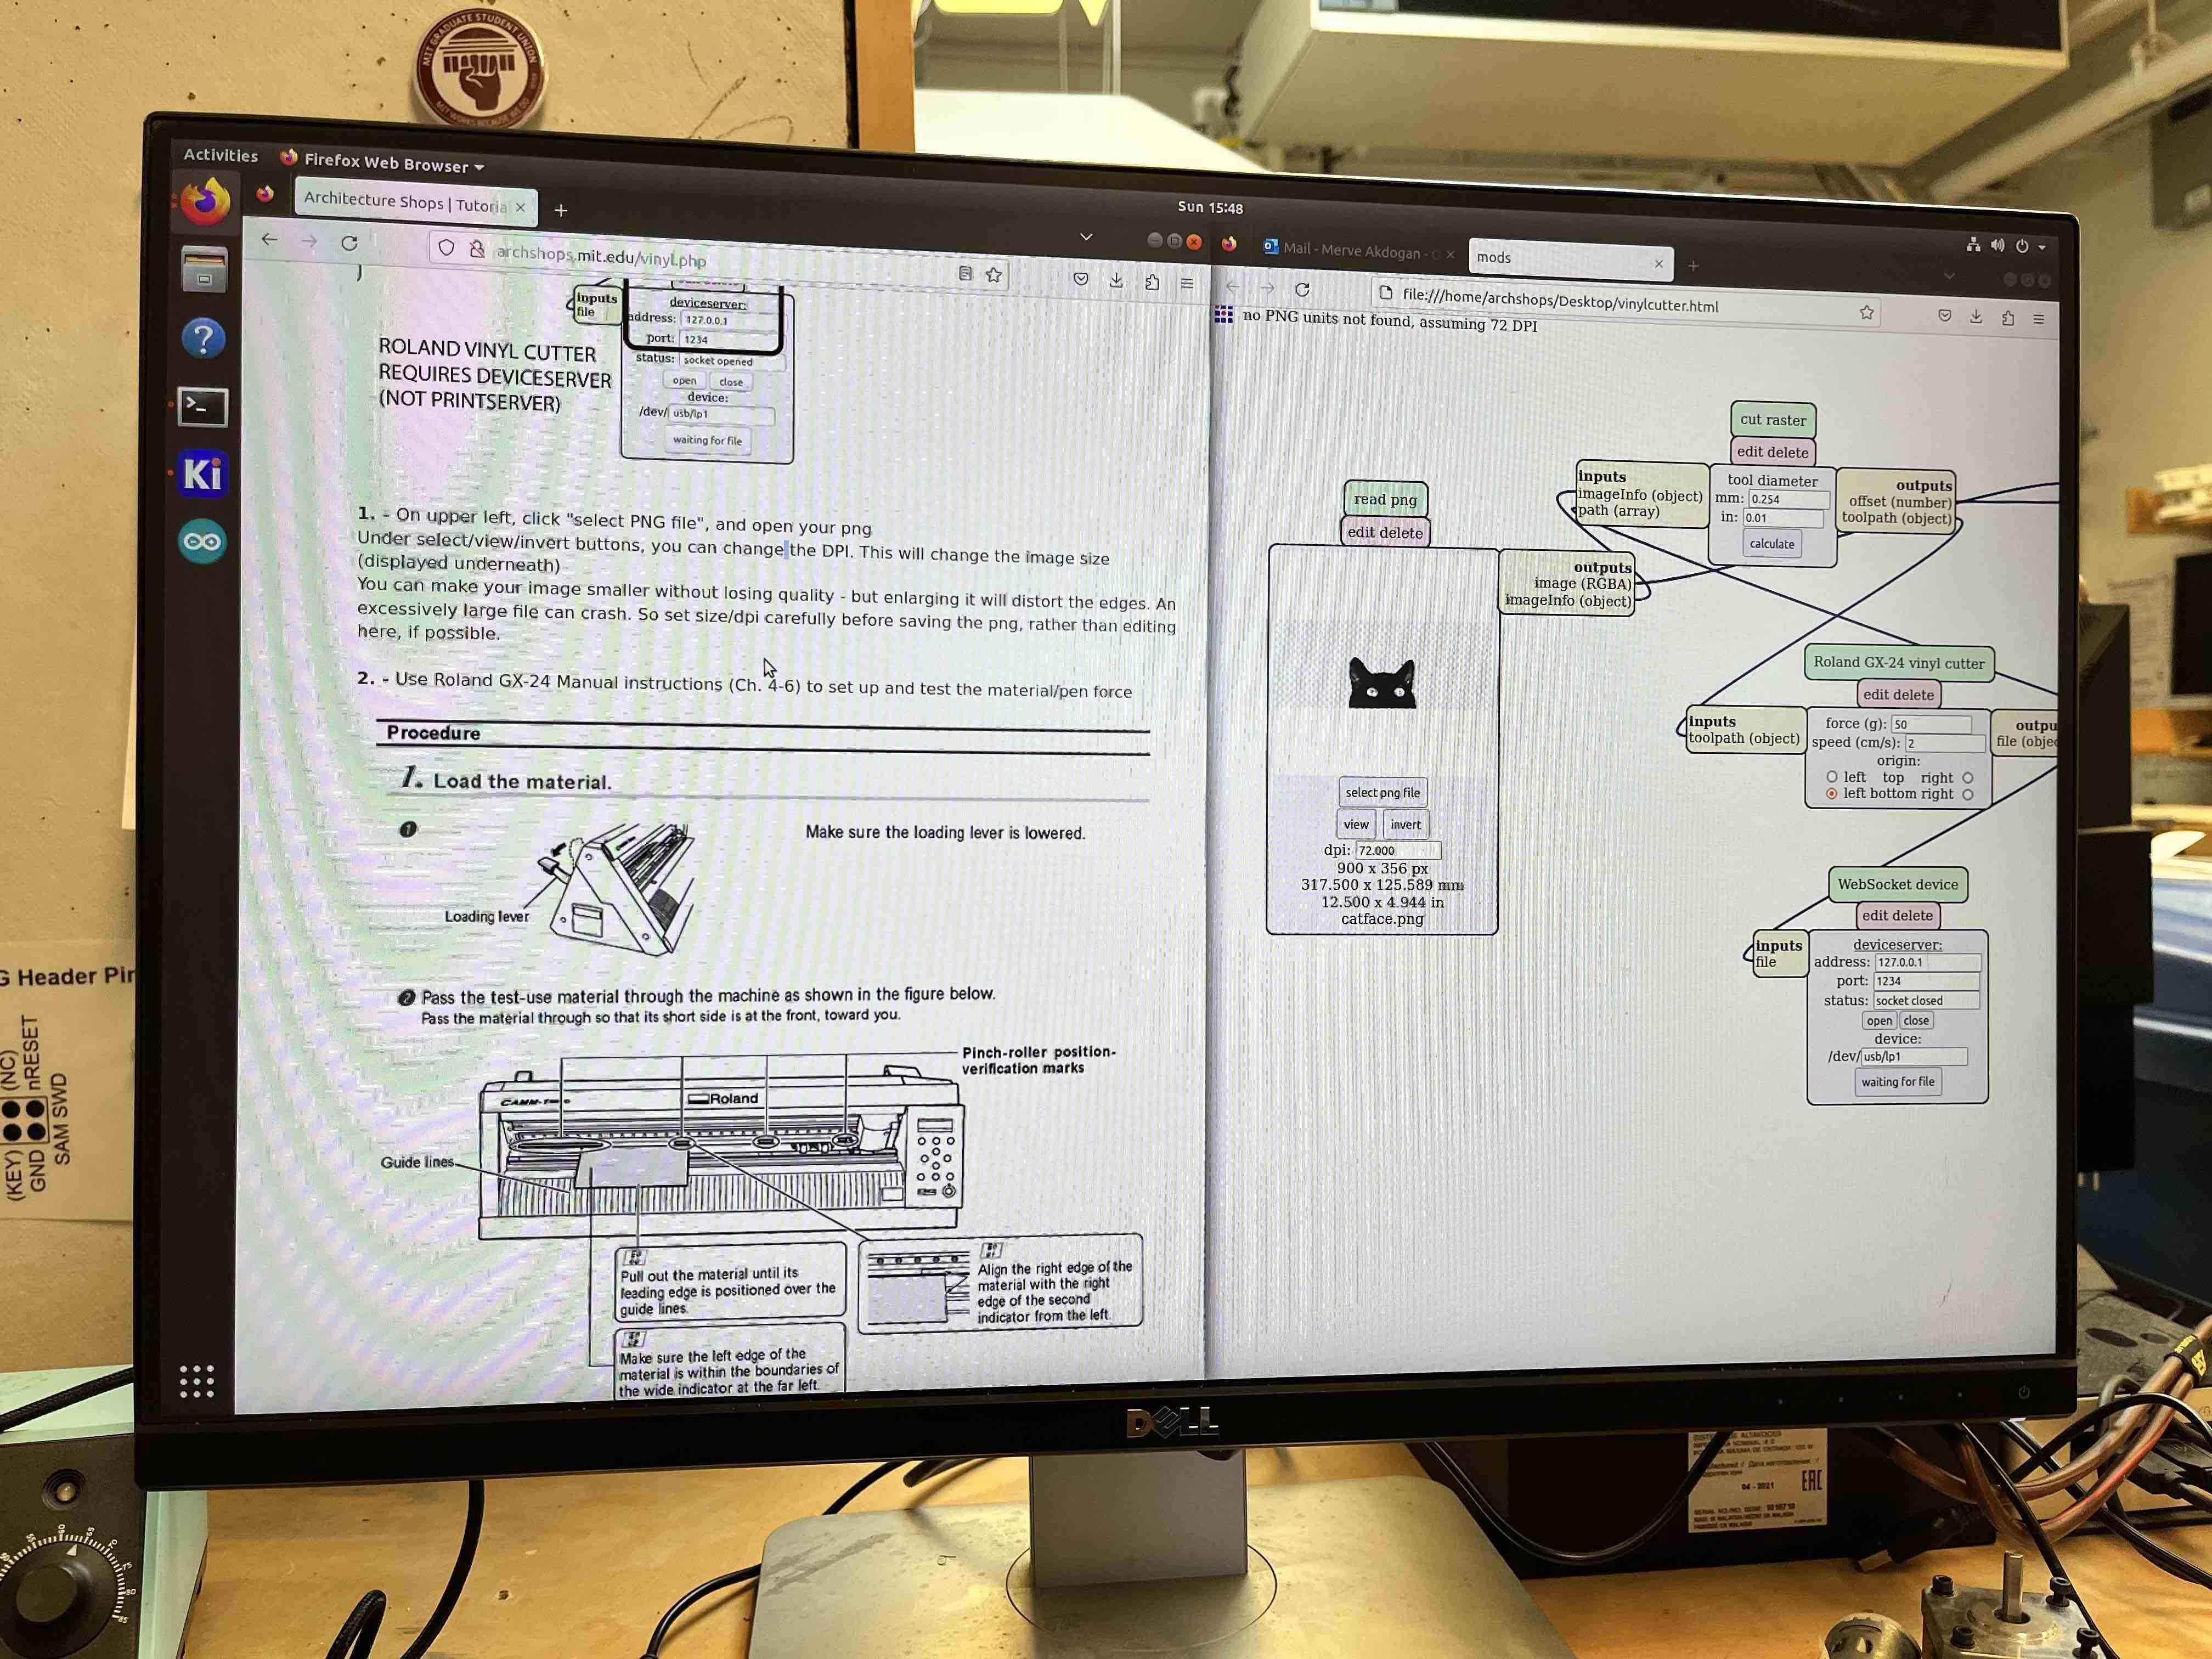
With the image selected, we went through the steps listed on the archshops site to run the vinyl cutter, and after troubleshooting some connection issues, successfully obtained cat stickers for each of us.
Laser Cutting
For the laser cutter, we first needed to characterize the machine we used. We had some issues getting familiar with Rhino, but once we had print jobs reliably being sent to the Epilog machine, we were able to begin testing our cuts.
To tune the correct settings for the 120 W laser cutter, we drew several rectangles on the Rhino canvas, each with individual power and speed settings. We then swept across the different parameters and tried to dial in on the settings that would give us a clean cut through cardboard.
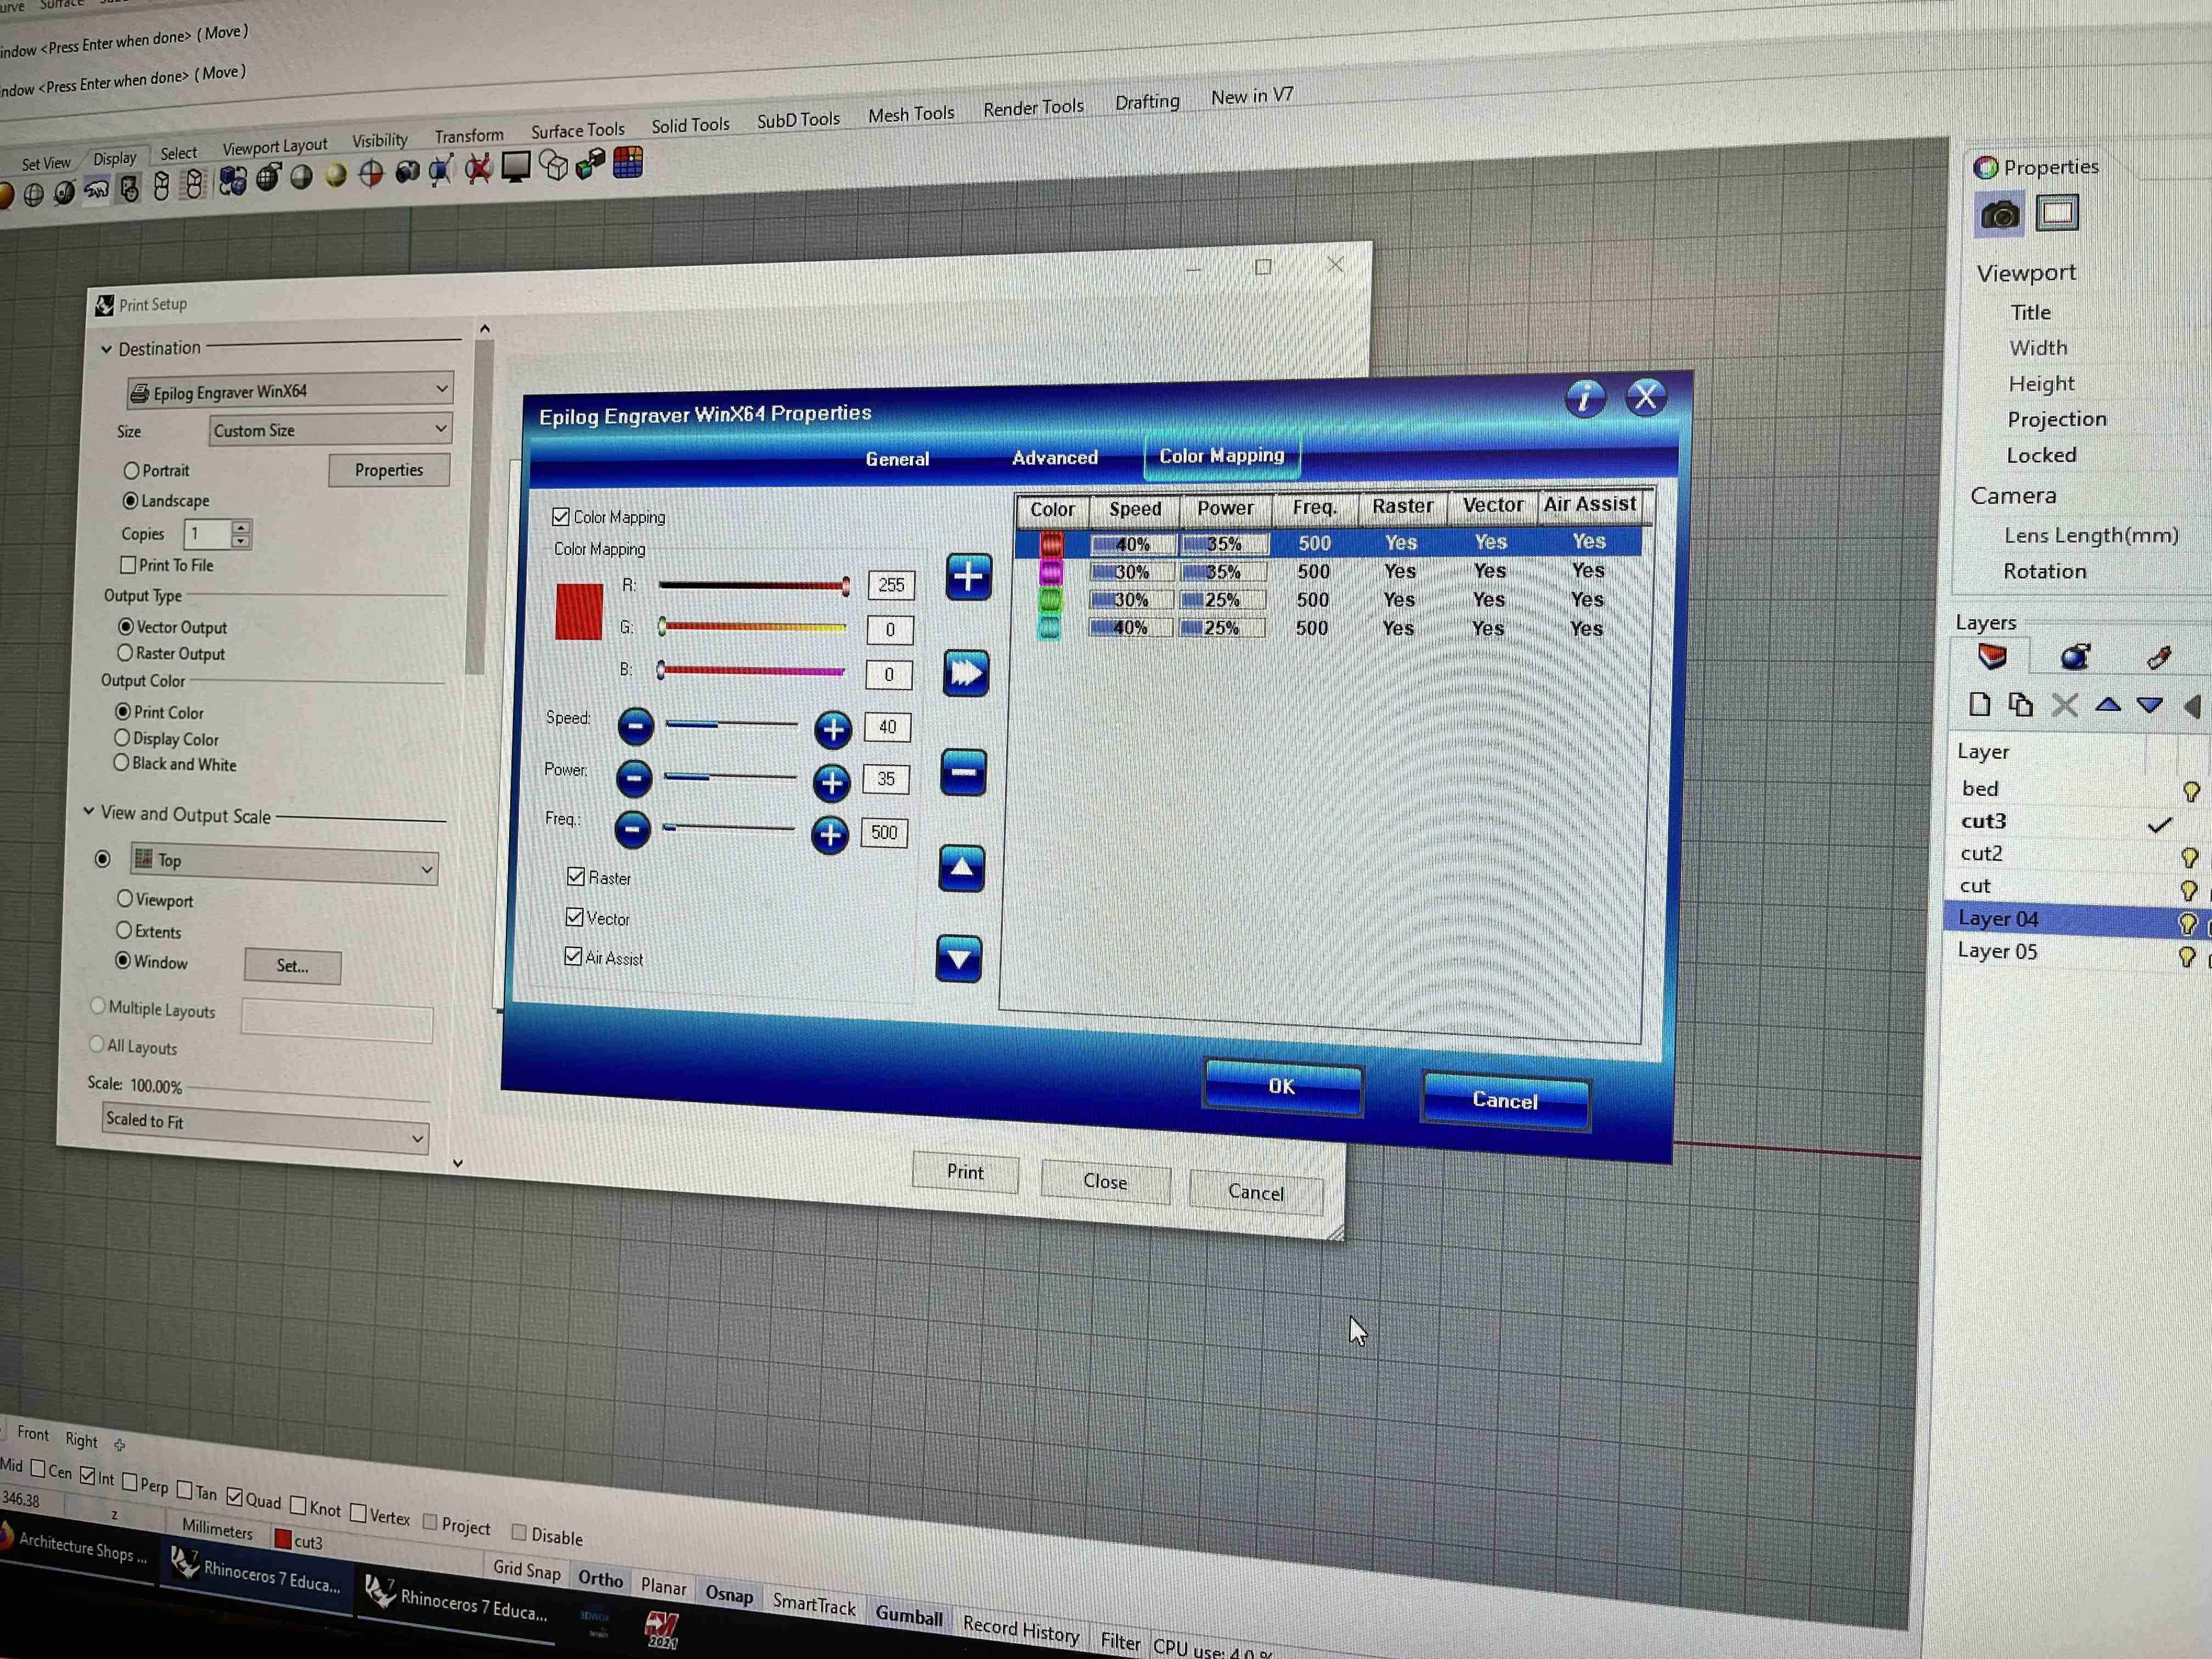
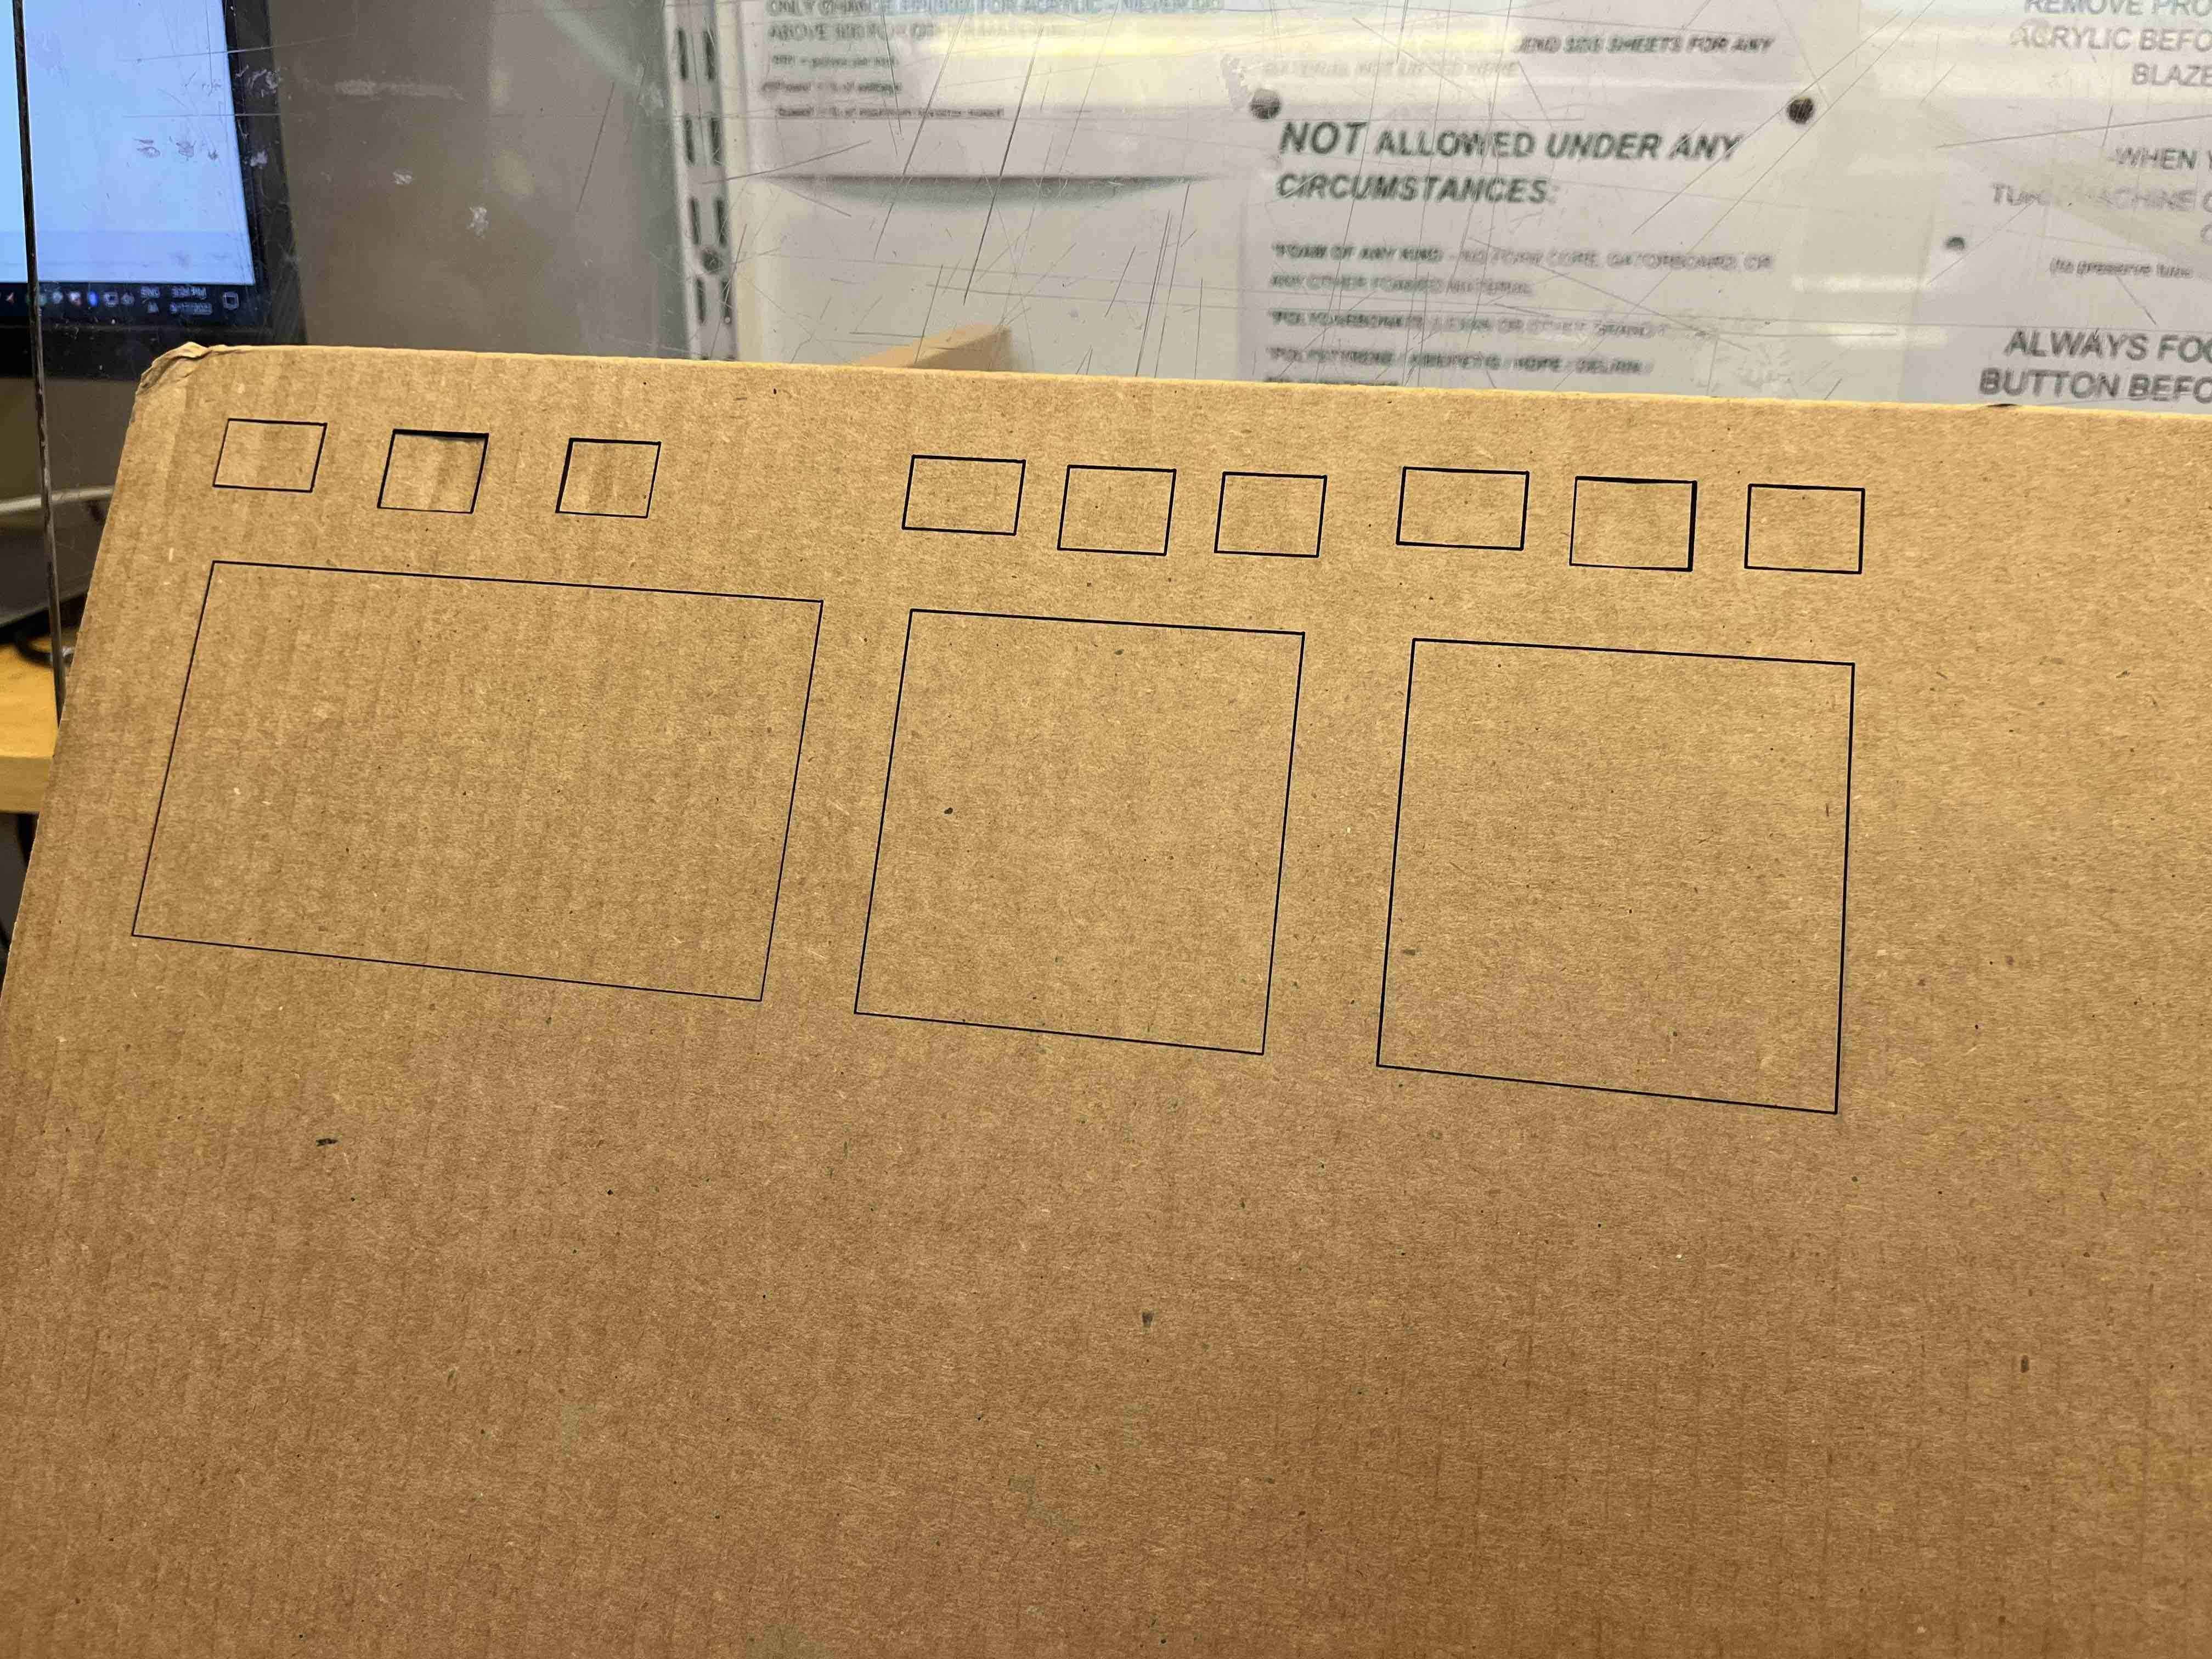
Generally speaking, the settings on the wall do not seem well-calibrated for corrugated cardboard. For the 120 W laser cutter, although the recommended power/speed settings for cutting were 30/15, we needed closer to 30/30 at 500 ppi for the laser to cut all the way through the cardboard.
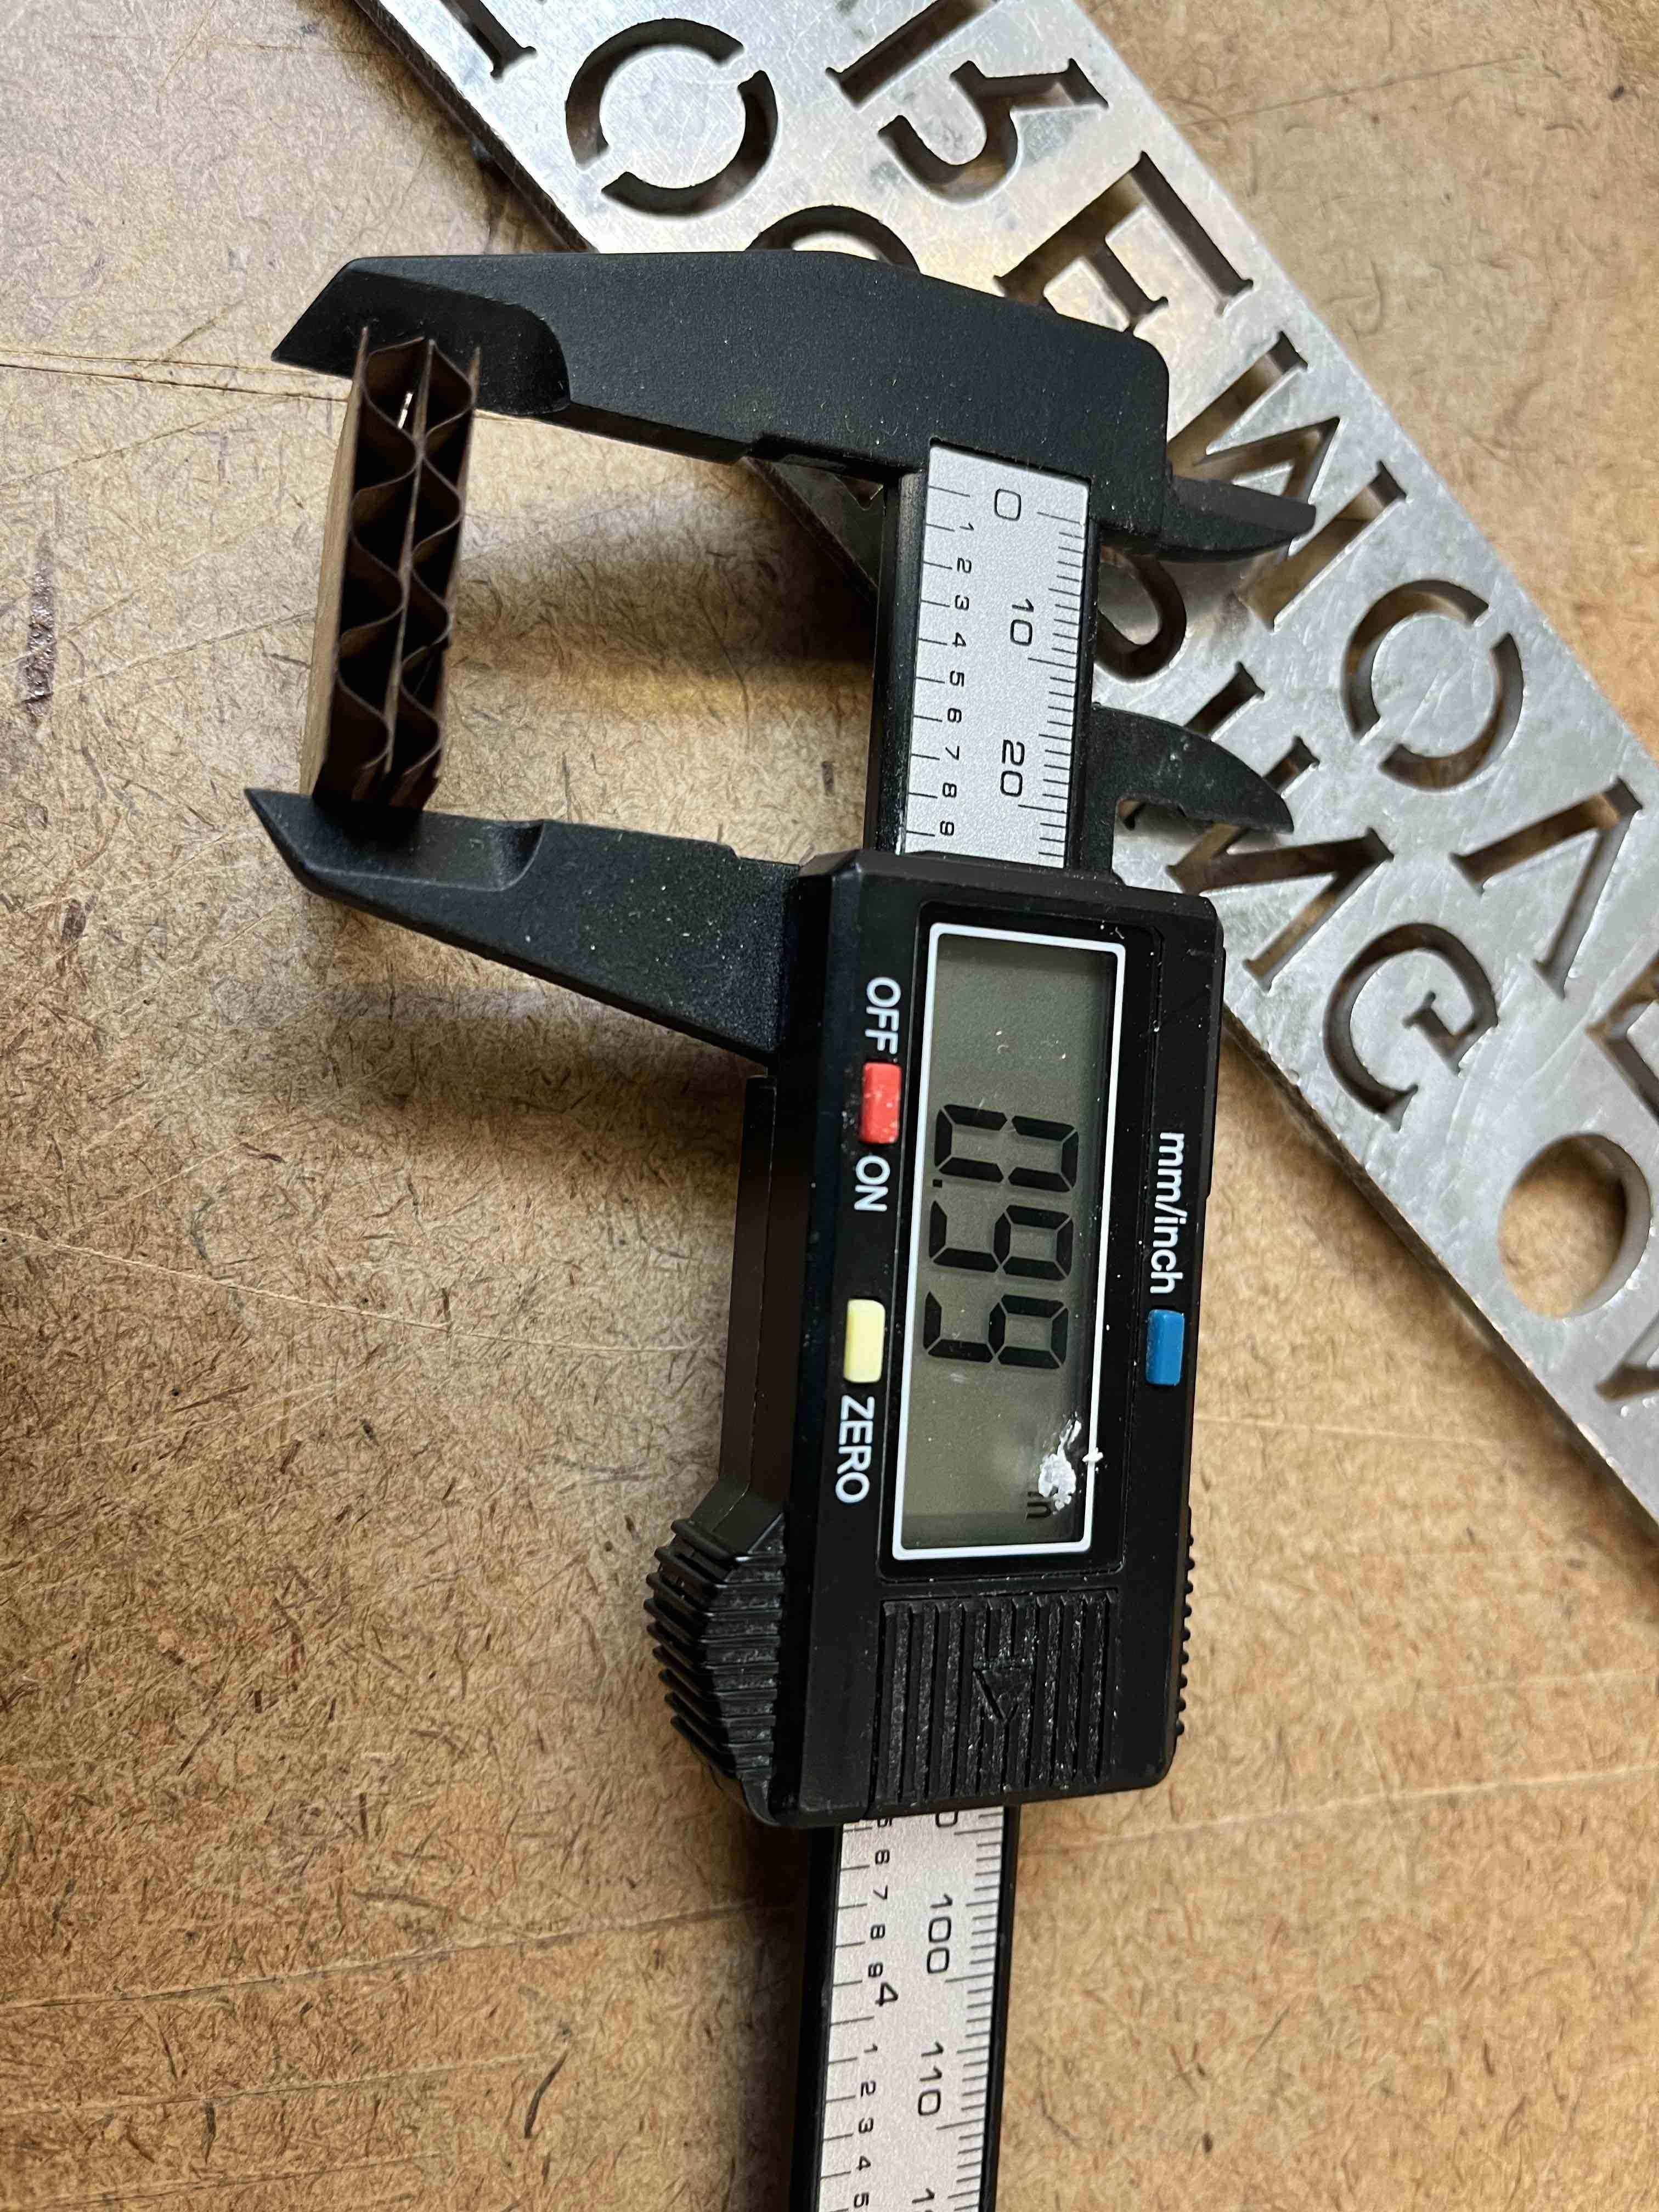
With settings dialed in for a clean cut, we drew a 1 inch square in Rhino, and measured the piece that was cut by the machine with a set of digital calipers. We found that for the 120 W Epilog machine, the kerf seemed to be around 0.01 inches.
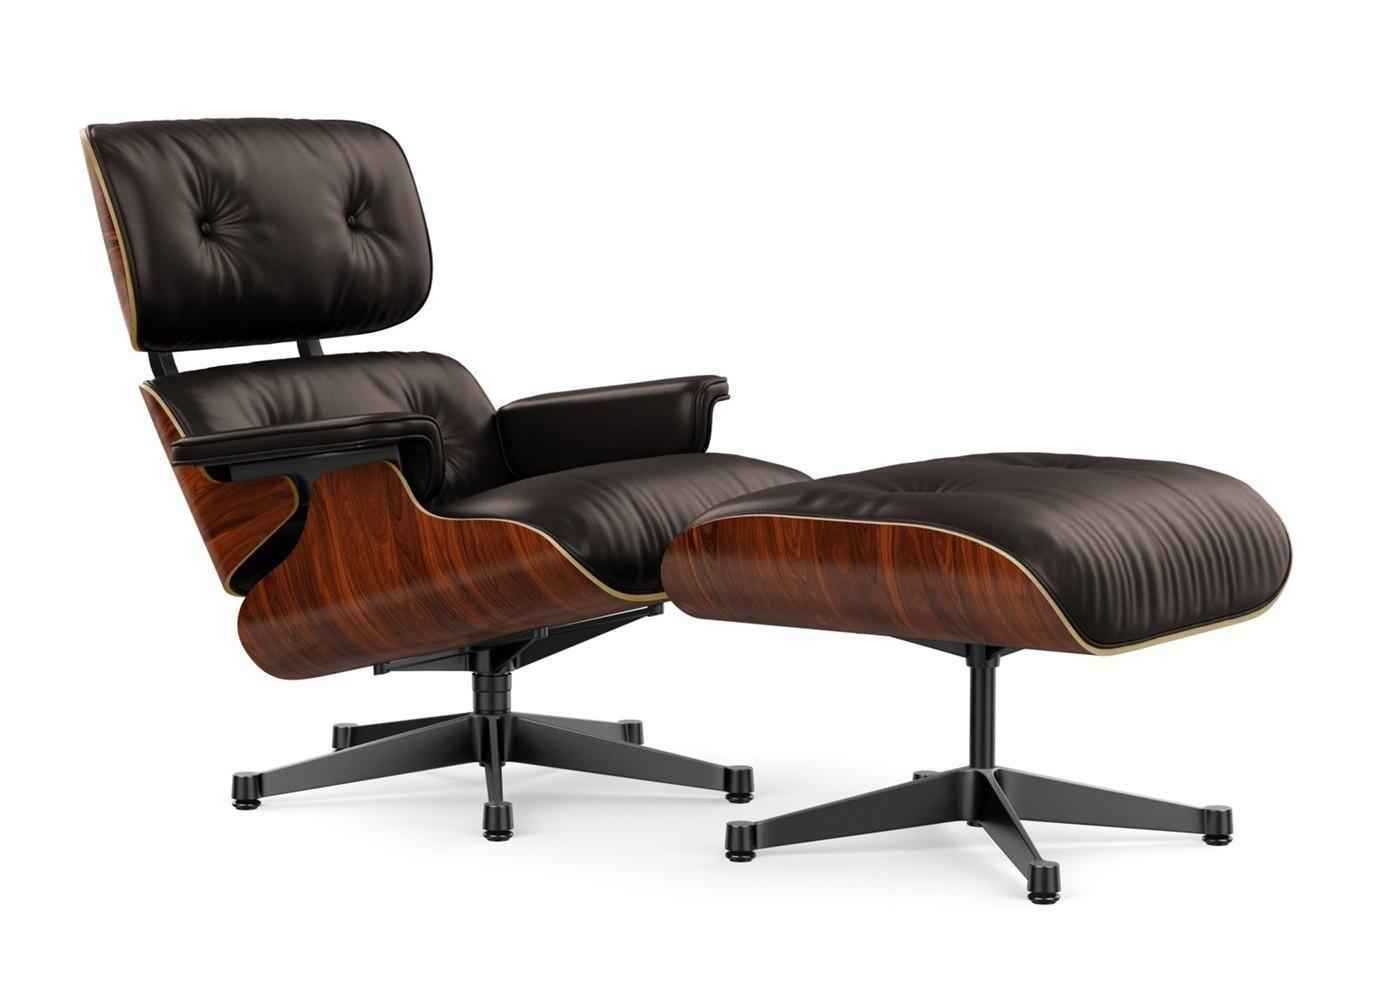
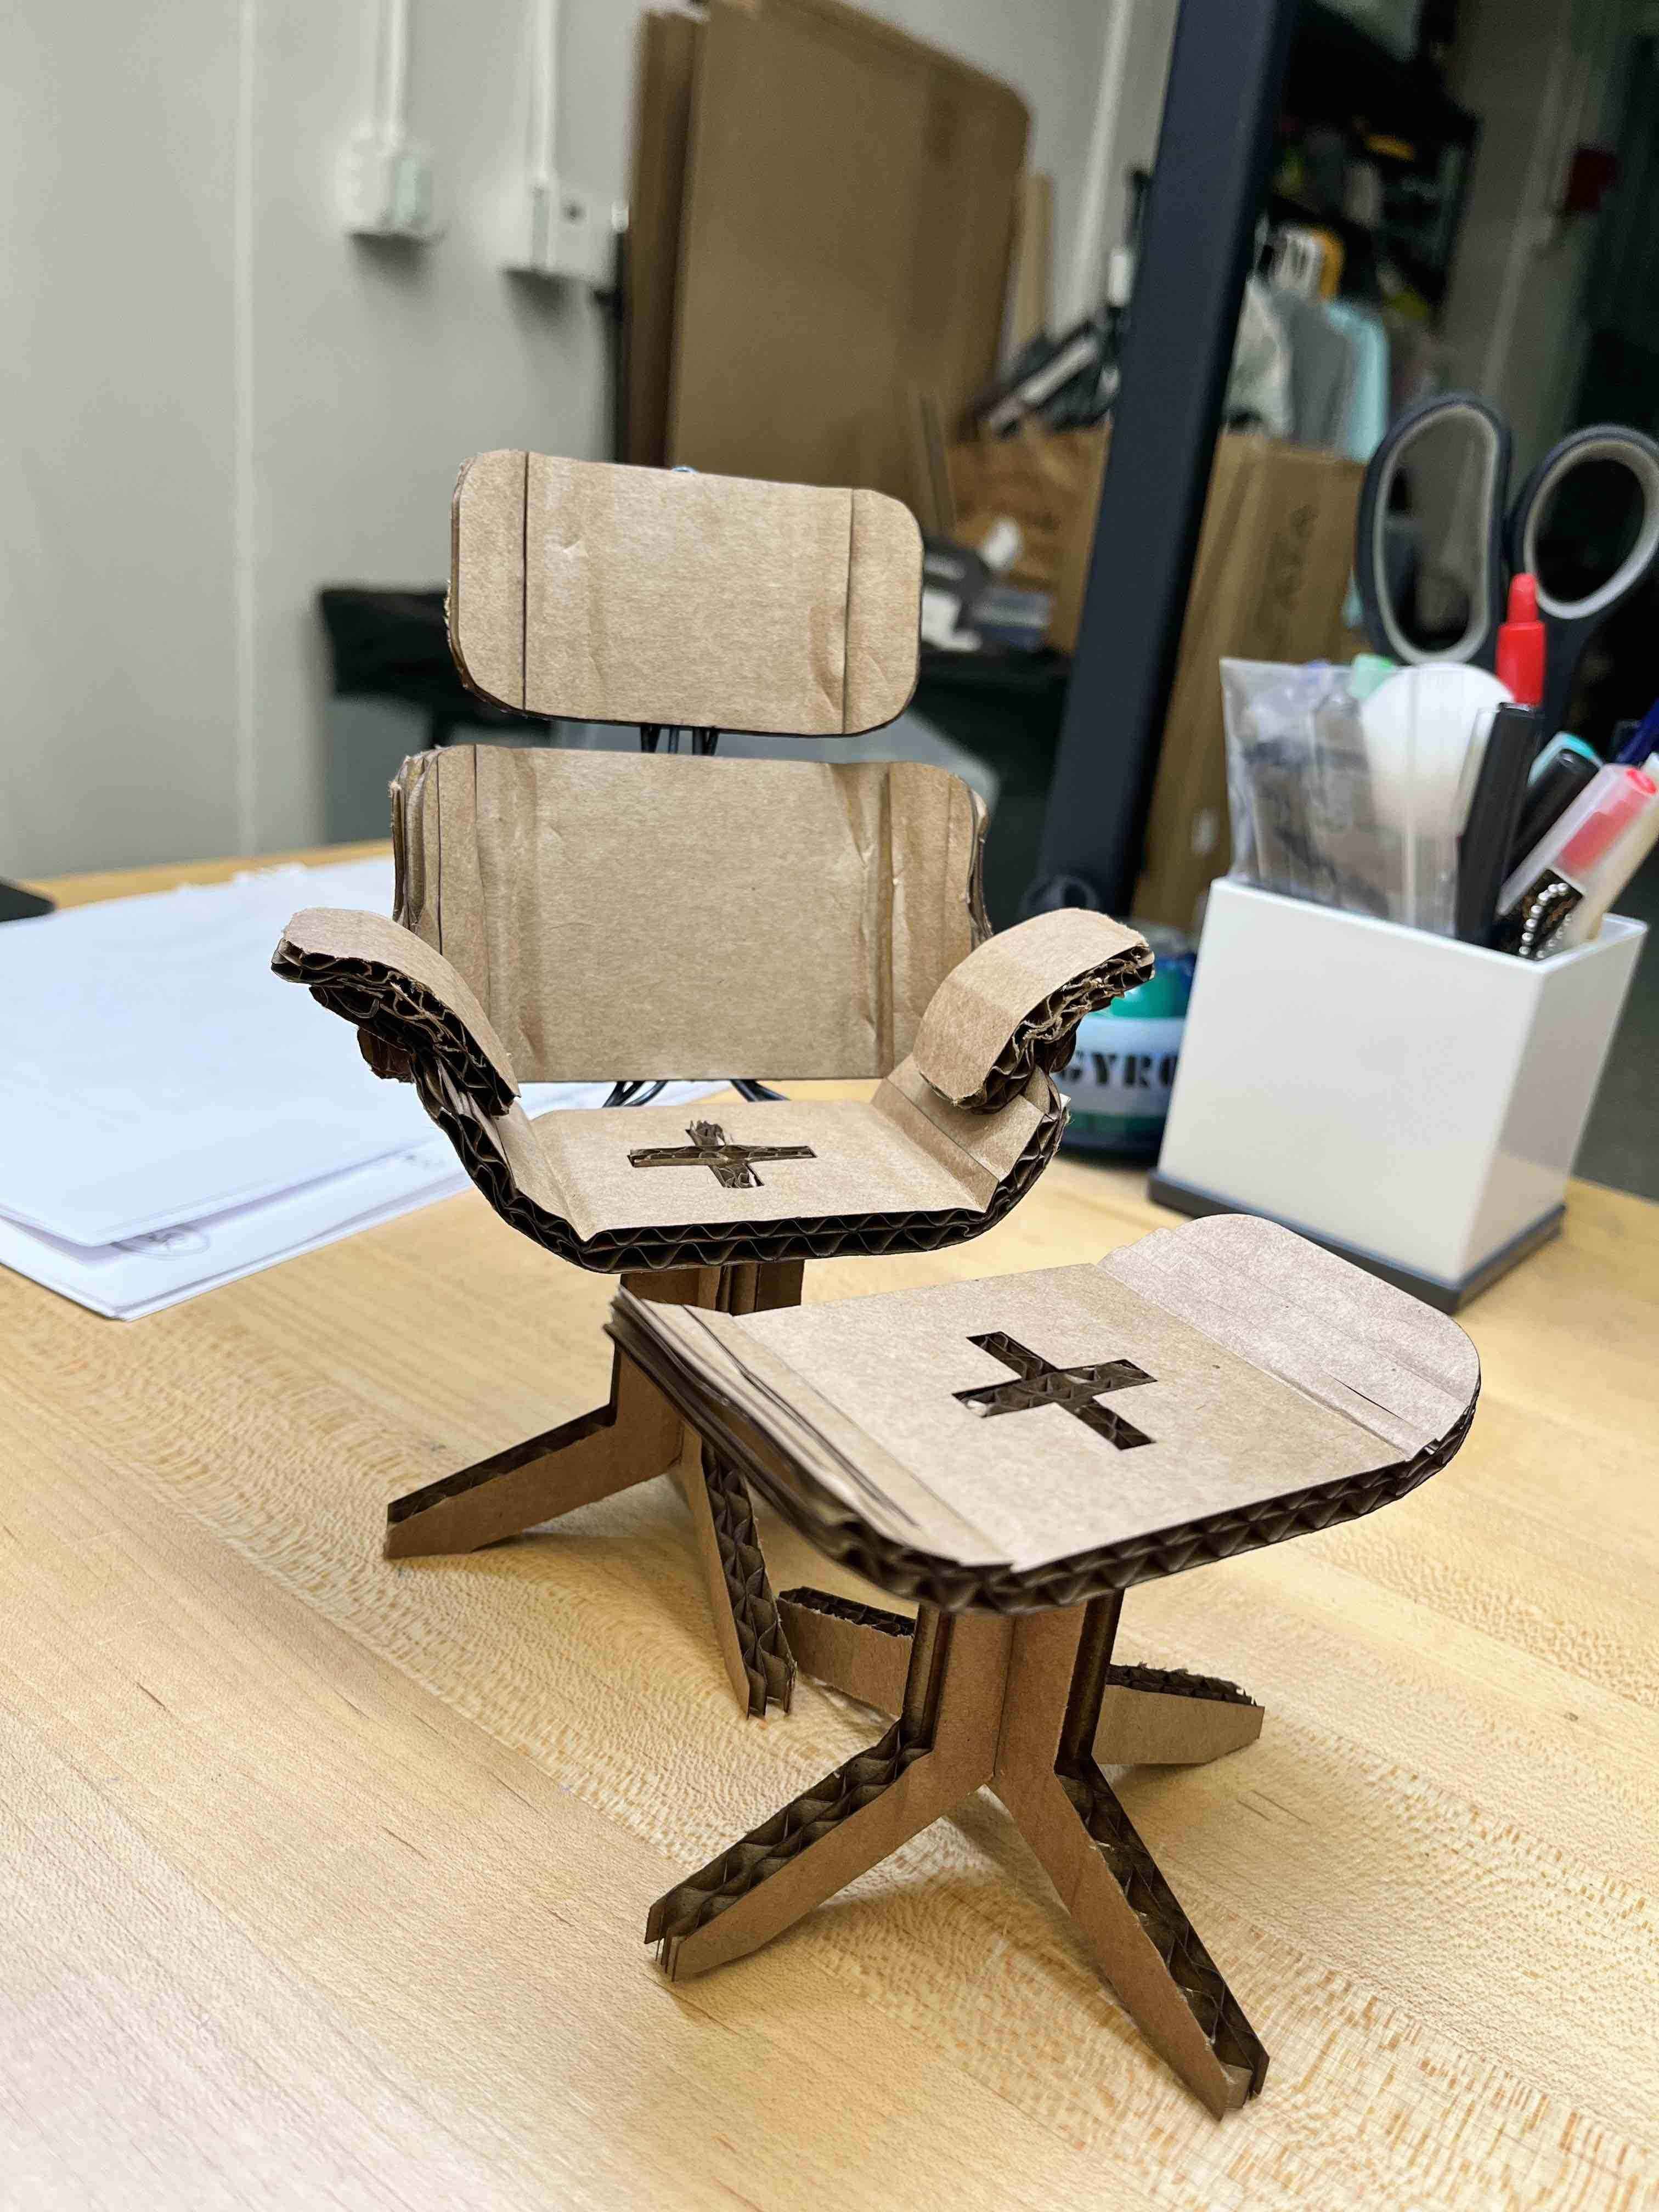
With the laser cutter tuned, I then tried to brainstorm for a few days about what to laser cut. Eventually, I settled on trying to model the famous Eames chair out of cardboard. Not only is it a landmark piece of furniture, but it also had relatively few pieces, with simple, smooth geometry that I thought would be fun to make flexures with.
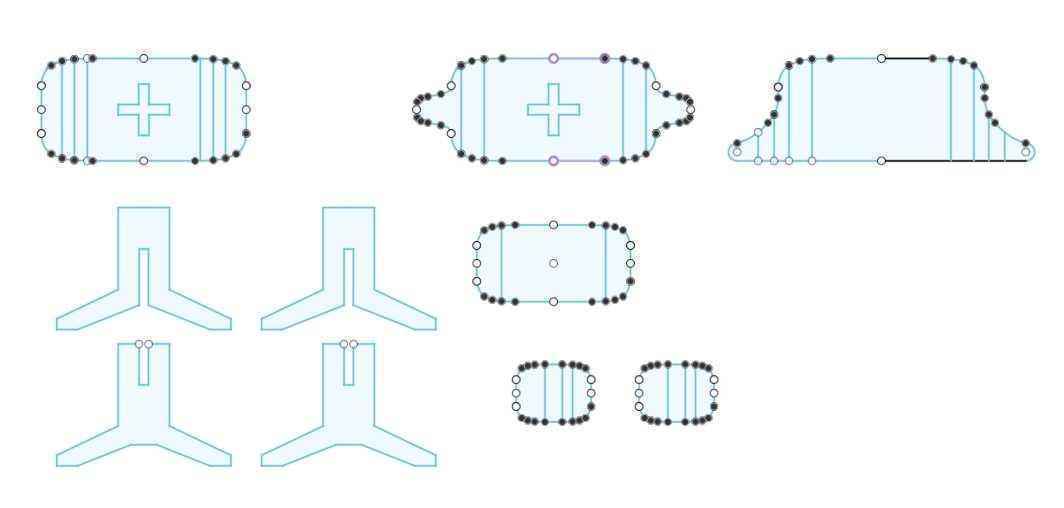
As I began modeling the sections of the Eames chair however, I quickly realized how challenging the joinery of the chair could be. The legs of the chair could be assembled with press-fit slot joints, and then pressfit into the ottoman and seat sections. However, I was unsure how to connect the seat, back, and head sections together with cardboard alone. Ideally, these connection pieces would also be cardboard flexures, but I didn't trust the structural integrity of scored cardboard. I decided to prototype the flexured pieces first and think more about connections afterwards, making sure to account for the measured kerf.

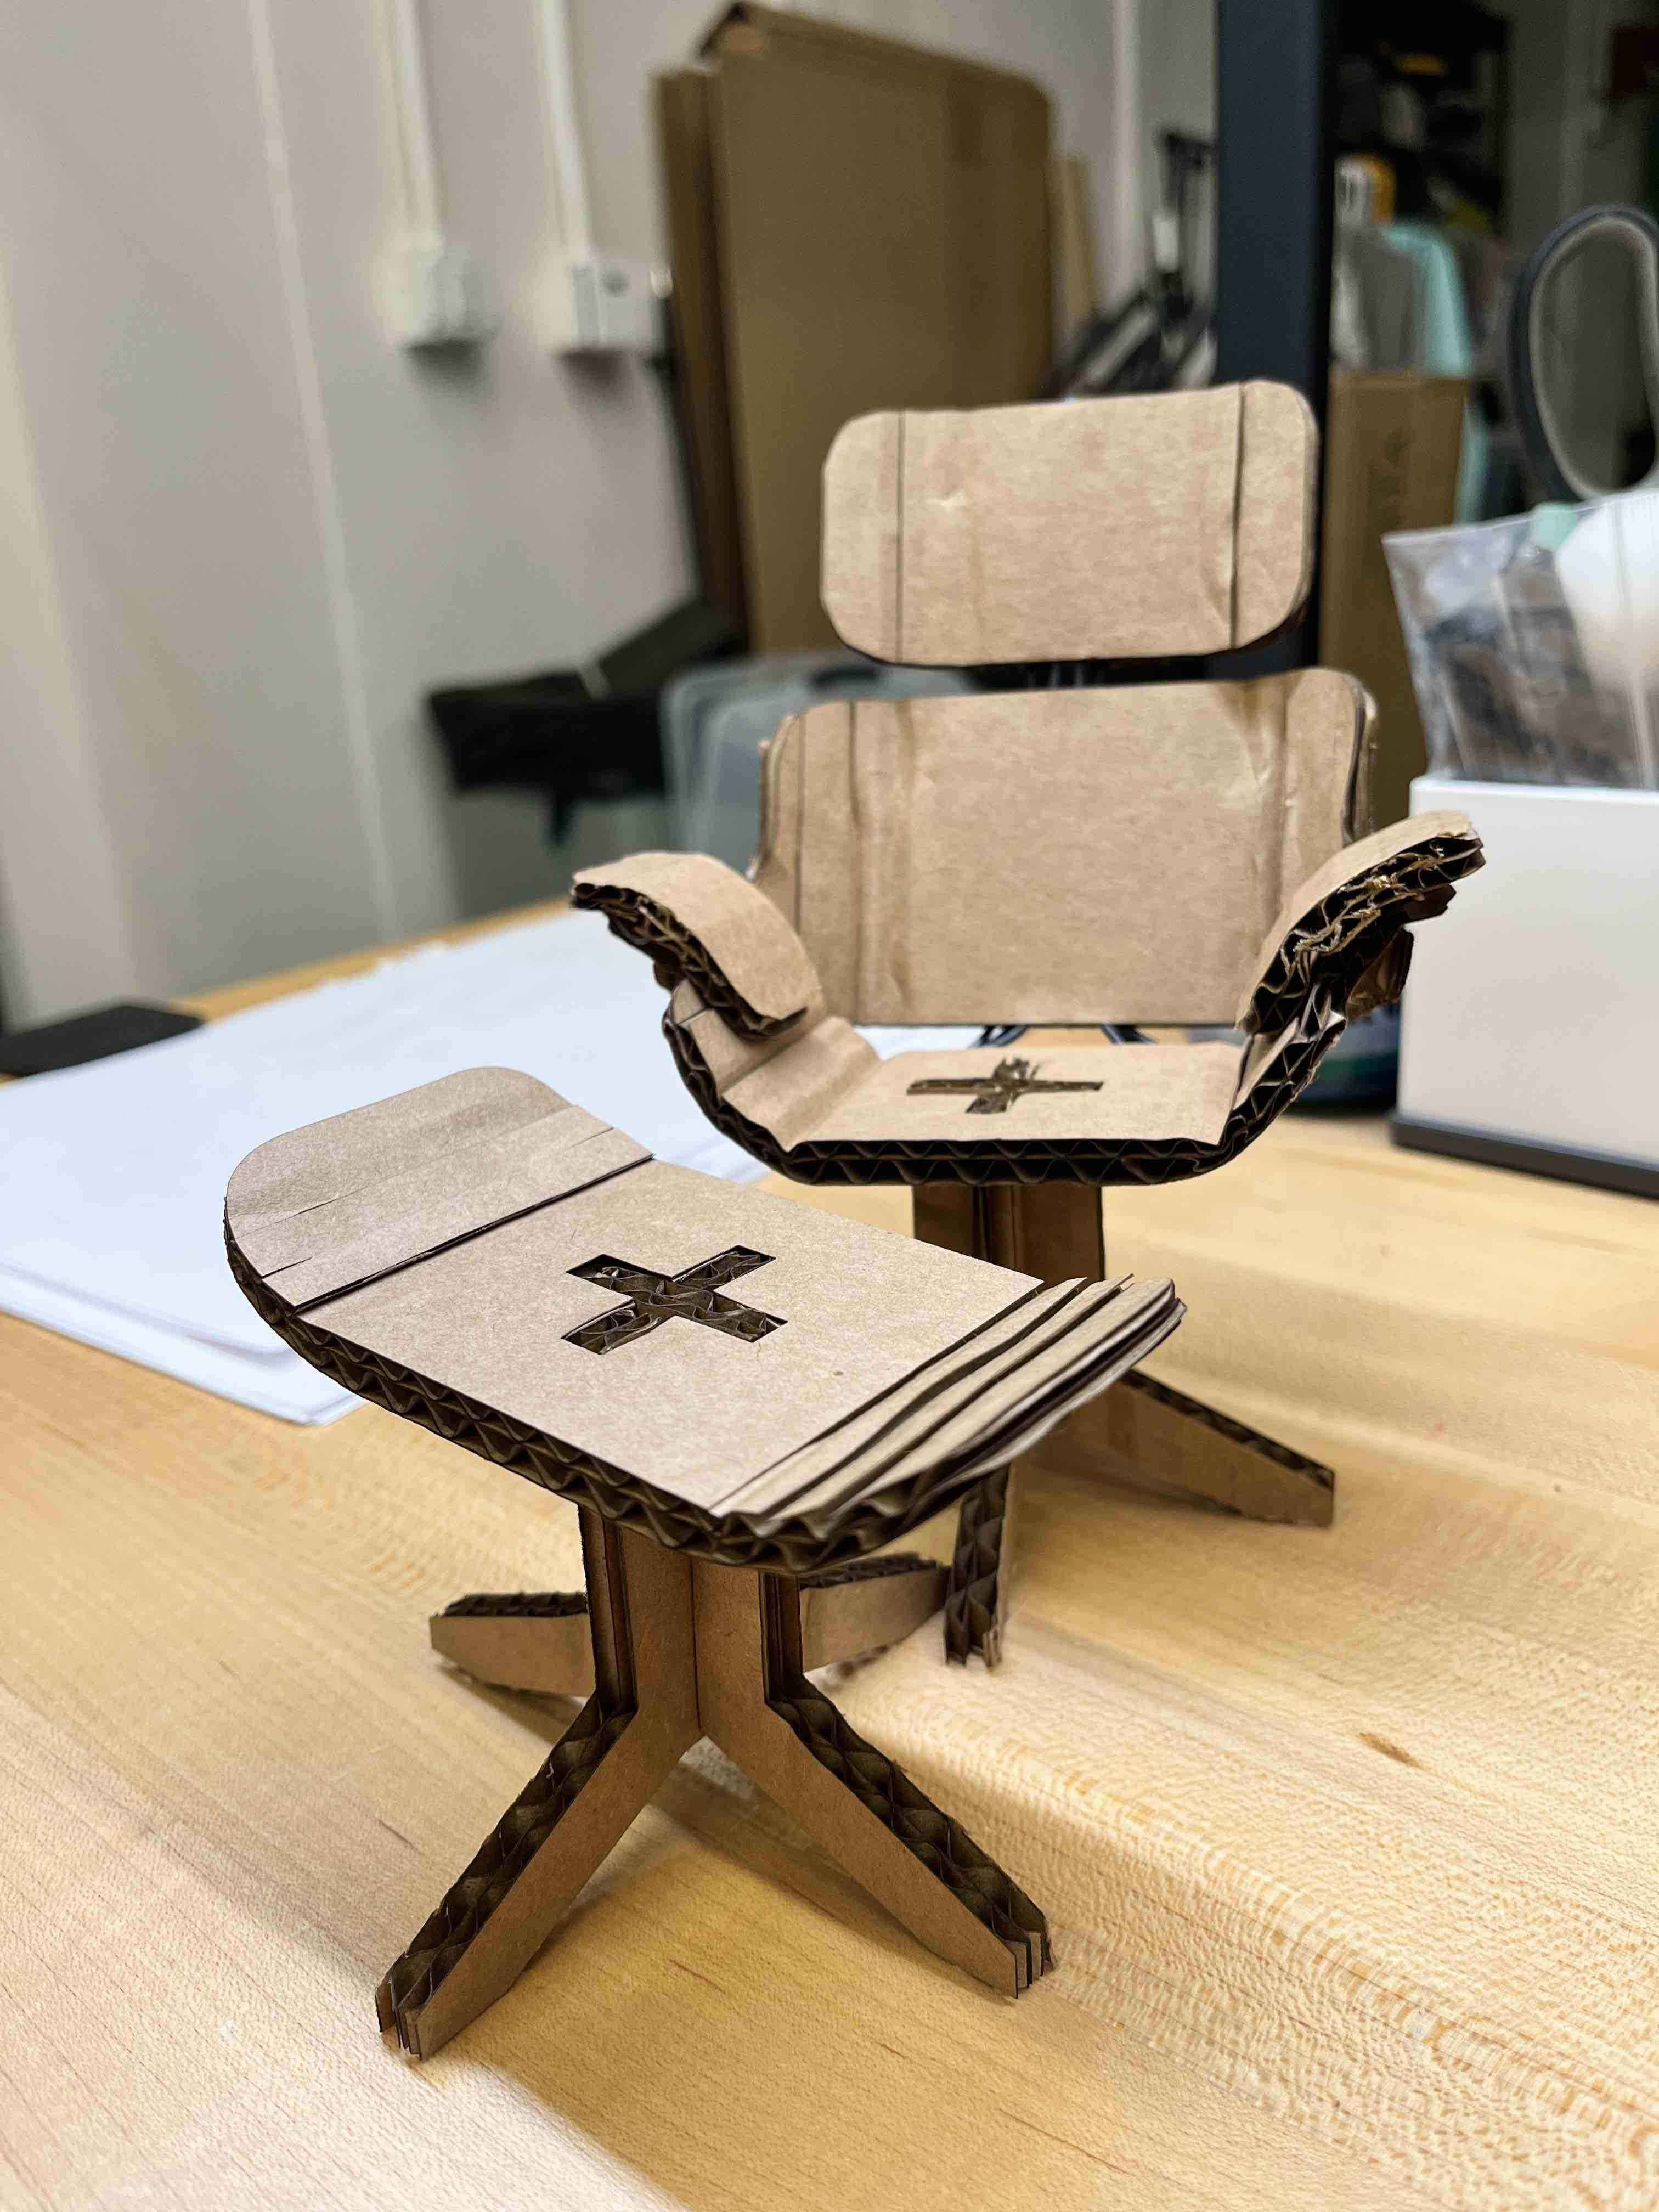
I was able to print out the pieces cleanly on the laser cutter, but unfortunately the flexural pieces did not work as nicely as I'd hoped. While the cardboard was able to curve somewhat, it was still relatively stiff and did not bend to the angled I was hoping for. For the future, I would need to score much deeper to get a more significant flexure in the cardboard. I did my best to manipulate and bend the cardboard to the positions I wanted.

I was pleasantly surprised when it came to joining the chair legs and seats together however. The press-fit joints worked extremely well, and felt very secure and tight for all the joints. I was worried that the seats might slide down on the cross pattern of the legs, but they were held in place very well. I could prevent this outright by tapering the legs to be narrower at the connection as well.

With all my individual pieces cut out and manipulated to be in their proper shape, I focused on how to join the seat pieces together. I could have cut out a side profile for the spine of the chair, and found ways to slot in the other chair pieces as I did with the seats. However, with limited time, I decided to mix media and use wire to form the backbone of the chair.

I threaded the wire through the corrugations of the cardboard for all three chair pieces, and it also allowed me to bend and twist the seat sections as I desired. Finally, I used some hot glue to attach the arm rests to the chair.

This assignment definitely felt rushed for me given the research deadlines at the time, and I think I could have done a cleaner job planning and assembling the pieces of the chair. It was an interesting challenge to try and plan for a 3D model with only 2D pieces. I felt like I was doing a very different kind of spatial deconstruction of objects, and without verifying that my vision was correct by assembling the sketches as individual components.
Regardless, I feel much more comfortable with both CAD and the laser cutter now, and hopefully I'll be able to use these skills to more thoughtfully plan out my final project.