
Week 7 documentation
Overview
For this week, the plan is to:- make a model
- machine some wax
- make a mold
- cast a bunch of stuff in different materials
Some not ambitious ideas: - rings - solid cube with pattern on each face. - finish the cad for the casing and then cast it in different materials - integrate lights etc.
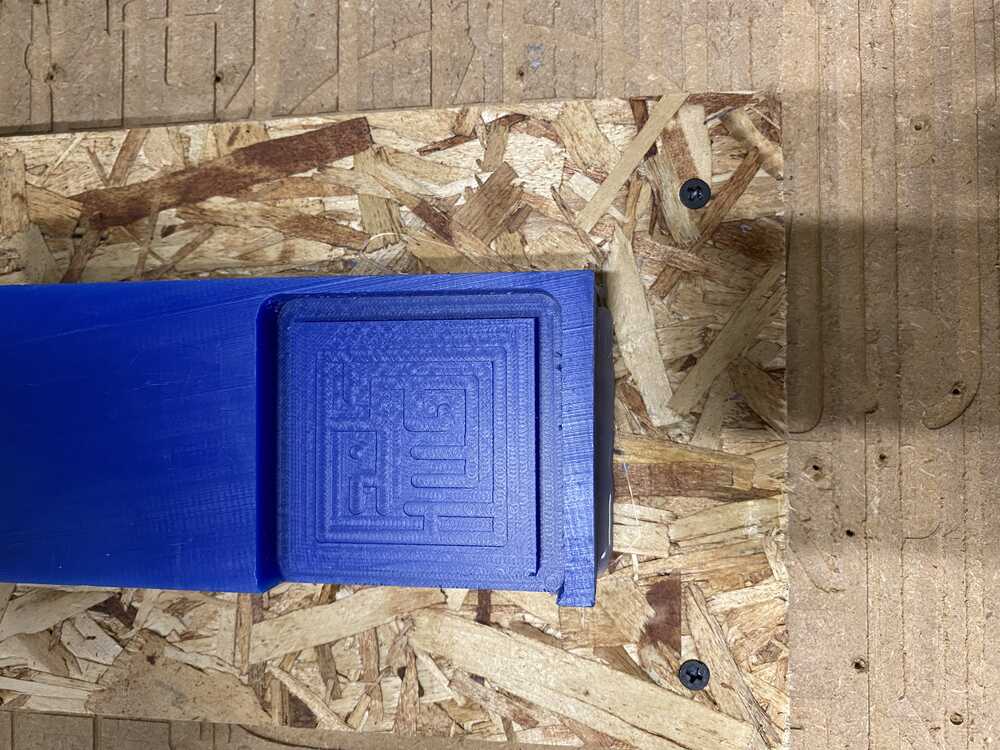
making a model
After taking the milling training for the week, I better understand the limitations to milling the wax with 3 axes. I would have to use V shaped grouves instead of just extrusions to be able to carve the faces at an angle, since I can only have access to a couple faces per mold. Since changing this is rather difficult for the complex geometry, I'm opting to just keep the extrusion but for 2 opposing faces instead.

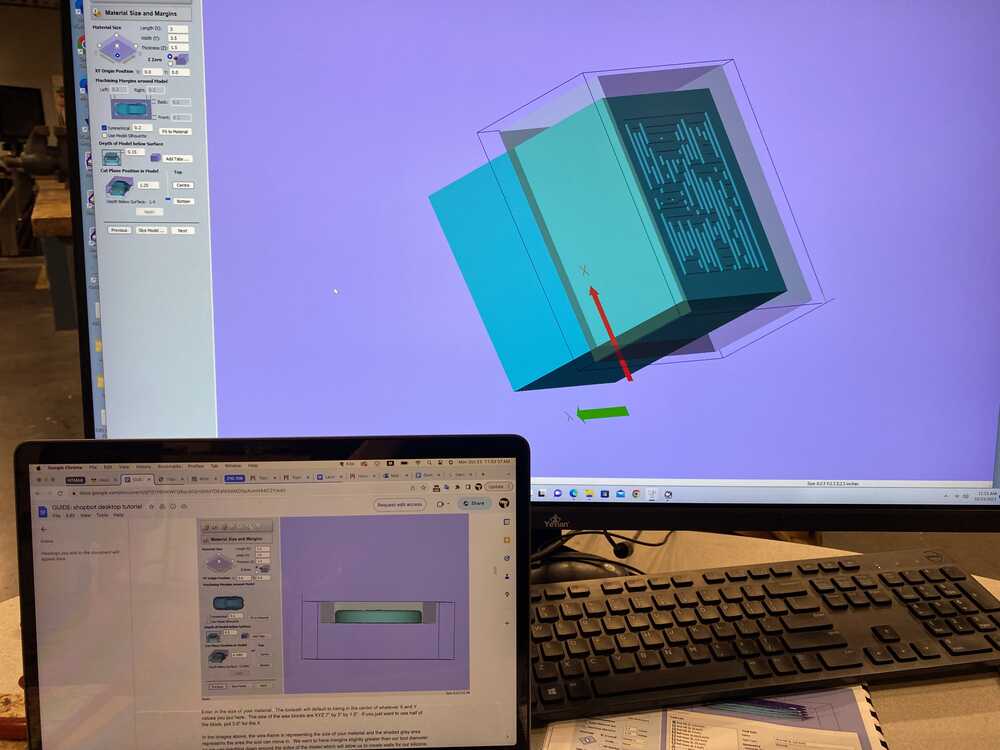
machining the wax
All of the information about milling has been sent in the form of a helpful guide.The steps are roughly:
- upload file to cuts3D
- tune the parameters based on the guide
- wear ppe
- zero the axes to the top of the block of wax (bottom left corner)
- press start
Turns out my pattern's details are too narrow, 1/46th of 2inch is less than 1/8th inch which is the diameter of the bit.
Because of this, I changed to my simplified logo design.
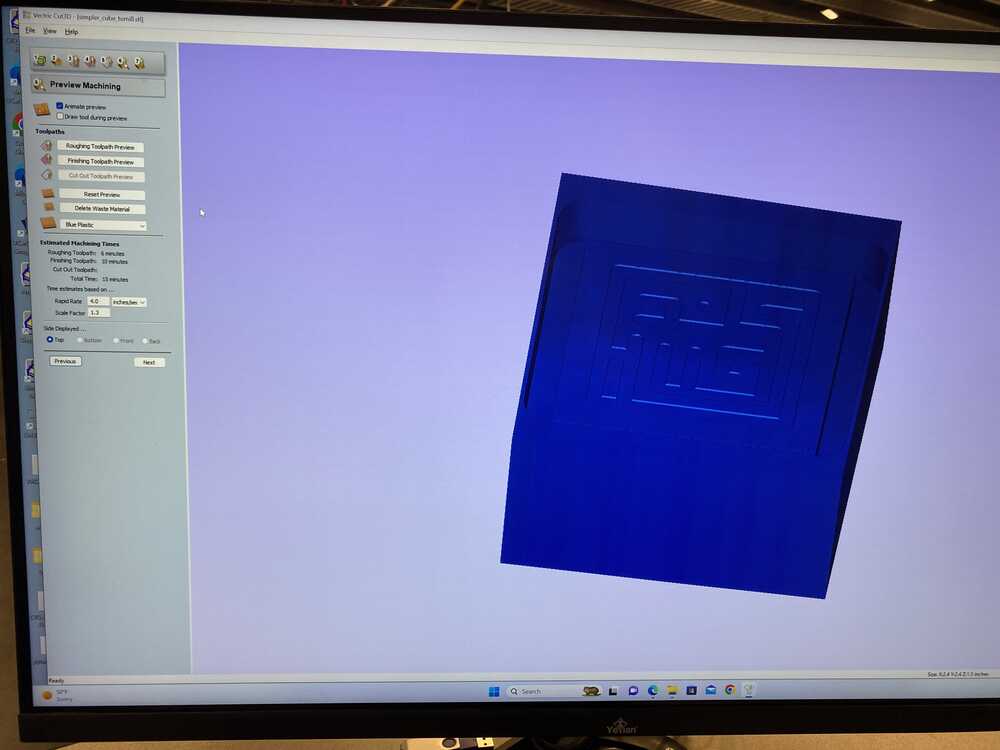
Also since im only doing one side mold, I changed it to just be a plate instead of a cube, since the details would be too small otherwise.
Now its time to mill!
--insert timelapse here--
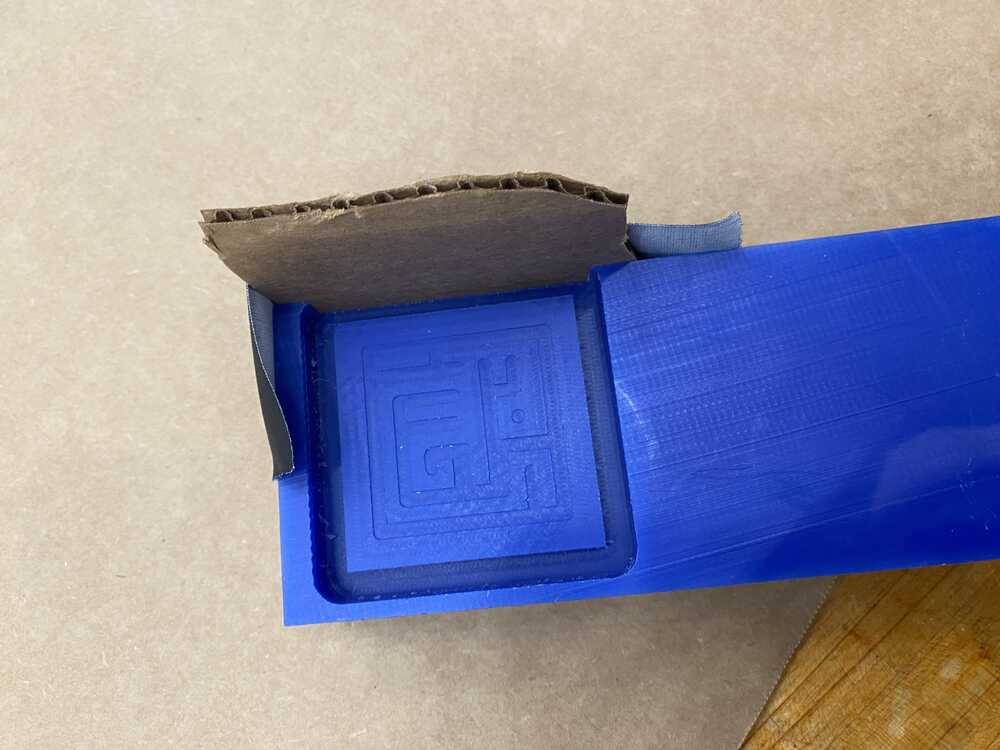
The milling took a while ~ around 30min for cutting out a little bit of wax.
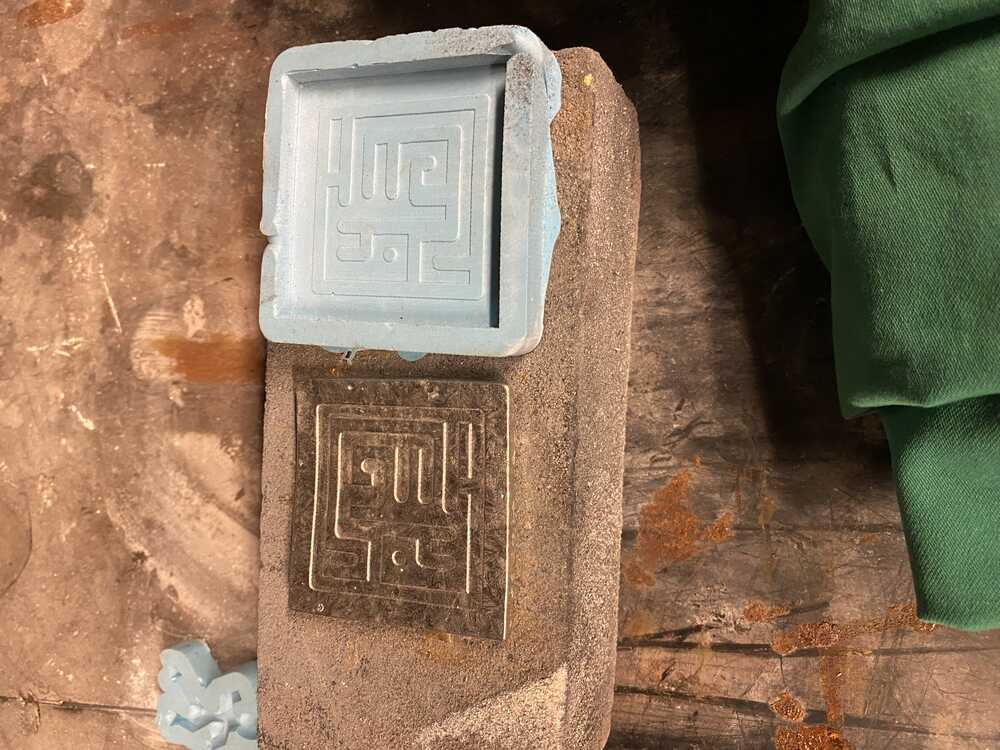
The zeros were a bit off for X and Y axes so one of the walls was cut off. I taped some cardboard to the missing wall and cast the mold.
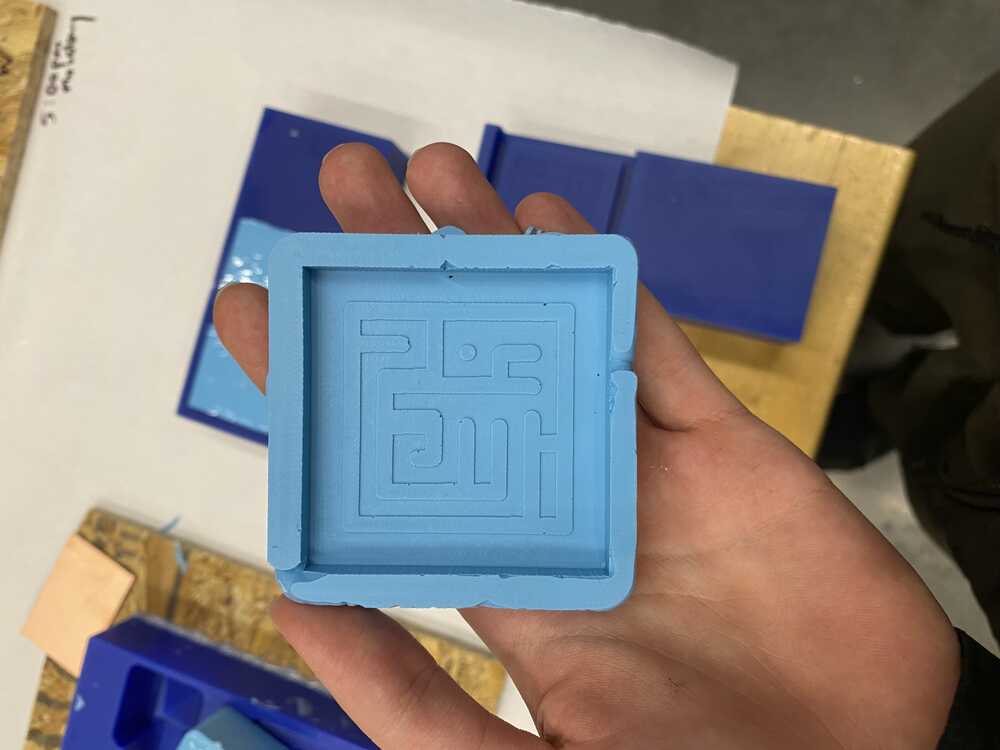
Making a mold
After stiring both parts and pouring into a new cup, and then stiring them together for a while, maybe ~5-10 min(since i had gloves and all the surfaces were covered in goop I couldn't check the timer on my phone)
I think I may have waited too long, since the oomoo had become pretty viscous by then and it was hard to pour it in the mold.
Regardless, I pushed it around with a stick hoping it wouldn't make too many bubbles.
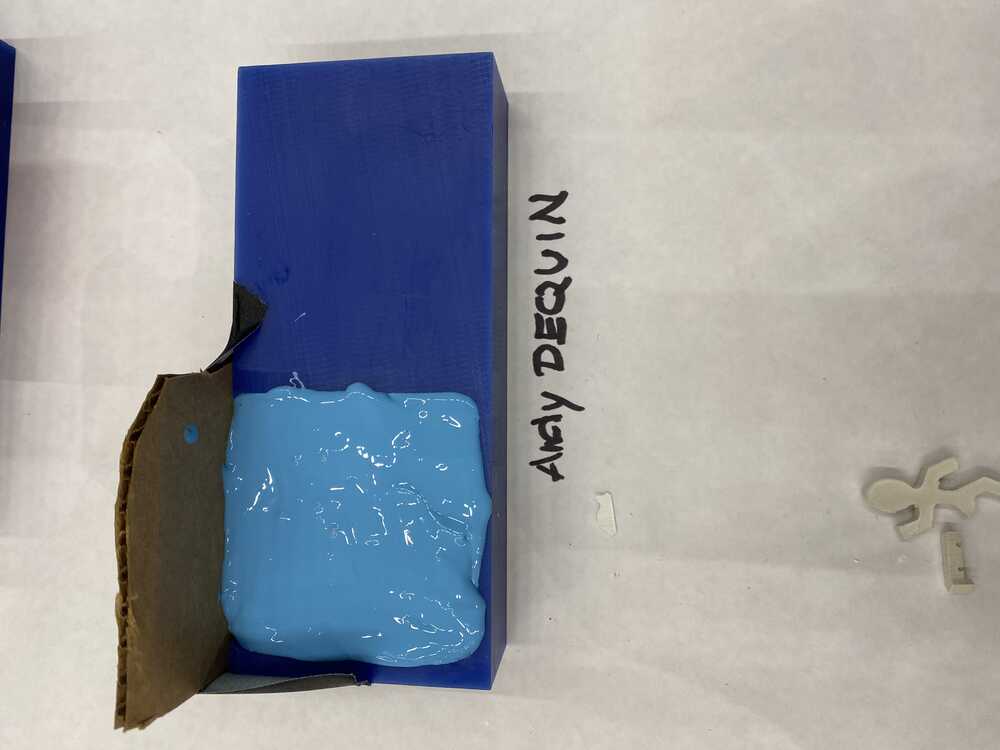
Heres the result:
Theres a couple defects and cracks but hopefully the casting material is viscous enough that it doesnt matter.
Casting a bunch of materials
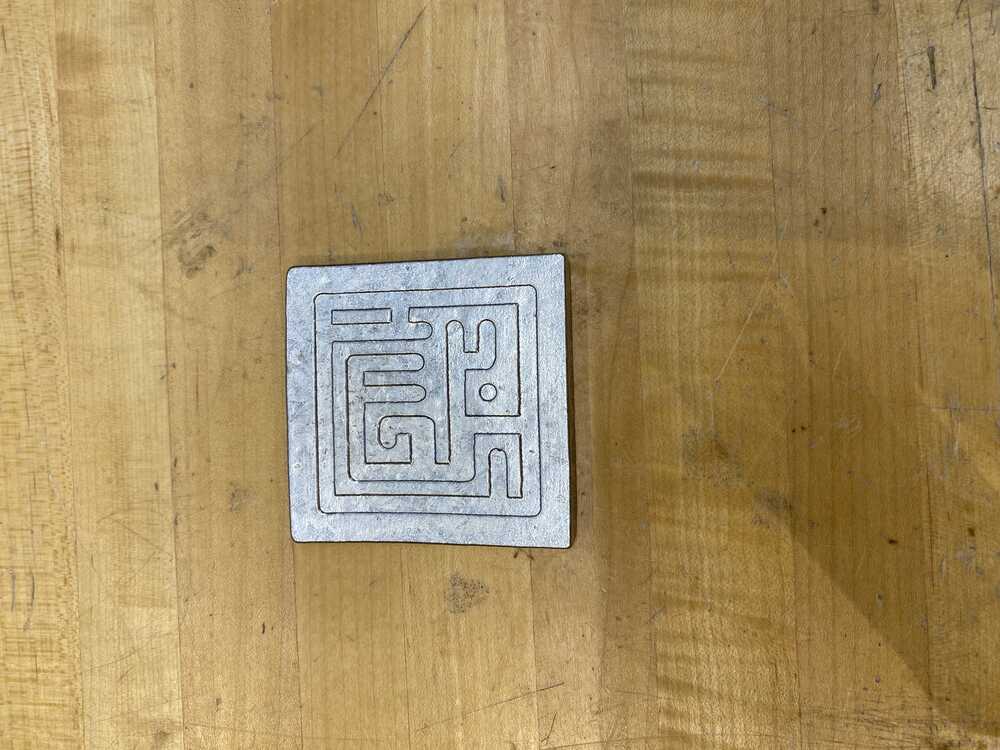
Since alfonso is here and was excited about pouring metal thats what I started with.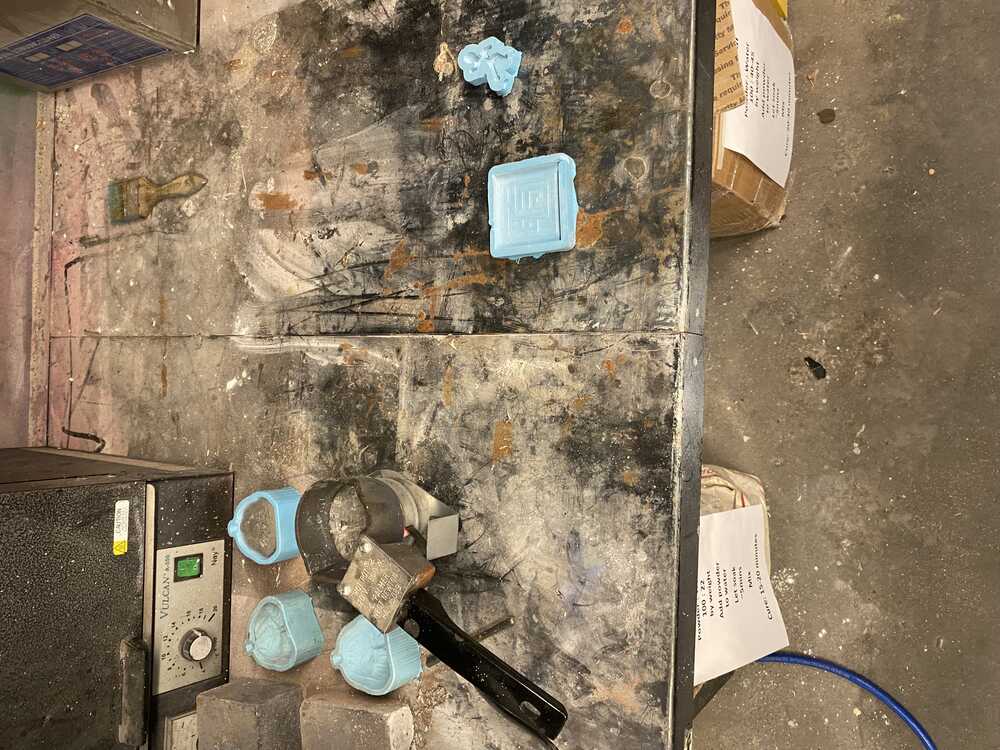
I was terrified this since the idea of molten metal being splashed around is naturally terrifying, but that didnt happen!
After using baby powder to make sure the casted part doesn't stick to the mold, and then putting one all the ppe and waiting for the metal to melt, I grabbed the handle and carefully filled the mold until I was too scared to add any more.

And after 20min heres the part!