go home


I knew I had to work fast to get it done so I started trying to work out the software
immediately, that's where I ran into my first issue.
https://dronebotworkshop.com/esp32-cam-microsd/
This helped me understand why I wasn't able to use my SD card; it illustrated the format and size that it needed to be.
I was able to write to the SD card using this
Then I was able to find out that I could write bitmaps to the using dragon example: PictureEmbed from the driver library
https://www.reddit.com/r/esp32/comments/nvgt1p/disabling_auto_flash_on_the_esp32_cam/
This told me that the SD card uses the same pin as the flash on the ESP32, and the fact that the flash was on made it so that I turned off the flash in my code, but it wasn't working everything I tried. I am trying to reassign the RST pin to an unused slot 16; I don't know if this will work!!
Maybe this isn't the problem; the problem could be that the SD card slot is broken. I don't know what the problem is.
The error I'm getting is
E (51451) sdmmc_req: sdmmc_host_wait_for_event returned 0x107
E (51451) diskio_sdmmc: Check status failed (0x107)
E (52451) sdmmc_req: sdmmc_host_wait_for_event returned 0x107
E (52451) diskio_sdmmc: Check status failed (0x107)
So when I use the TFT while reading from SD card, that's the issue
I think it might be "browning out"
So I am using the timelapse sketch again now to just see if it can write to SD card while TFT is initiated.
That didn't work
What is SPI mode? Some questions here make me wonder if that's the problem:
https://esp32.com/viewtopic.php?t=2604
This also points that a lot of people run into the same issues I have been having.
I took a break to work on the motor,
the motor I got from MicroCenter works well if I underdrive it using a potentiometer. It's still a little fast, but I don't have time to print out motors.
http://www.lcdwiki.com/3.5inch_Arduino_Display-Mega2560
Now I am moving on to trying to get the screen to work. I want to give up on the small one; maybe this will solve my problem
My goal for tonight is to cut my PCB board.
For me to do that, I want to know what screen I'm using. I will try to get this to work for a half-hour until 4:30 then
Okay back to my LCD
I am using Arduino GFX library, which claims to have drivers for the screen as well as a data bus that checks out with the ESP32S, but I'm not going to get excited because it could NOT work, especially with getting the SD card on the screen to work? I don't know how to start to think about that one.
Tomorrow I will put the slipring in here https://www.amazon.com/dp/B002Y289VO?psc=1&smid=ATVPDKIKX0DER&ref_=chk_typ_imgToDp and then design a small part to put it all together.
I wish I had another week.
I couldn't find a slipring that wasn't super expensive to work with USB, so I opted to use battery banks. I bought two at Walgreens and tested it! It works!
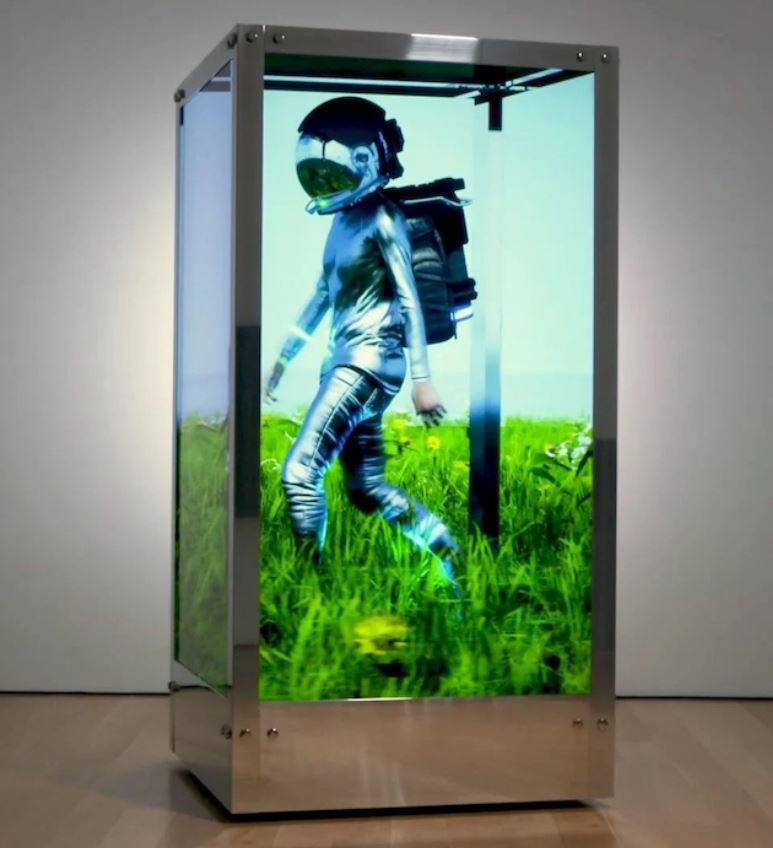
Now on to designing the casing. This is important for the effect because we want the inside to hold all the light and the outside to be darker. I am still regretting this project for that reason. It means that to demo it on Tuesday I will need to put a box over it or something.
I will be parameterizing everything so that I can easily print this out for different screen sizes
I used this website to determine my kerf: https://cutlasercut.com/drawing-resources/expert-tips/laser-kerf/
I found some scraps that fit my needs. I measured 1.78mm thickness
It took me a while to get the settings right, but it ended up being speed 1.6, power 100, dpi
It was too flimsy but a really good first prototype! It helped me vastly to have it in this realm, instead of the digital realm.
David happened to be in Mars and showed me a few fusion tricks that sped up my re-design, like using the x key to make guidelines. I parameterized everything so it could be easily modified and thank god I did because I made a lot of mistakes.
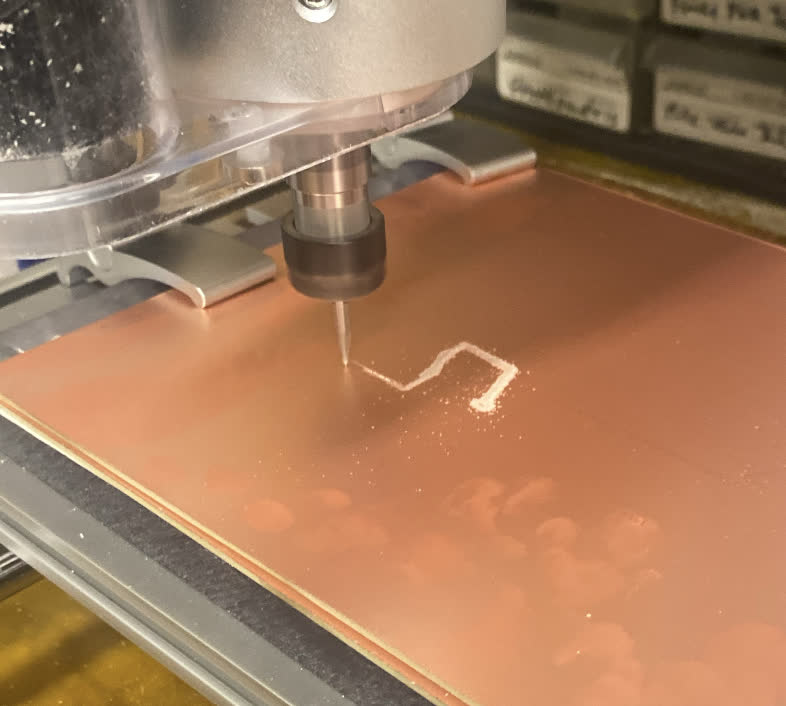
I then designed a PCB to work with the TFTs I had gotten it to work with on the breadboard.

I didnt end up using this board because for the life of me I couldnt get the larger screens I got to work with any TFT ino library.
The board worked okay, it worked with my smaller screens but when I hooked up the board with the correct driver and data bus the screens were still white.
On the amazon page for the larger screens everyone was using it as a sheild to the arduino mega, so I caved and bought 4 arduino megas.