The 3D scanner does not work well with glass objects!
Week 04
3D printing and 3D scanning!
Tools: Autodesk Fusion 360, Creality Slicer 4.8, Creality 3D Printer, Artec 3D Camera, Artec Studio
Previous experience: none
This week, we learned two new skills:
- How to 3D print an object that we designed and created in a CAD tool like Autodesk Fusion 360
- How to scan an object and create a 3D file of that object for printing
Creating my first 3D print
First, I used Autodesk Fusion 360 in an attempt to make a version of Mt Doom from the book/movie Lord of the Rings. I did this in Fusion 360 by first making a cone by revolving a triangle. I then used the “shell” function to make cone hollow. I used the slice tool to cut off the top of the cone to make the opening to the volcano. I added stairs by creating additional bodies of rectangular bodies and moving them “point to point”. I combined all the bodies to create one “mt_doom” body. I right clicked the body and “saved as mesh” to create an STL file.
To 3D print the mini-version of Mt Doom, I moved the STL file to the cba lab Dell desktop computer and opened the file with the program Creality Slicer 4.8. I reduced the size of the shape to 60% and clicked “Slice”. I saved the file as a .gcode file and moved the file to the Creality 3D printer and loaded the file to print. It started printing, but I noticed that the object would be quite large and take a few hours to print (3hrs+), so I went back to Creality and made a 40% size version and transferred the file over to the printer again. The print job took exactly 61 minutes to make - it is a tiny cute piece that doesn’t exactly look like a volcano. My partner thought it was a “yurt” like this: https://en.wikipedia.org/wiki/Yurt. I spent about an hour trying to add texture to the volcano that would make it feel more life-like. I did this by going to “Render” in Autodesk Fusion 360 and trying to add granite texture. This added interesting color gradients to the surface of the cone shape, but it did not adjust the texture. I was able to get a bit of help from Alfonso, who showed me how I could create new bodies on the surface of the volcano. Ultimately, however, it did not look lifelike and I abandoned trying to create texture in Autodesk Fusion 360. I was told that a tool like Blender would be much better at this, but I want to focus developing skills in Autodesk Fusion with the limited time I have. See pictures below for the first 3D print outcome.
Creating my first 3D scan
I followed these steps to 3D scan and print my Bose headphones:
- Turned on the Artec 3D camera and selected “new project”
- I took about 5 minutes to walk around the headphones and create a 3D image which was saved on the SD card. I saved the file by clicking “copy to SD card”
- I transfered the file from the SD card to the Dell computer to process the image on “ArtecStudio”. Import “Leo project” - project 93.pkg
- Used “Eraser” tool to delete unwanted sections. It was very difficult to delete the temporary item I placed in between the ear pads to keep the headphones separated
- The headphones had many “gaps” in the image. I ran “autopilot” to make the image “water tight”
- Export and save as an “STL” file
- Open “Creality Slicer”
- Open the .STL file in Creality Slicer
- I clicked on the image and reduced the size from 100% to 40%
- I clicked “Slice”, and it indicated it would take 3 hours and 5 minutes, so I reduced the size to 30% to make a smaller print. The new slice output will only take 1 hr 41 minutes. I saved the file as a .gcode file on the SD card that was on the work bench when I arrived.
- I took the SD card to the 3D printer, went to “print”, selected the file, and pressed play. The printer took a few minutes to heat up before it started to print.
3D scanning part 2
For fun, I wanted to see what would happen if I tried to 3D scan a glass pumpkin I made in MIT’s glass lab last year.
I tried to 3D scan the pumpkin with the base on and off, but neither could capture the pumpkin and it only was able to outline the glass shape in the few areas with dark coloring
Images for this week
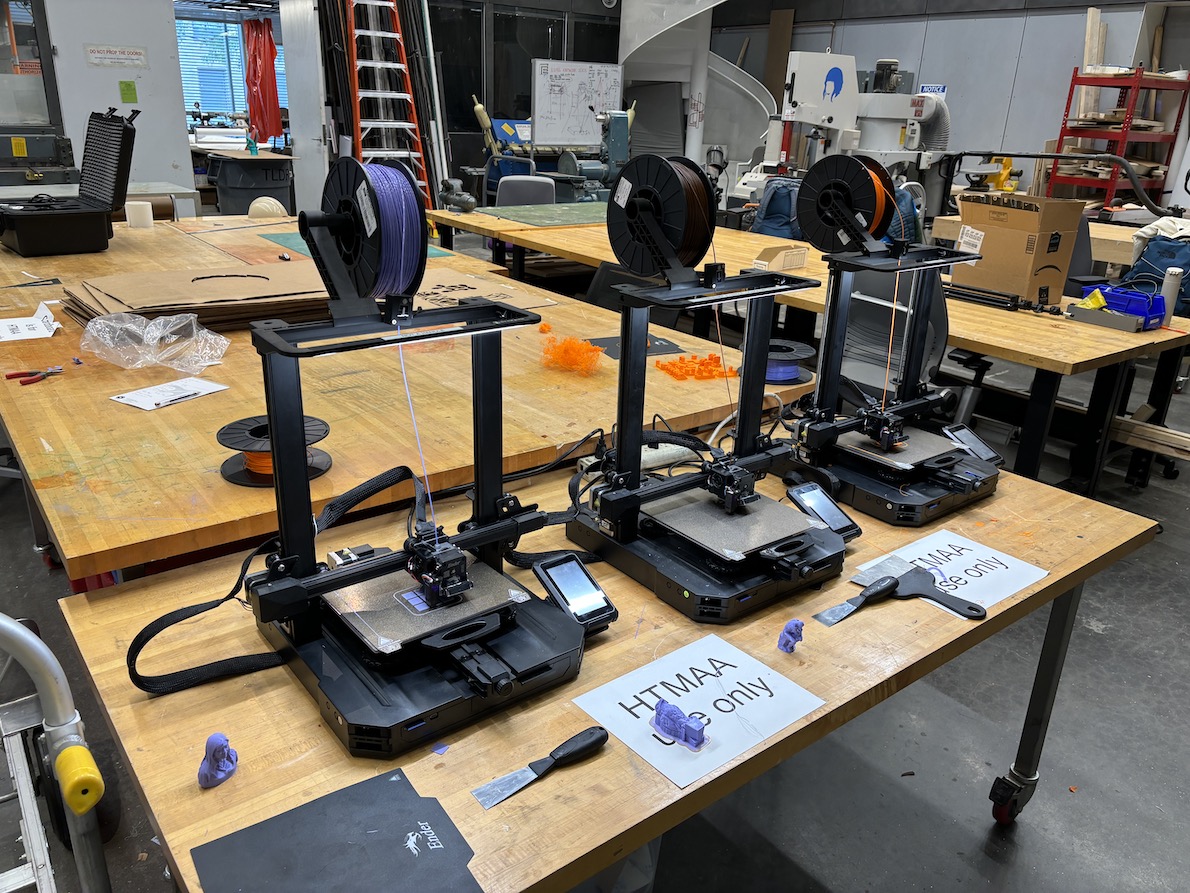
The Creality Ender 3 printers we used
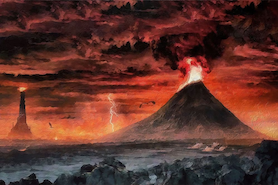
An image of Mt. Doom from the Lord of Rings for inspiration
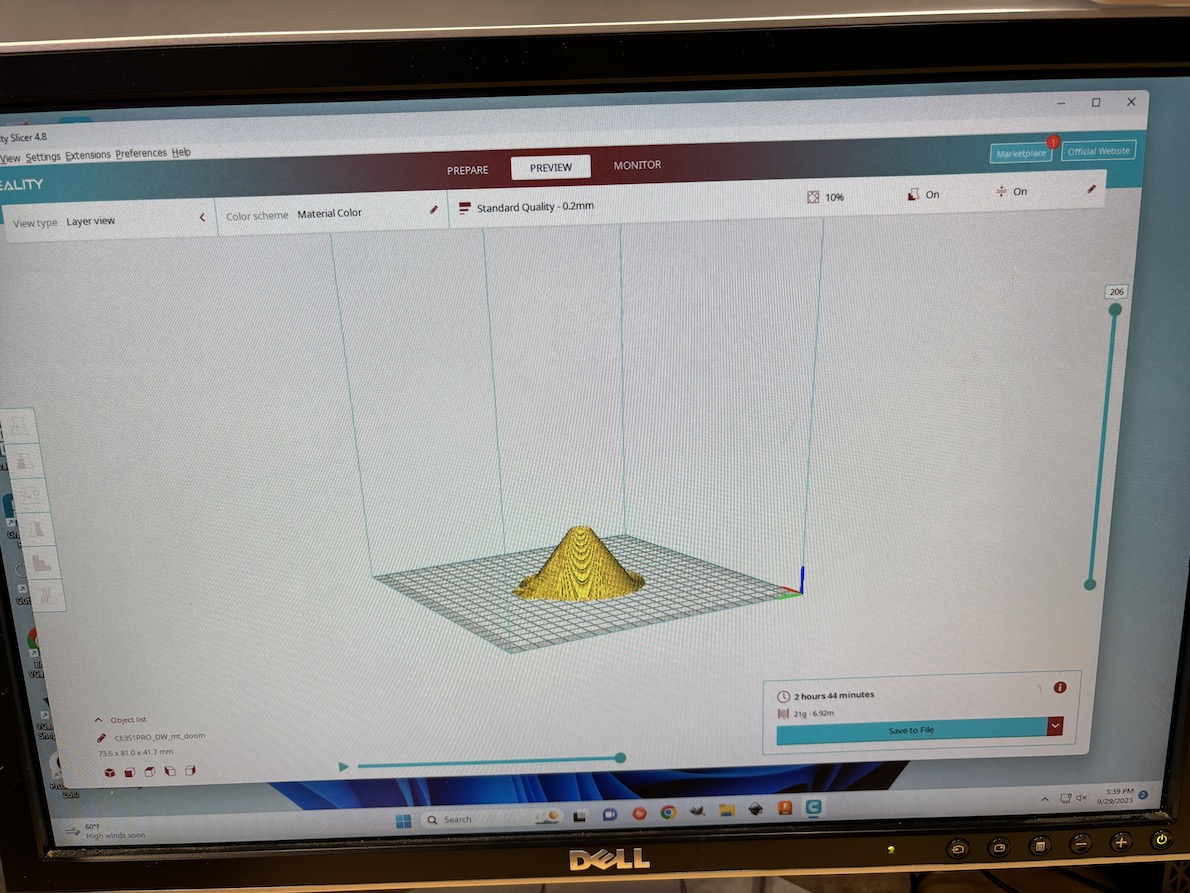
A very simple and disapointing attempt at making Mt. Doom. This is a screenshot of the program "Creality Slicer" The CAD file is linked on the left sidebar.
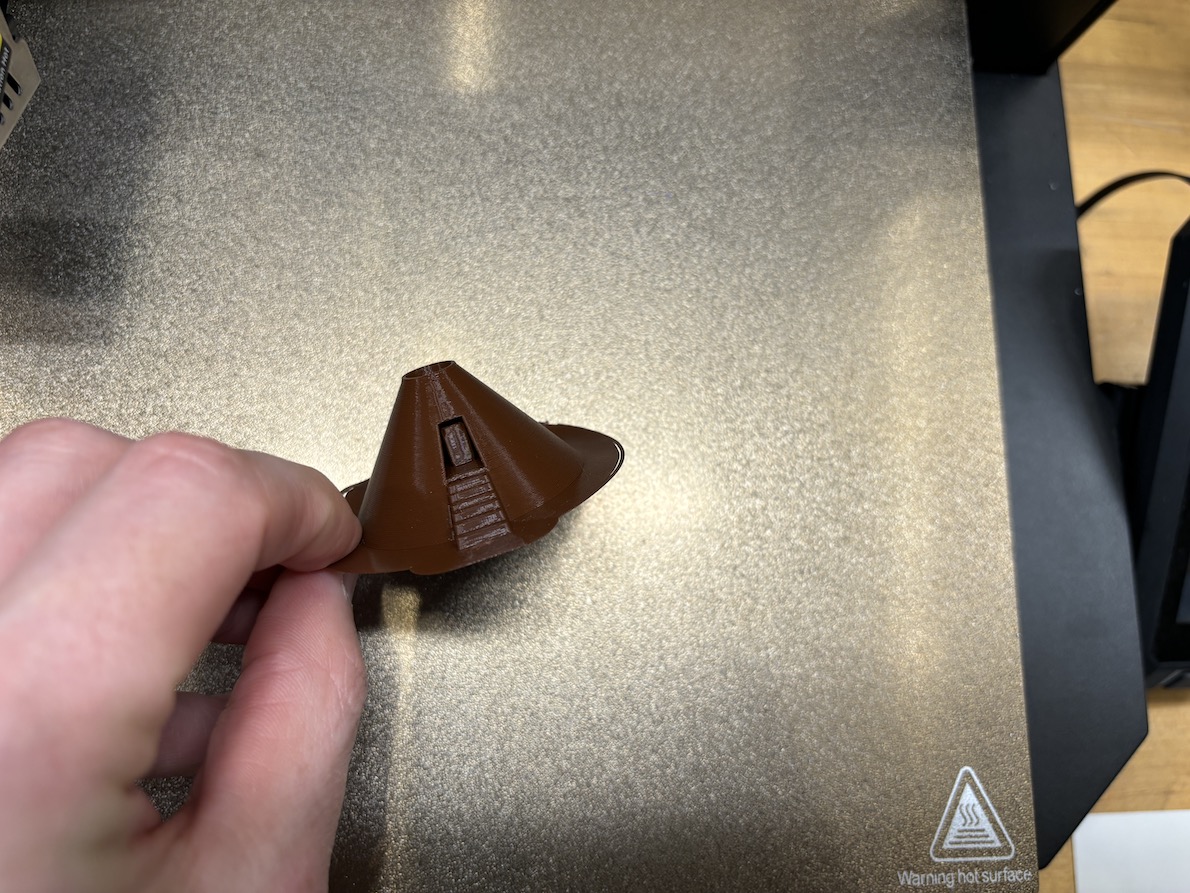
The final product off of the 3D printer, using brown colored PLA filament. I would probably use a different color next time.
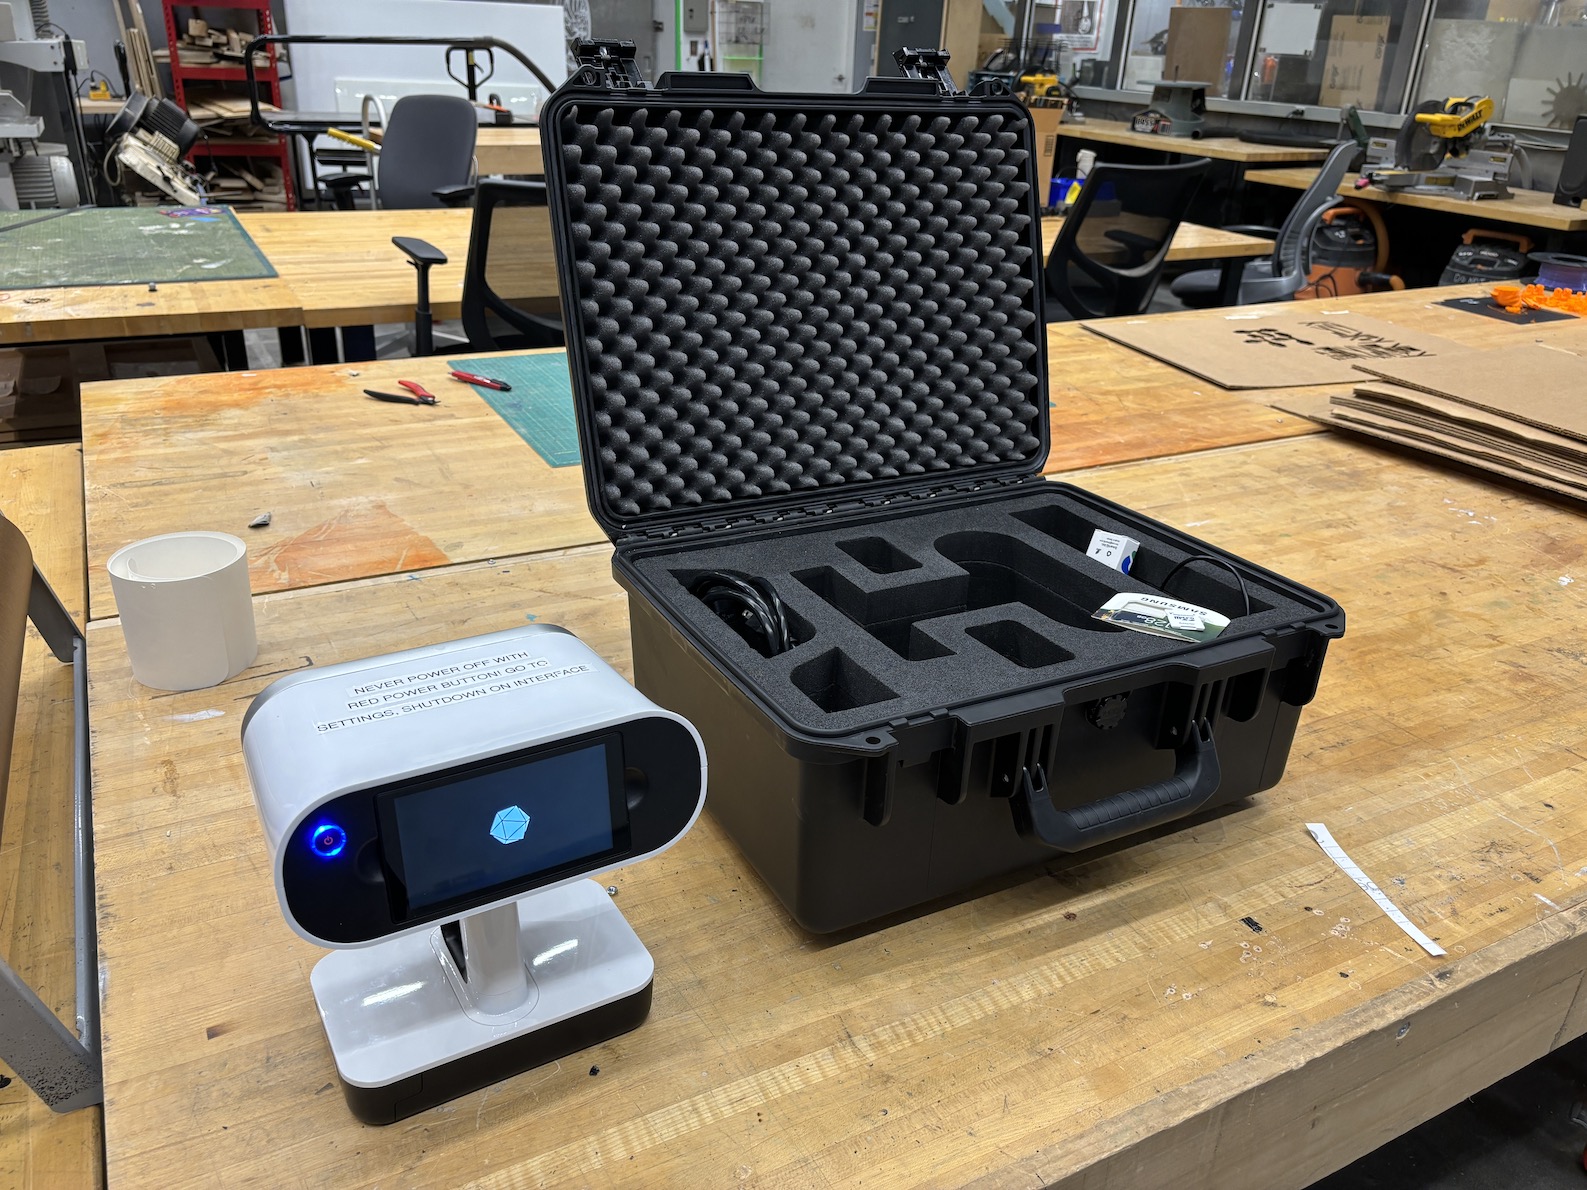
The 3D scanner we used for this week's assignment
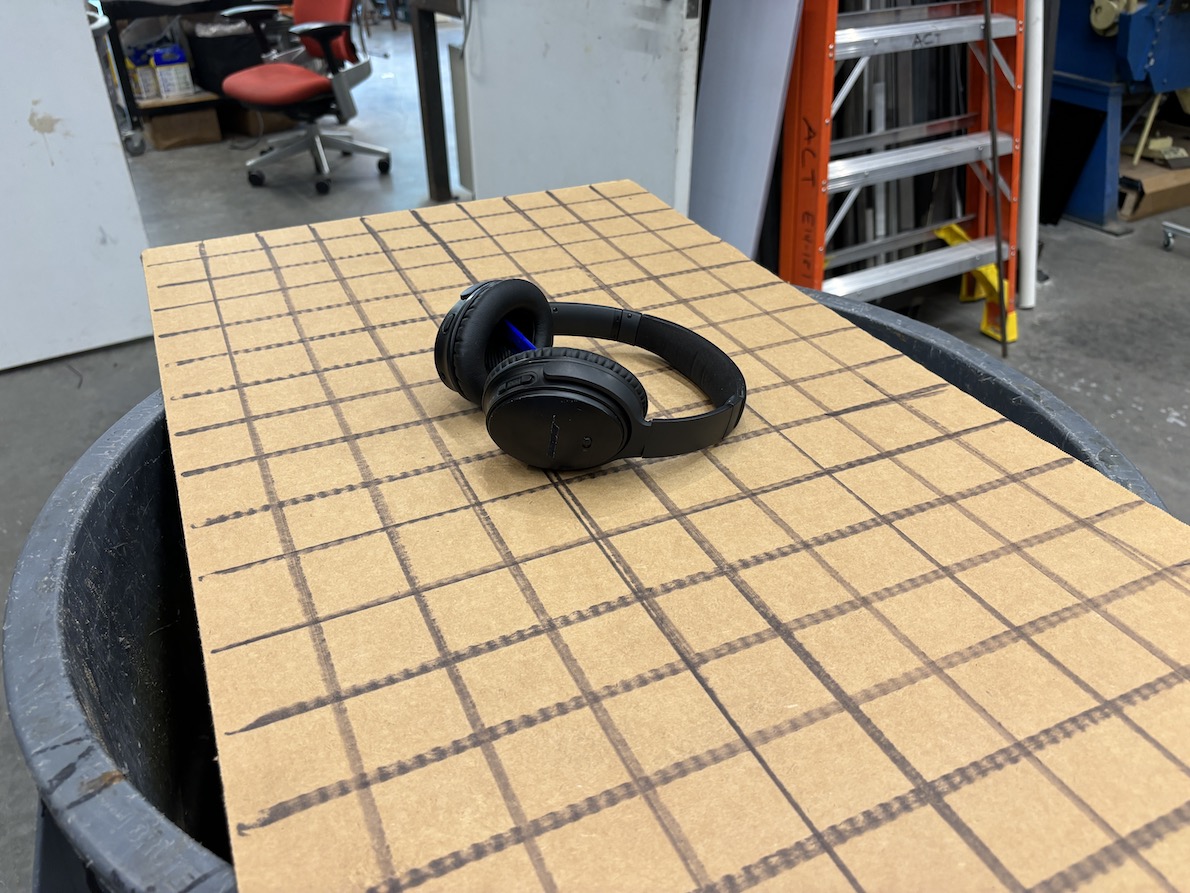
The Bose headphones I used for scanning

Scanning the headphones
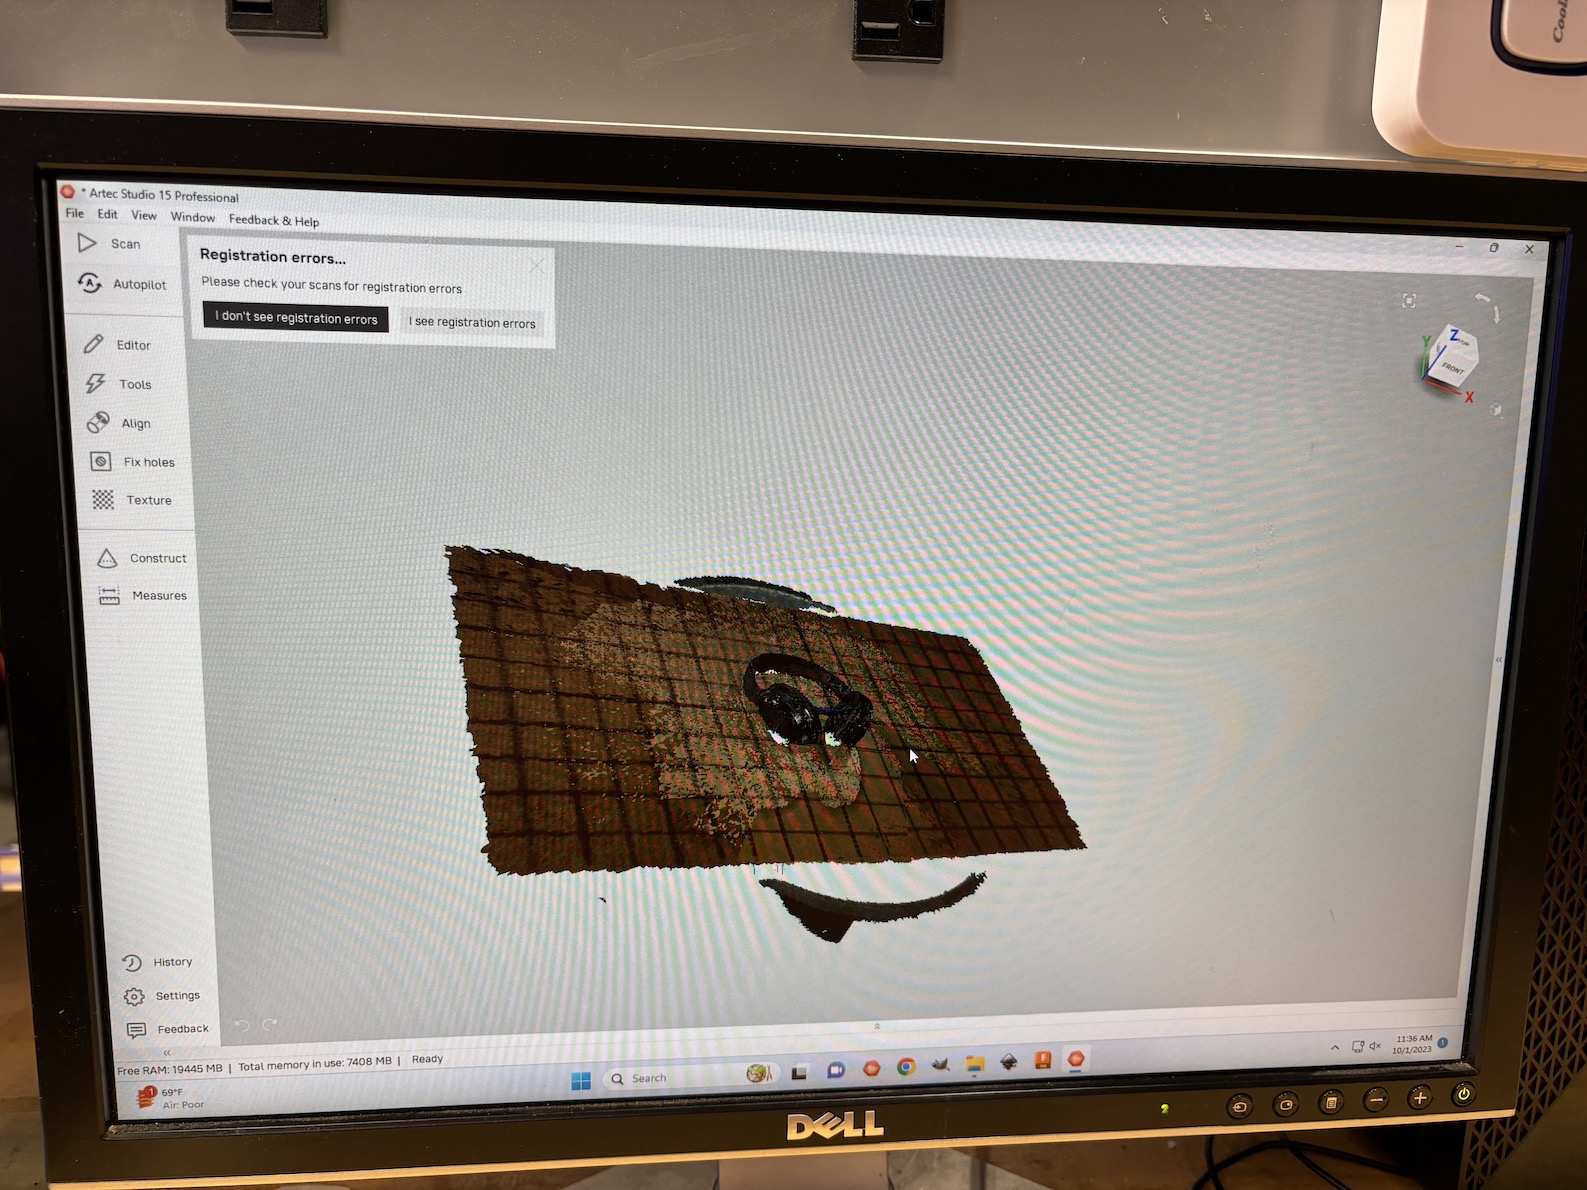
Using the "Artec" software to touch up the 3D scan of the headphones before printing
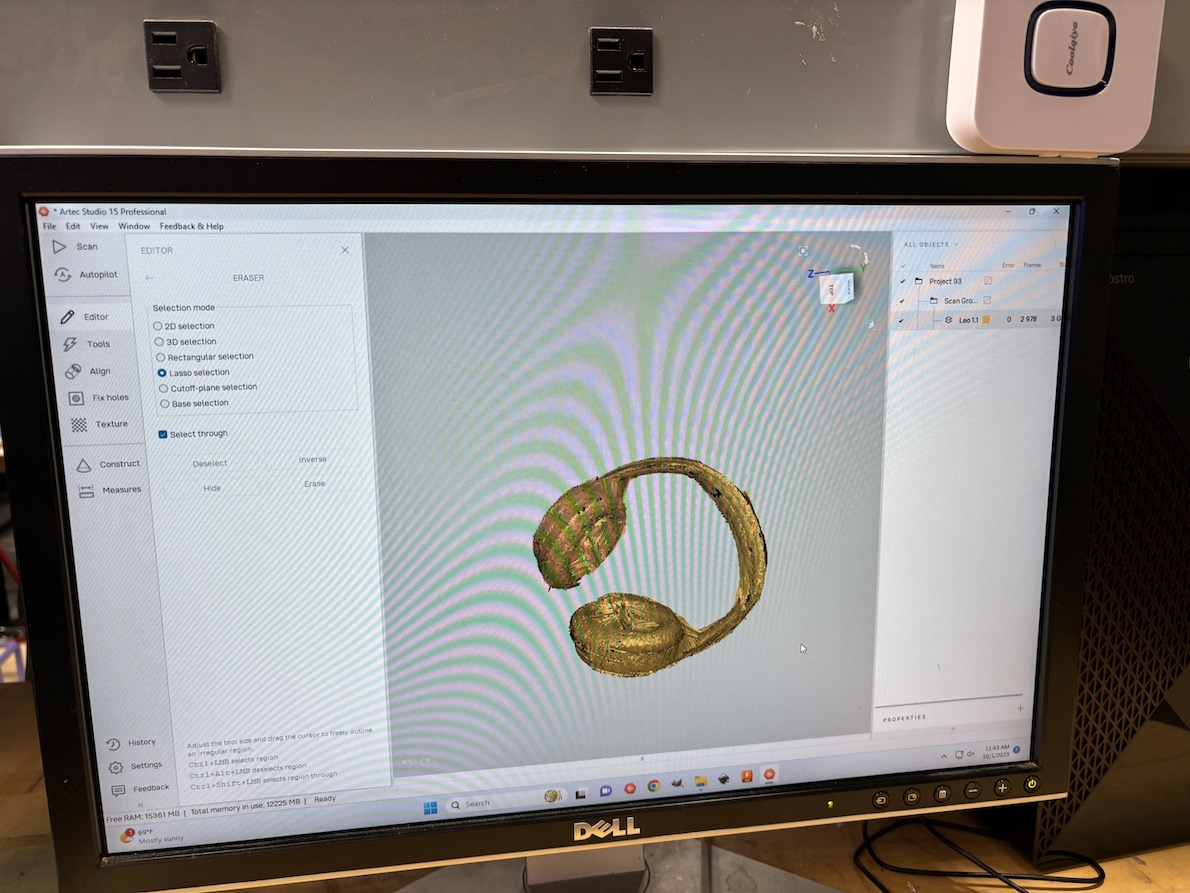
The finished file after running "autopilot" in Artec
A short video of the headphones in Artec
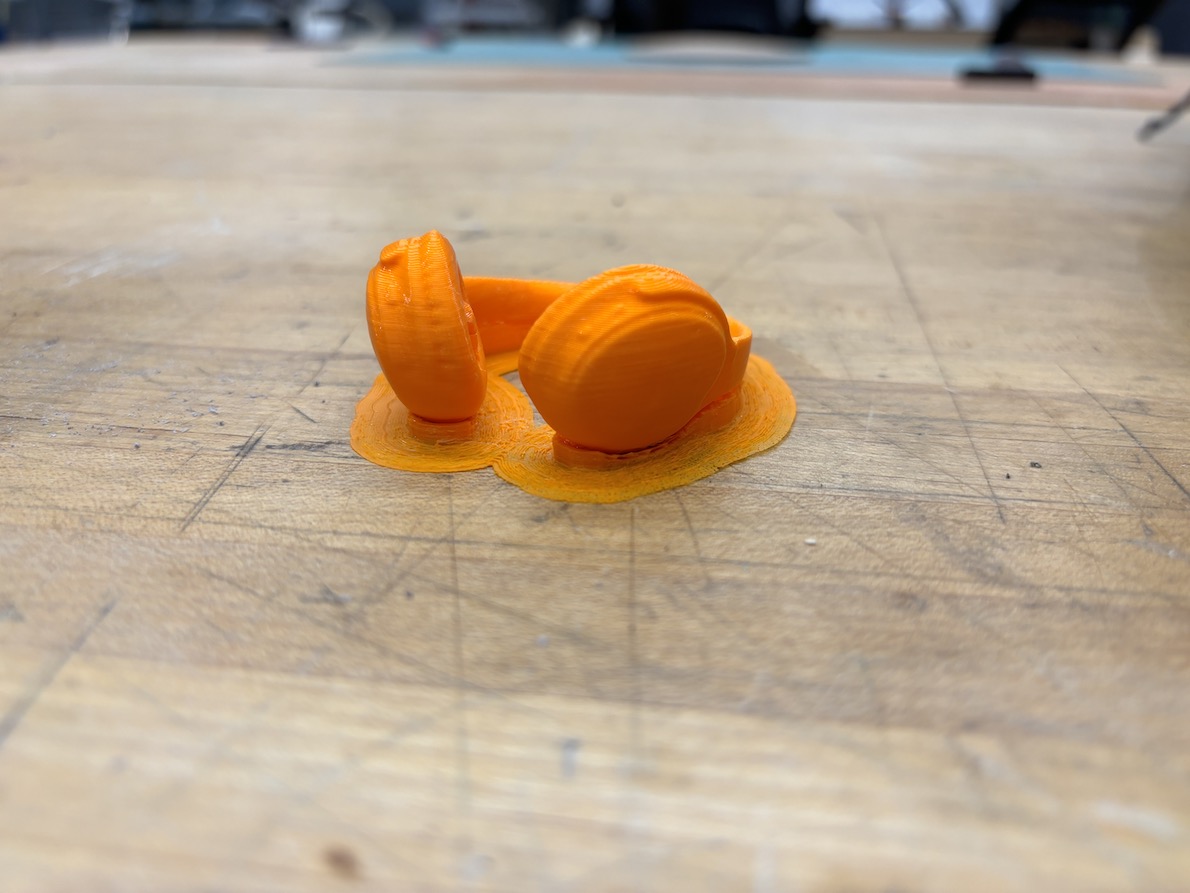
3D printed headphones in PLA filament!
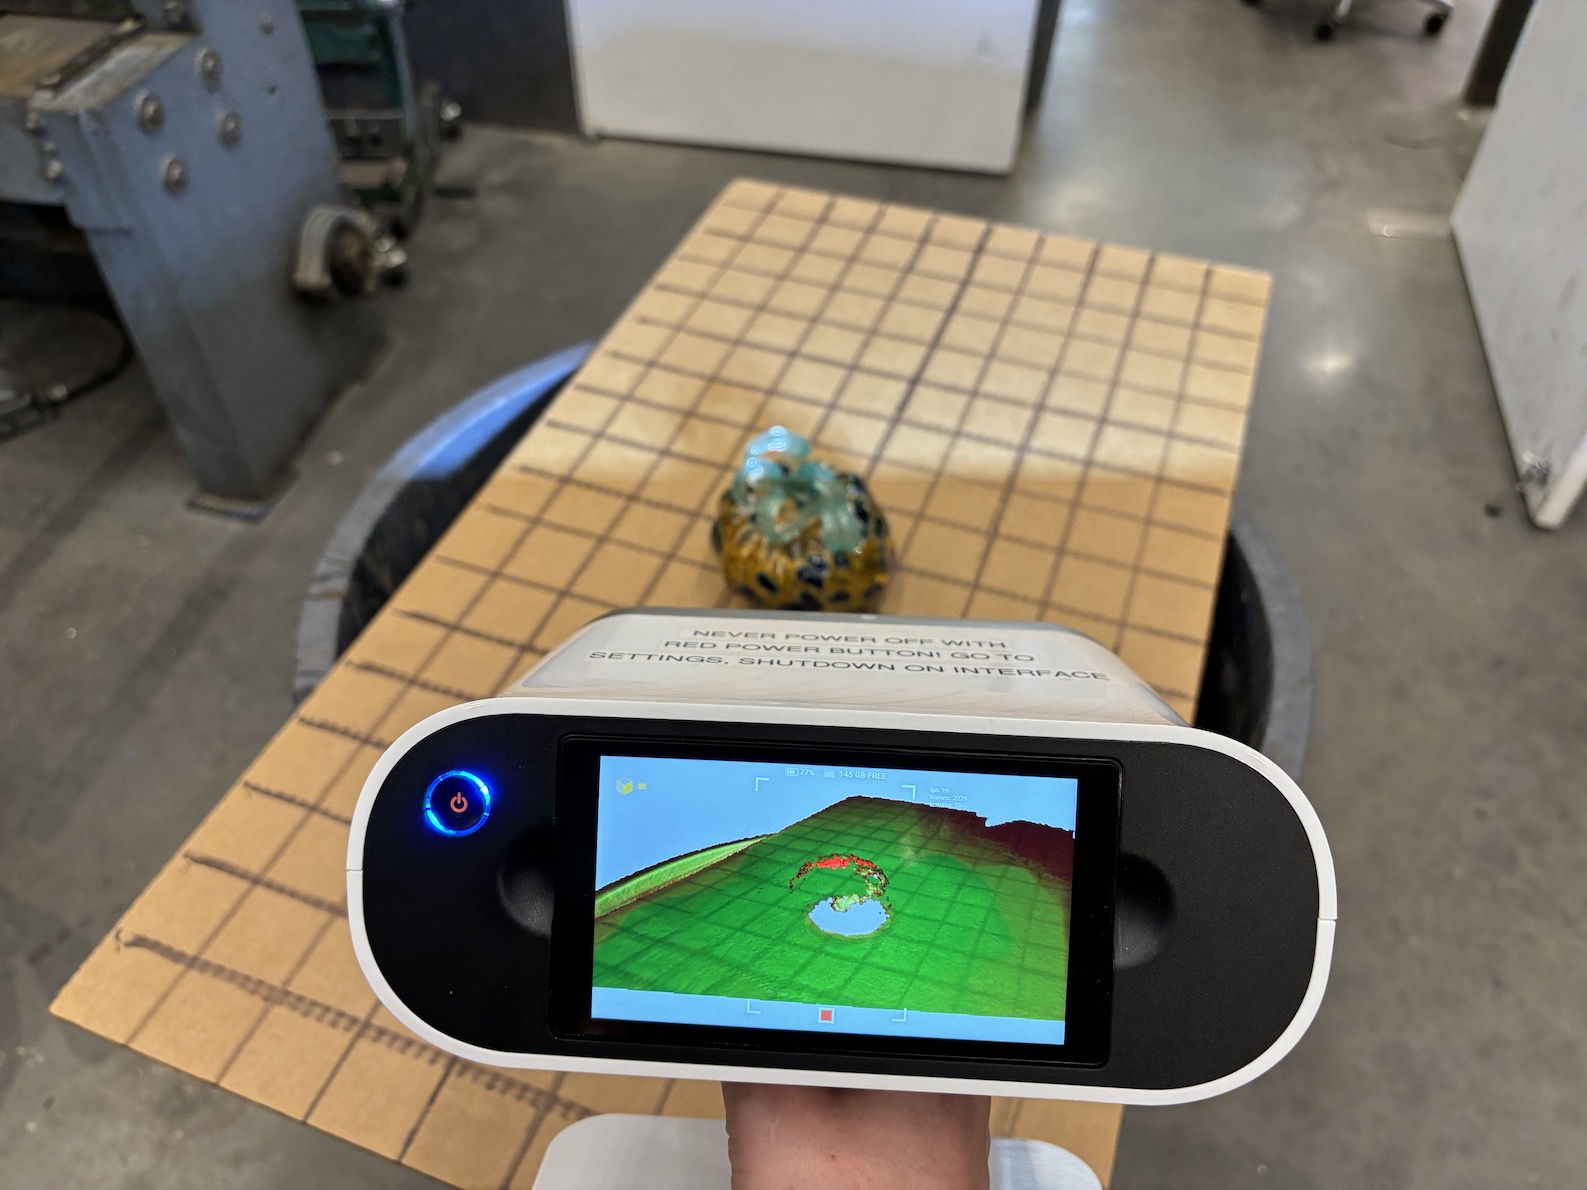
Trying to scan a glass pumpking with the 3D scanner. This did not work at all.