The Shopbot CNC machine takes a long time! Schedule your time wisely.
Week 07
Molding and Casting
Tools: Shopbot D2418 Desktop (3-axis milling machine), Vectric Cut 3D, Shopbot 3, Oomoo, Hydrocal
Previous experience: none
Using the Shotbot D2418 3-Axis CNC Machine
Before going to the machine, I had to create .stl files of the positive version of the objects I wanted to cast. Since we worked with a small block of wax, I attempted to make small objects which could be used as buttons on my final project. I wanted to make items that look like a microphone and speaker. I pulled two files from Thangs.com that I modified slighty in Autodesk Fusion 360 to prepare for the machine. I opened the microphone file and followed the steps in this YouTube video so I could extrude the face of the microphone and increase the depth for my shape. The final version of the .stl files can be found via the links on the sidebar to the left.
I went to the CBA shop "Mars Lab" to use the Shopbot D2418 Desktop to end mill the speaker shape into the wax block. I opened my .stl file of the speaker on the software program "Vectric Cut3D". I followed the instructions in the provided user guide PDF file to create a .sbp file to use on the milling machine.
I first changed the end mill on the ShopBot machine from the flat end mill to the ball end mill.
To do this, I turned off the machine completely, including the red safety switch.
Then I used the provided tools on the machine to loosen the existing end mill, and replaced it with the ball end mill.
I then opened the program "ShopBot 3" and manually moved the end mill to the x-y zero position at the bottom left of the wax block.
I clicked on “Zero Axes” and selected the X and Y-Axis. I then zeroed the z-axis by using the provided clamp, metal sheet, and
selecting “C2 - zero z axis with z zeroing plate” in the cuts menu of the shopbot command console.
I then uploaded my speaker .sbp file and clicked the “Cut Part” button.
The machine started running beautifully with no issue to start the rough outline of the speaker.
I noticed when the machine switched from the rough sketch to the finished outline based on the sound and speed of the machine.
It ran for about 50 minutes, then I stopped it before it was completely done so other students could use the machine.
I also thought it looked cool only being half done.
Making the Oomoo mold!
After completing the milling job in the wax block, I started the Oomoo mold process. Oomoo comes in two bottles - a yellow “A” bottle and blue “B” bottle. I measured equal volumes of both A and B, then poured them together into a clean bottle and mixed for exactly three minutes. I was careful to mix without creating pockets of air and bubbles within the Oomoo solution. After three minutes, I let the Oomoo mixture sit for one minute, then I sat it on the mixer machine for 30 seconds to force a few more bubbles out. Then I very slowly poured the mixed solution into my wax block. I tried to create a small stream of Oomoo which would sit on the bottom of my wax cut out and fill the shape evenly and fully. However, the Oomoo was very viscous and would catch on the sides of the wax block. I kept pouring until the full shape was filled and there was a small amount of excess Oomoo sitting on top of the block. I added a bit extra with the hope that the Oomoo would continue to settle and fill in all the gaps in the wax block. Then I let the Oomoo sit overnight in the CBA shop (Monday to Tuesday, October 23rd to 24th, 2023).
Making the plaster cast
This was the final step! I carefully removed the Oomoo mold from the wax block. Then I followed the instructions for the Hydrocal plaster (images below) and carefully poured the Hydrocal mix into the Oomoo mold. I let it sit for about 5 hours before removing it and admiring the final product.
Challenges
- Thinking about the objects we ultimately want to cast, and flipping from positive to negative three time. In other words, it was difficult to start with a positive object of what we wanted in Autodesk Fusion 360, then think about what needs to be cut in the wax which will be filled to make our mold, which will be filled again to make our final product.
Images and videos

A screenshot of the speaker file in Vectric 3D software program - my goal was to machine this object
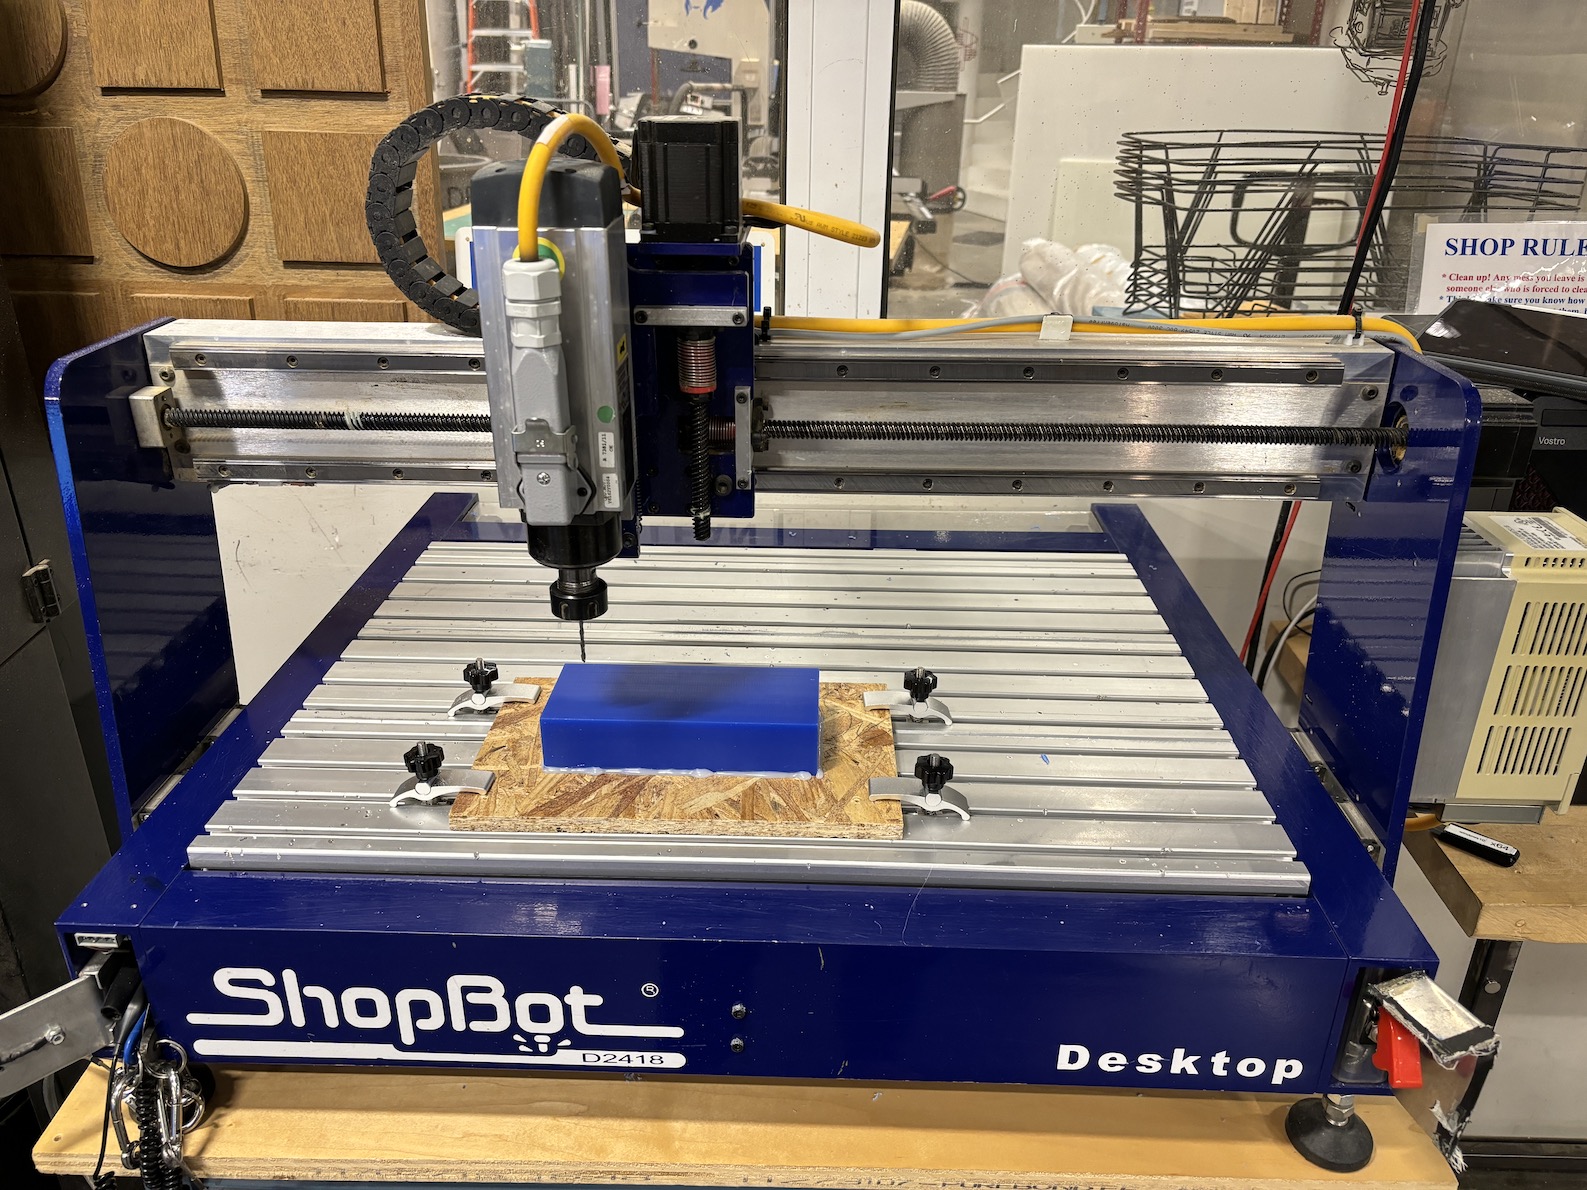
The ShopBot desktop machine! The heart and soul of this week.
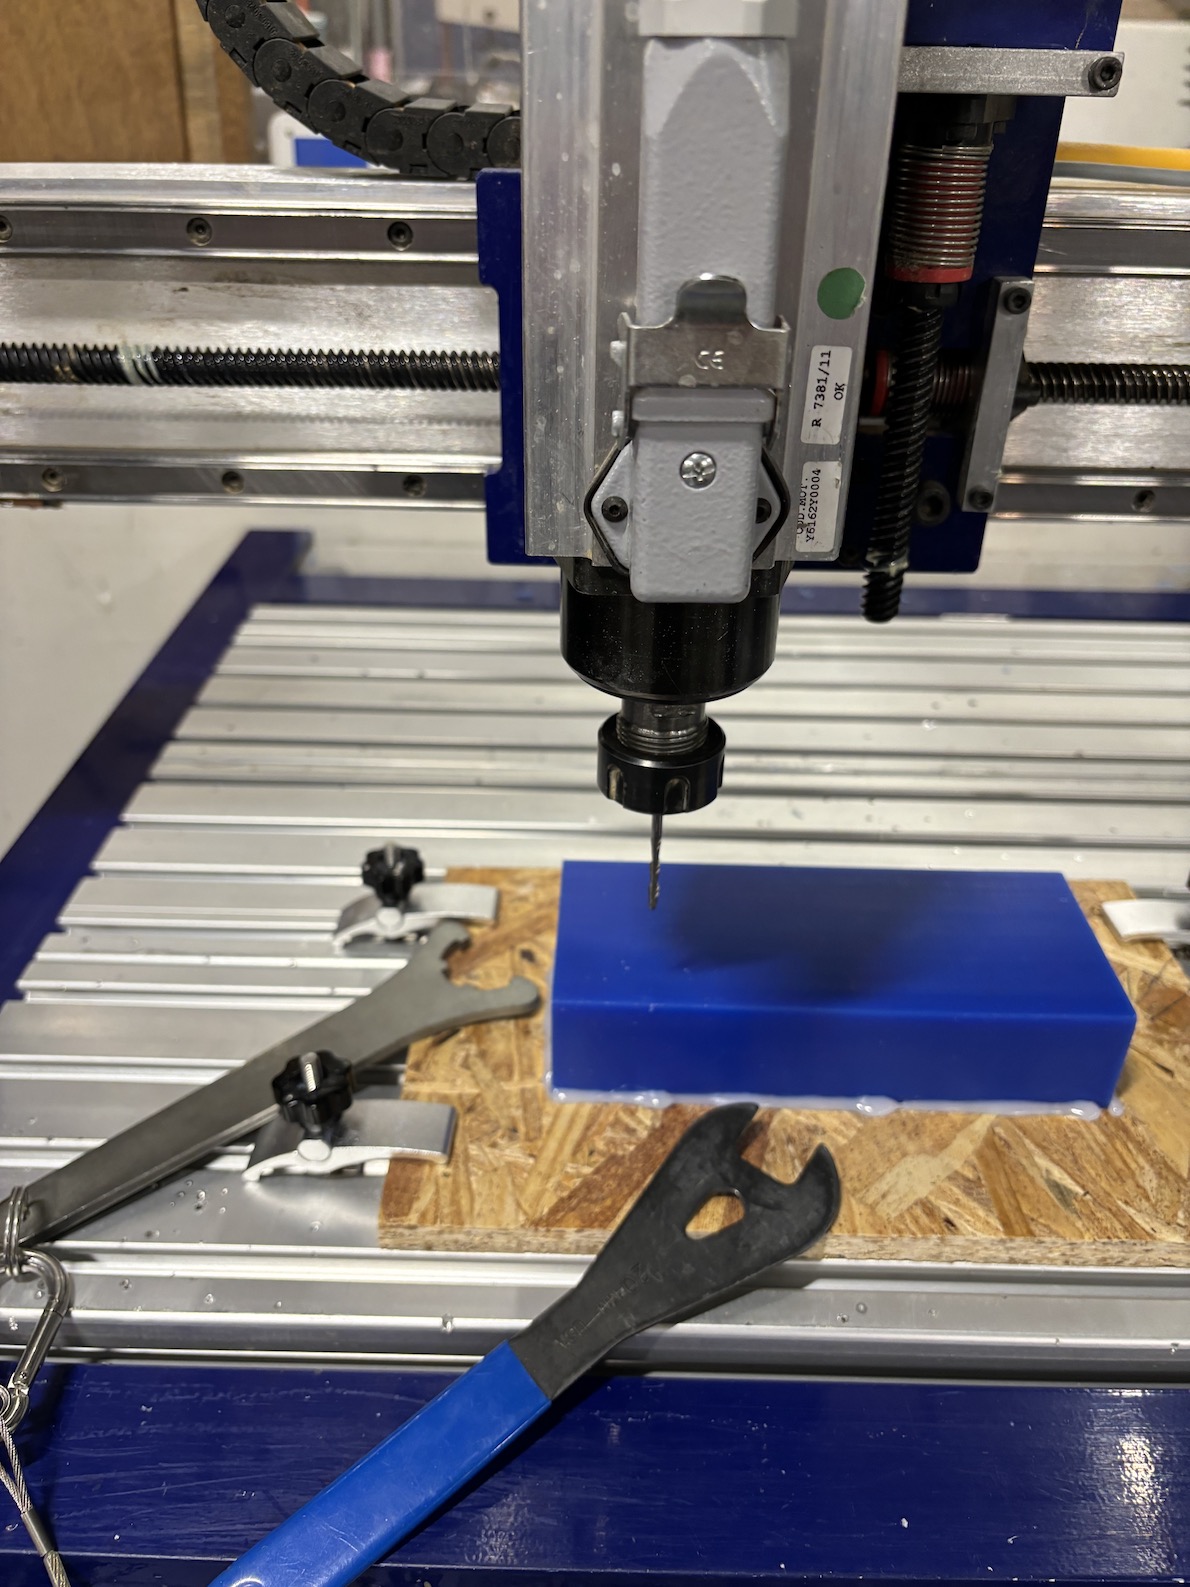
The Shopbot tools used to change the end mill
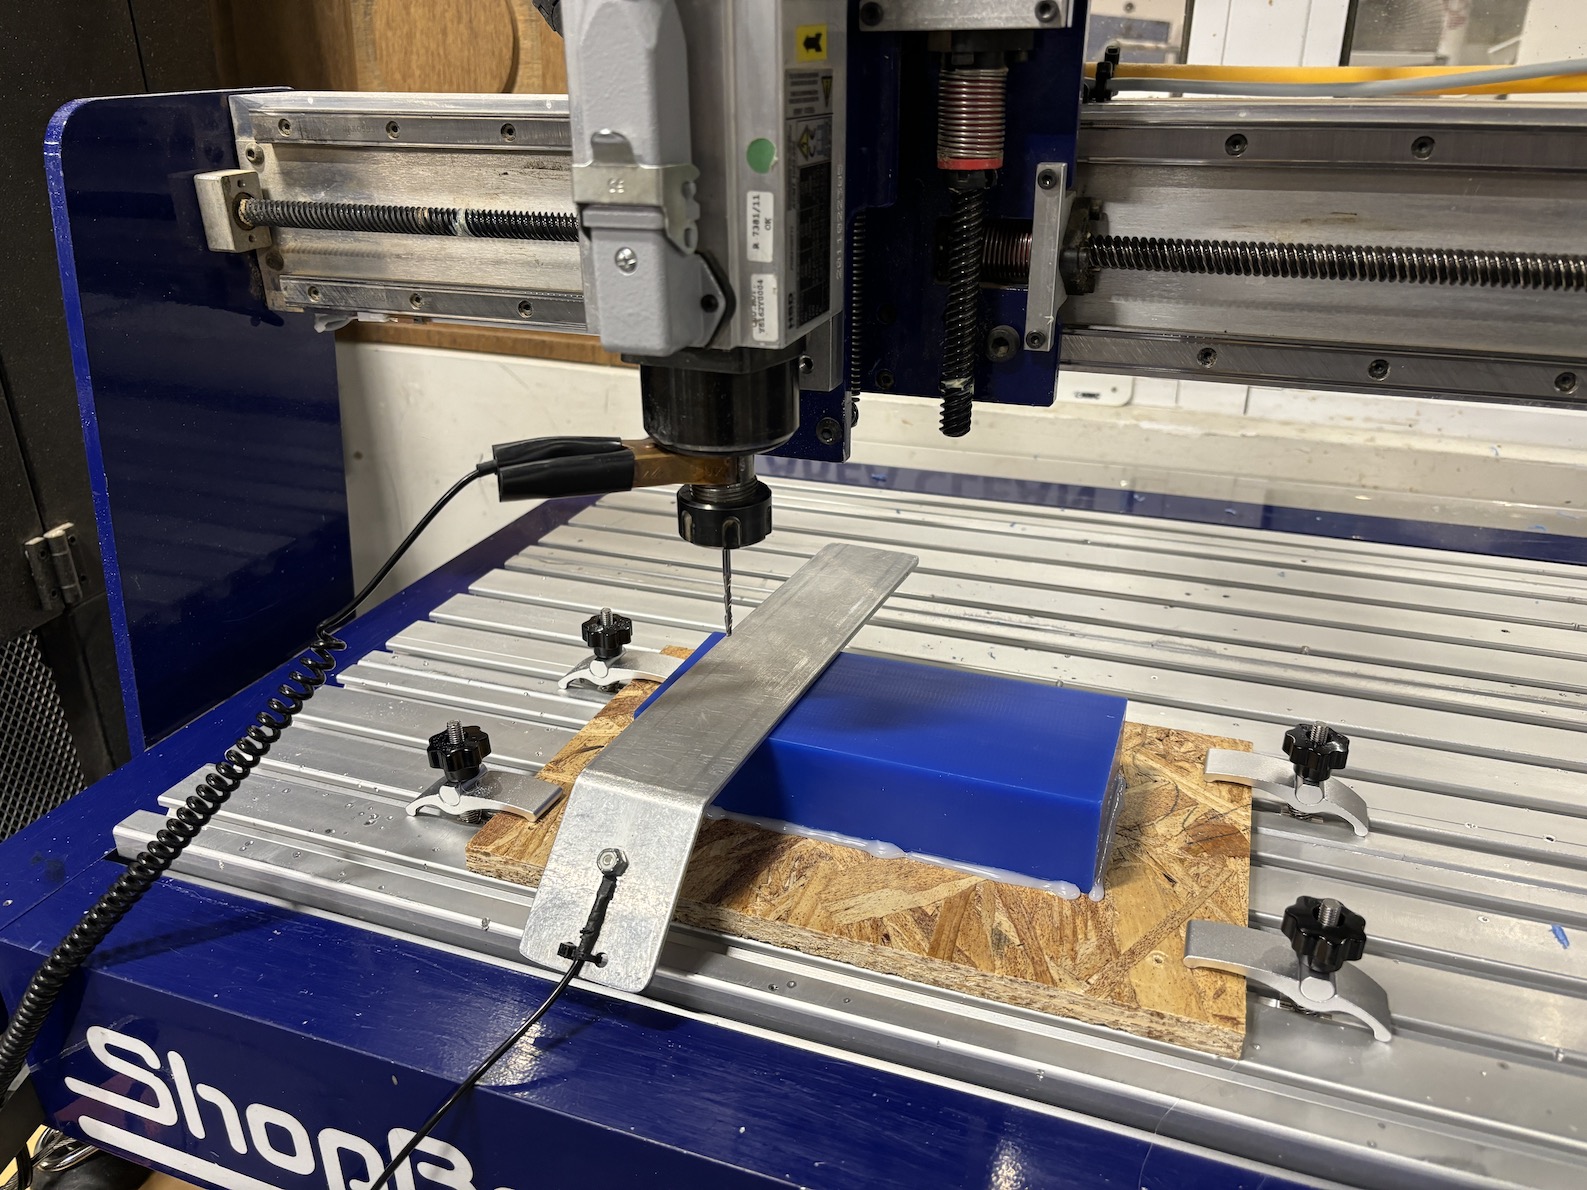
Zeroing the z-axis of the Shopbot machine

Close-up image of the ball end mill installed
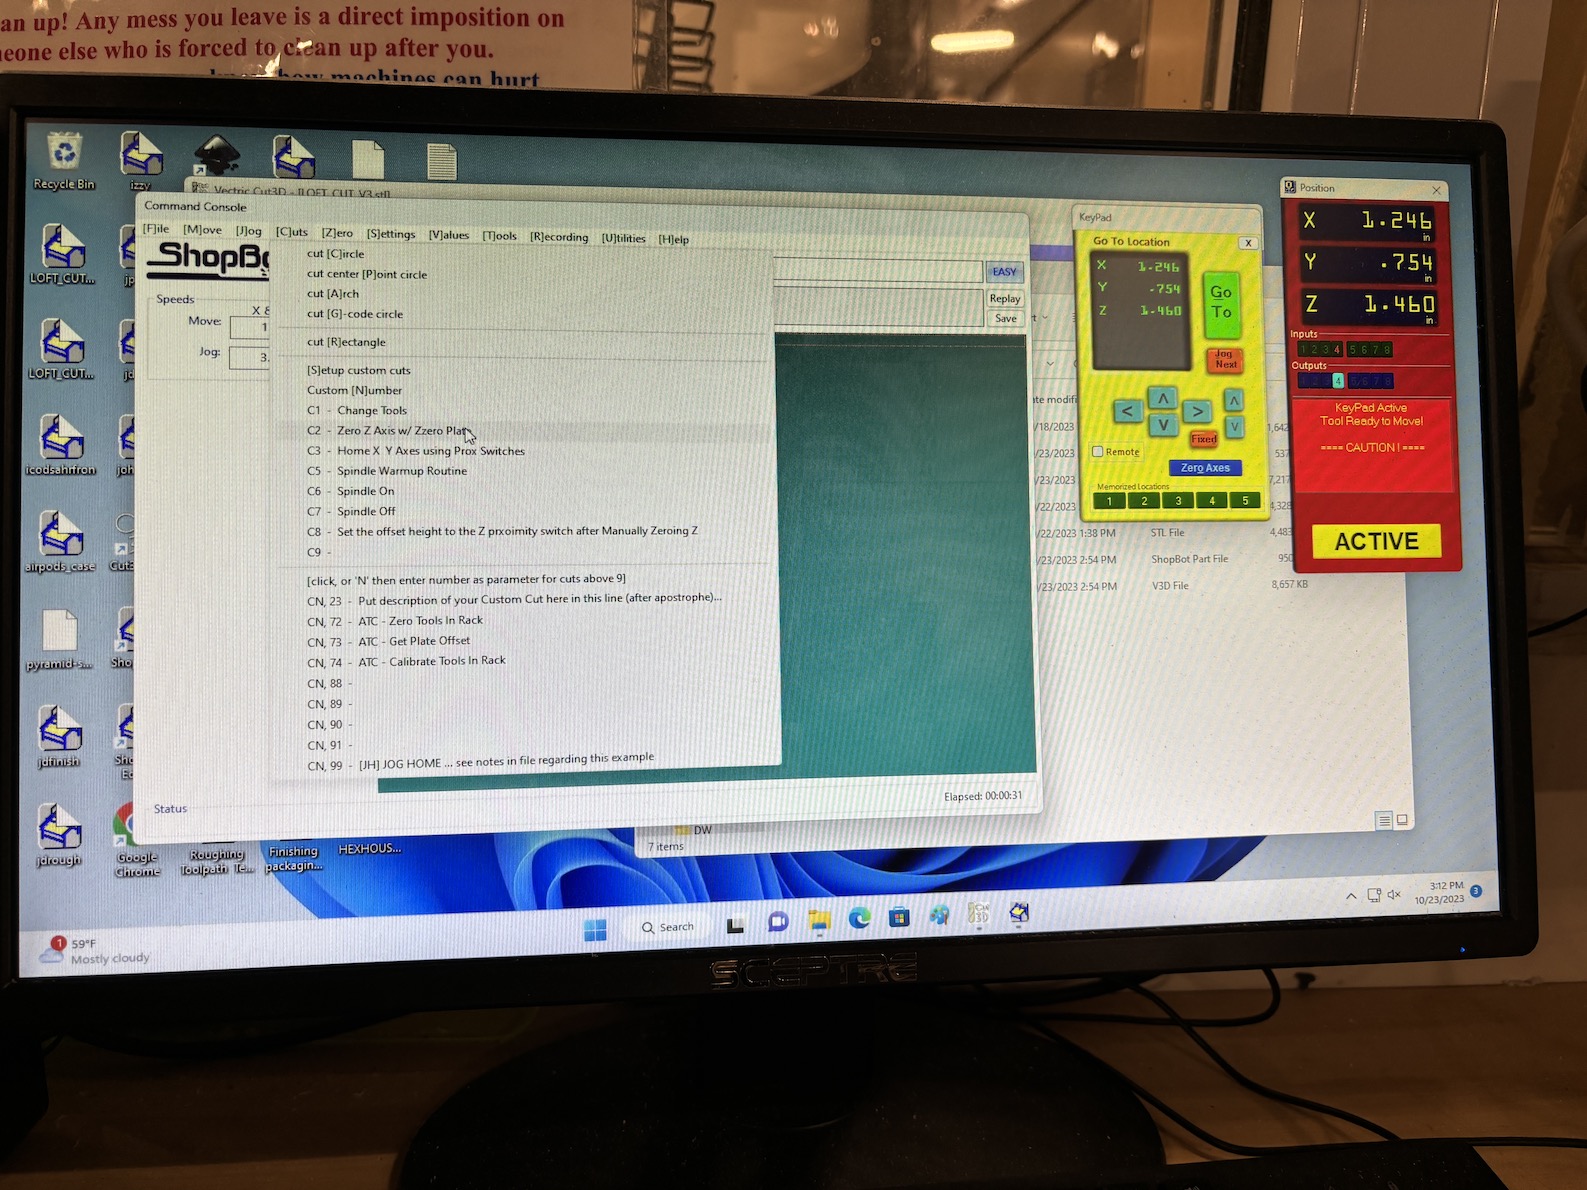
Screenshot of the Shopbot 3 software program used to upload the file and run the machine
Short video of the Shopbot machine running and end milling the blue wax block
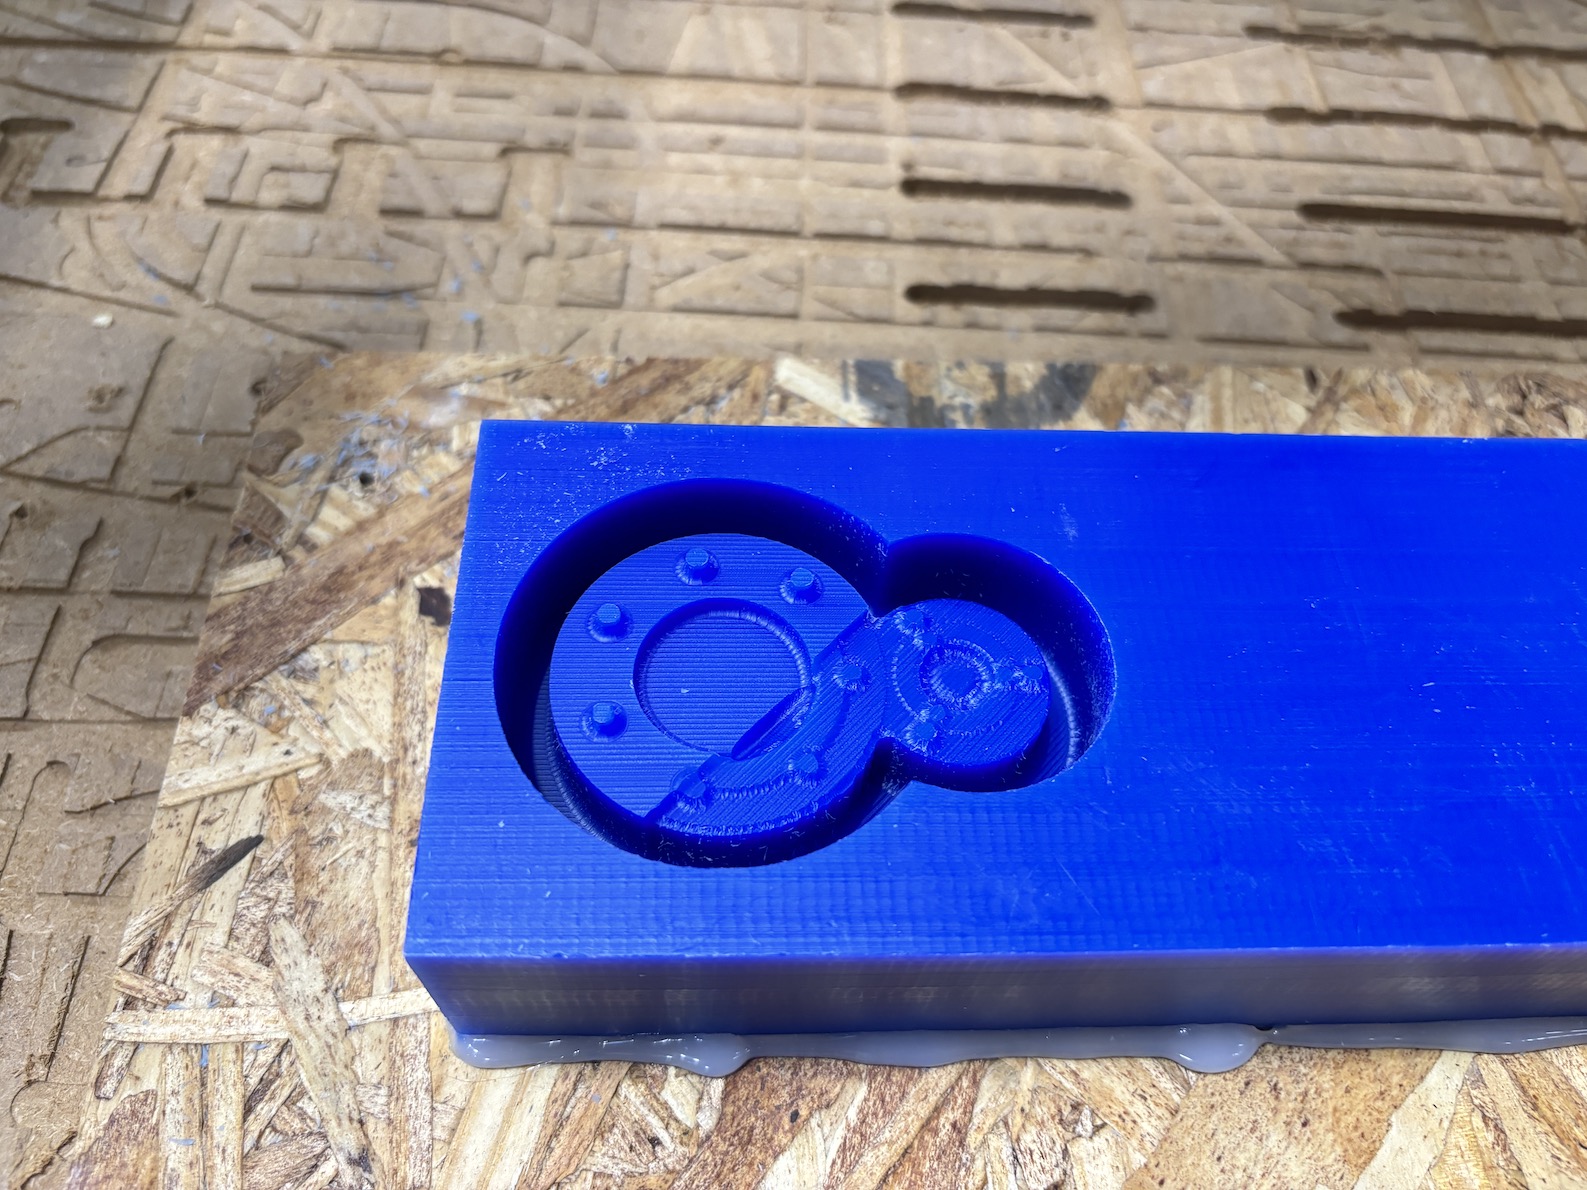
The final wax block product! I did not let the end milling finish so other students could use the machine.
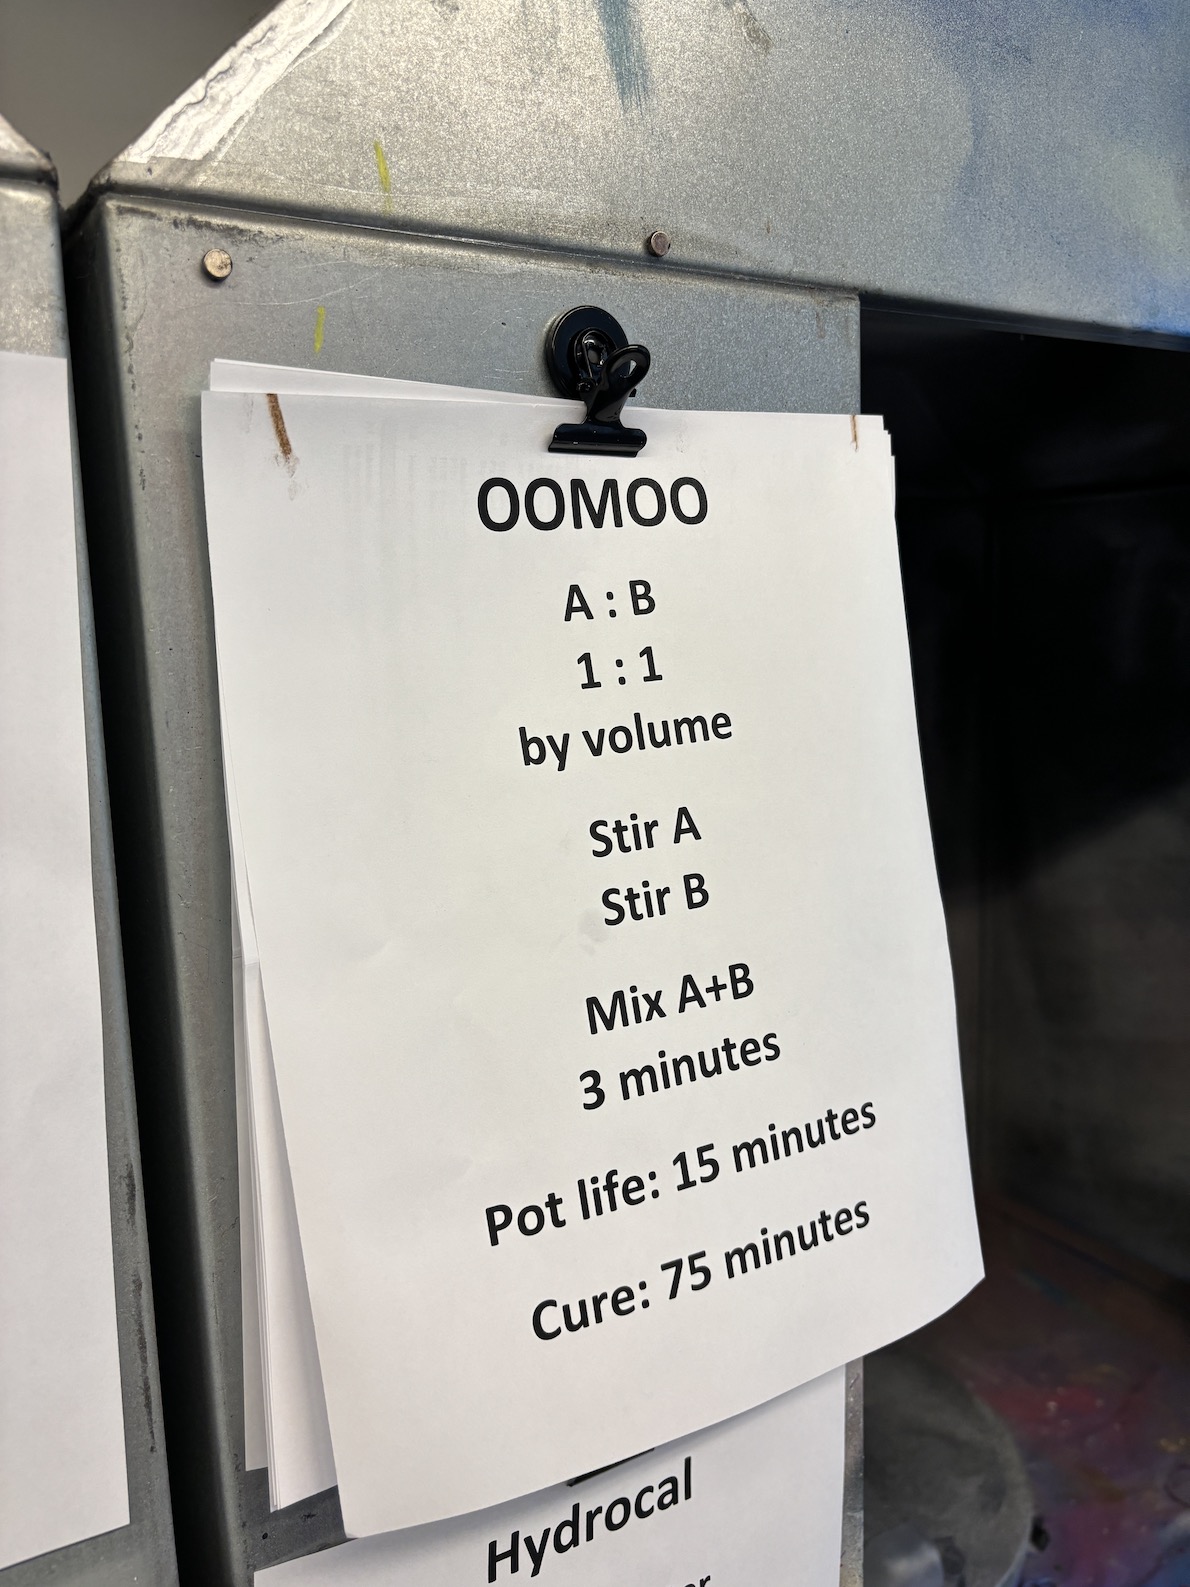
Printed instructions for using Oomoo

Bottles A and B of Oomoo with the mixing containers
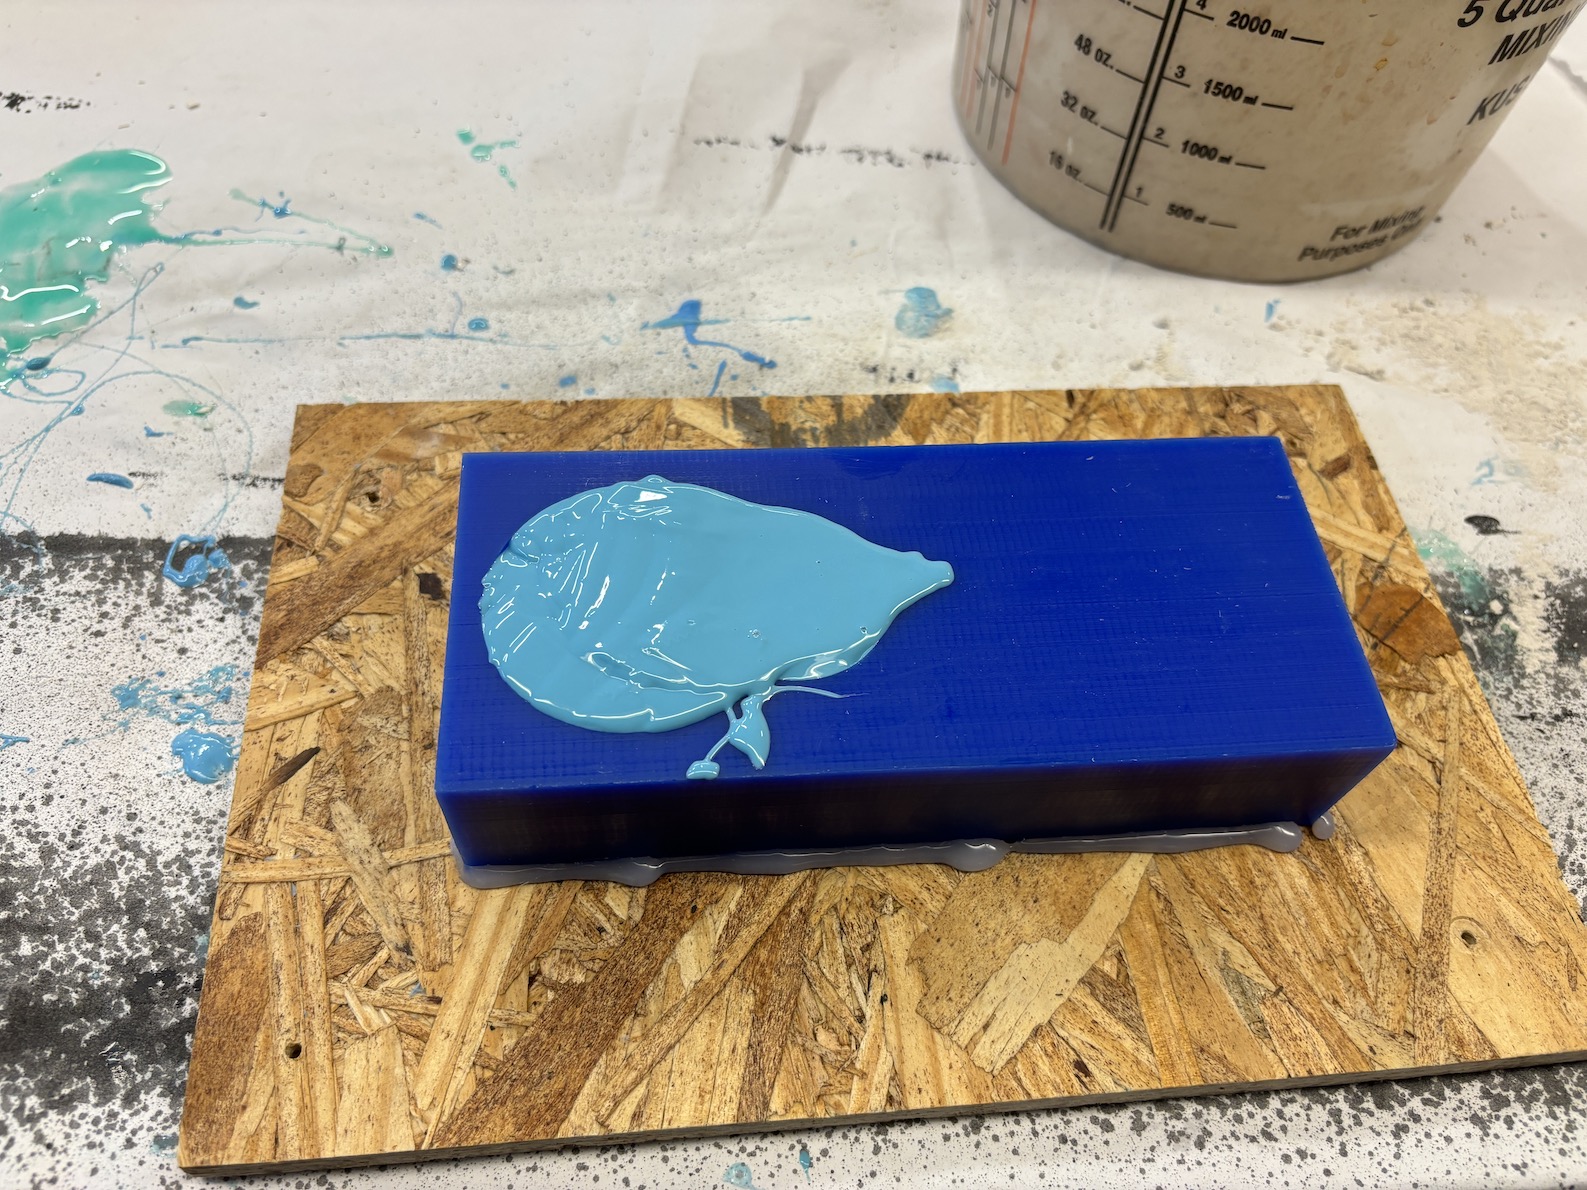
Wax block filled with liquid Oomoo before letting it set to a solid mold!

Removing the final Oomoo mold from the wax block
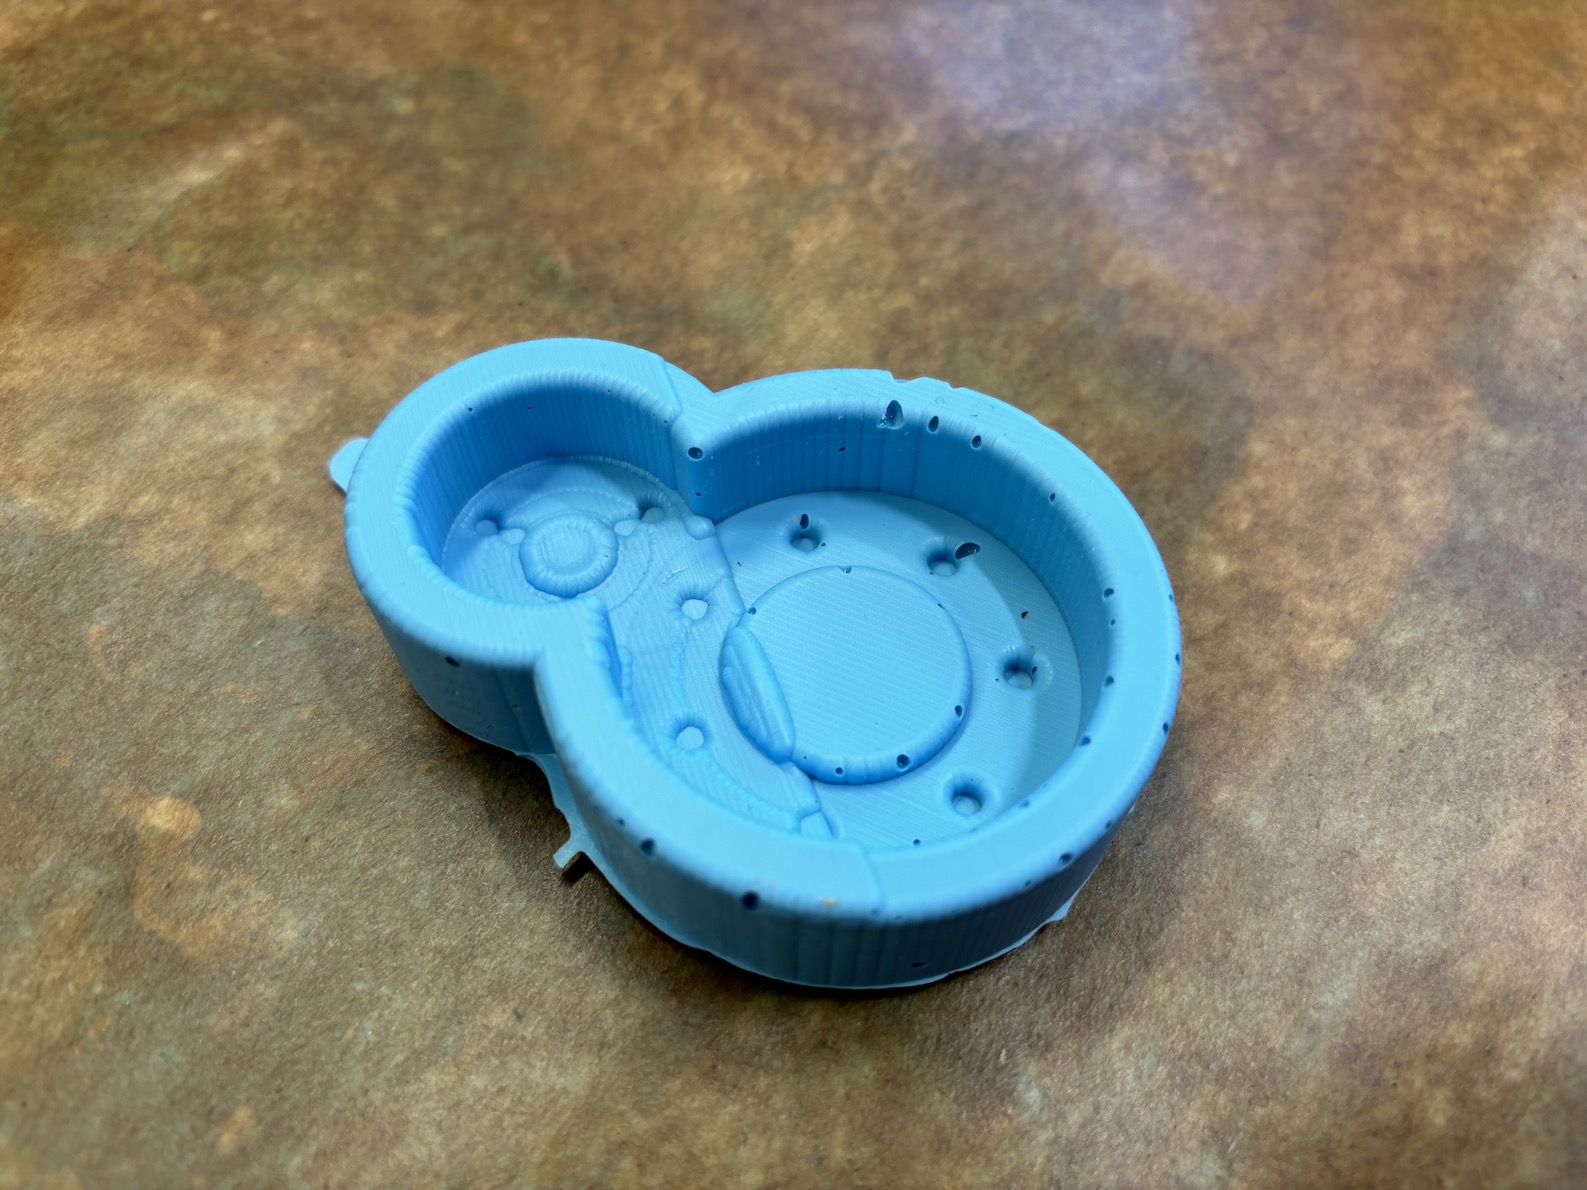
The final Oomoo mold. There are noticable air pockets. Upon reflection, I realized this is likely the result of not having a 1:1 ratio of blue and yellow Oomoo components because the markings on the cups were not accurate. Alternatively, I may have left the Oomoo sit for too long before pouring it into the wax block.

The source of the Hydrocal plaster with instructions.

Measuring 40-45 grams of water
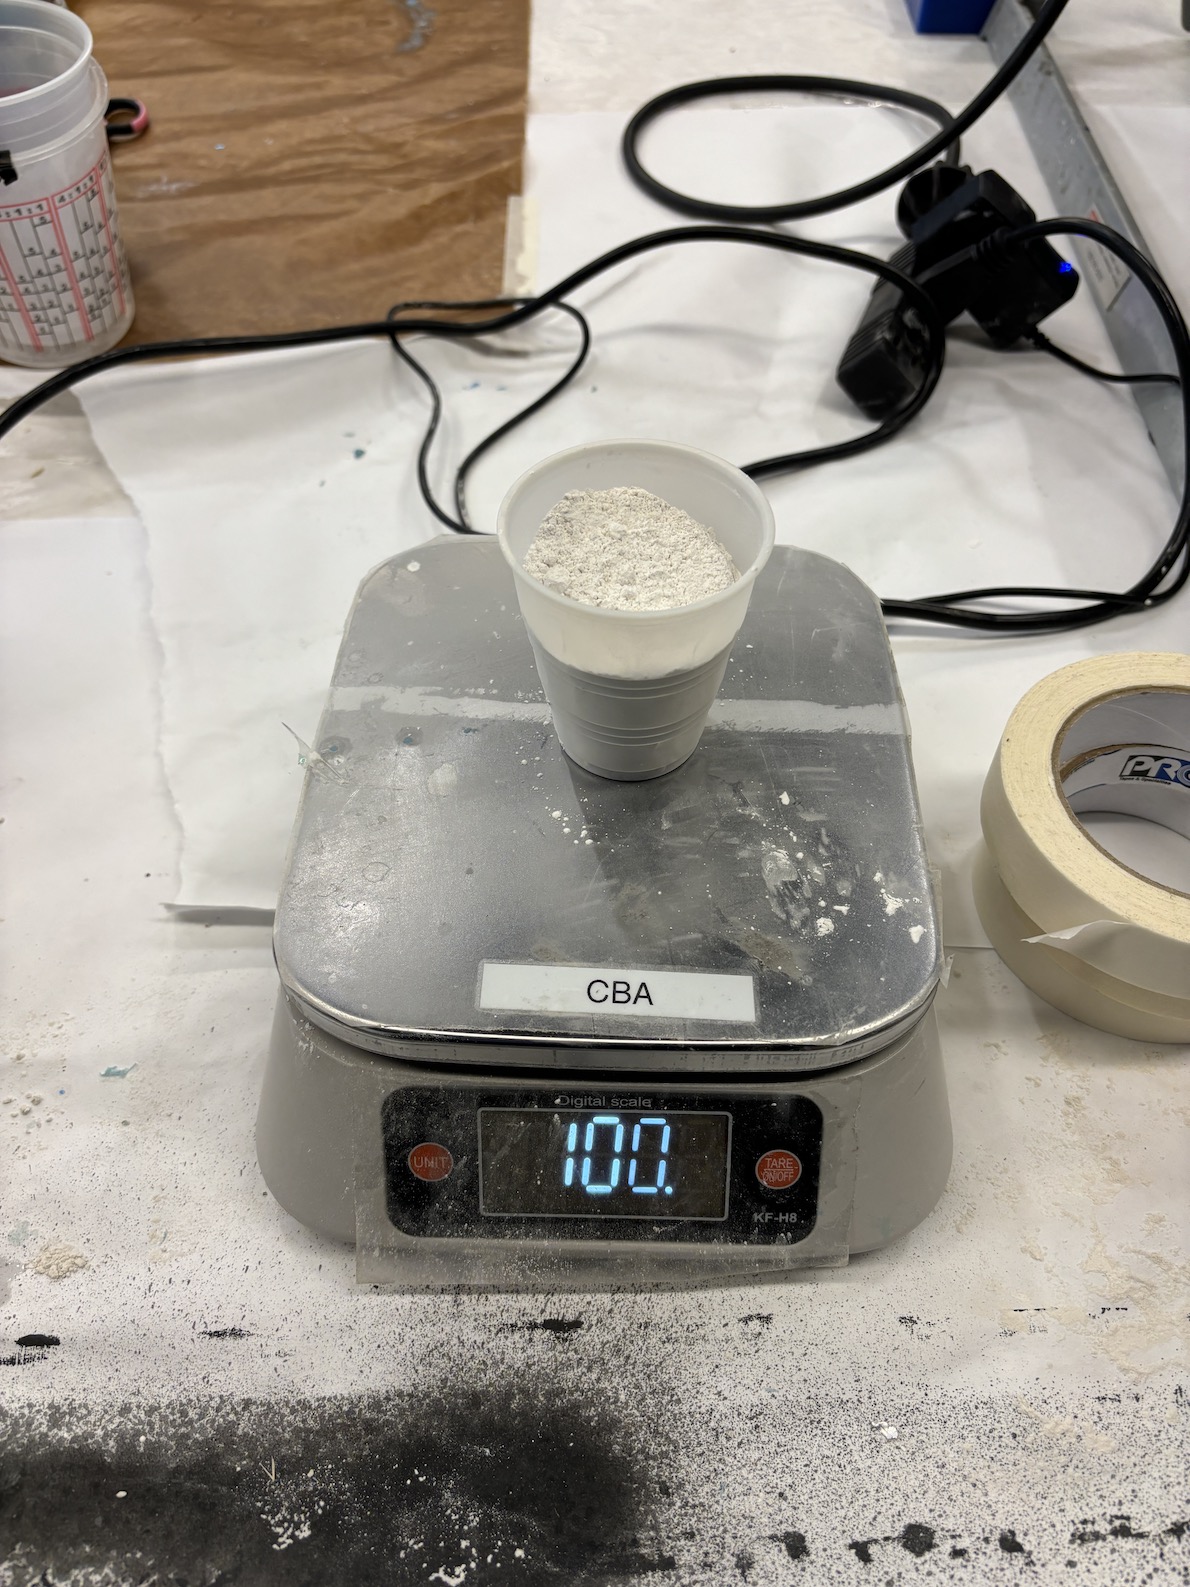
Measuring 100 grams of plaster
Pouring 100 grams of hydrocal plaster into 44 grams of water

Letting the plaster sit to solidify
Remocing the final plaster cast from the Oomoo mold
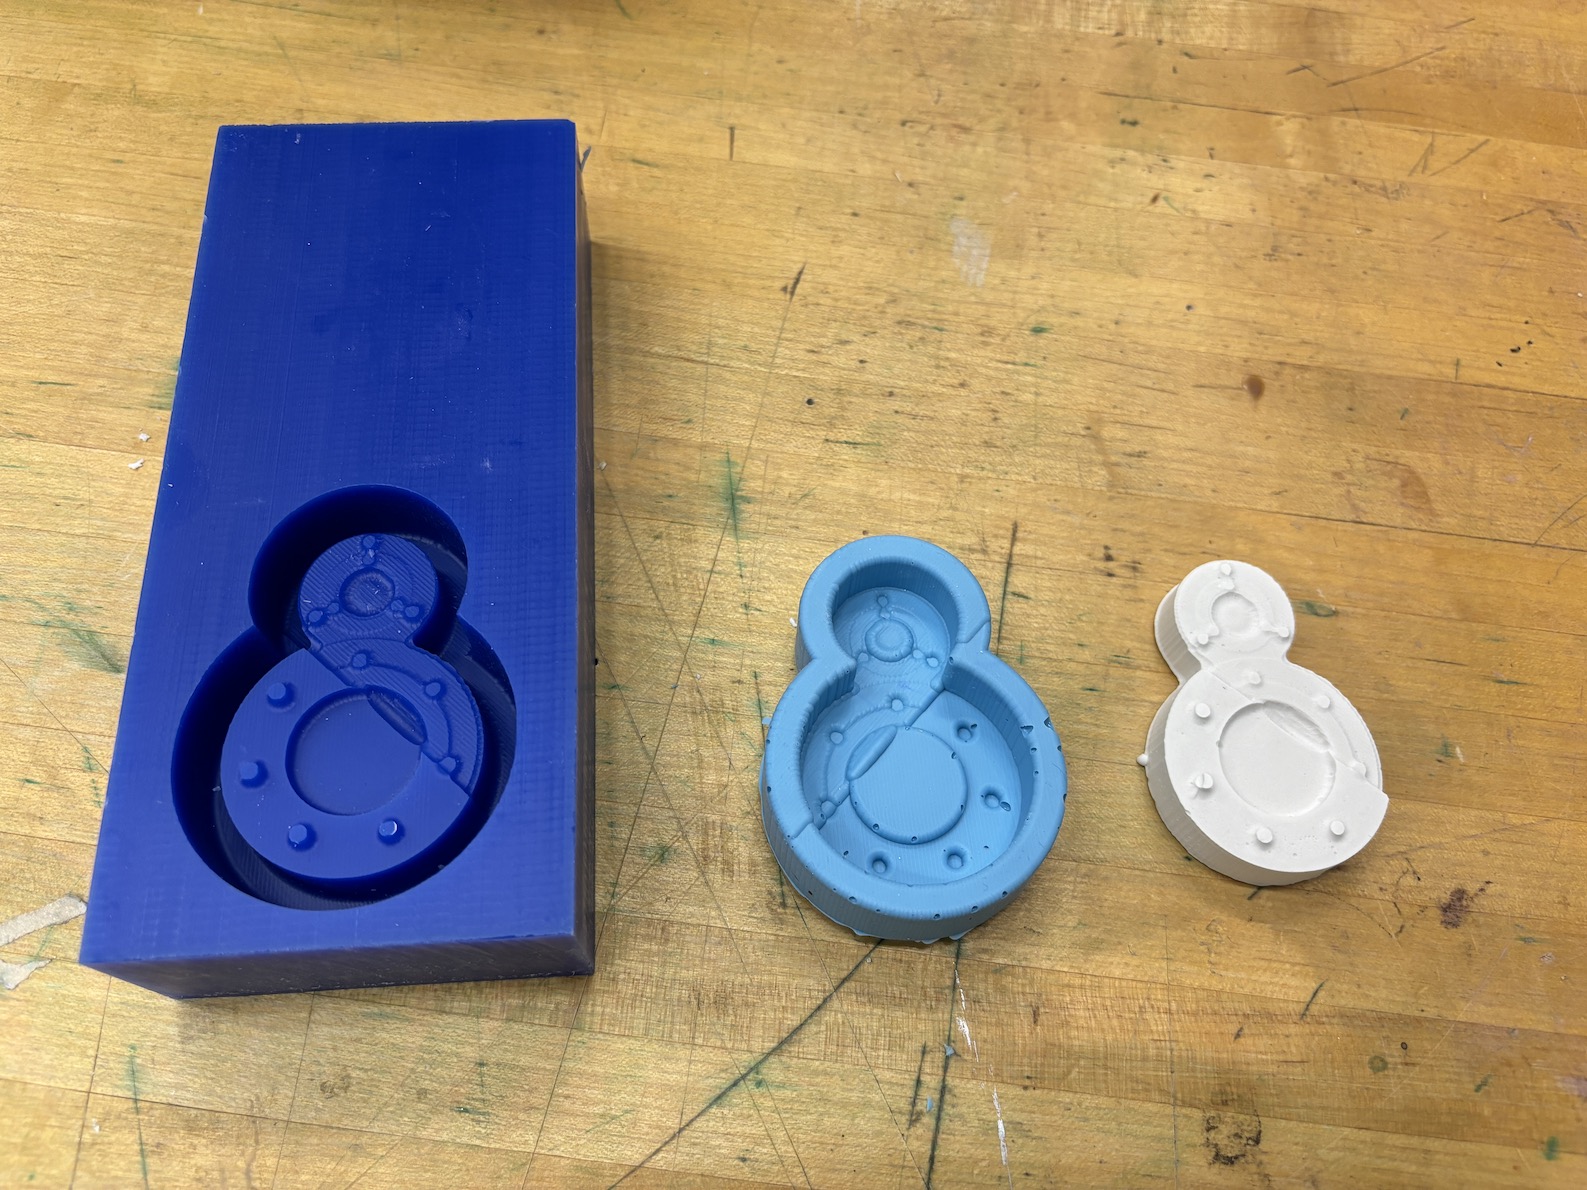
The week 7 final products side by side