The Pico microcontroller has a WiFi module! So cool!
Week 12
Interface and Application Programming
Software Tools: Thonny, micropython, html
Hardware Tools: Previously made boards
Previous experience: Basic python and micropython
This week, I owe most of the accomplishments to Amira Abdel-Rahman, our awesome TA, and existing code that Neil shared with us in class!
Ultimately, I was able to create an html user interface to run existing code on the microcontroller which played notes that sound like the Mario theme song.
Video of clicking "play mario" on the html interface which communicates via WiFi with the microcontroller
Preparing the microcontroller
I used the same board that I created last week. The board includes a Raspberry Pi Pico W microcontroller, a class D amplifer, a speaker connection, and an
SD card.
This week, however, I set out to create and use an html interface that I could use to click a button and communicate wirelessly
with the board to play sounds. In this case, I wanted a previously written program to run that would play frequencies in an order
that sound similar to the Mario theme song.
To do this, I did the following:
- I downloaded and modified Neil's code to create a WiFi access point that I could connect to. The code includes instructions to run the mario.py program when the button is clicked on the html interface. My modified code can be found in the files below. I saved the file as main.py on the microcontroller so it would run when the microcontroller is connected to power.
- I downloaded and saved the following files on the microcontroller: 1) microdot.py, 2) microdot_asyncio.py, 3) microdot_websocket.py, and 4) microdot_asyncio_websocket.py.
- I downloaded and modified Neil's html file to create my own unique html interface that can communicate with the board and instruct the board to play the mario program. My modified html file can be found in the files below.
- I connected the microcontroller to power.
- From my laptop, I connected to the WiFi network that the Pico created. I named the WiFi network "PicoWiFi".
- I opened the html file on Google Chrome and made sure the WebSocket Server Address was set to "192.168.4.1".
- I pressed the "connect" button to connect to the microcontroller and open communication.
- I pressed the "play mario" button to play the mario theme song.
- I tested that this worked from any power source by plugging the board in to my partner's laptop, connecting to the Pico WiFi access point from my laptop, and clicking "play mario". It worked!
Here are the files I created for easy reference:
- pico_wifi.py - this is the micropython code I modified for the Pico microcontroller and the mario theme song
- interface.html - this is the html file I used to create an interface which communicates with the microcontroller. The code was copied from Neil's work and modified.
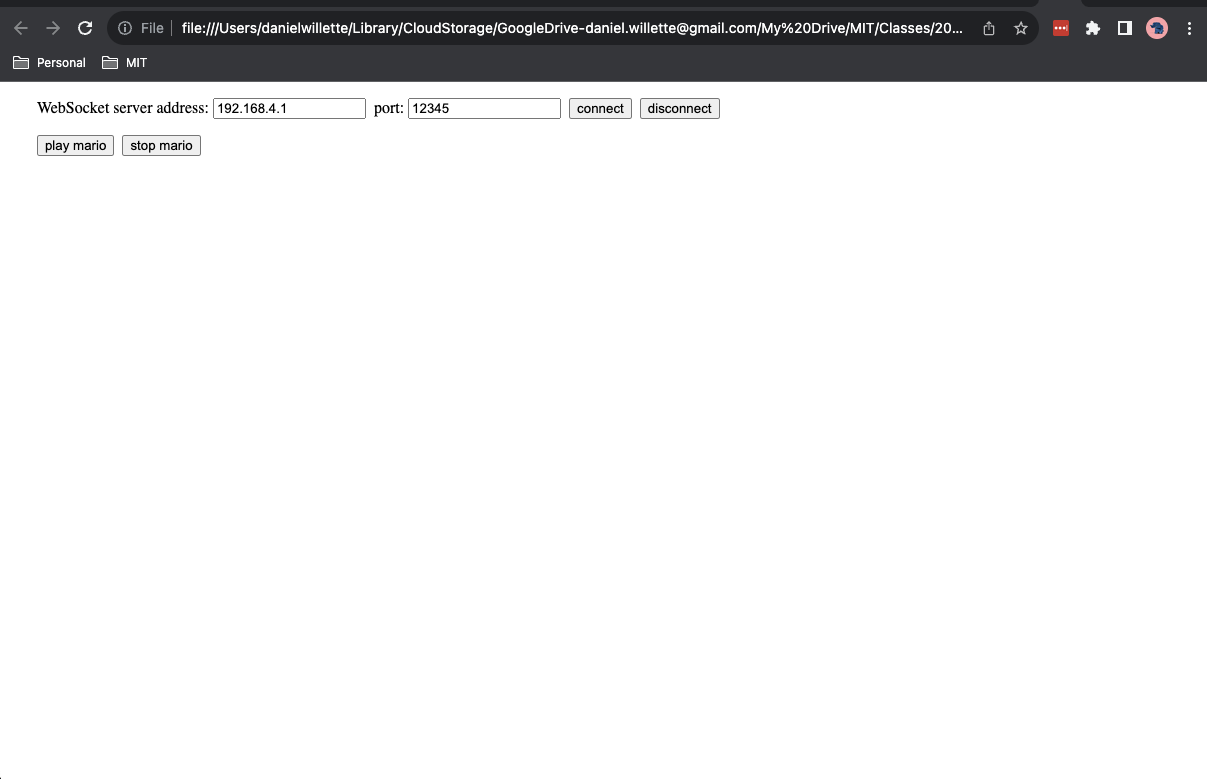
Screenshot html user interface with "play mario" button