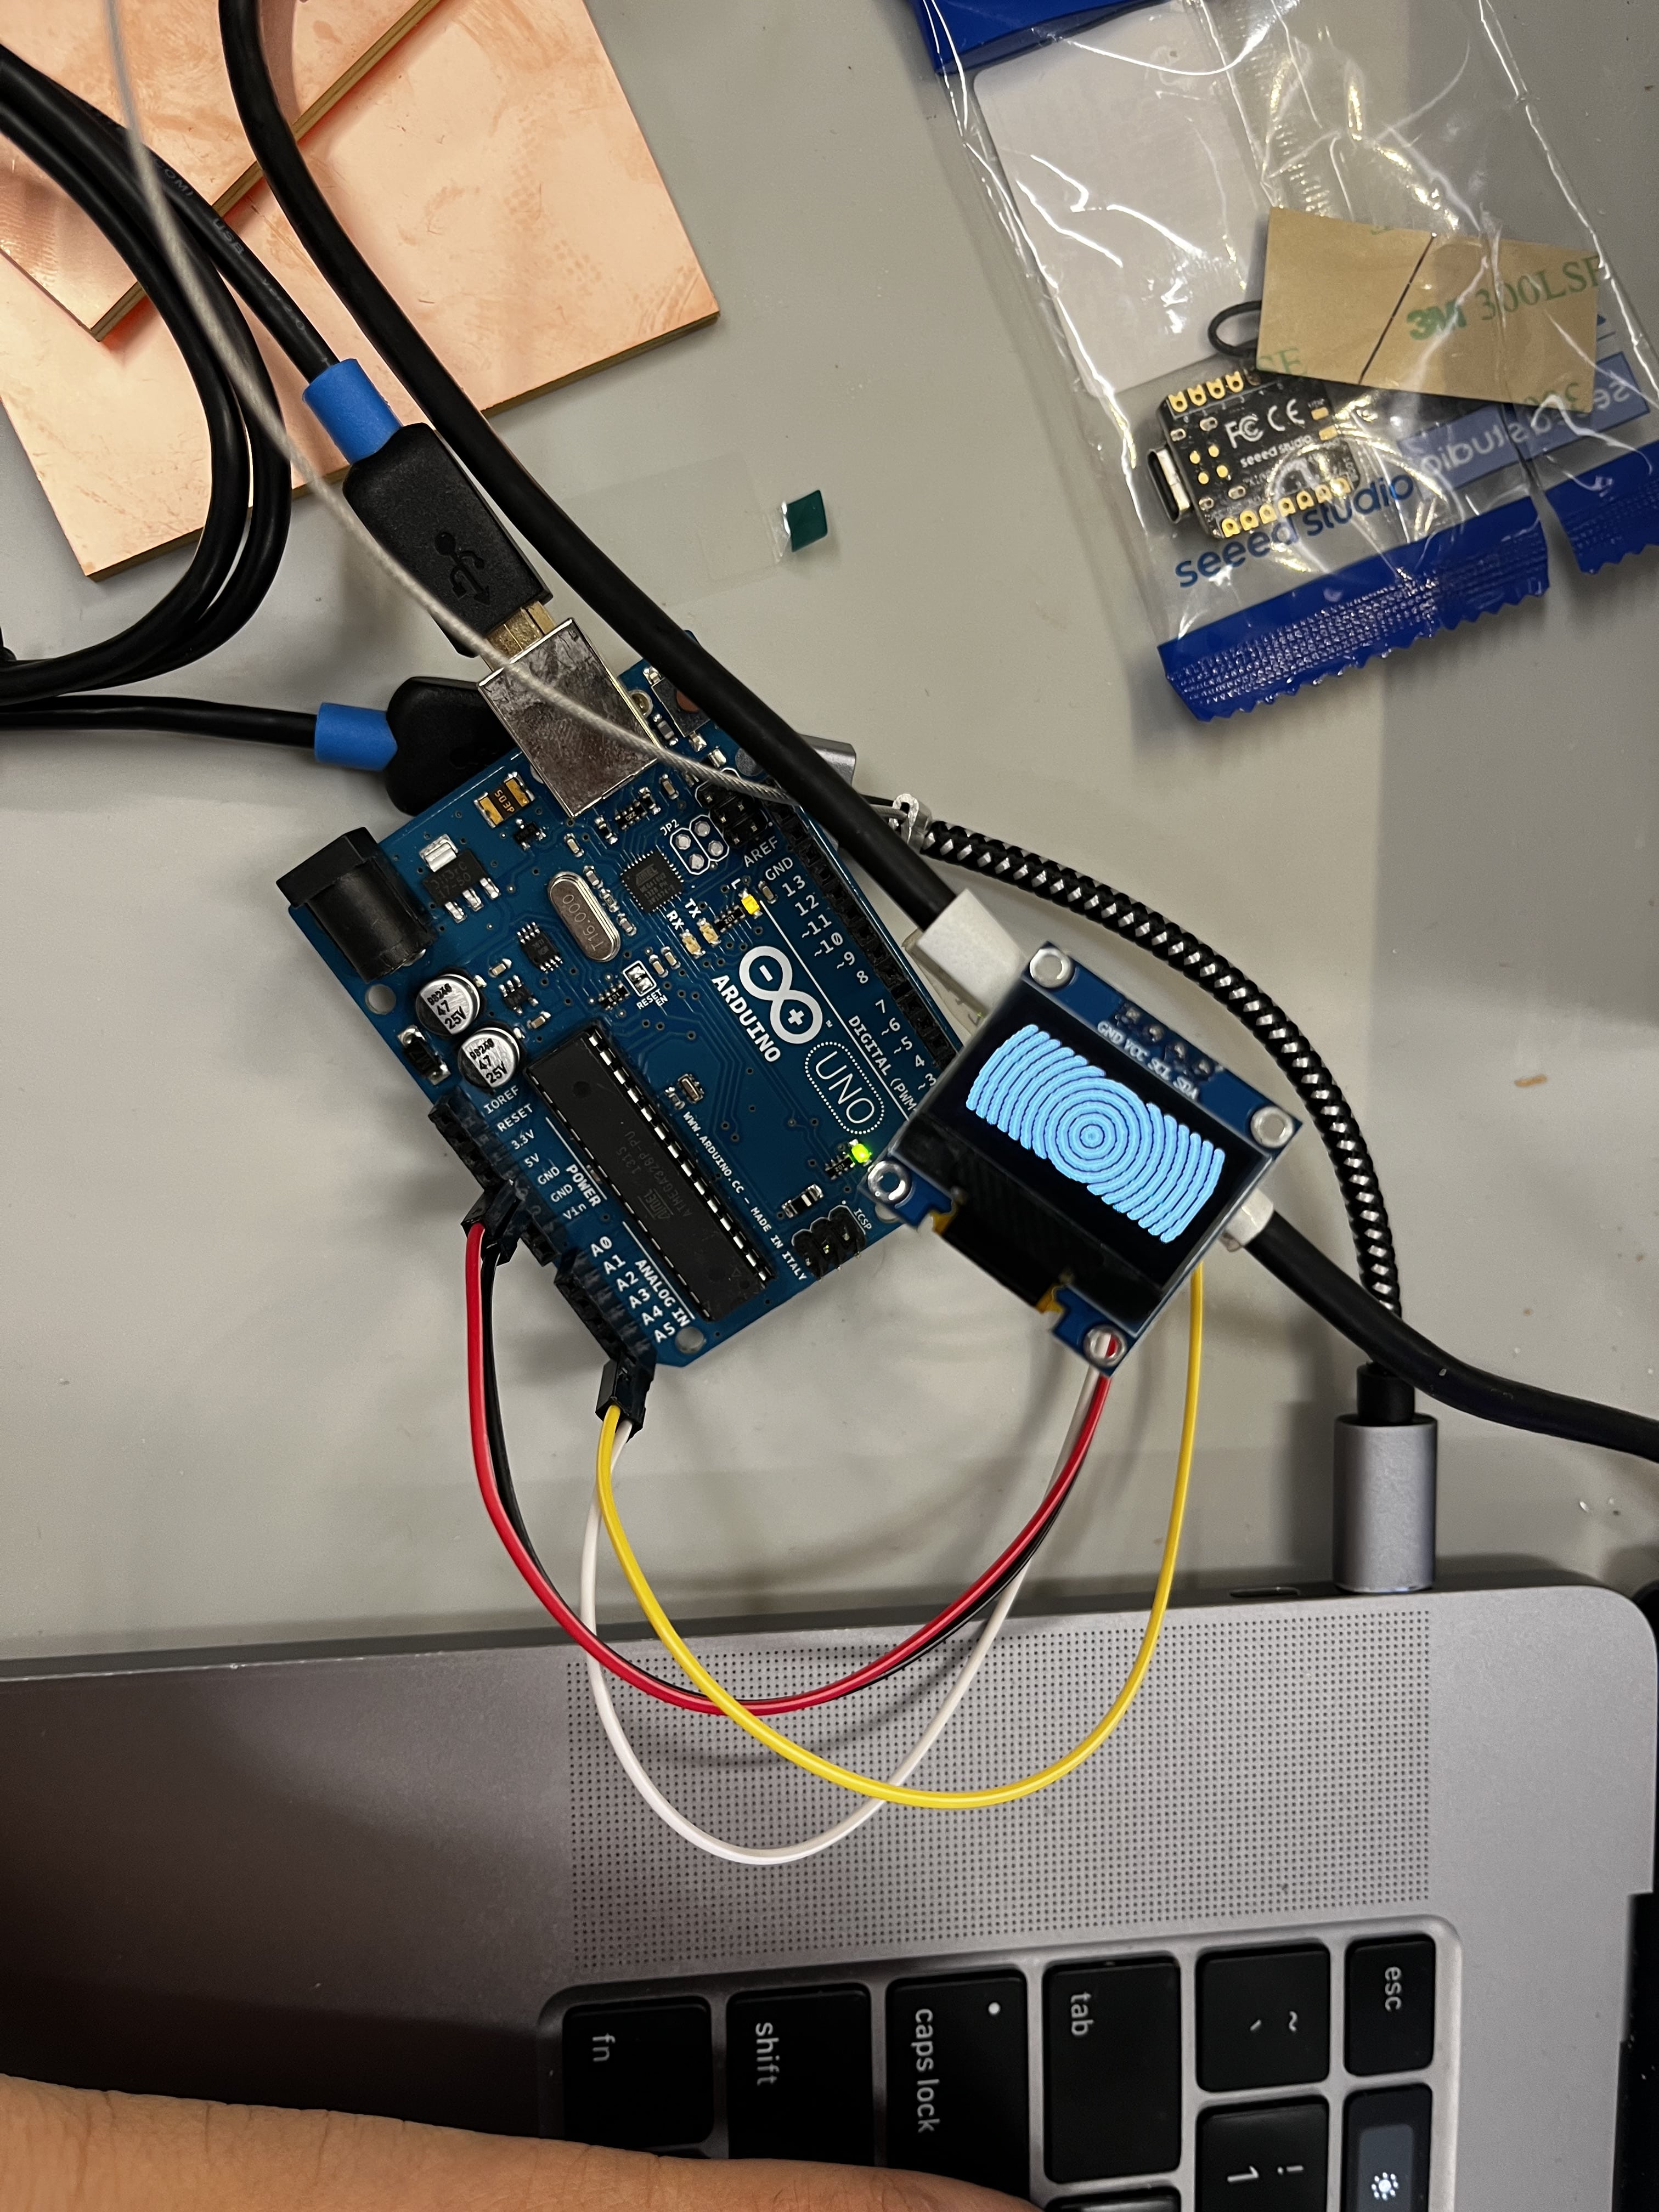
OLED Display
made with output devices
To Do
Group Assignment
- measure the power consumption of an output device
Individual Assignment
- add an output device to a microcontroller board you've designed,
- and program it to do something
Tools
- Software: Arduino IDE
- Machines: N/A
Materials
- Arduino
- OLED
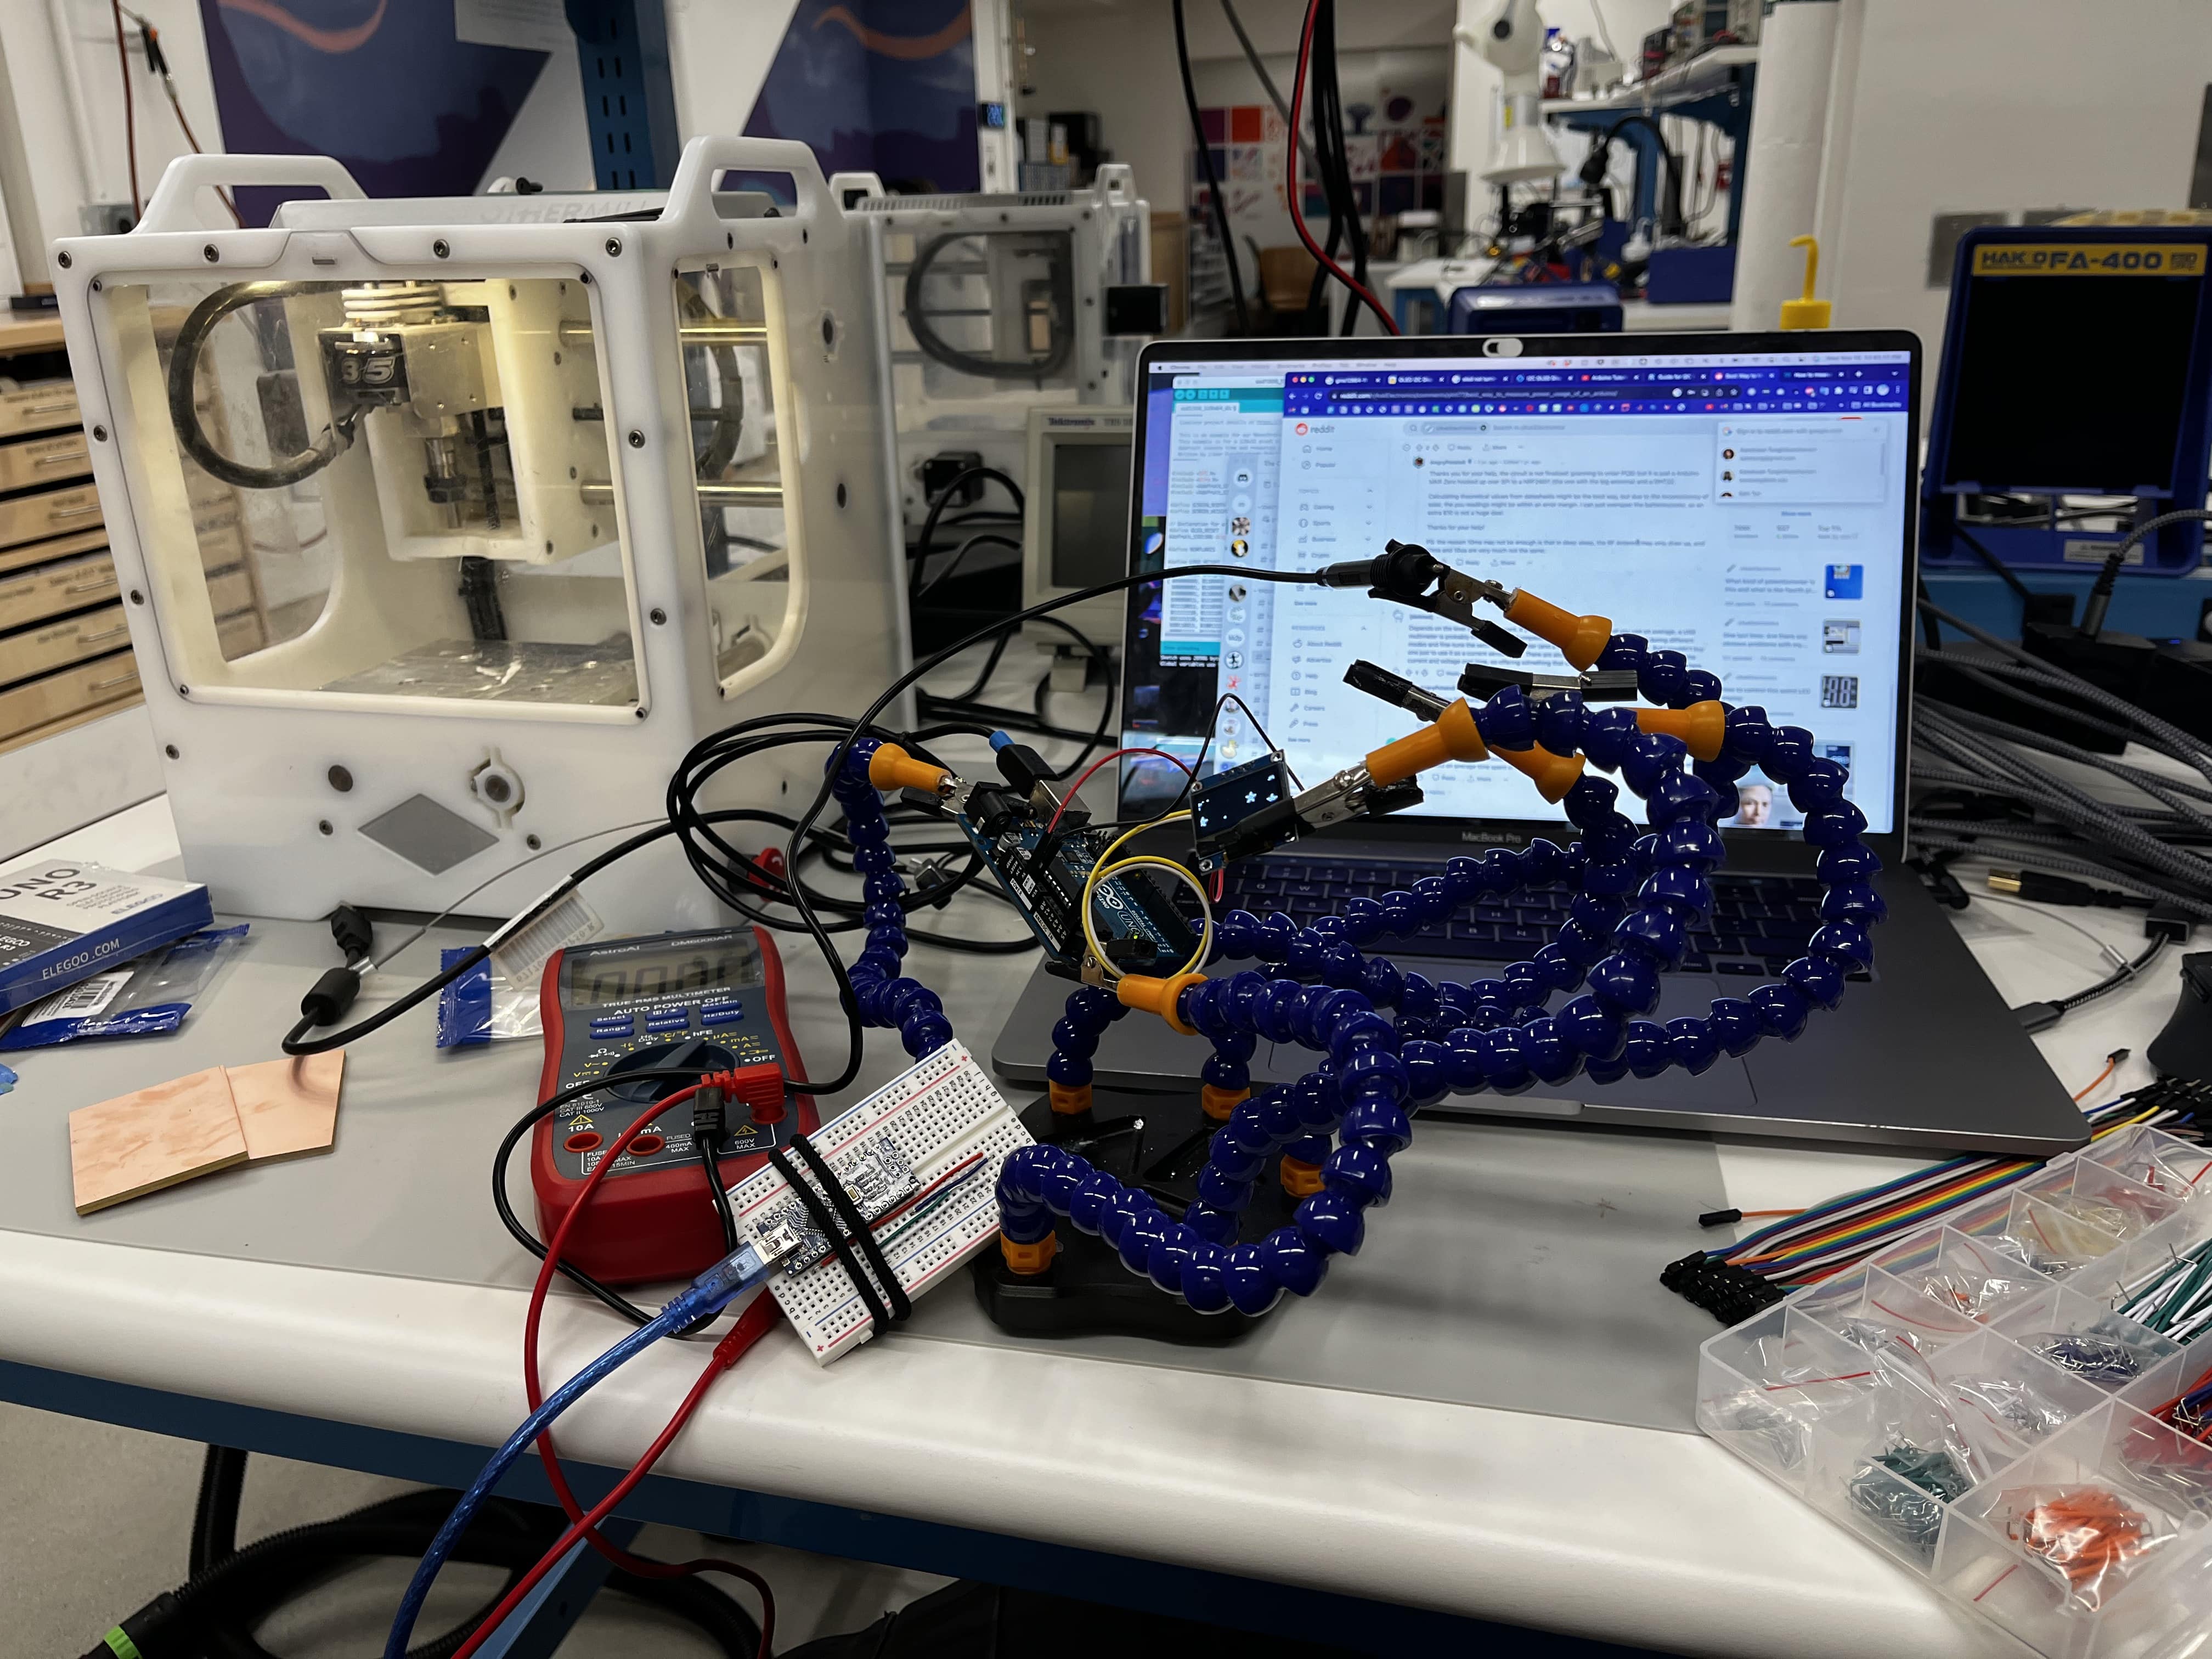
I completed the group assignment by meaasuring the power across the OLED with a multimeter.
I want to create a series of LEDs for a future project, so I decided to play with OLEDs for this week. I connected the OLED to an Arduino via a breadboard and tested away.
Embarking on the journey of learning to use an OLED display with an Arduino was both thrilling and educational. As I connected wires and uploaded my first lines of code, there was a sense of accomplishment in seeing the crisp, illuminated pixels come to life on the OLED screen. Learning to harness the power of the Arduino to manipulate and showcase information on the OLED felt like uncovering a realm of endless possibilities. The synergy between hardware and software unfolded before my eyes, and with each trial and error, I delved deeper into the intricacies of programming this dynamic duo. It was a hands-on exploration that not only honed my technical skills but also ignited a newfound appreciation for the seamless integration of microcontrollers and cutting-edge display technology.