
HTMAA Week 13
Assignment Description:
- design a machine that includes mechanism+actuation+automation+application
- build the mechanical parts and operate it manually
- document the group project and your individual contribution
Machine Week - The Gershenforcer: An Automated Nerf Turret
This week tasked the entire EECS Section with the creation of a machine. We threw out a few different ideas, but pretty quickly settled on the idea of an automated nerf turret.
You might think that means designing a turret for which a Hasbro Nerf Blaster sits upon, but you would be wrong! We opted to make the "blaster" from scratch, utilizing flywheels.
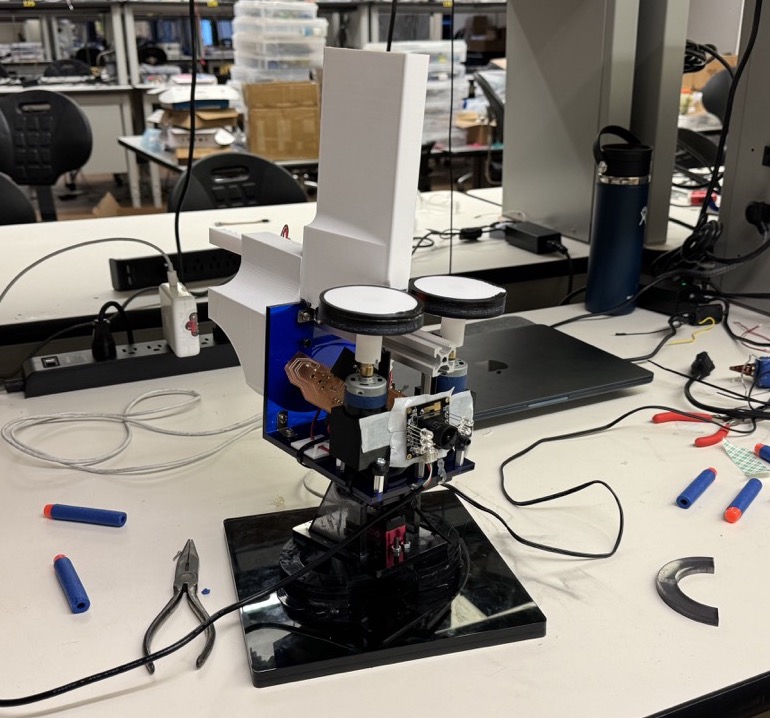
While most Nerf blasters utilize a spring and piston to create compressed air to launch a dart, others utilize a pair of battery-powered spinning flywheels to propel darts. Our section split the task into a few different work silos, and I joined the flywheel team.
I consulted a flywheel nerf blaster I used to tinker with for design inspiration. I also noted that the gap between the flywheels is 9mm, which we sought to replicate.
At our initial planning meeting, we came up with the following loose structure, which would allow for integration with the products of the structure and actuator teams:
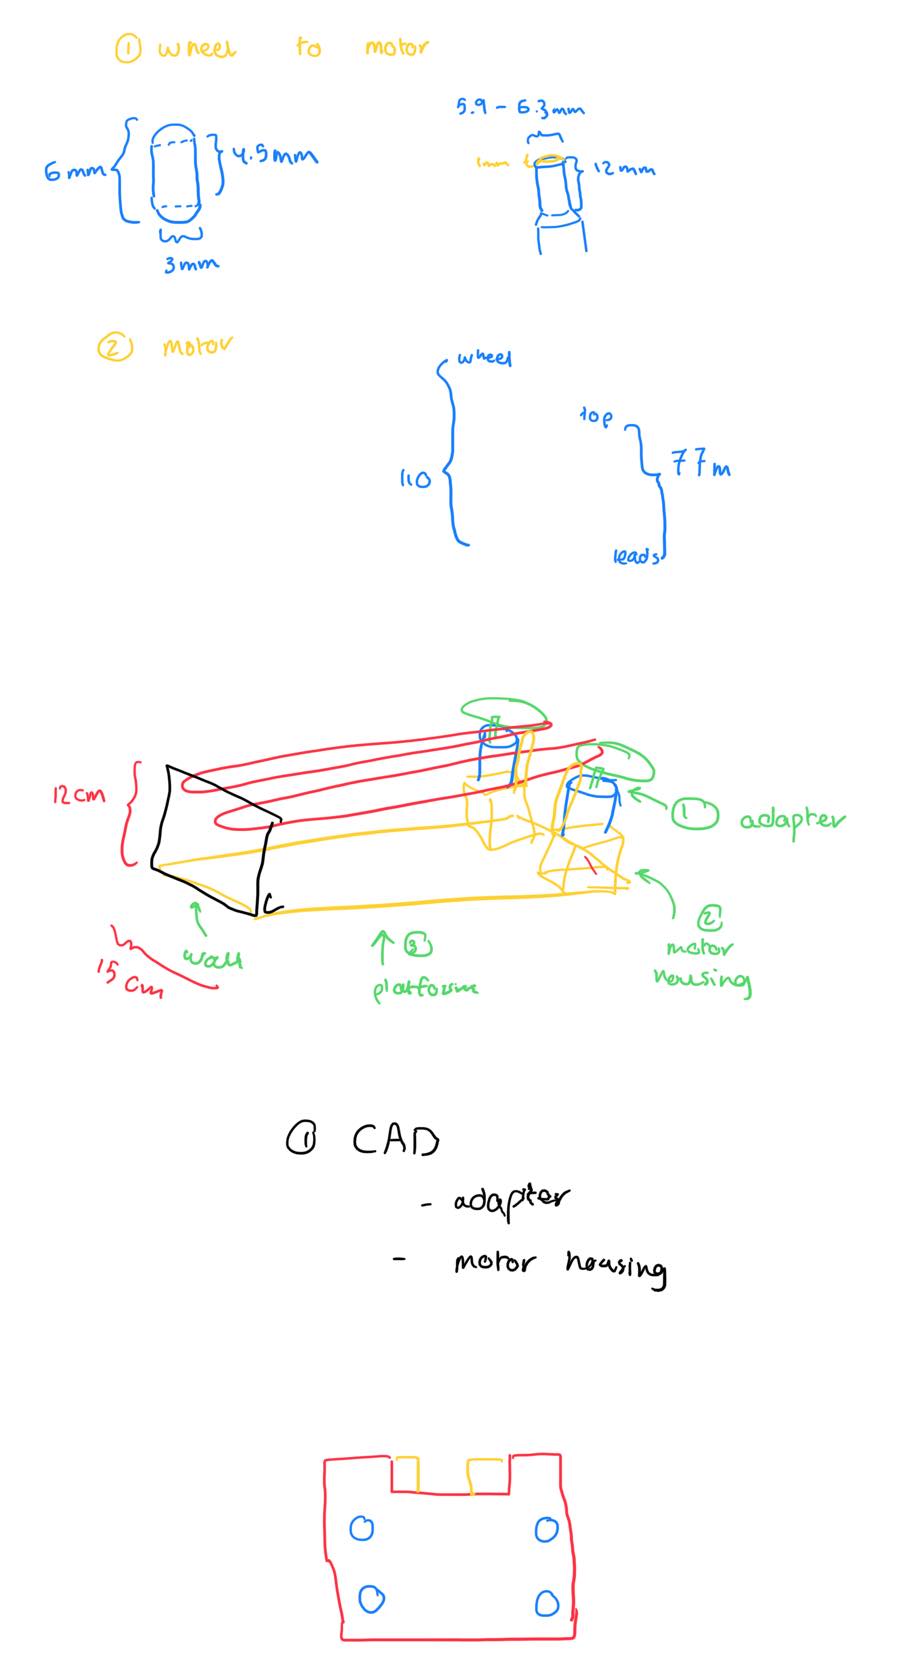
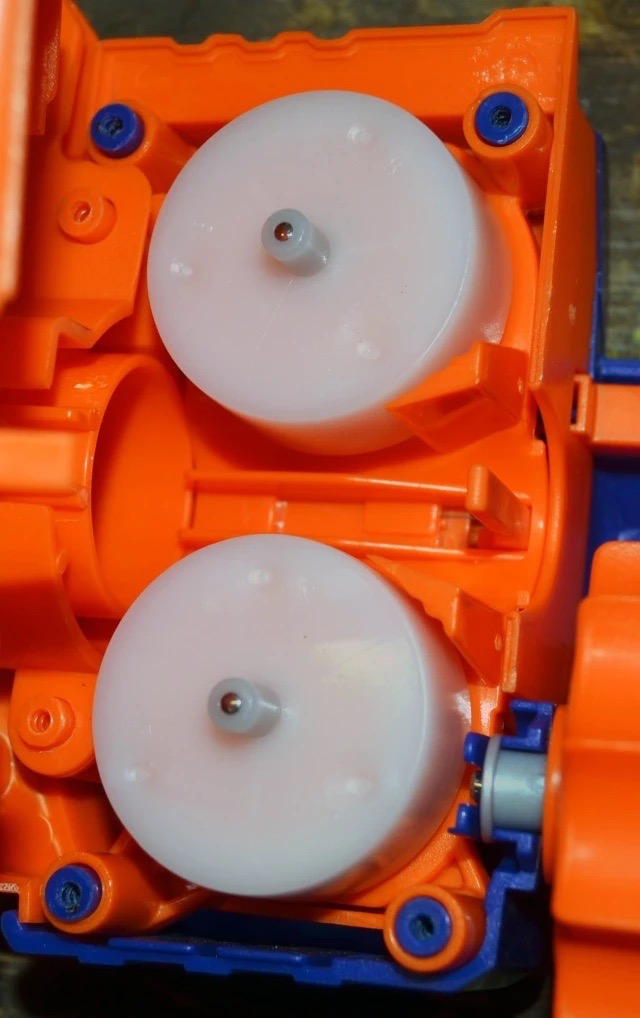
Our prototype planned on utilizing some large RC Car wheels Anthony had lying around in EDS.
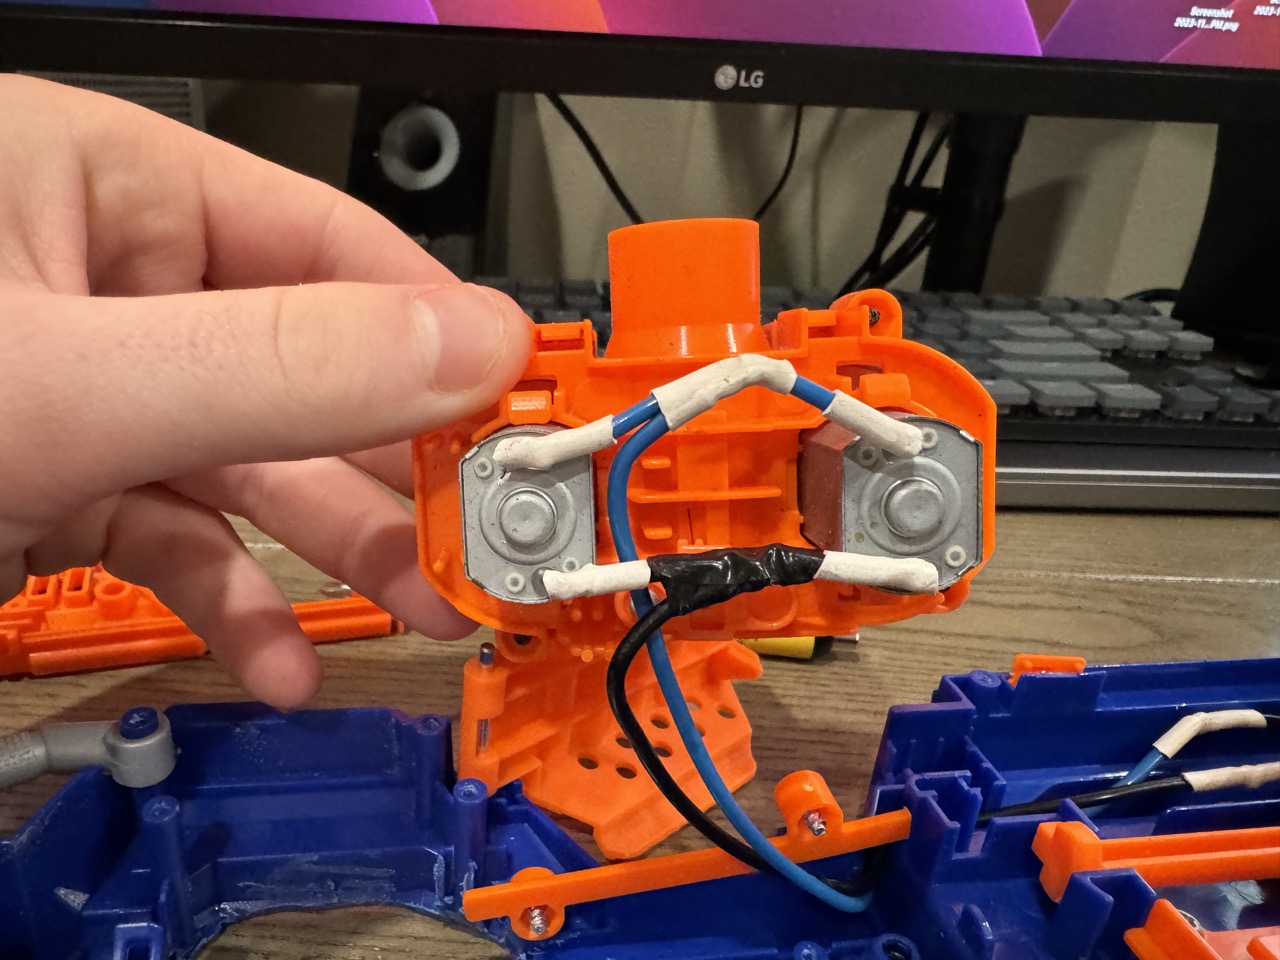
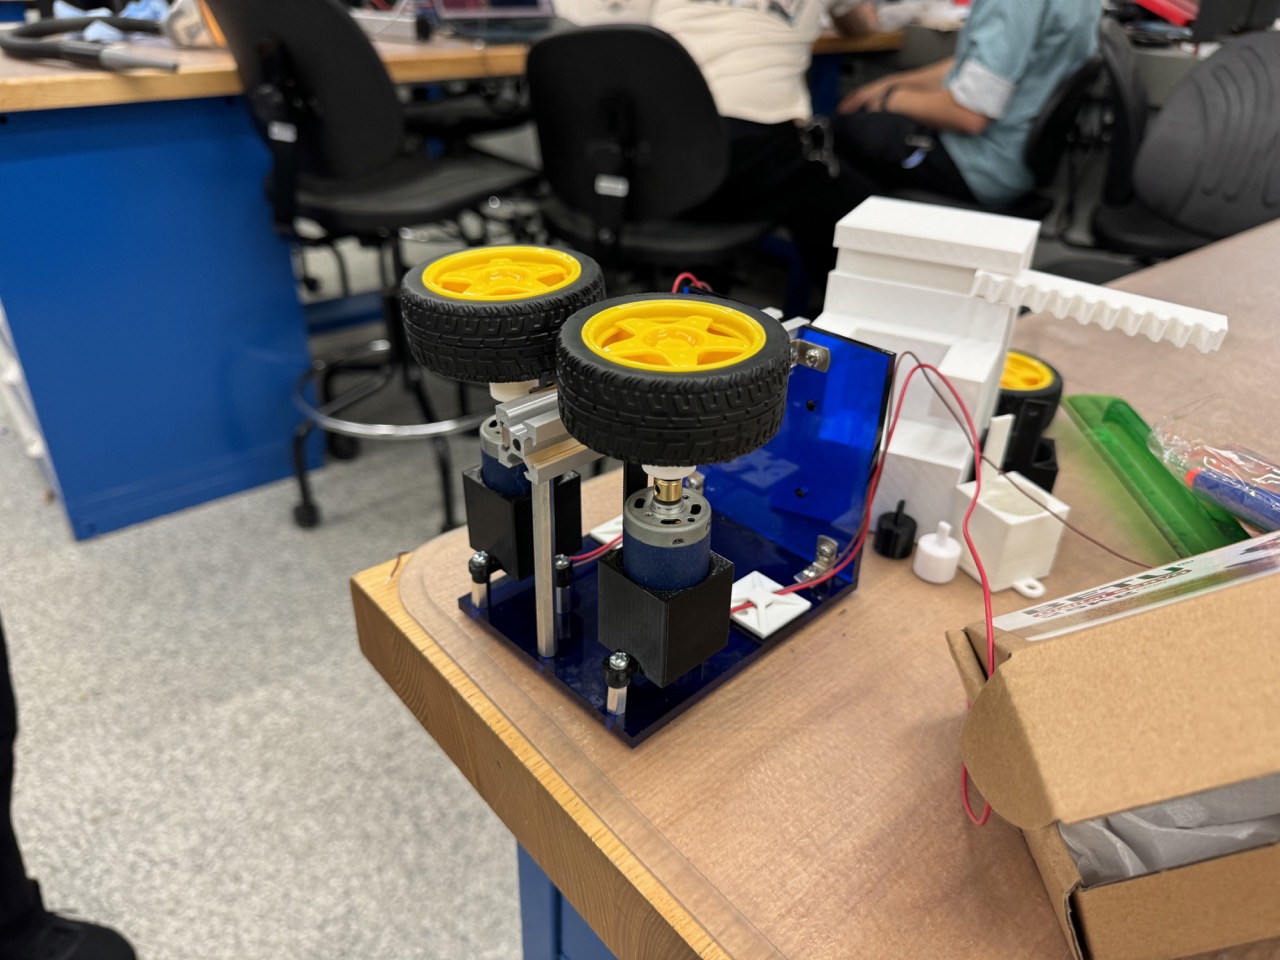
Sam and Masarah drew up the designs for the housings to mount the motors to the base as well as an adapter to interface the motor shaft to the wheel. While those printed, we began to assemble the structure for the motors to mount to. Our original design utilized two 20/20 aluminum shafts, but out of concern for reducing weight and providing a surface for the dart to push along, we decided upon a singular, centered shaft of aluminum.

Along with the aluminum, we decided to utilize acrylic sheets as our body stock as we could cut it on the laser cutter much faster than printing custom parts. We utilized 6-32 machine screws, lock washers, L brackets, and tapped holes to bring the acrylic together.


Once we completed the structure, our prints had finished, and we faced a big hiccup: neither the adapter nor the motor housing fit properly with their respective parts, and we discovered the difficulty of achieving a perfect friction fit with 3D printed parts without knowledge of a particular printer's tendencies. We also found out that sanding PLA with a Dremel really just melts the material.
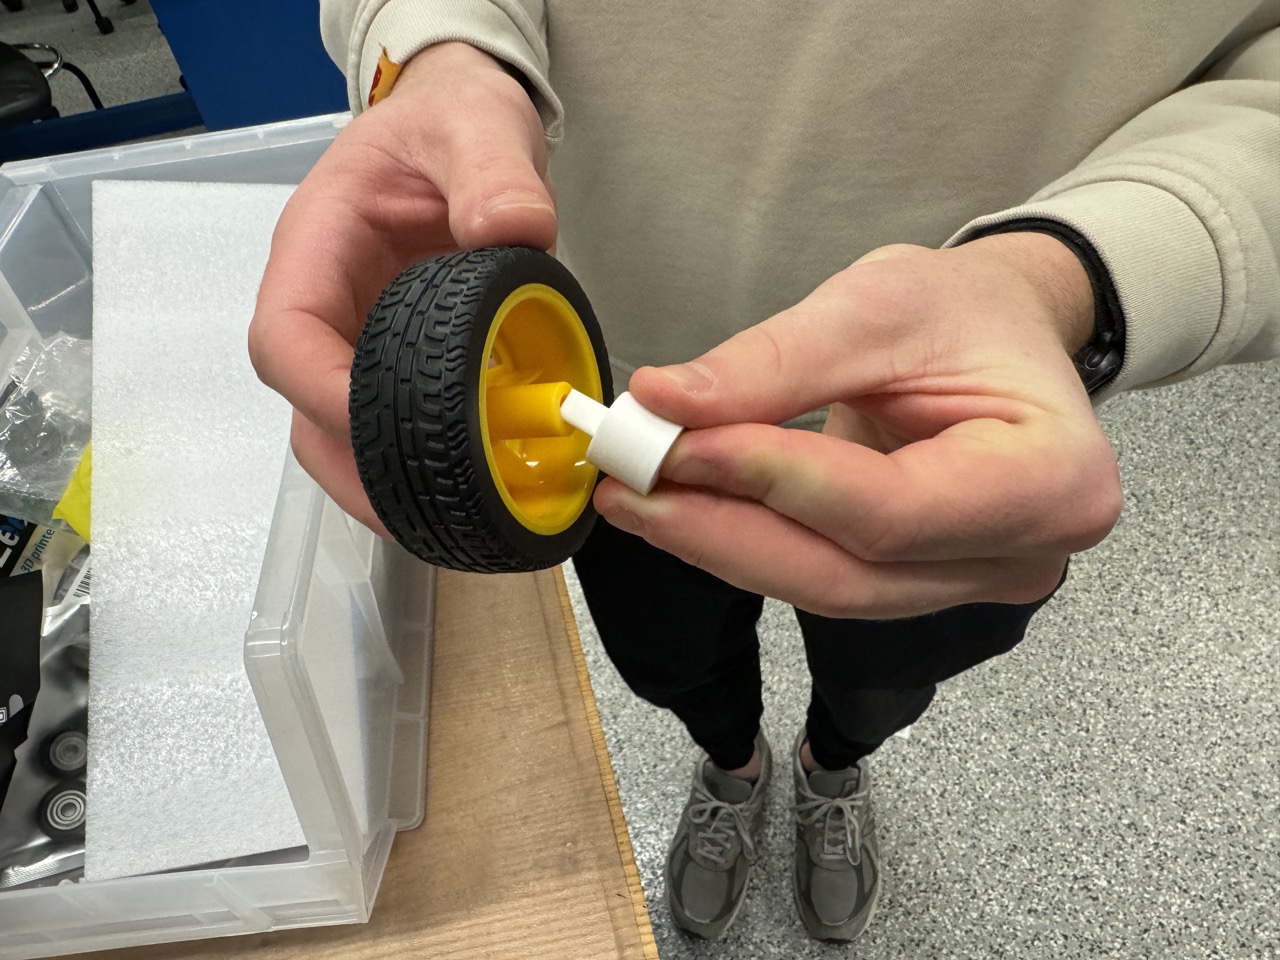
We tweaked the designs to have a bit more room and printed another round of parts. We overcompensated on the dimension adjustments, so we had to utilize some tape to bridge the gap and get a friction fit on the motor housing and shaft, then hot glue to interface with the wheels. At this point, we had a functional prototype of the launcher!
As we ramped up the power supply voltage, we noted periods where the launcher experienced a lot of vibration, but would stabilize with another volt. We noted that the most stable voltage with these wheels was around 6V, half of the motors' rated 12V.
Even at the most stable voltage, we noticed a concerning amount of vibration that would likely cause problems for the other teams, particularly the structure/targeting team. This vibration was especially bad at start-up, under low voltages.
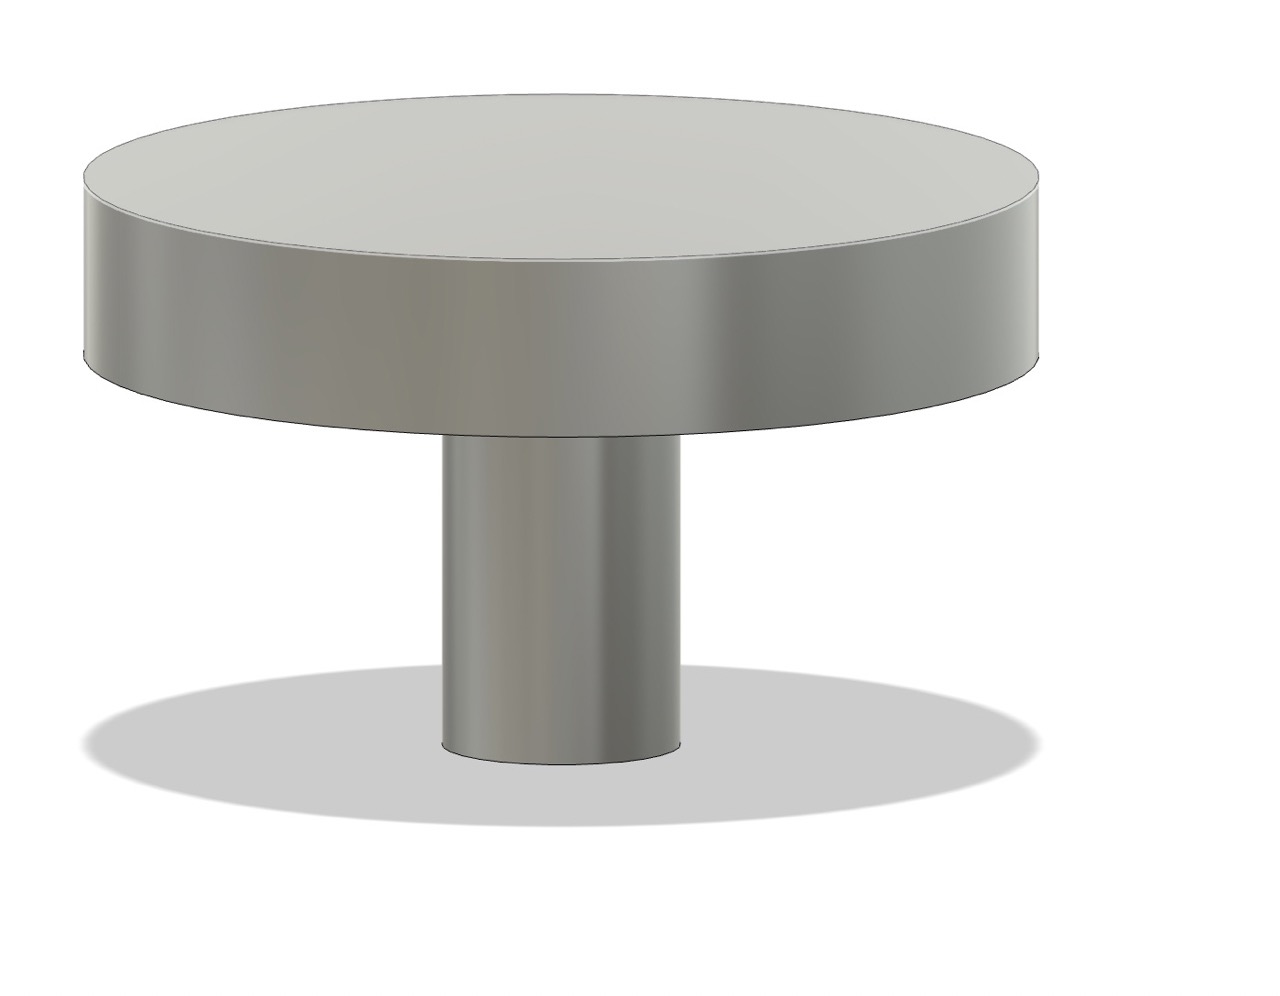
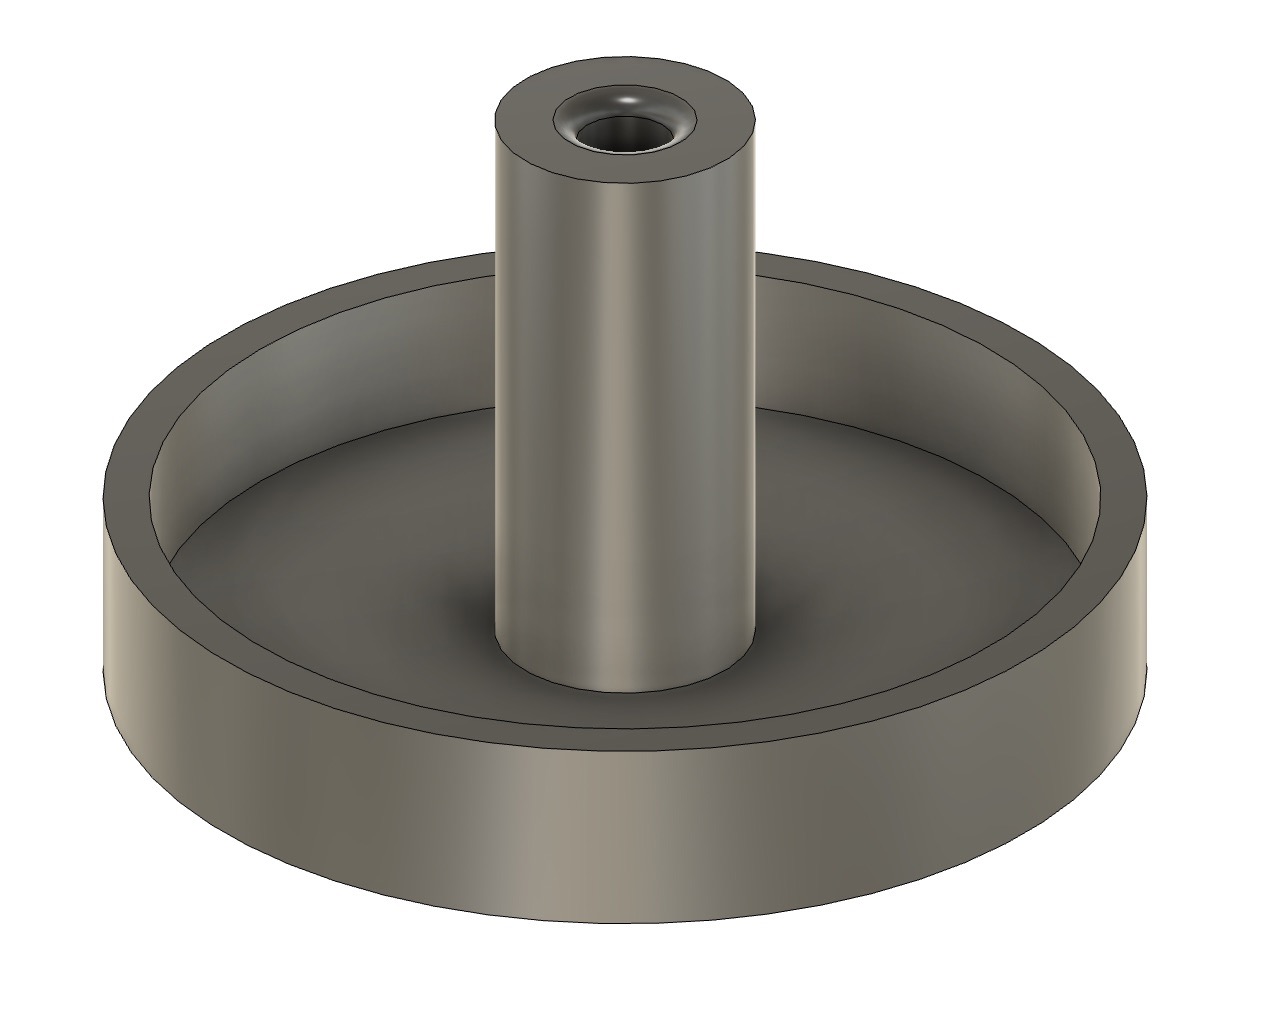
We even added some homemade rubber washers to dampen vibrations, but were still concerned for the future. We identified the culprit as the heavy and unbalanced car wheels, so I designed some replacement flywheels that would hopefully be lighter and more balanced. I made both a solid and umbrella-like "hollow" ones (which resemble the Nerf brand flywheels) to test which would be better, of which the hollow won.
These were much more stable, both at low voltage, and at 12V.
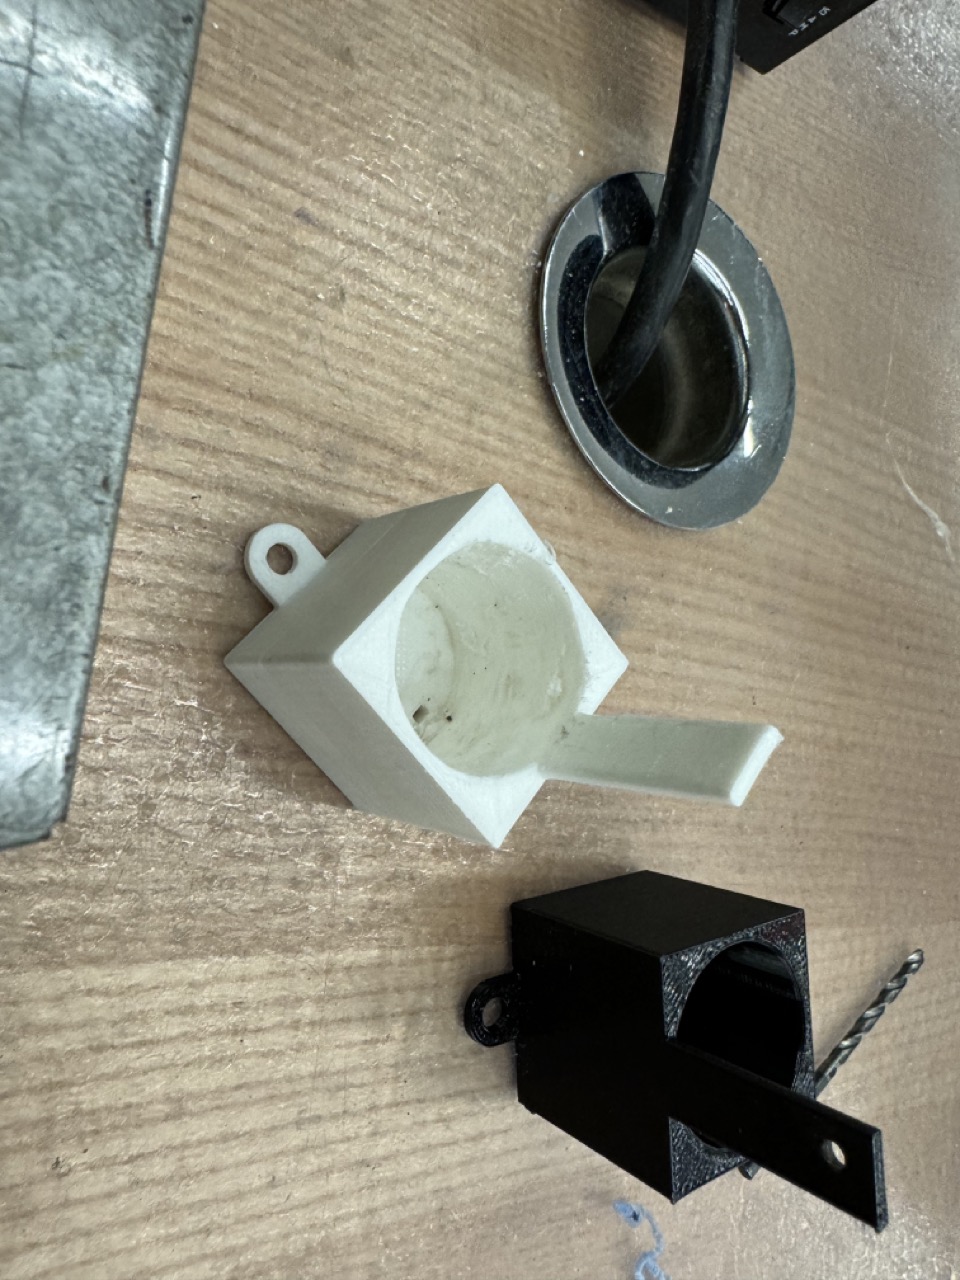
When I came in the morning to test, I noticed the communication between our team and the actuator team (who designed the hopper) had failed, and the dart was now elevated over the aluminum:

Therefore, I redesigned them to include a bit more length to bridge the gap.
We noted that the flywheels were so slippery that they were slipping on the dart rather than grabbing it to launch it at the speed of rotation. Therefore, we added some electrical tape to provide some grip.
At this point, our job was done, and we handed it off to the structure + software teams to bring it home!
This was such a fun project! We had an incredible team, both in the flywheel group and the section as a whole. Although the Gershenforcer self-destructed a few minutes before the demo, we still brought together a product that worked at one point.