
HTMAA Week 2
Assignment Description:
cut something on the vinylcutter
design, lasercut, and document a parametric construction kit, accounting for the lasercutter kerf, which can be assembled in multiple ways, and for extra credit include elements that aren't flat
First Journey with the Vinyl Cutter
I started off with a sticker of my lab's logo.
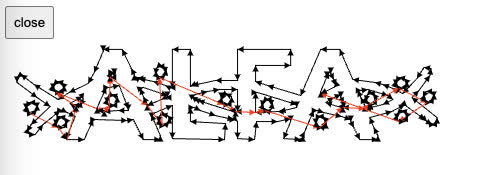
When I uploaded the logo to mods , the multicolored nature threw off the edge detection:
After some trial and error, I found that a threshold of 0.92 kept all of the paths intact and was able to generate a cutting path:
Finally, the finished sticker with transfer paper, soon to be in our lab's office!
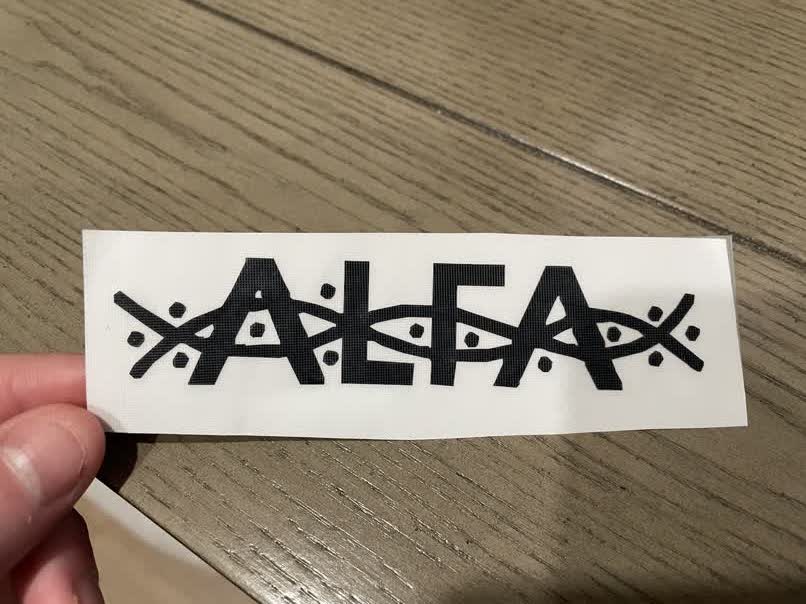
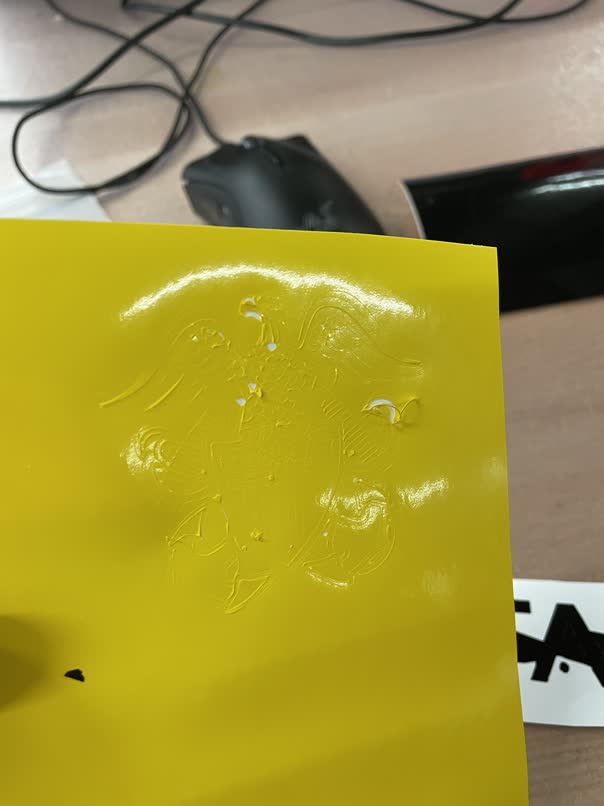
Sadly the source image was a low DPI (72), so the lines and circles weren't particularly clean. I wanted to try something fancier and found a high resolution image of the Navy's officer insignia, which I've always loved.

However, this proved to be too ambitious of a task, at least at the 3" size I was aiming for. It would have taken ages to clean this up, and it would not have survived the transfer either. Anthony mentioned using the laser with mylar, will have to try when the shop isn't as busy!
Laser Cut Construction Kit
I decided to make a kit for my girlfriend's second graders. Their mascot is the Whales, so I thought I'd try making one!
I began to sketch out my ideas:

However, I soon began to struggle in the CAD department as I tried to transfer my mental image into the digital realm:

I watched a Fusion 360 tutorial over the weekend, but I was struggling with the fact that I couldn't snap to existing geometry. Moreover, I was not confident that it would even look good with the two ribs, and I recalled the assignment stipulated assembly in multiple ways. So I went back to the drawing board!
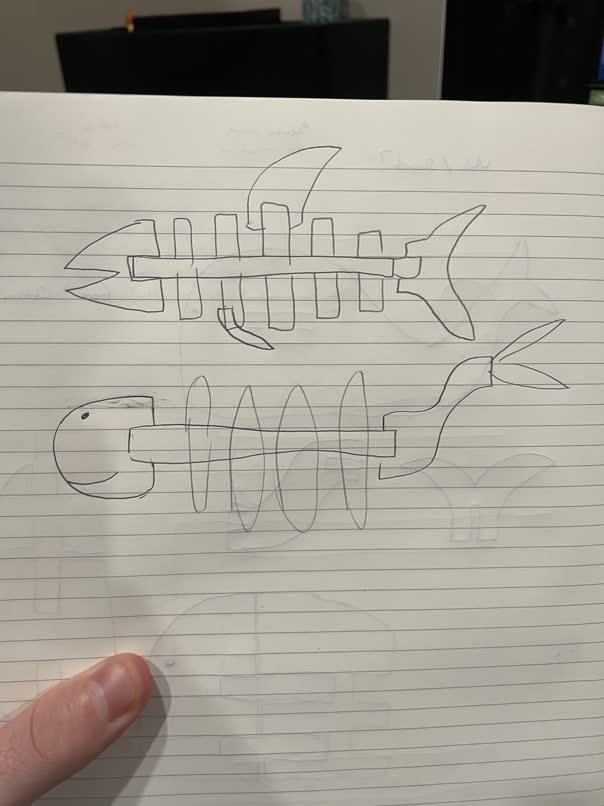
I wanted to brainstorm a way to make both a whale AND a shark. I felt much better about the spine/rib design and had much better luck designing it more intentionally/parametrically as it had a much more geometric design. Sharks have a much more definitive shape so I started with it
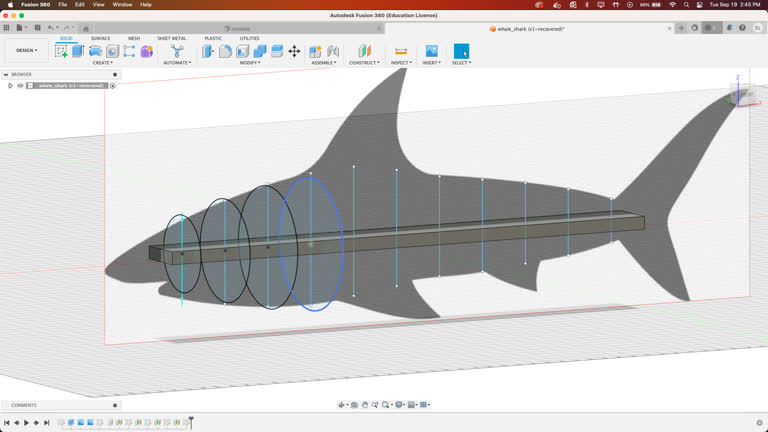

The background image canvas helped to make the ribs follow the countour.

While the body and spine pieces are shared between the shark and whale, the head, fin, and tail pieces are specific.
After a quick fit test, I determined the best measurements to be:
- cardboard thickness - 4mm
- notch depth - 15mm
- notch width - 3.9mm
- kerf - 0.5mm

I experienced a lot of issues with arranging, exporting, and cutting my parts. Anthony was supreme in helping me through the pains. SO, if you ever find yourself trying to get a design from Fusion 360 to the laser cutter, follow these steps:
- Modify > Arrange, Select all components to cut, arrange them on a plane
- Create a new sketch on the same plane
- Press the 'p' key to project onto the sketch, click all of the components
- In the browser, right click on the sketch and export to DXF
- (If you have splines, keep going)
- Open this DXF in Solidworks
- Make sure to uncheck 'import as reference'
- Extrude each of the parts a little bit
- Save as DXF -> Select the correct view -> check mark -> save
- Cut away!
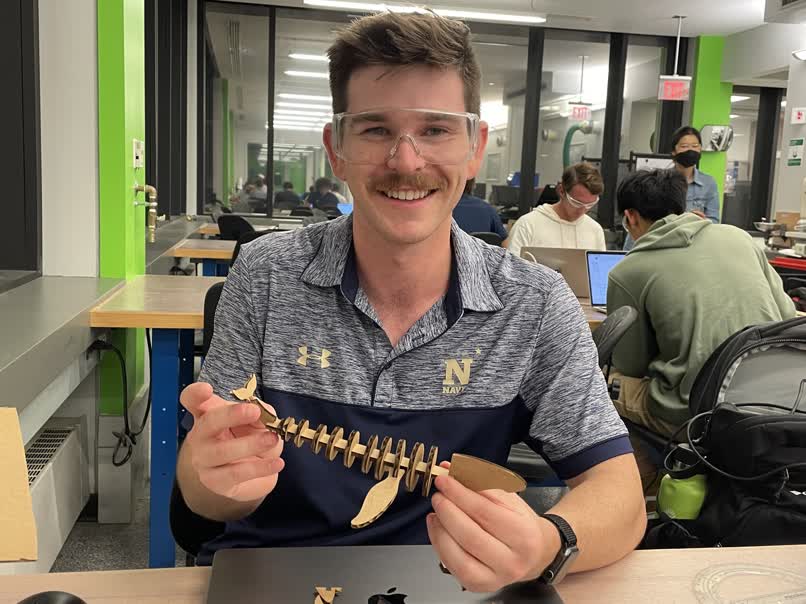
The first version's joints weren't quite tight enough, so I had to hold it together.
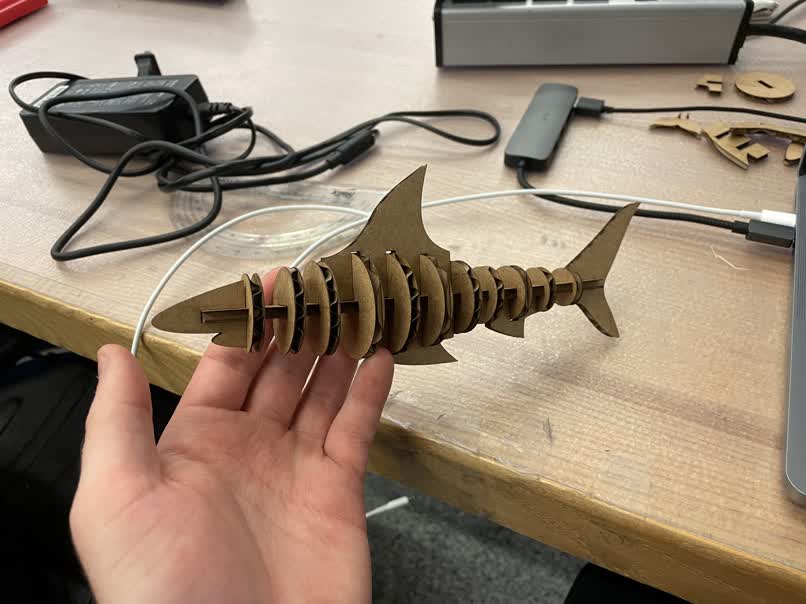
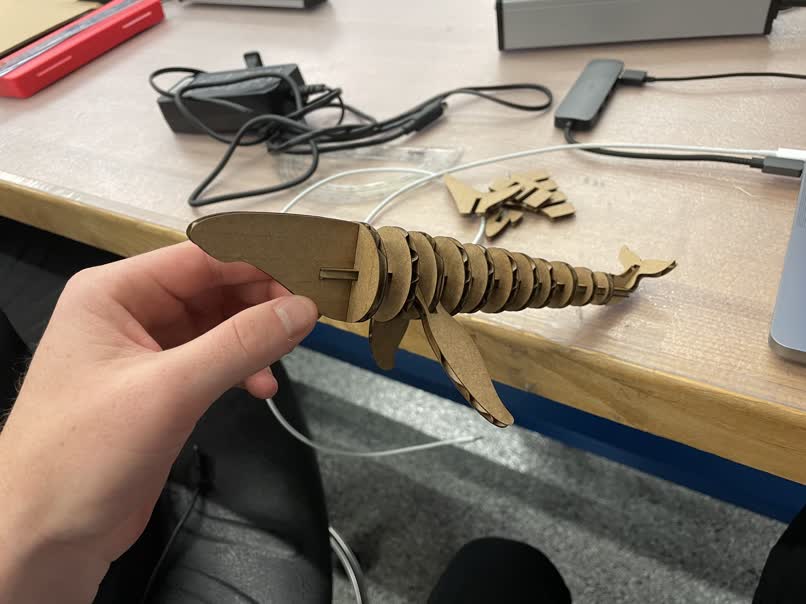
Here are the final products! The shark countour varies, while the whale looks best by assembling the ribs largest to smallest!