HTMAA Week 7
Assignment Description:
Design a mold around the stock and tooling that you'll be using, mill it (rough cut + three-axis finish cut), and use it to cast parts
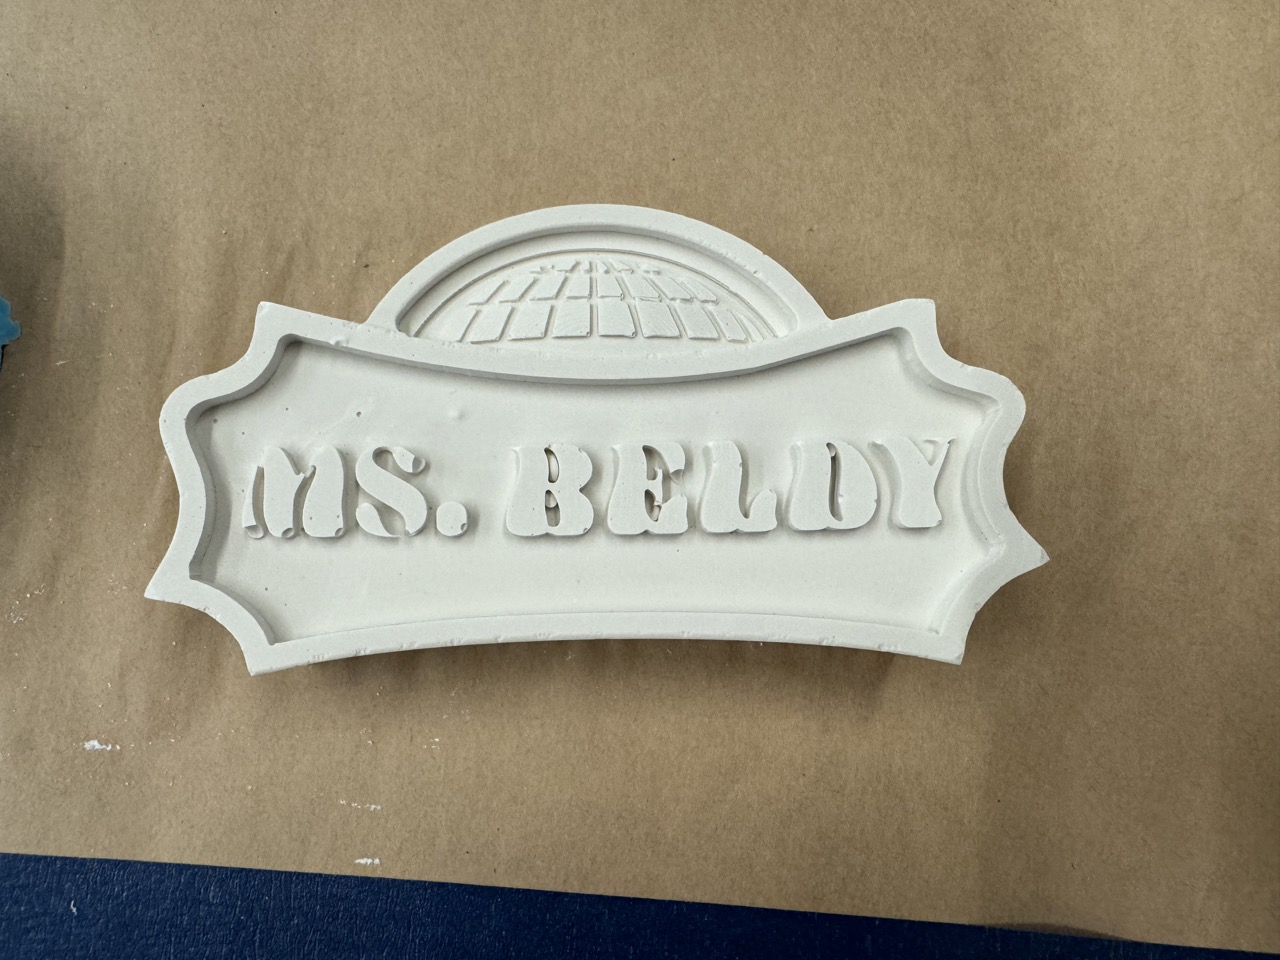
Finished Product
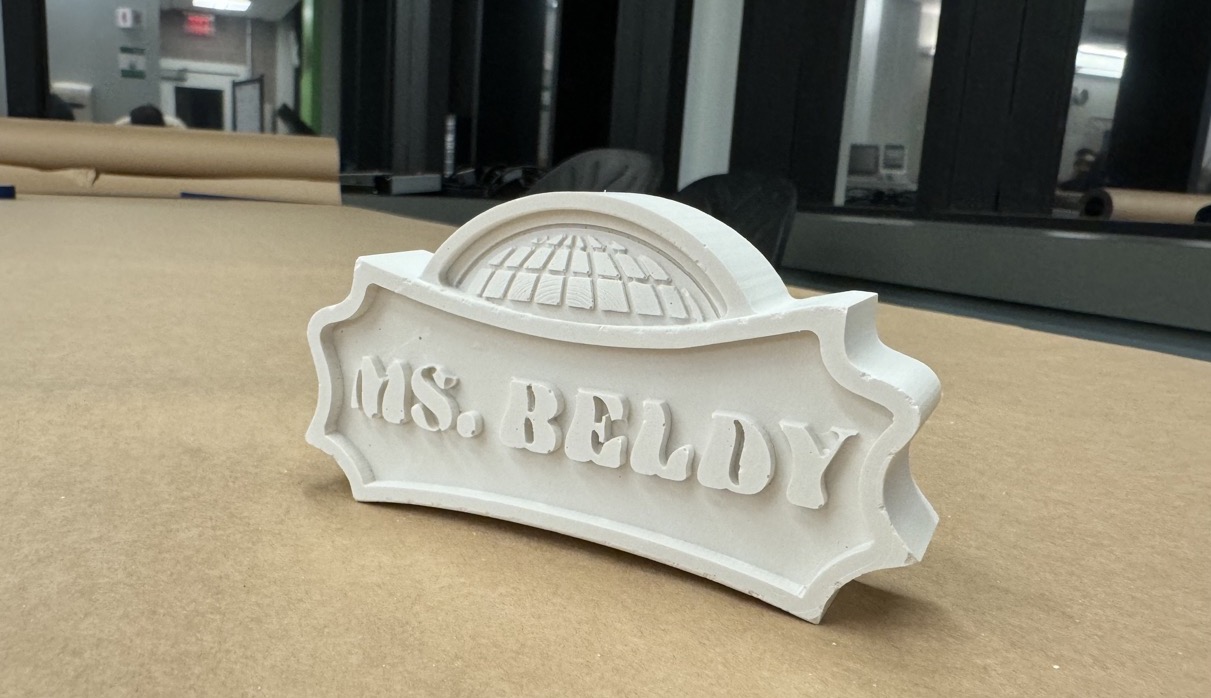
This week I did molding and casting for the first time!
The above is a nameplate for my girlfriend, a second-grade teacher, for her desk at school. The reference positive was milled on a Lunyee CNC from machinable wax, the mold was made with Oomoo, and the final cast is Hydro-Stone.
Design Stage
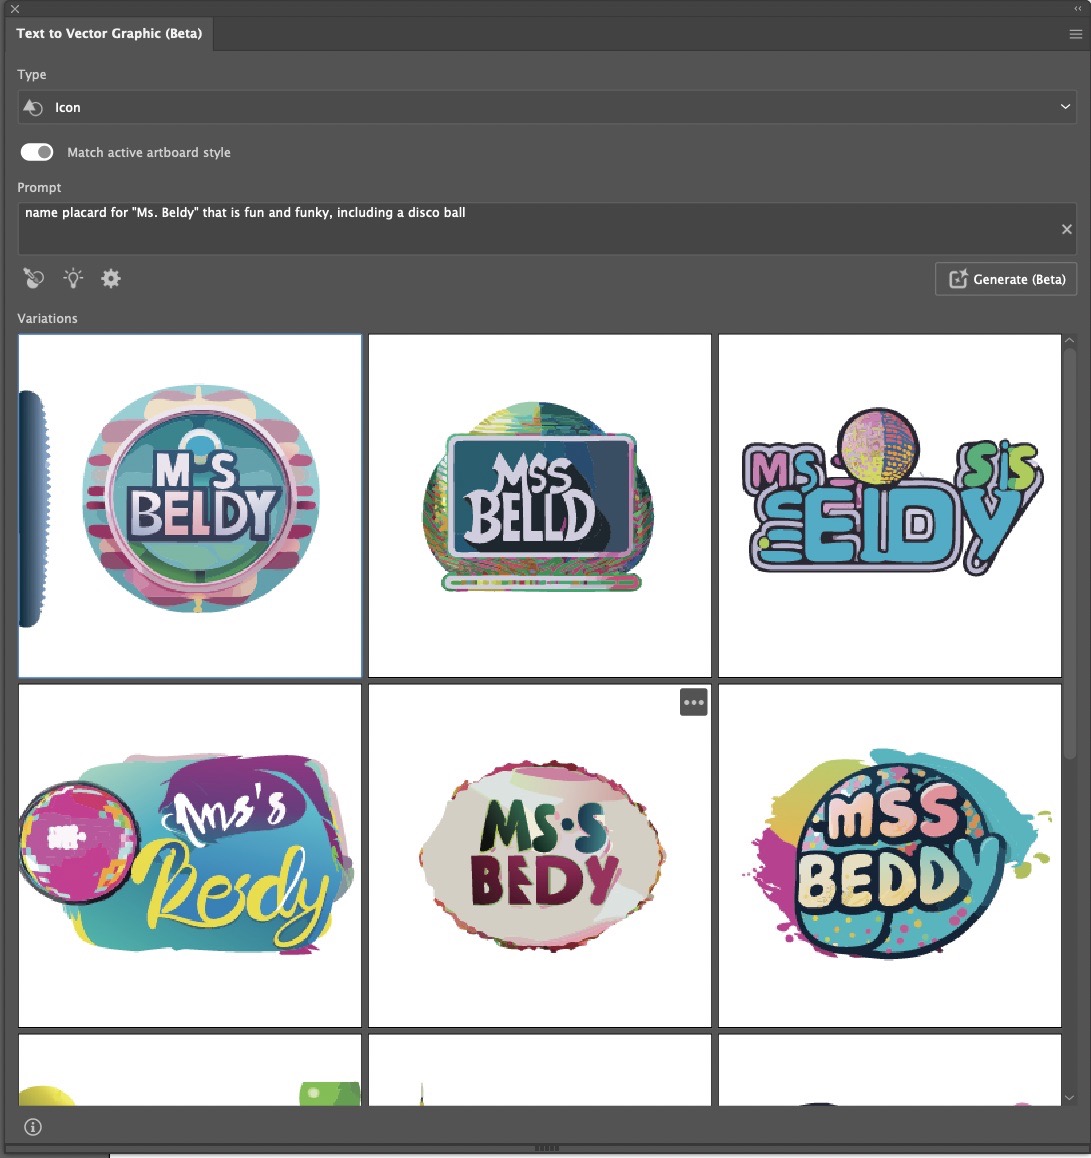
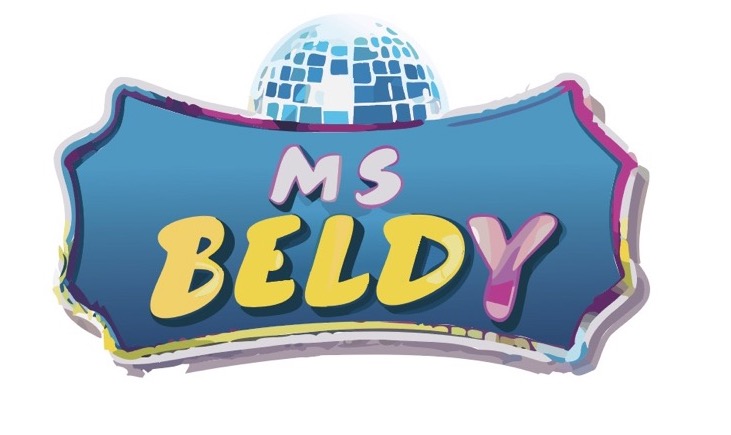
As mentioned in the introduction, this week I set out with the goal of making a desk nameplate for my girlfriend ("Ms. Beldy"), who is an elementary school teacher. She's a huge fan of all things fun and funky, including, but not limited to dance parties and disco balls. I opened up Adobe Illustrator with no real plan other than hoping for the blank artboard to be my muse. However, as the software launched, it prompted me to try its new "Text to Vector Graphic" tool enabled by generative AI., and I gave it a try. It pumped out some graphics that if you close one eye and back up a few feet, look pretty good. It struggled significantly with the lettering, however, opting for "Mss" instead of "Ms" and "Beddy" for "Beldy." After a few more iterations, it generated one which I actually quite liked:
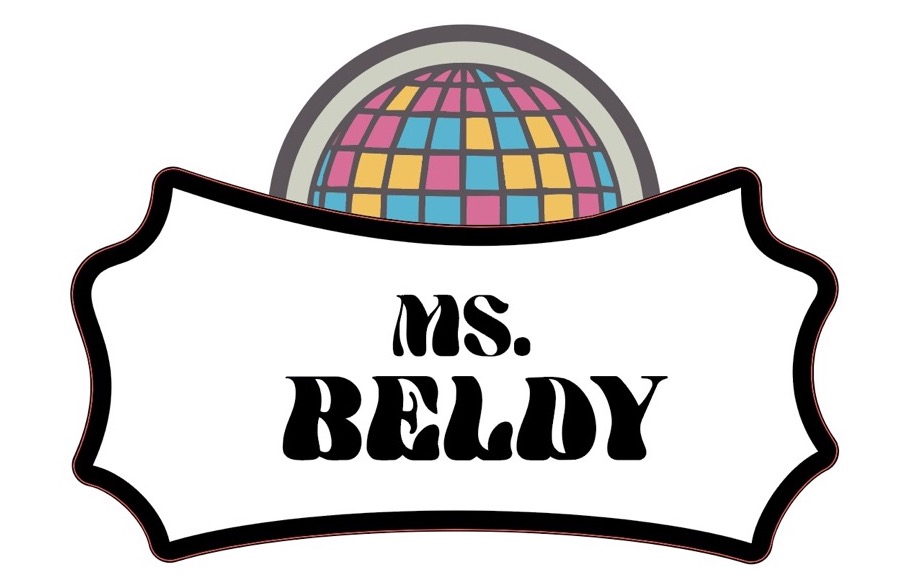
Because the generated graphic had about a hundred distinct paths, I presumed it wouldn't transfer well to CAD, with each of those paths acting as its own sketch to extrude. Plus its rough exterior may look fine as a graphic, but probably not so much in 3D. I tried cleaning it up for about 5 minutes before deciding you couldn't pay me to understand illustrator paths well enough to fix it. So, I opted for a simplified re-imagination:
As I exported the file from Illustrator to Fusion 360 (.dwg, maximum editability, preserve paths) and only then started to think about the actual stock I'd be milling from, I realized my design was pretty tall (nearly square) for our quite rectangular (3" x 7") stock:

I popped back into Illustrator and widened the design to more organically fit the stock and maximize final product size.

Modeling the basic body and text features in 3D was simple enough, as Fusion picked up the paths as sketches and after a few extrusions, I thought I was most of the way there... Important note to anyone reading who may be thinking about gong from an Illustrator design to Fusion: design history doesn't really work. When you open the .dwg, design history will default to being off. You can turn it on, but doing so means that you can no longer edit sketches in any way, to include even copying them. Several times I turned it on only to realize a feature I needed was locked out (such as the soon to be mentioned edit surface tool), so I would turn it off again, deleting the entire history anyway. So, your mileage may vary. Just don't make mistakes or something.
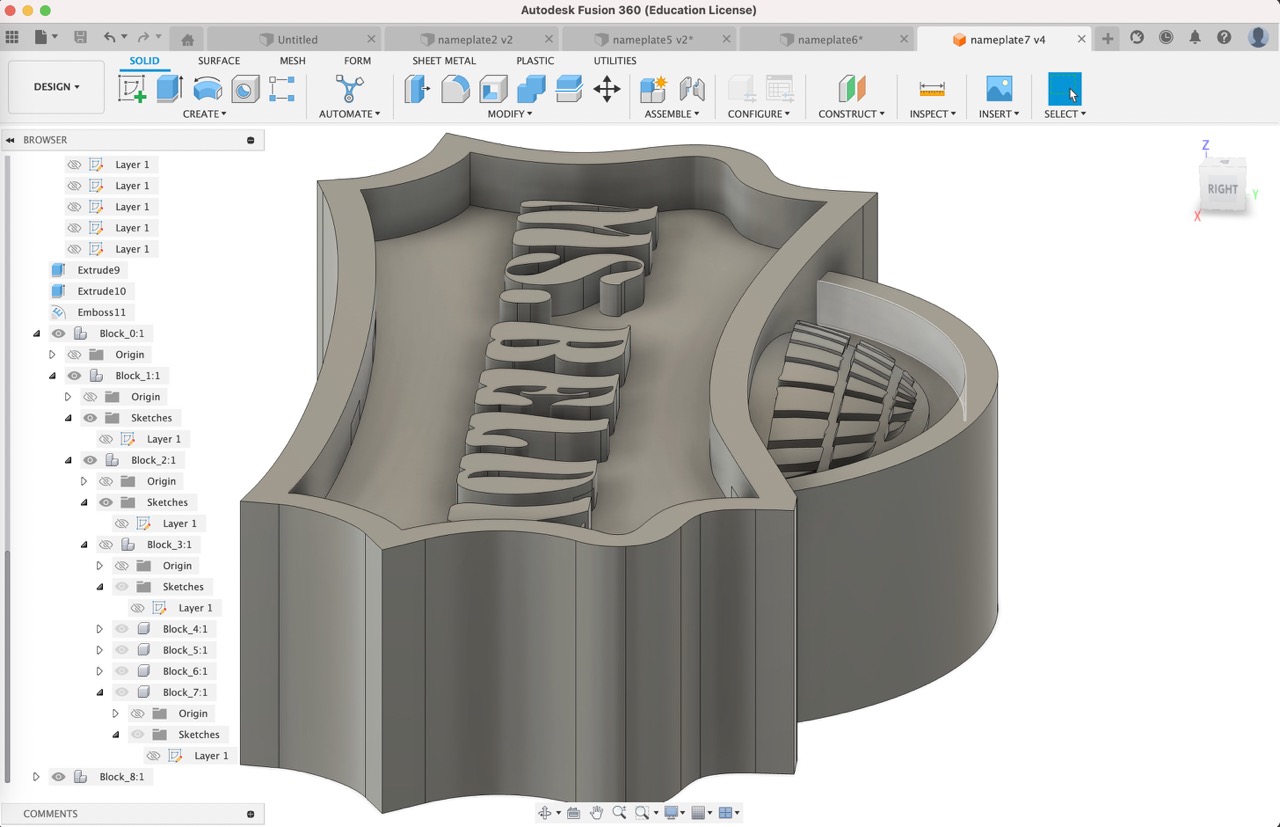
In the above finished CAD model, you may note the curved disco ball surface at the top of the model. Figuring out how to model this really threw Anthony and I for a loop. It was something like a section of an ellipsoid or sphere, but how to acually define it lft us scratching our heads. Finally, we extruded the semi-circle just barely (0.1mm) to create a surface. Then, with the Edit Face tool from the surface menu, I tinkered for a while before I came up with this surface that seemed to match what we were looking for.

With that, we had our finished CAD model:

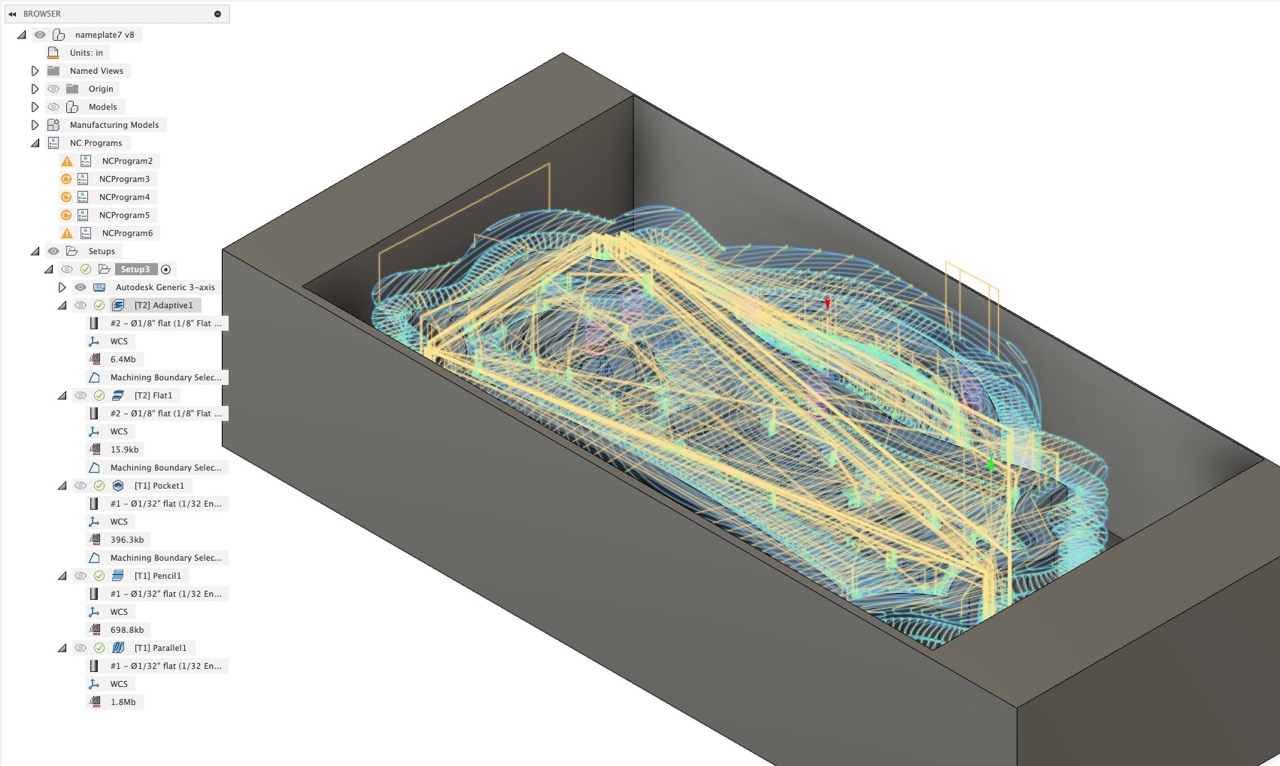
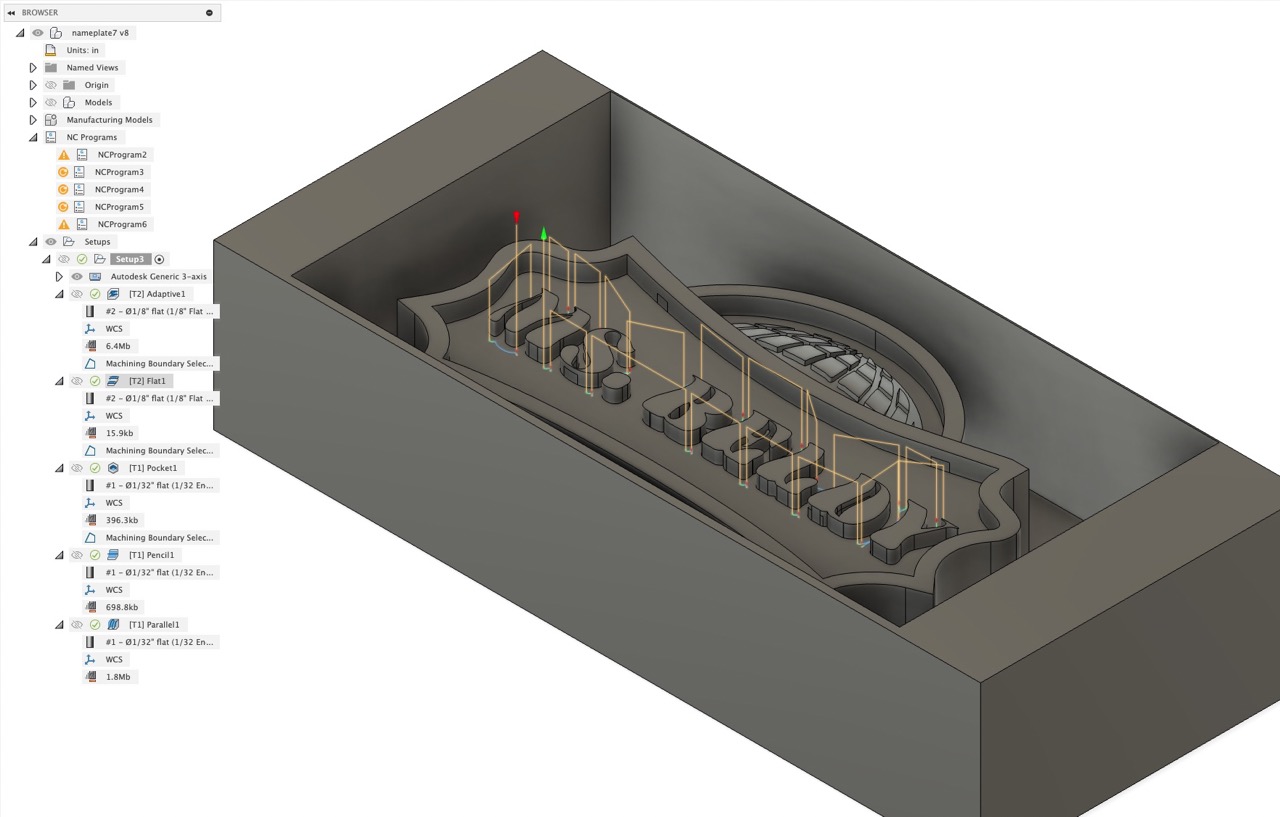
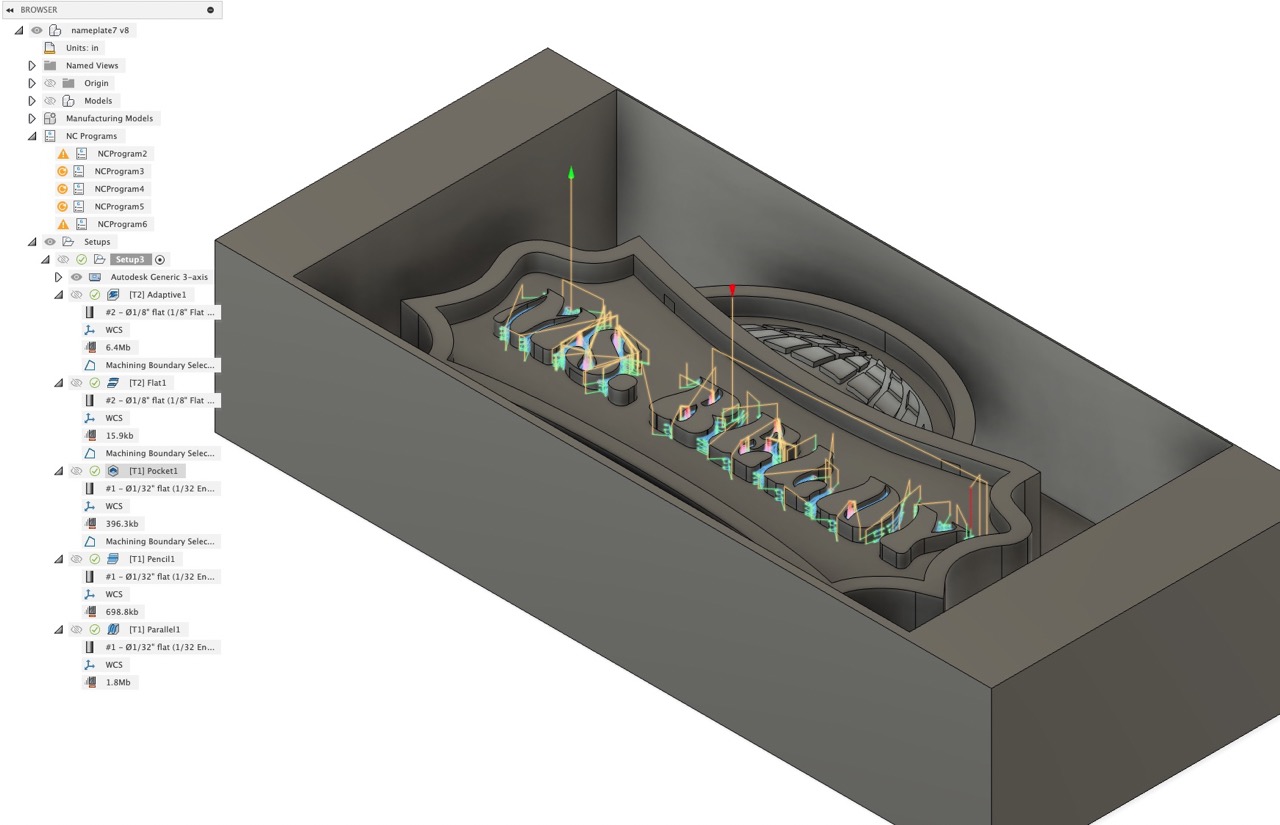
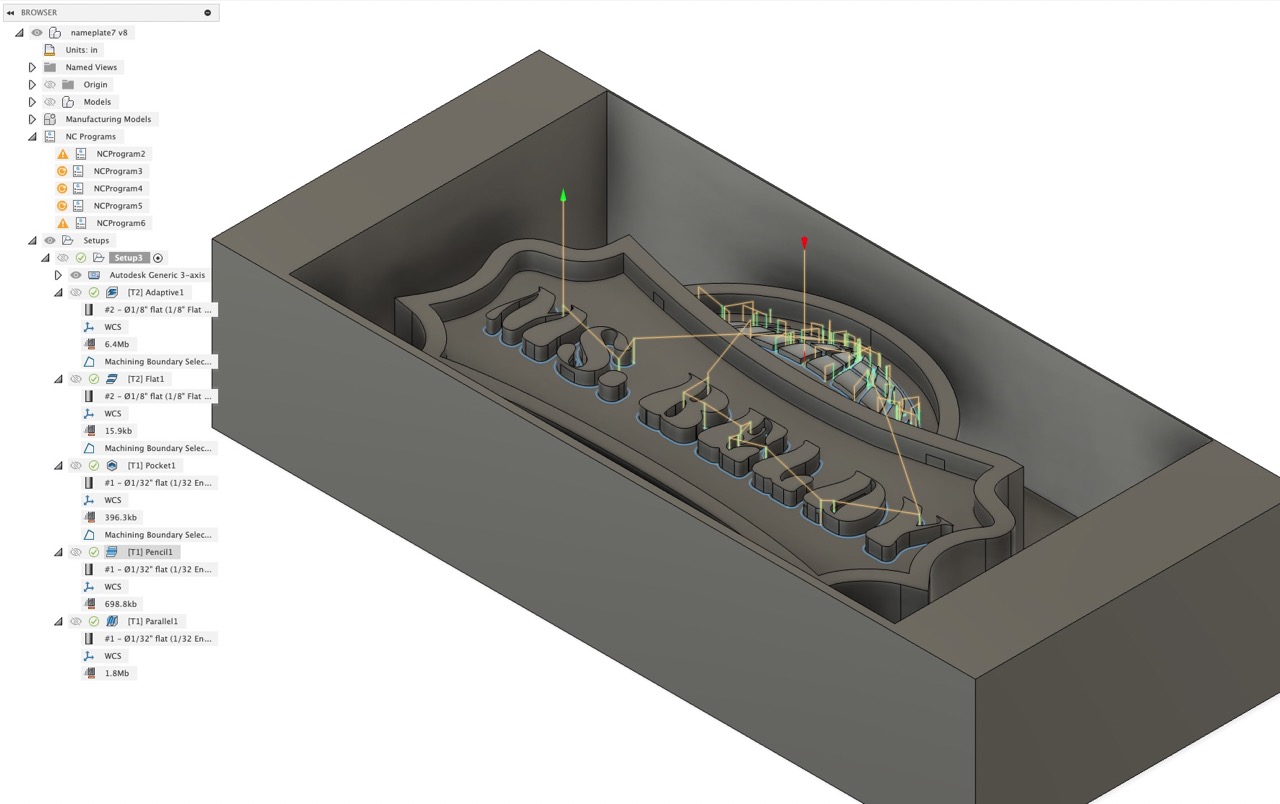
CAM
Now that I had the placard model, it was time to figure out how to actually cut it. The overall goal is to machine the positive in wax, create a mold around the wax, then cast the final product from concrete. Because I had small features (particularly small gaps in features such as the squares on the disco balls or within characters), Anthony advised that we mill it on the Lunyee, which is able to fit the full wax block and use a 1/32 bit, at the cost of speed. I had to adapt the model for a few considerations, such as tool length. The final toolpath order was: Adaptive Clearing (Rough, 1/8" endmill), Flat (1/8" endmill), Pocket (1/32"), Pencil (1/32"), and Parallel (1/32"). To reduce milling time, the adaptive clearing pass cuts out a quarter inch outline, rather than the entire block. Looking back, I would have made this wider to make getting the mold out easier.

Milling
The rough pass with the 1/8" endmill took a total of 3 hours and 20 minutes, but I anticipate this could be brought down considerable with some closer tuning of the CAM parameters as the path planning appeared to be quite inefficient. Moreover, the Lunyee's feed rate on the Z axis is quite slow.

The fine pass with the 1/32" endmill took roughly an hour and a half, and cut out the small details:
After a few hours, the wax milling was complete:
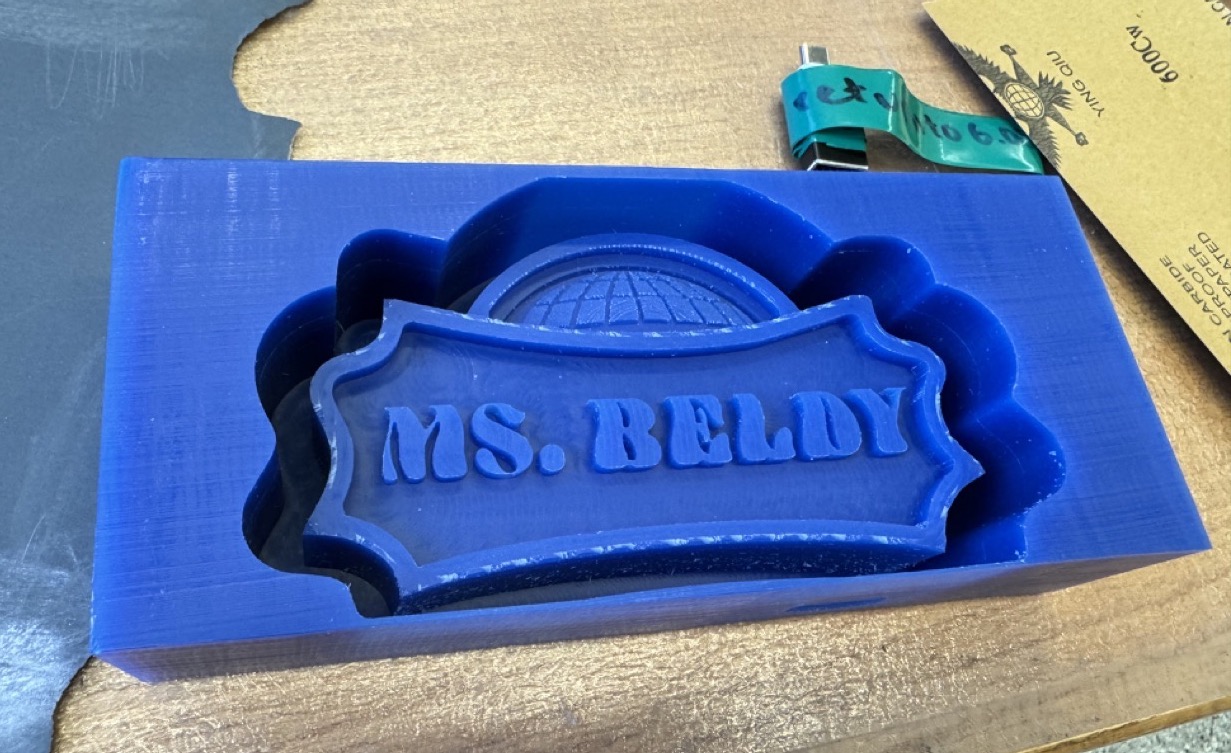
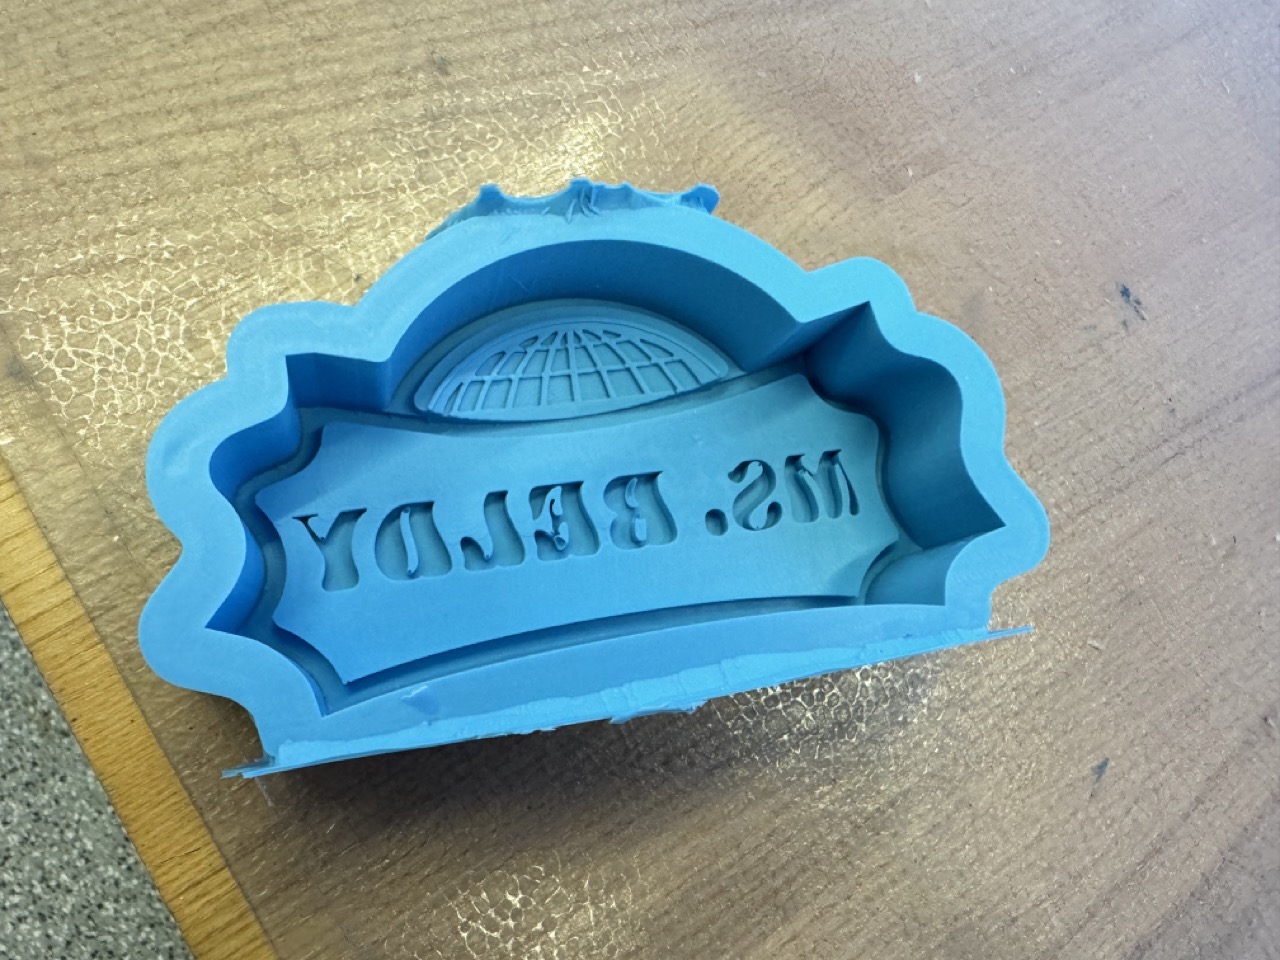
Molding with Oomoo
My first go at molding the wax in oomoo did not go incredibly well. I spent a little bit too long mixing, then brushed a layer of oomoo on the top of the piece to minimize air bubbles within the lettering. However, I spent too long doing this, and by the time I was pouing for the rest of the mold, it was beginning to set, causing a few large air bubbles within the walls. Moreover, the thin walls around the part made it exceptionally difficult to pull the mold out of the wax, leading to a tear in the bottom wall:
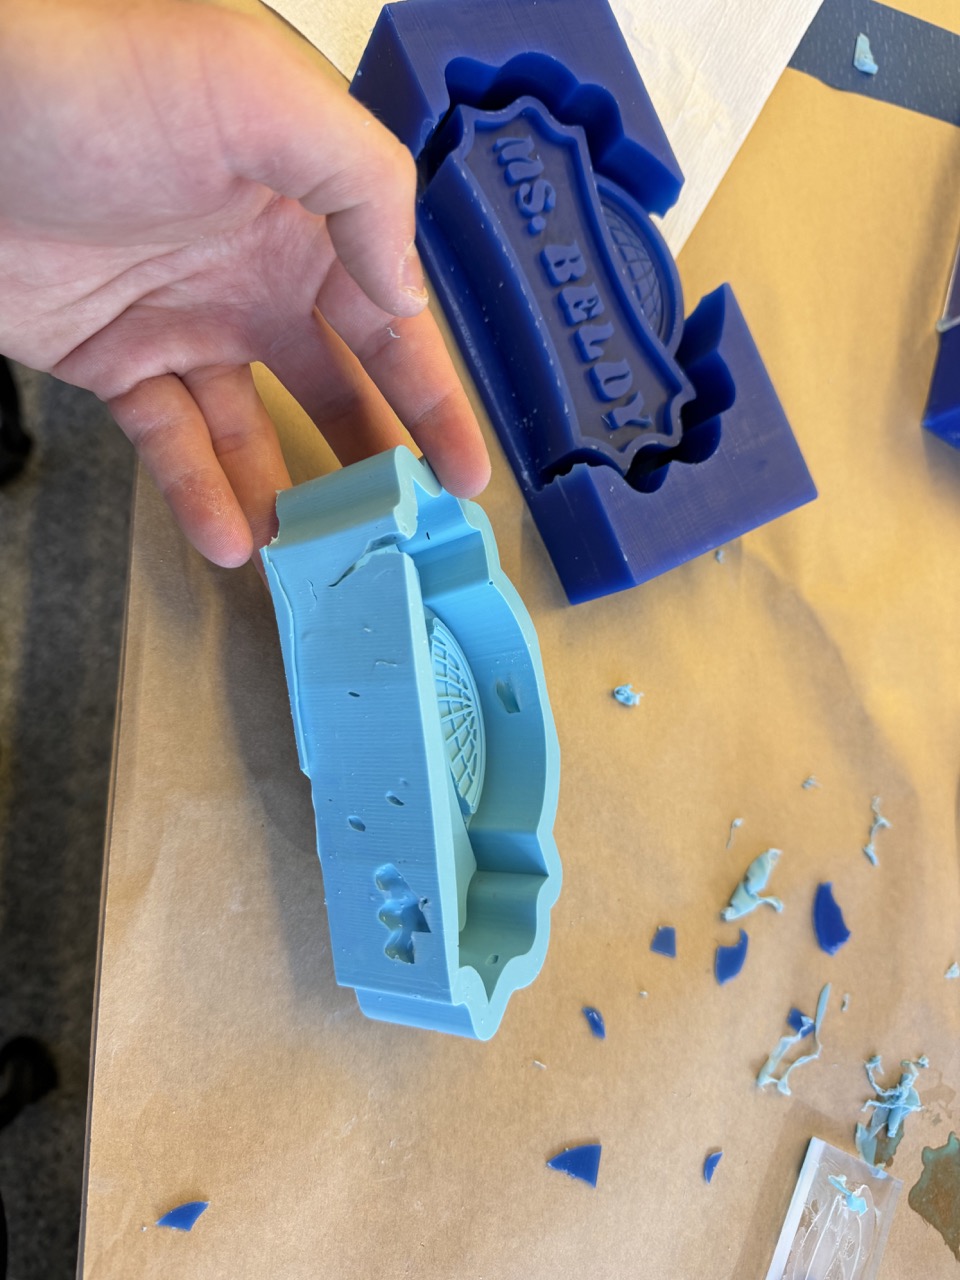
For the second go-around, I took a utility knife and file to the wax to round off sharp corners, hoping this would make extracting the mold easier. I also fully broke down the bottom and top walls, replacing them with small peices of acryllic. Using the air compressor made popping the mold out much easier.

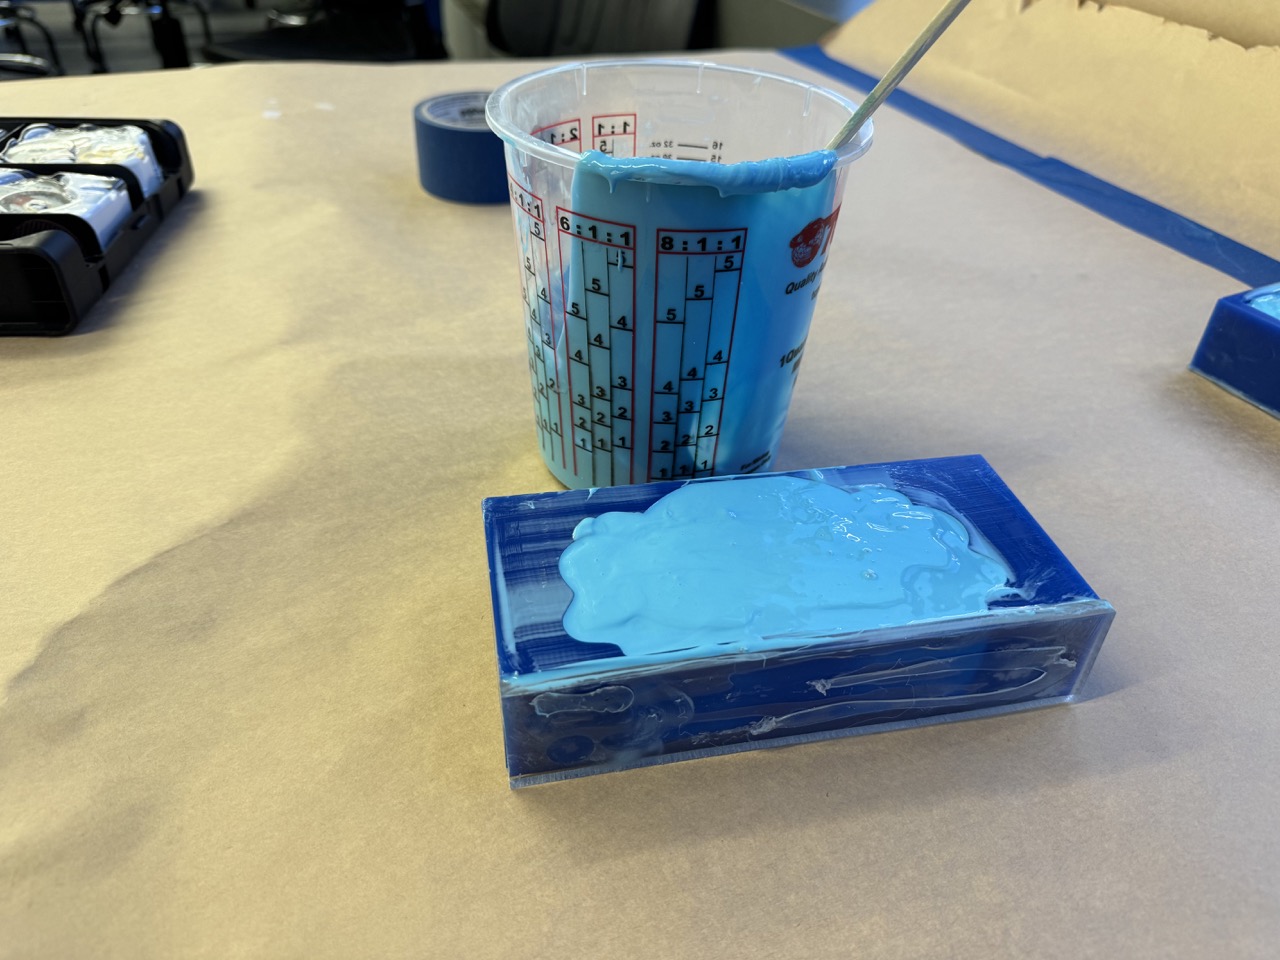
Casting with Hydro-Stone
For the final stage, I casted the part from Hydro-Stone, a gypsum powder that, when mixed with water and cured, forms a concrete-like material.

After about 45 minutes, the part was quite warm and mostly hardened. There were a few erroneous positive features left from air bubbles in the mold, so I used a combination of a needle-nose file and tweezers to remove as much as I could while the material was still soft. There were a few air bubbles in the cast as well, but as the part will be painted, I figured they would not be worth a complete recast.