Week 1c - Laser cutting
-
Laser Cut Bag and Earrings
This week's assignment was to learn how to CAD, use vinyl cutter, use laser cutter, and put it all together in a project. It was my first ever experience working with CAD tools, vinyl cutter, and laser cutter, so it was definitely a lot of learning.

-


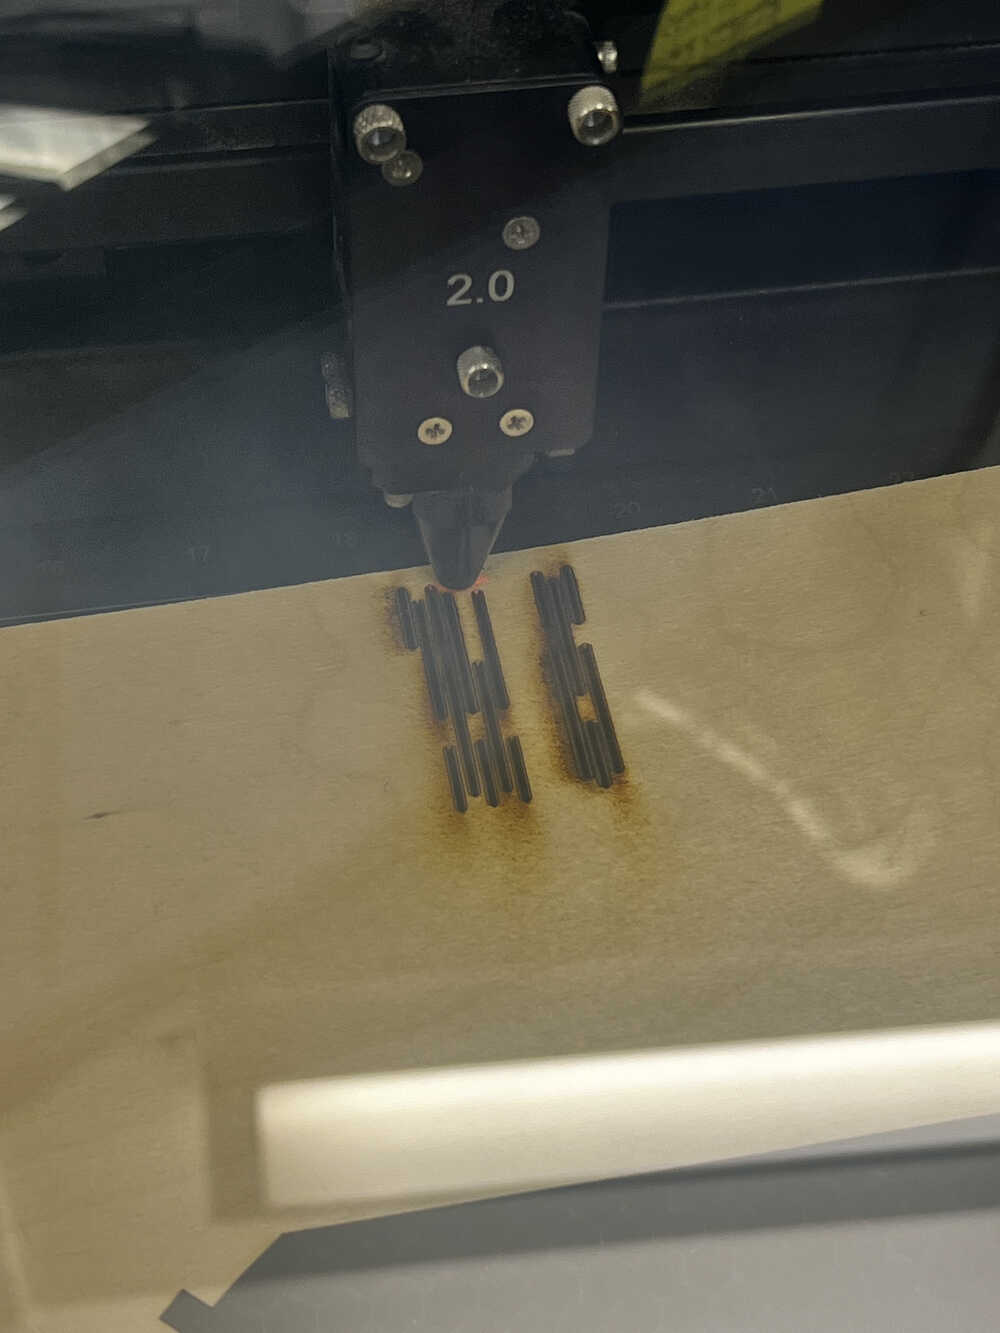
First cuts and kerf estimate
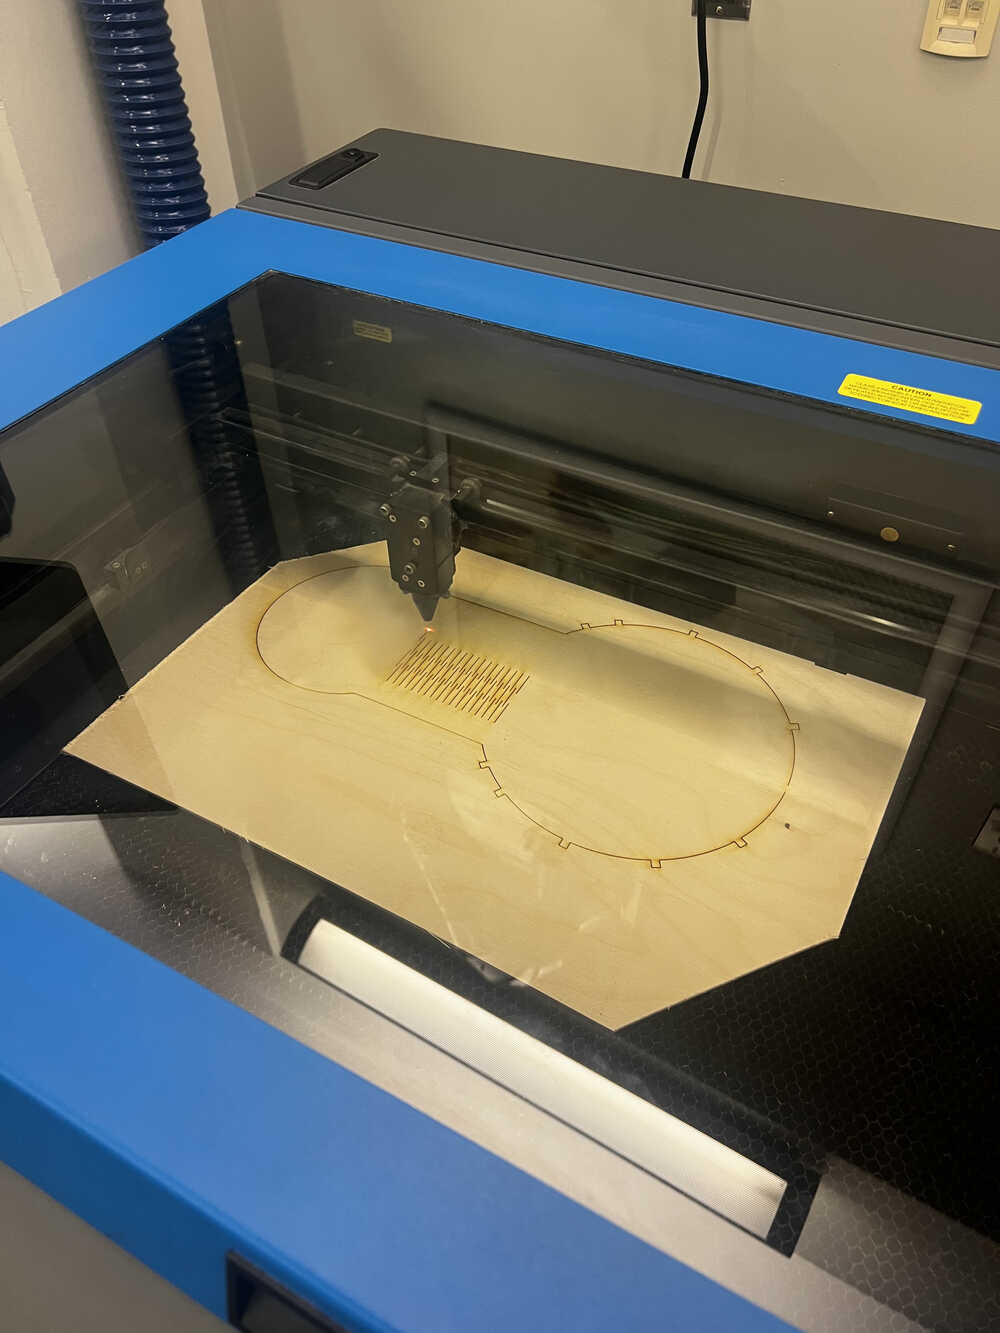
Laser cutter was a lot of fun, it was very cool to see how you can fairly quickly and precisely transform a CAD idea onto a cardboard or wood.
For the first testing purposes I was using cardboard, however, I completed my weekly project using scaps of plywood, which made more sense for my project idea.
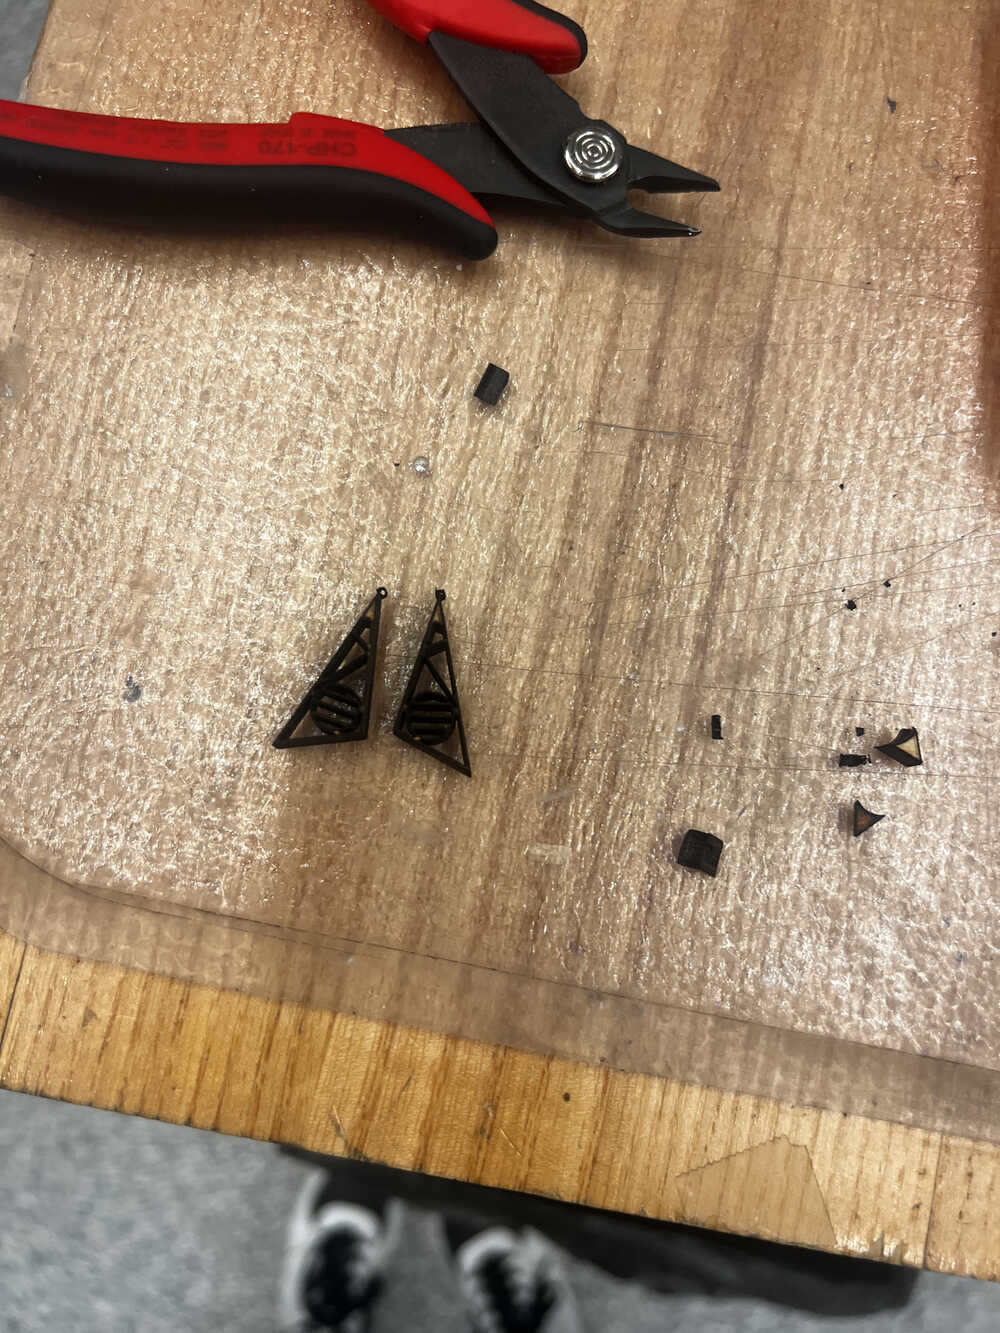
The earrings were rather a test media for getting a feel of how plywood behaves, which actually filtered out an option of a more thick piece of leftover plywood, as well as showed that scale is somewhat weird while transferring the file from CAD tool to lasercutter. (There is some mysterious mm to in conversion which I probably understood how to deal with only after I completed the project).
The kerf on both plywood and cardboard was around 0.5 mm, however, wood required lower speed to be cut through. -
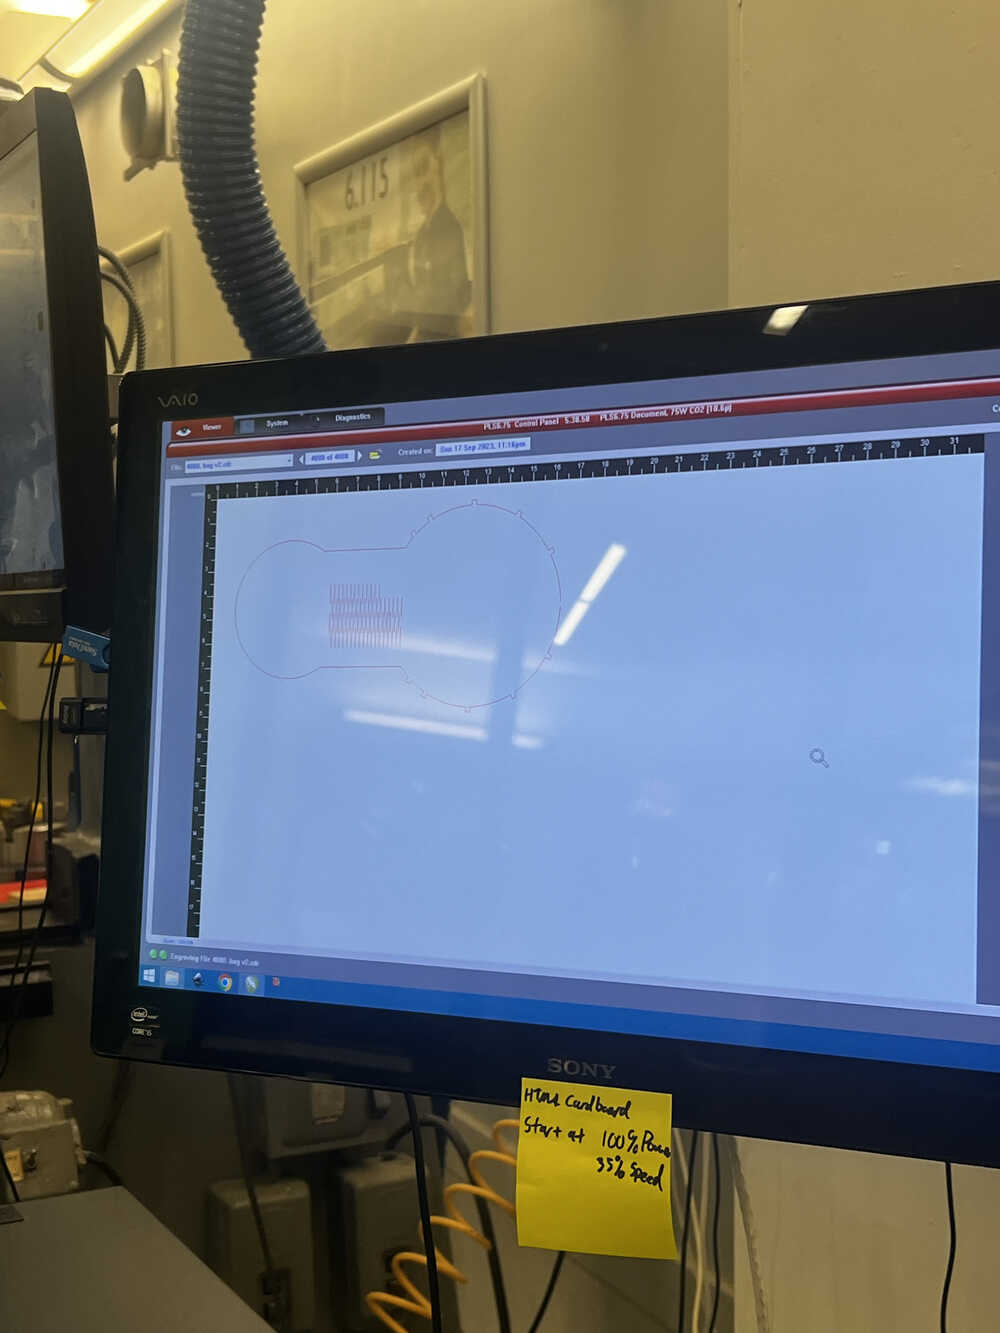
Design and CAD
Regardless, the main idea of the week was to manufacture something that I would actually use. After several hours in Google and Pinterest I collected a few feasible ideas - like cupholders, chess set, phone case, purse. And it all sounded good, but probably not something I wanted to do out of cardboard (I just imagined for a second being caught under the rain with a cardboard purse). So I went to the lab to inquiry how much plywood scraps are there and what I can feasibly do with them.
I was lucky (highly recommend starting working in a lab on Sunday by the way), and there was some leftover plywood - not too much, but just enough for the project.
CADing took quite a bit, but it gradually felt easier and more intuitive. Symmetry of the project helped, but small details didn't. Some of them didn't render when I moved my file to the laser scanner, so I had to figure out some funny alternative ways of fixing that. (Import to Adobe Illustrator and manually erase extra elements, then export back to dxf).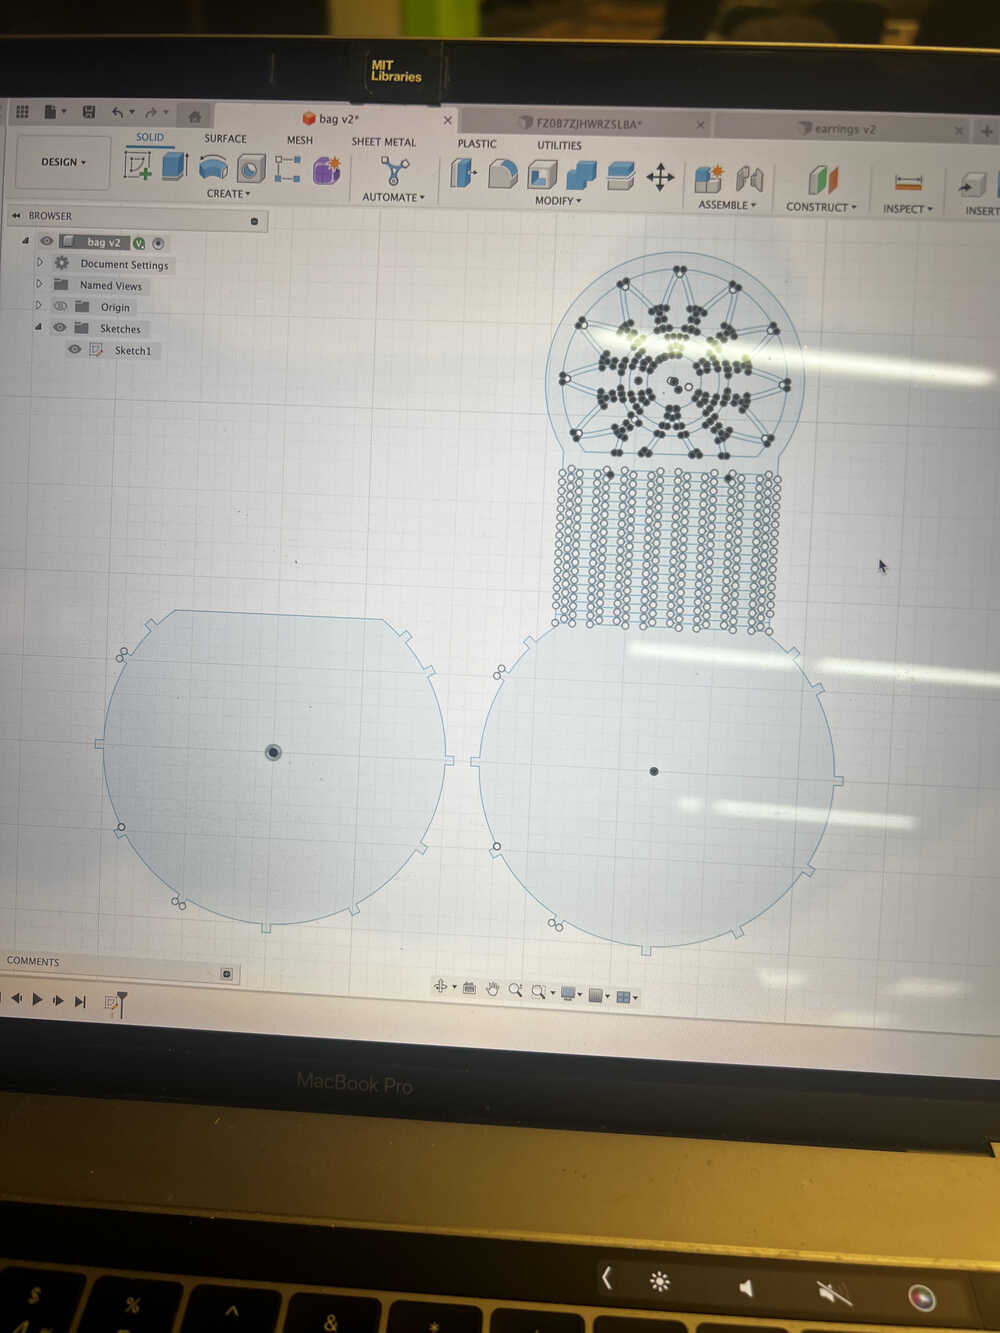

-

Lasercutting & Troubleshooting
Life does get better once you finish the CAD model. Well, kinda. Now problems are just different.
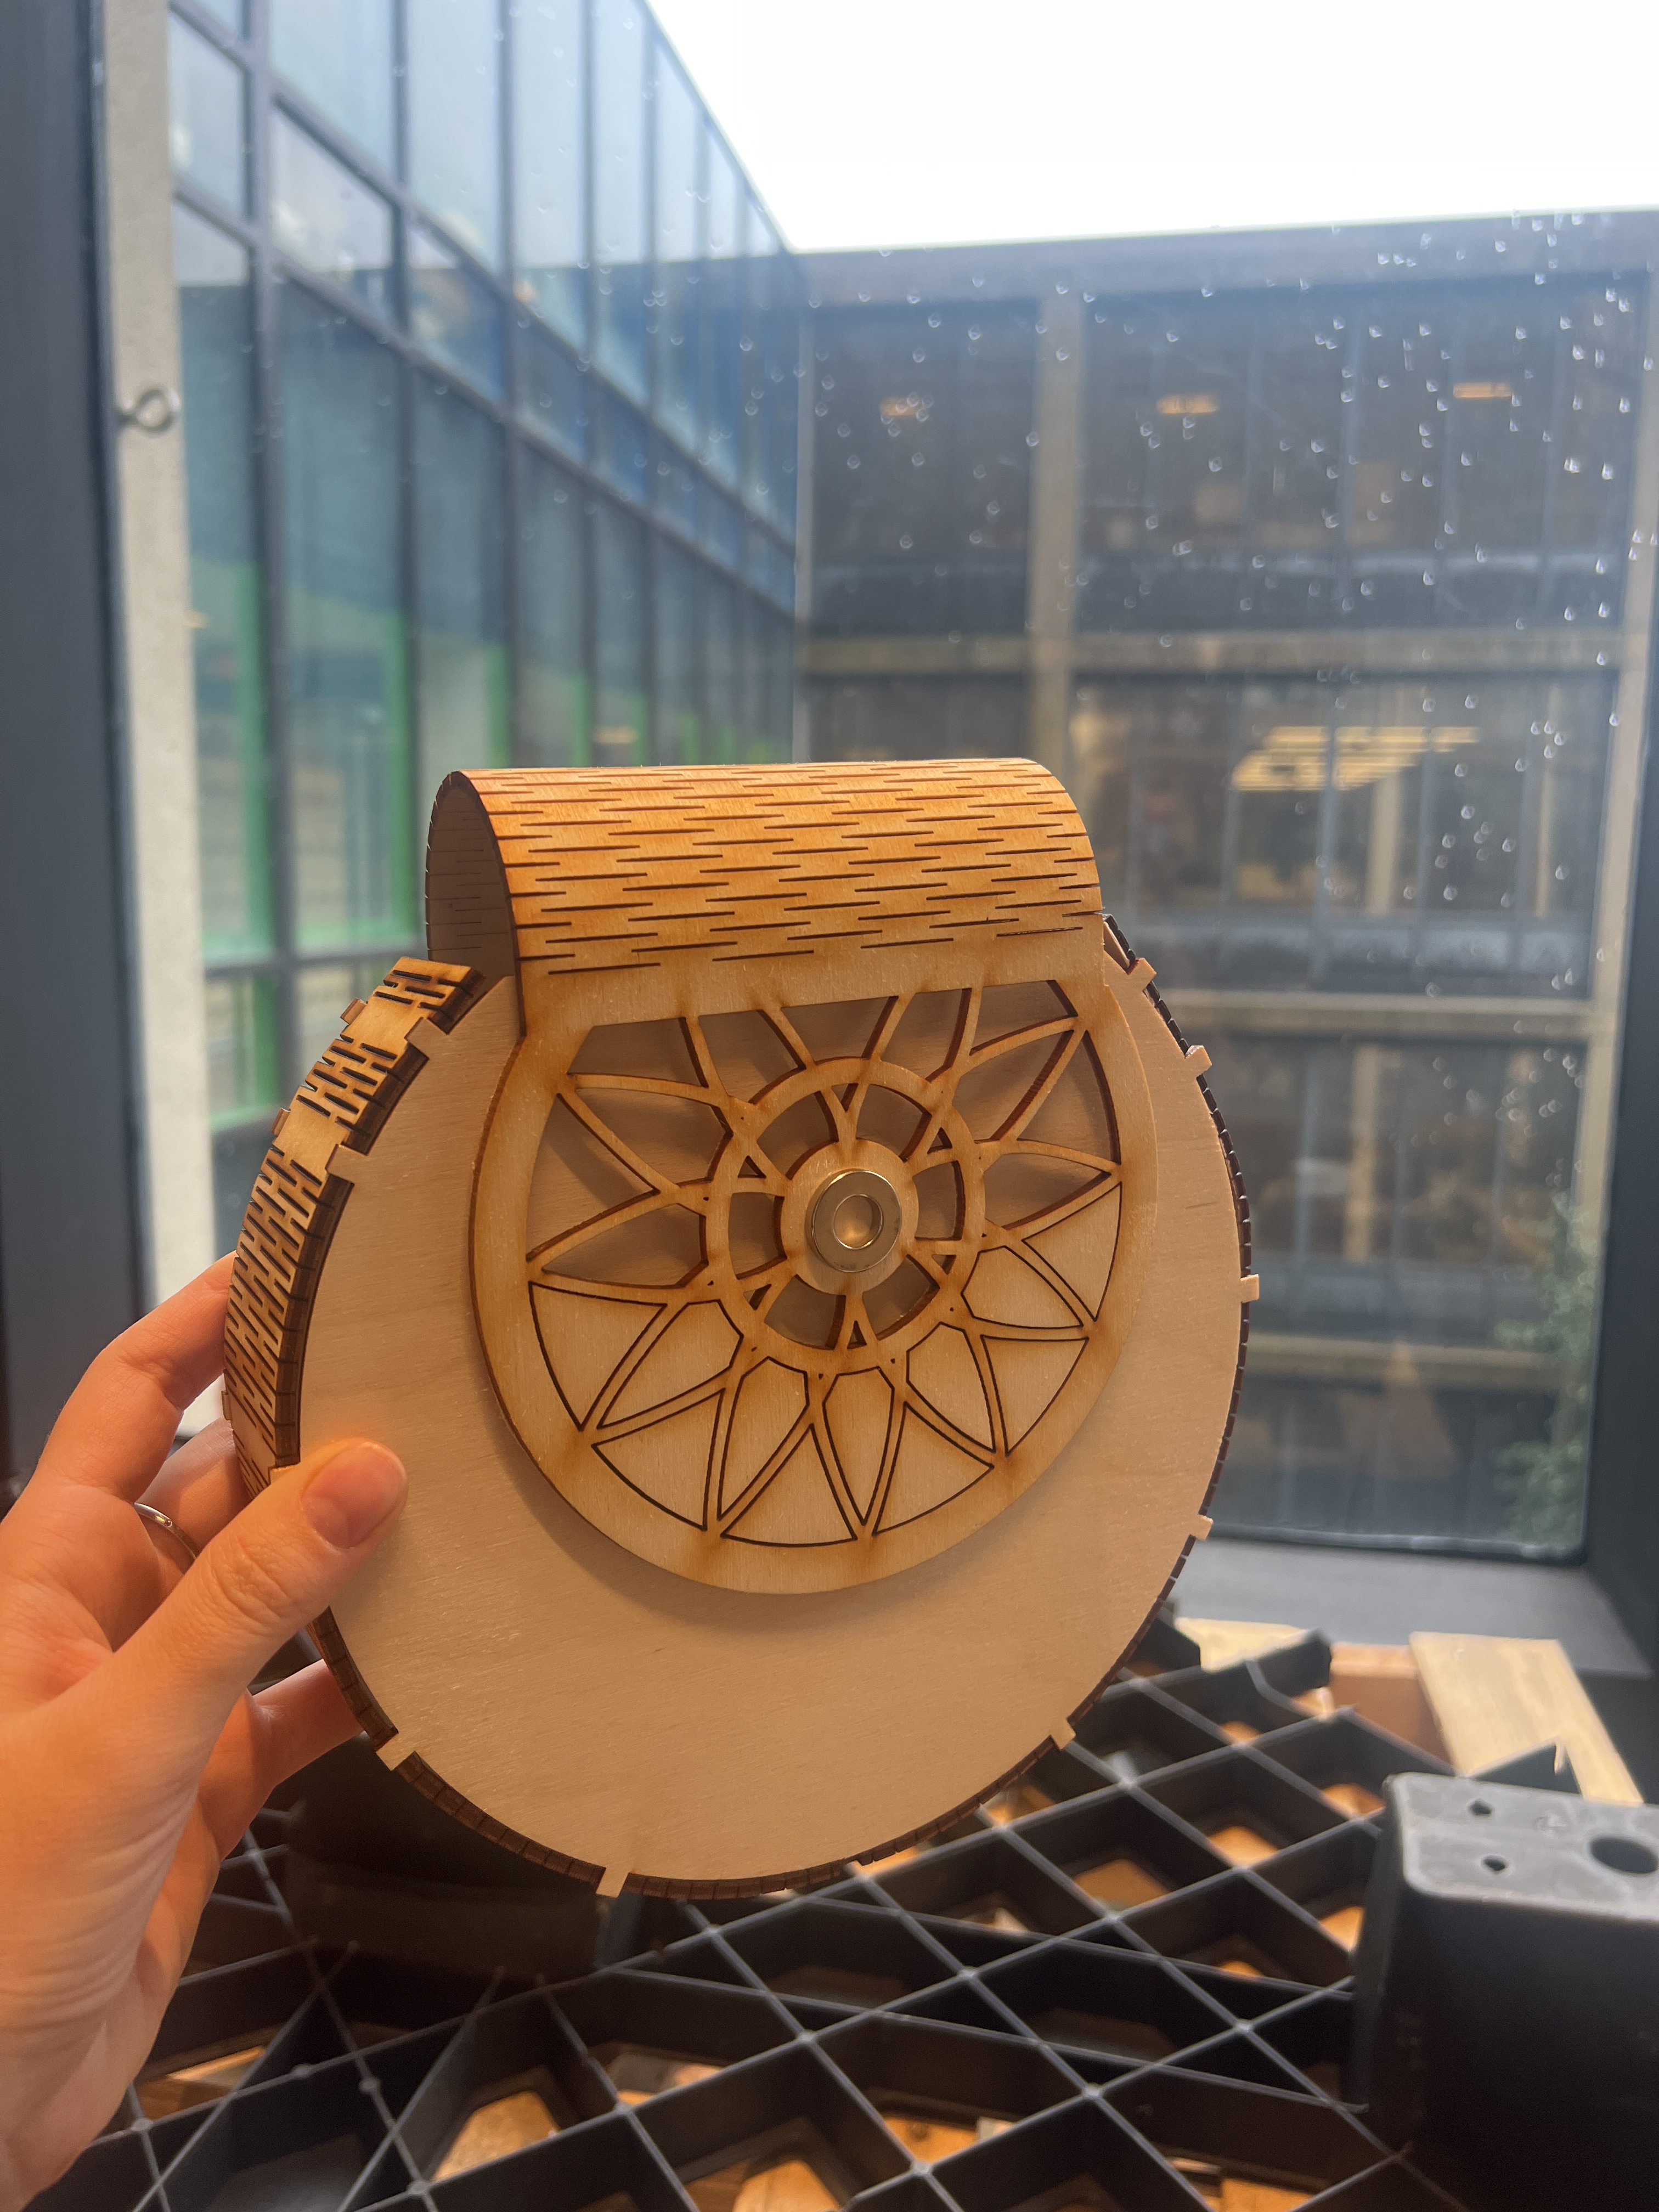
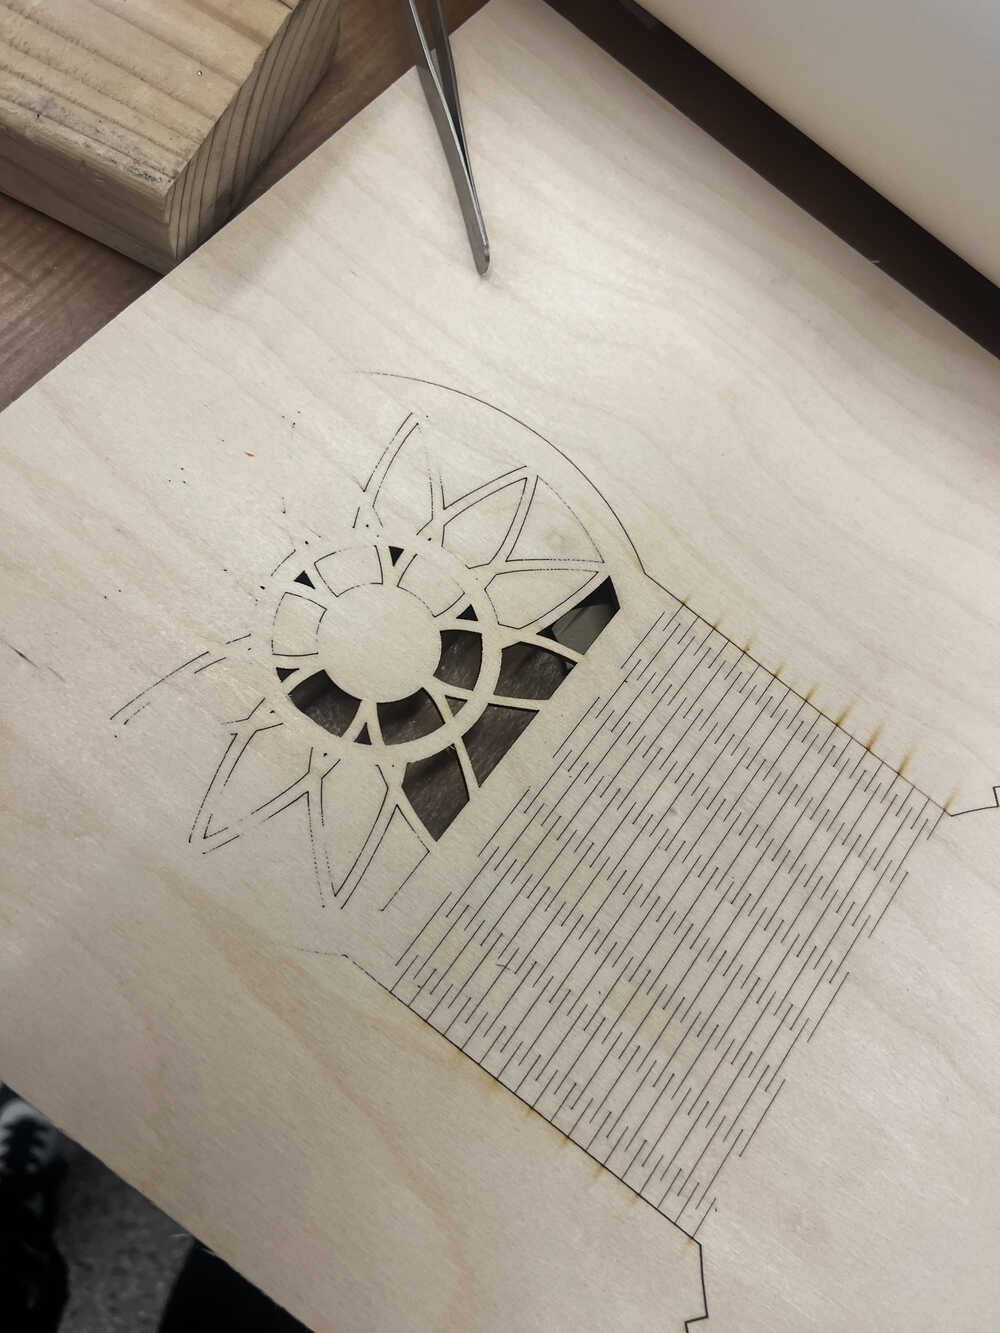
While plywood was a lot better material for my usecase, there was one complication - it was a little bit bent, so it wouldn't lay flat on the lasercutting bed, and hence the laser would toast some parts and be very light on other parts (not cutting all the way through). There was no ideal solution found, so I just focused the laser on the intermediate height, and was watching the laser extremely carefully as the cutting happened.
Moreover, some of the parts which didn't get fully cut through, I had to cut manually with a knife. I chose to not pick up the pieces which were extremely lightly cut and were just a decorative element anyways, since I liked the resulting look. -
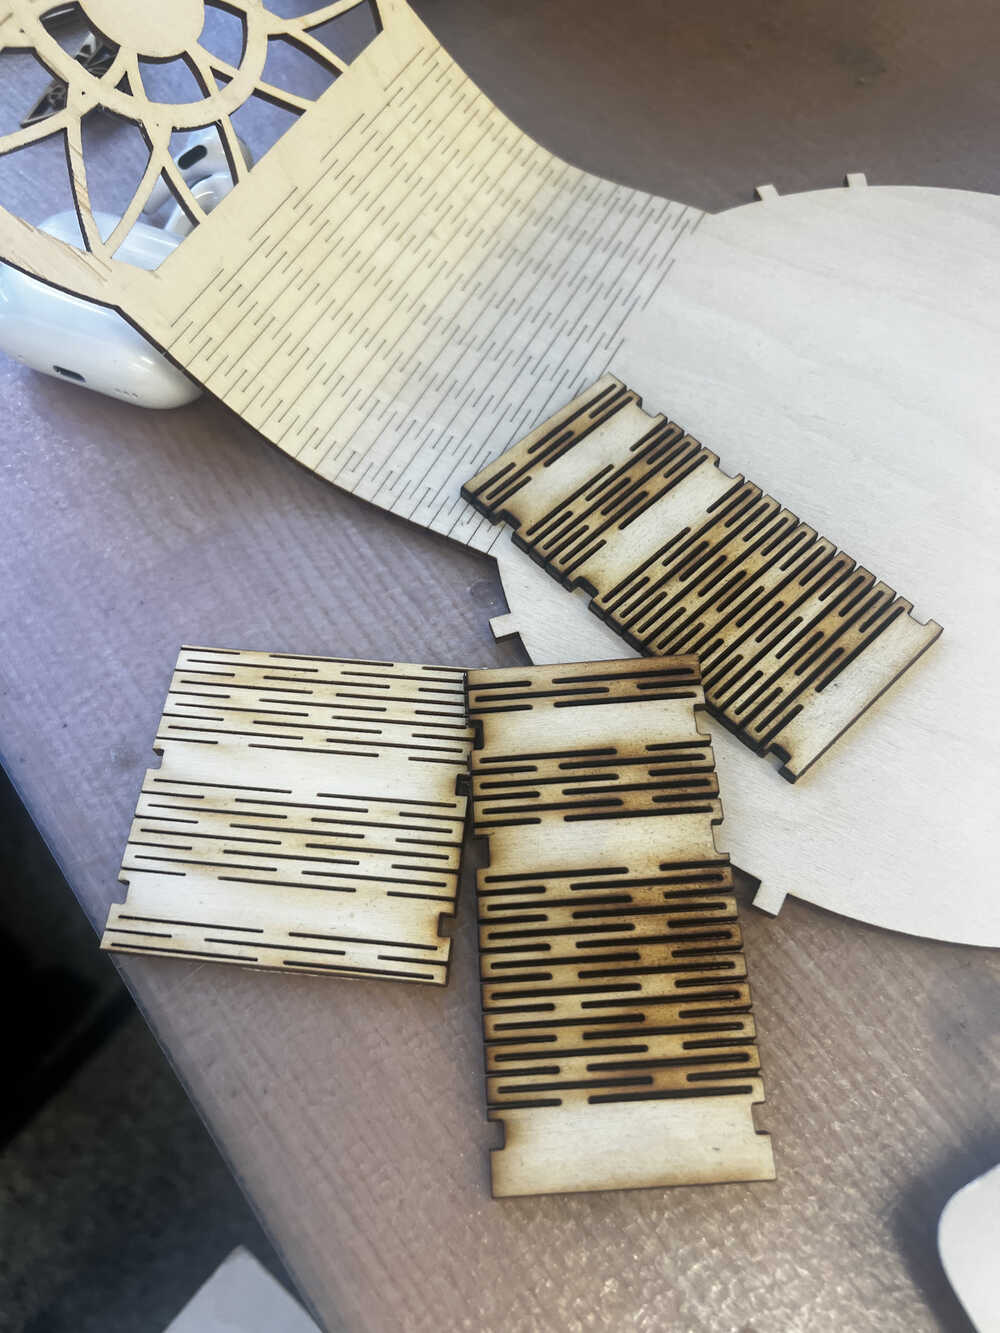
Pressfit & Foldables
The most challenging part was the side of the purse though. As you can see, in includes foldable elements, which have to be properly measured to fit the joints, and foldability of the first joint I made was questionable. My takeaway from this challenge is probably the opposite from what this course assumes - but I just approximated the size and tried out to lasercut an approximate piece. Of course it was pretty off, joints were too small and in wrong places, it did't fold properly and didn't cut through etc. I printed a few more test pieces fixing sizing with every iteration, testing what happens if one runs a laser cutting program twice without moving a piece of drywood (with a break to cool down), dealing with the drywood not being nice and plain.
Long story short - despite some uneveninness, I was able to lasercut and assemble the pieces together. I would say that the joints were slightly tight and had to be forced in, but since this is a kind of product that has to be assembled only once (and not fall apart by accident), it seemed to be an appropriate strategy.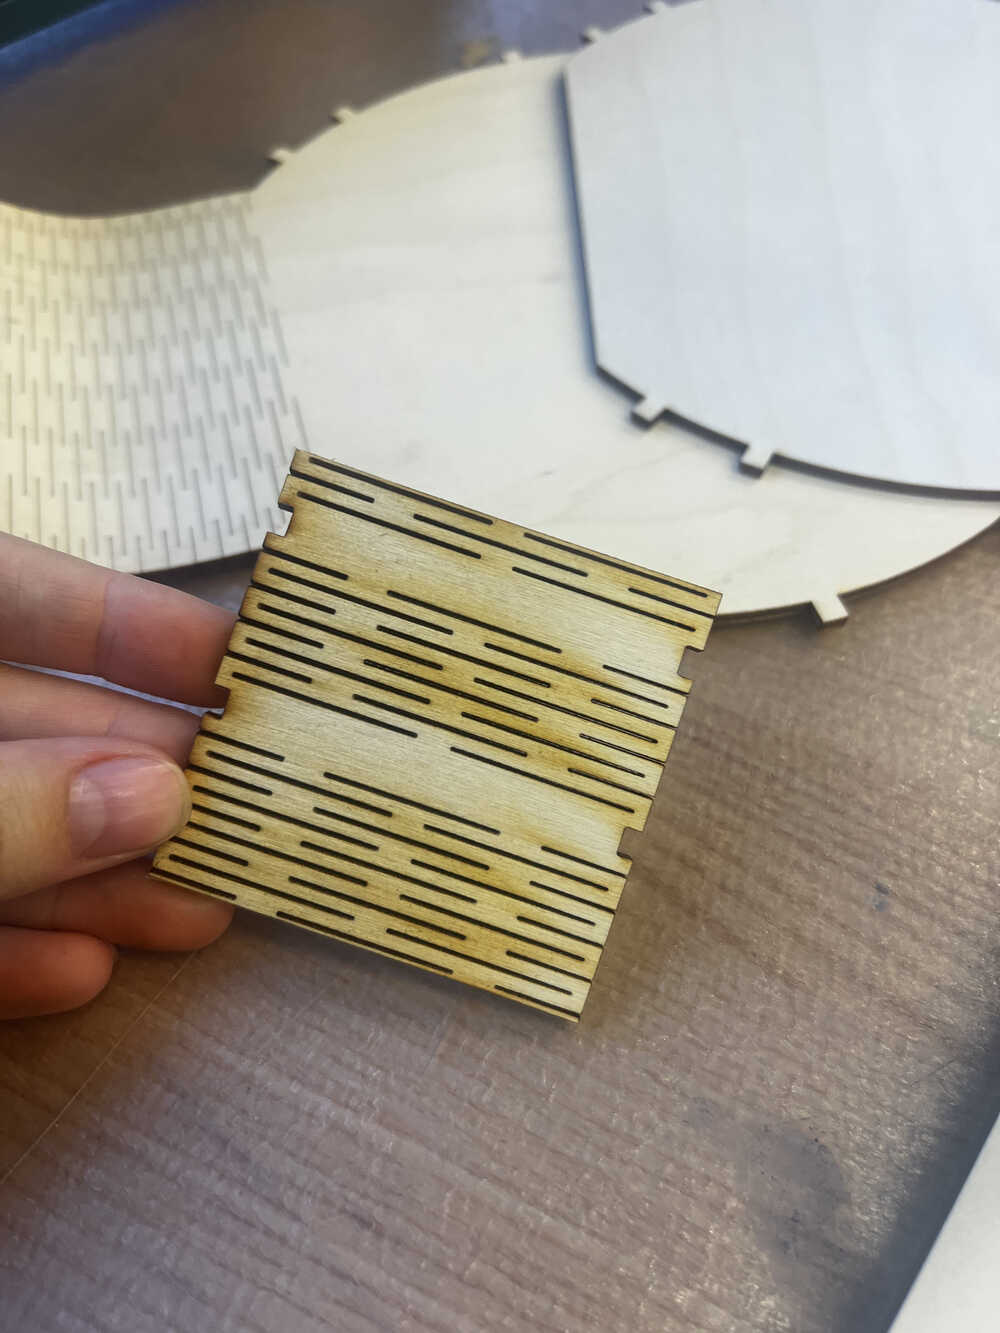


-

Future work and improvements
There are a lot of little things I need to finish about this purse to make it a functioning product. Finding a stripe for hanging on the shoulder, figuring out a clip system, adding more decorations, covering the drywood with some sort of finish, etc. All of these need materials that neither me nor EDS currently have, and I didn't get a change to go buy them yet, so stay tuned, I will get done with it by the end of the semester.
There are also many other ideas I would love to implement now that I know more. I want to make a world map that one can put on the wall and mark where they have been. I do indeed want a cupholder or two. I want to make more earrings. There are so many ideas to implement when it is possible to do anything.
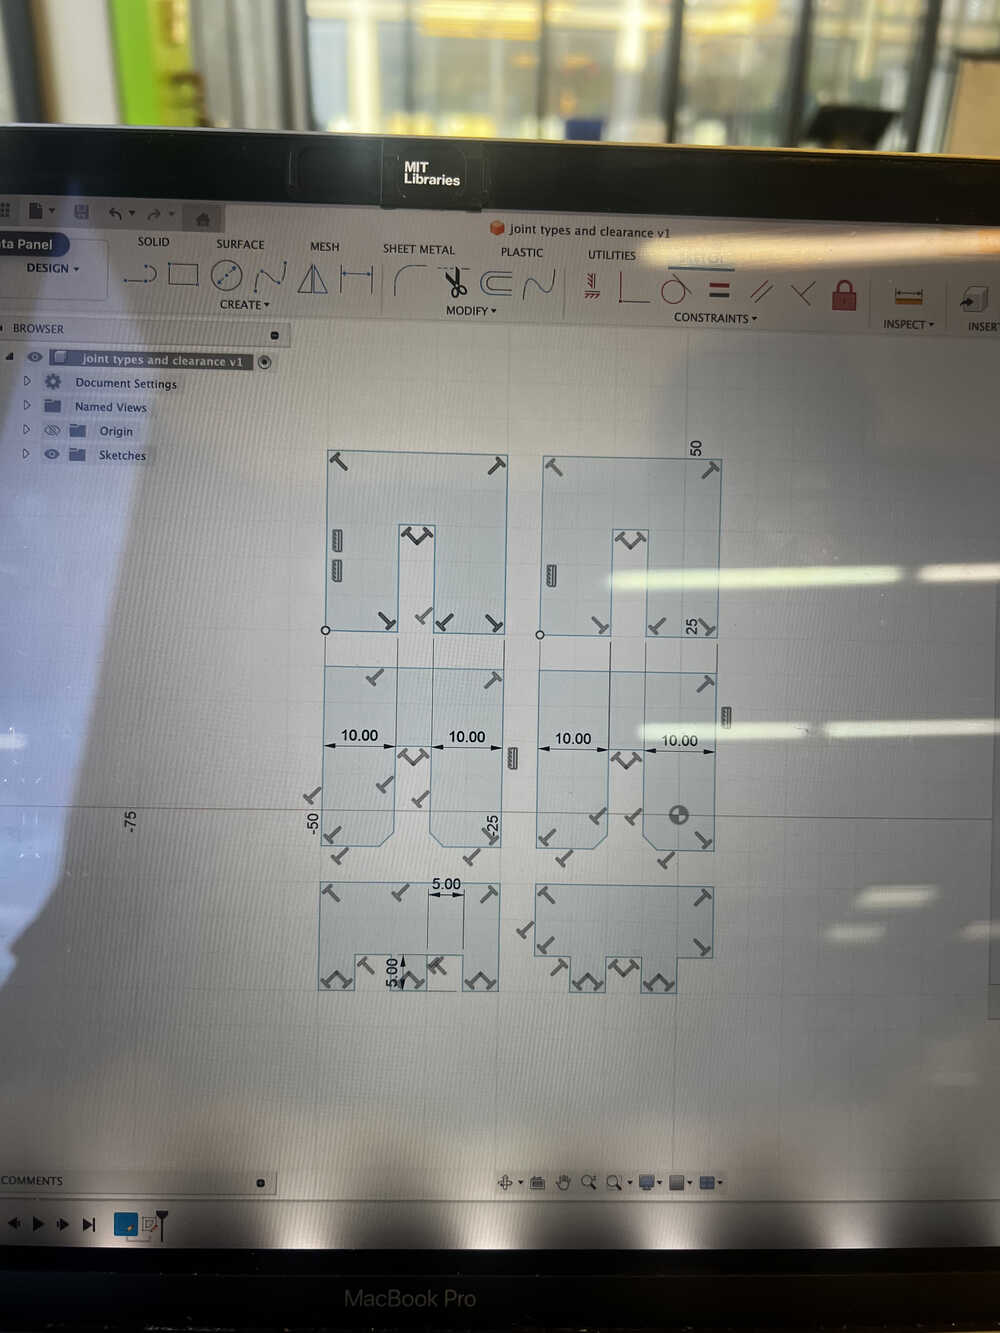
Joint Test DXF
Bag DXF
Earrings DXF