Week 3 - 3D printing and 3D scanning
-


Mind, Hand, and other Shenanigans
Also known as How To Remove Way too many supports from a 3D printed object and not to hate yourself
For the week of 3D printing I again had a lot of ambitious ideas which were hard to implement, and I ended up doing a lot of fun samples.
My initial inspiration was foldables, inflatables, and other kinds of deformational 3D prints, which I initially invisioned being an element of organ printing. Organ printing seems to be an important possible implication of 3D printing (of course not with PLA though), and I wanted to explore what would be the possible way of implememting it. What I was aiming to achieve is to design a structure for deformable strucrures (like lungs). While lungs are an obviously stretchy organ, its stretchiness would be probably achieved through the material, I was trying to design some non-even structures that can stretch (think of a piece of paper squished and unfolded). -
Spiral reproduction & Fabric-like structures
While referring to the spiral foldable from the linked blog, I tried to use their CAD file to 3D print a spiral. I only printed a part of it, since I quickly realized that the printed figure is very rigid and doesn't have the desired properties.
My next assumption was to contruct some fabric-like structures so that I could potentially inflate lungs while putting a baloon inside, so I found some of these models online and tested it out.
It looked fine, was hard to scrape it out of the bed, so I unfortunately damaged one of the links. Overall it felt a little too chunky and not quite correspondent to the concept of stretcheable lungs. So I attempted yet another idea of achieving my goal.
I also tried to print it in bigger dimension, but it got destroyed - seems like there is a problem in placing the first layer reliably.


-


Foldable structures
Digging deeper in the random 3D tutorials and sources on the internet, I found this cool project. It is a hexagonal star that is designed in a way that it has natural folding lines which allows it to deform in 3 dimensions (think as origami).
It turned out okay, didn't get ruined, and even was foldable and unfoldable, however, the joints are super fragile to allow it to bend, but they are also very easy to break. And again, it didn't fit the concept of an inflatable structure, because it had a lot of holes, but it had potential. So I had to keep brainstorming. -
Transparent organs aka Mind and Heart
One of the cool resources I bumped into while researching was NIH (National Institute of Health) database. It was a 3D database of actual organ scans (some are noted to be scaned using MRI, some undefined), including those with diseases. I believe that this database is used for research purposes, however, it seemed 3D printing-friendly. I wanted to do lungs, but it would have been impossible to remove the supports from inside the lungs, so I chose to print heart and brain, because both have interesting structures to be observed if printed with a transparent PLA. It took a solid 9.5 hours, so it was a one-attempt overnight print.
As mentioned before, it took forever to print, so I didn't really have a retake chance. It had a lot of supports when I took it out that it was hard to identify what it was.
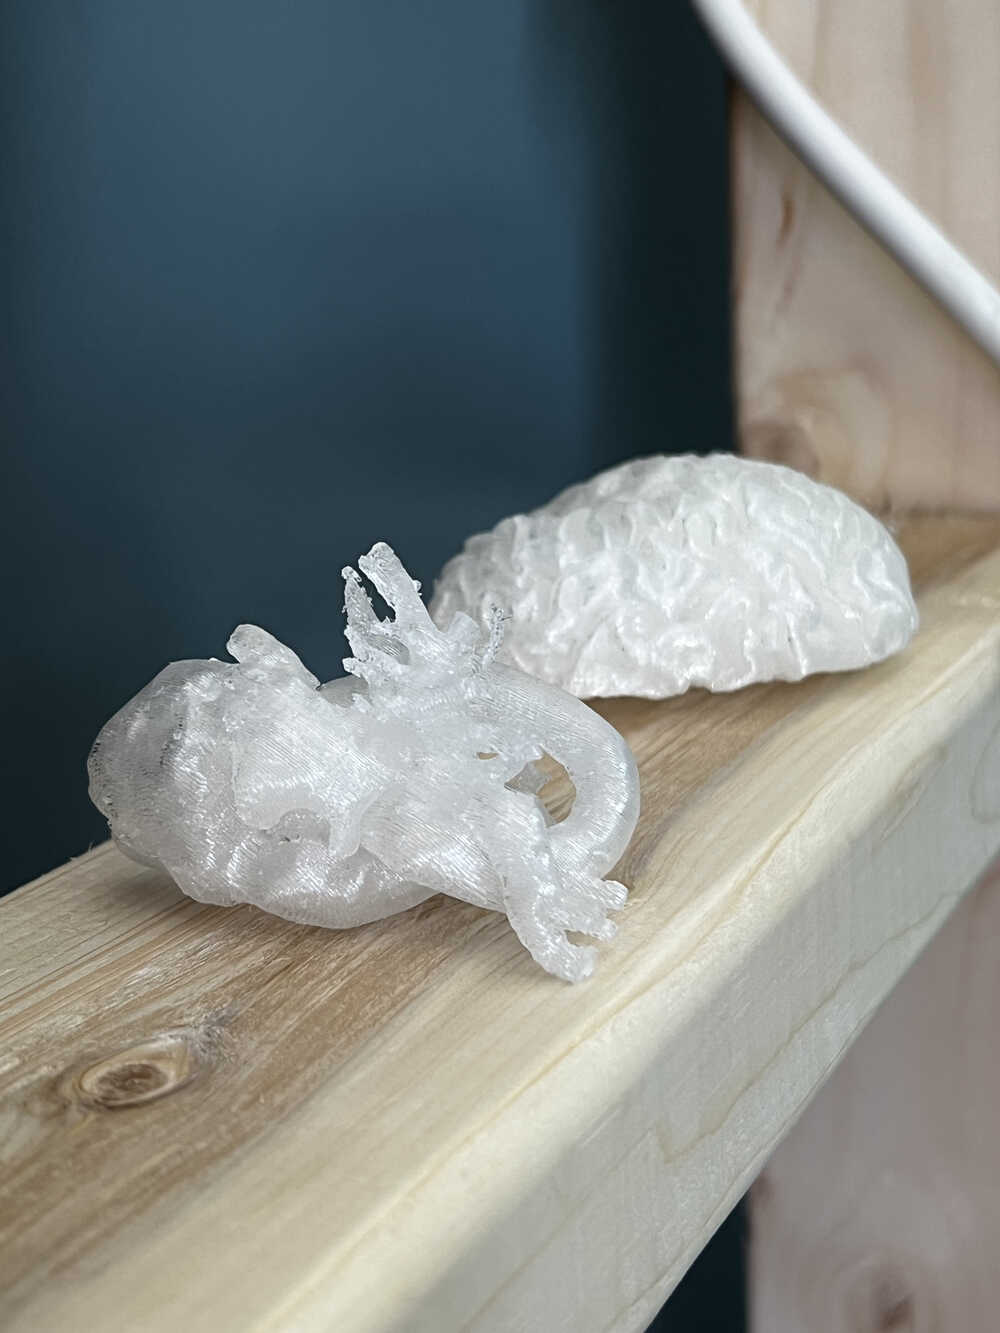
3 (literally!) hours and a few injured fingers later, I picked up all the supports from the brain and the heart. I hated the supports so much - they were thick and hard to pick, and also my model had a lot of small details. Moreover, it didn't look as transparent as I invisioned it, so one couldn't really see much internal parts of the organs. While I see how it can be tweaked with thinner walls, I don't think the material would have been look-through anyways.
This is the final result of the organs - the cool thing about them is that they are actual scans, so it is an interesting detail.


-


Keychain art
Although the previous experiments seemed fine, I wasn't too satisfied with the result. So I decided to do something more practical and personal, although maybe not as cool.
This work has a personal pre-story, so I was excited to bring it to life.
A few months ago, we painted a mural in my previous room where I live (it is a fraternity house and this kind of room modifications and artistic exressions are quite common).
Unfortunately, the new tenant of the room didn't choose to preserve it - so this artpiece went into void while being less than a month old.
Luckily, HTMAA gave me a chance to implement all of the random ideas in my head, including this one. These days everything is digitalized, so no art can be truly lost, moreover, it can be reproduced in a completely different form. -
CAD & Print
So I chose to CAD and print this character as a keychain - which seemed like the most useful application which I could put together. TODO: add the CAD model.
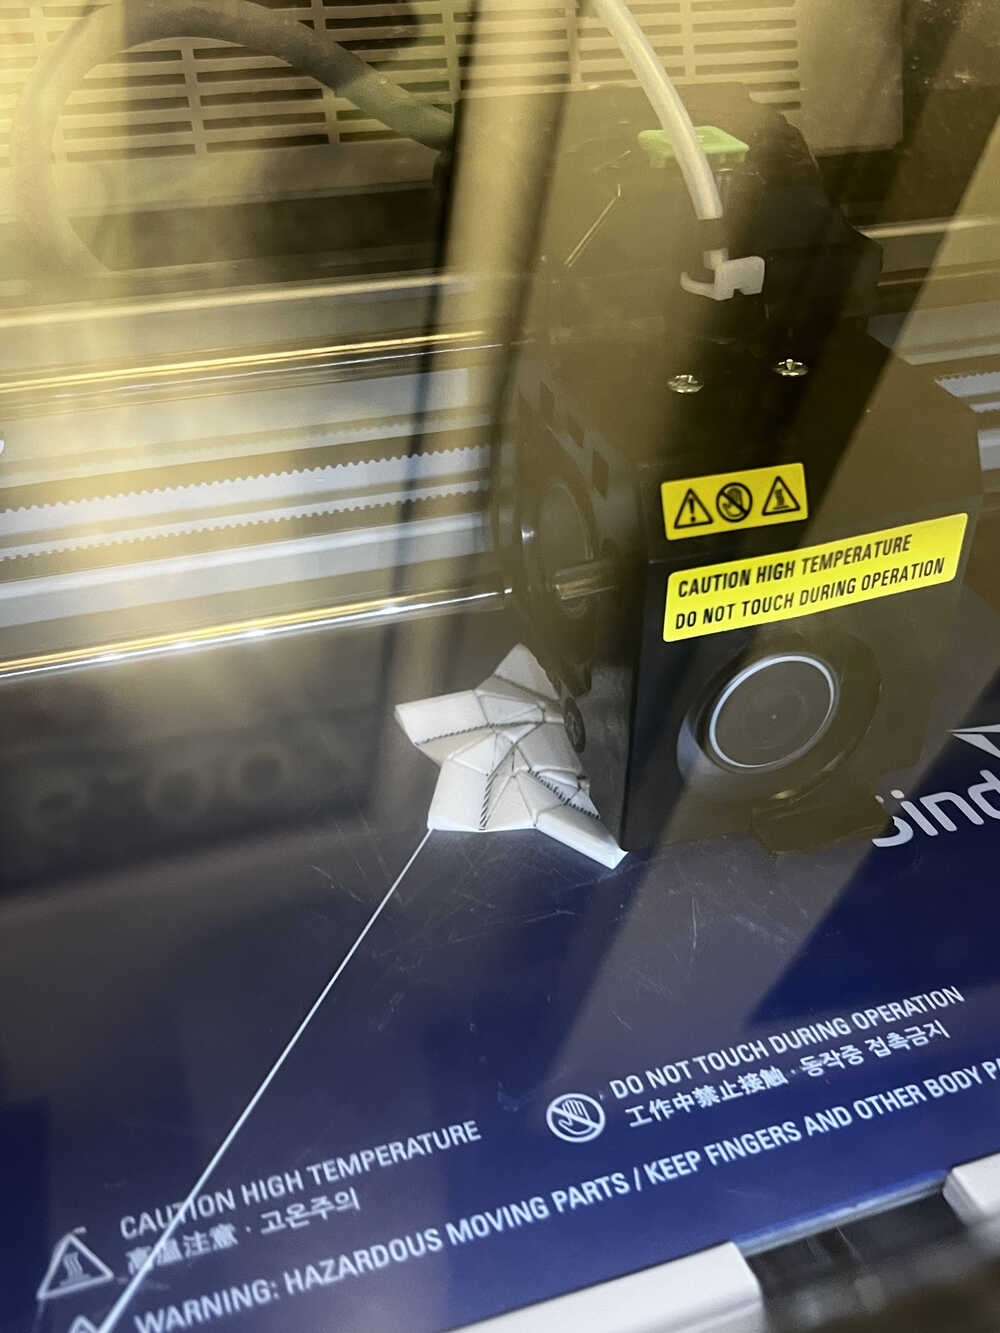
At first there were some issues with printing the details (they were just stuck together starting from the first layer, so I quickly aborted the print). The issue was likely in Z-axis calibration, so I reprinted again, with a bigger base.
These supports were super easy to remove!! (No fingers damaged this time) I don't know if it was a different printer or design, probably both, but it made me so happy.


-


DIY KeyCHAIN
Finally, keychain is great, but I didn't have a chain part. I could have bought it, but I wanted something ready by the class time, so I didn't have the time to. So I decided to try to bend the wires together and make a hand-made chain.
While fully functional, it looked let's say handmade, so I decided that it's a feature, not a bug, and I can actually super easily customize the chain in any chape.
After some steep learninhg curve, I ended up making some of the chain parts being little hearts.
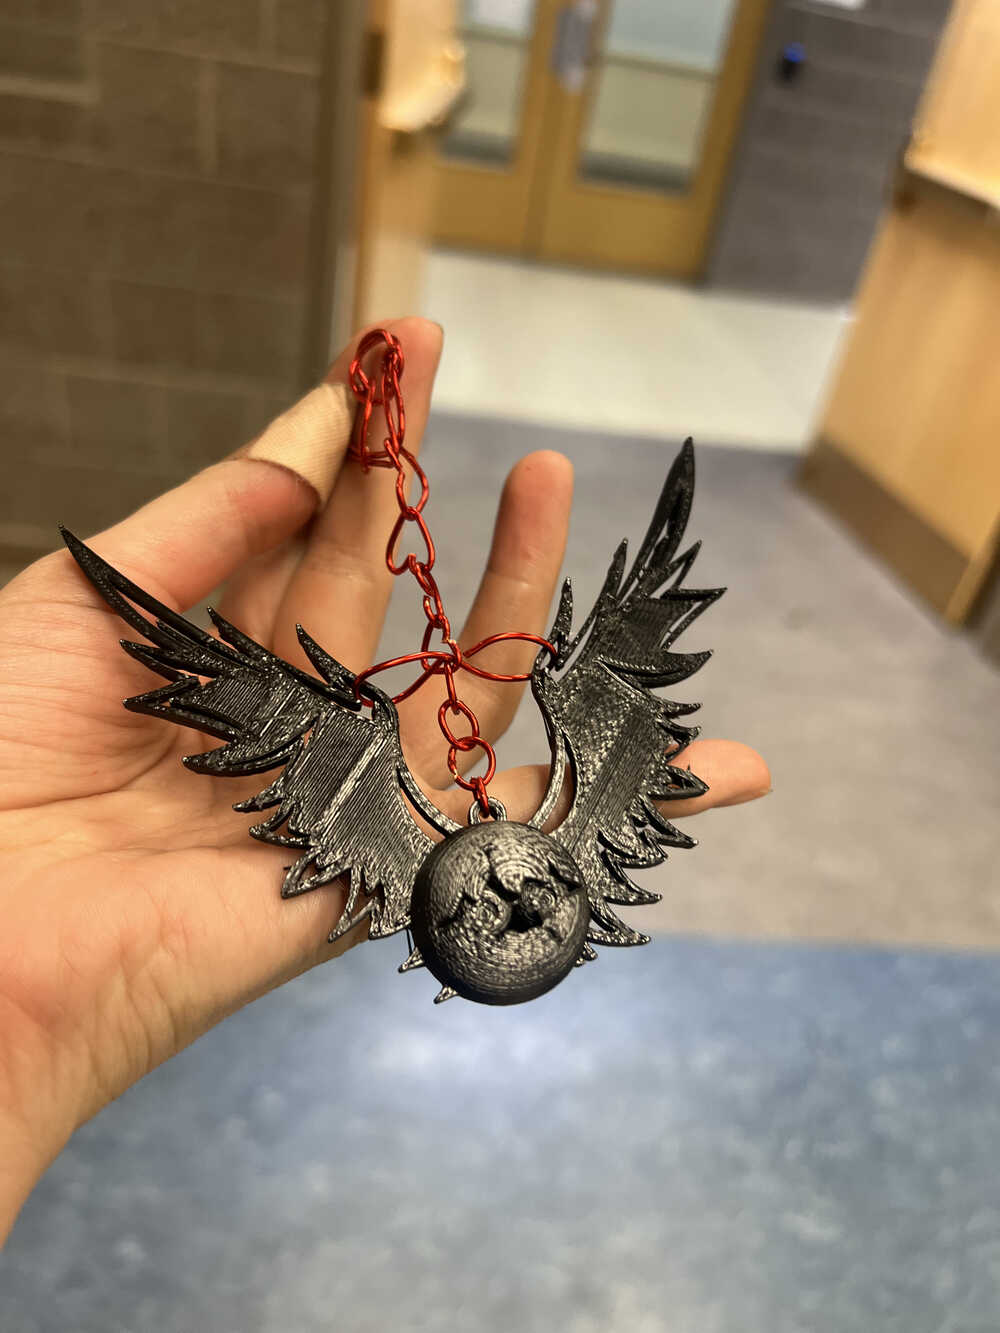
And now yet again there was another problem - the character wasn't staying upright because of the weight distribition. I was about to call it a day, but Anthony (TA of EECS group) suggested a quick fix of connecting part of the wings to the chain, which did the job just perfectly.
-
Meet Patatamon!!!
Here is a final version of the product.
Thanks! Stay tuned for more making adventures!
-
3D Scanning
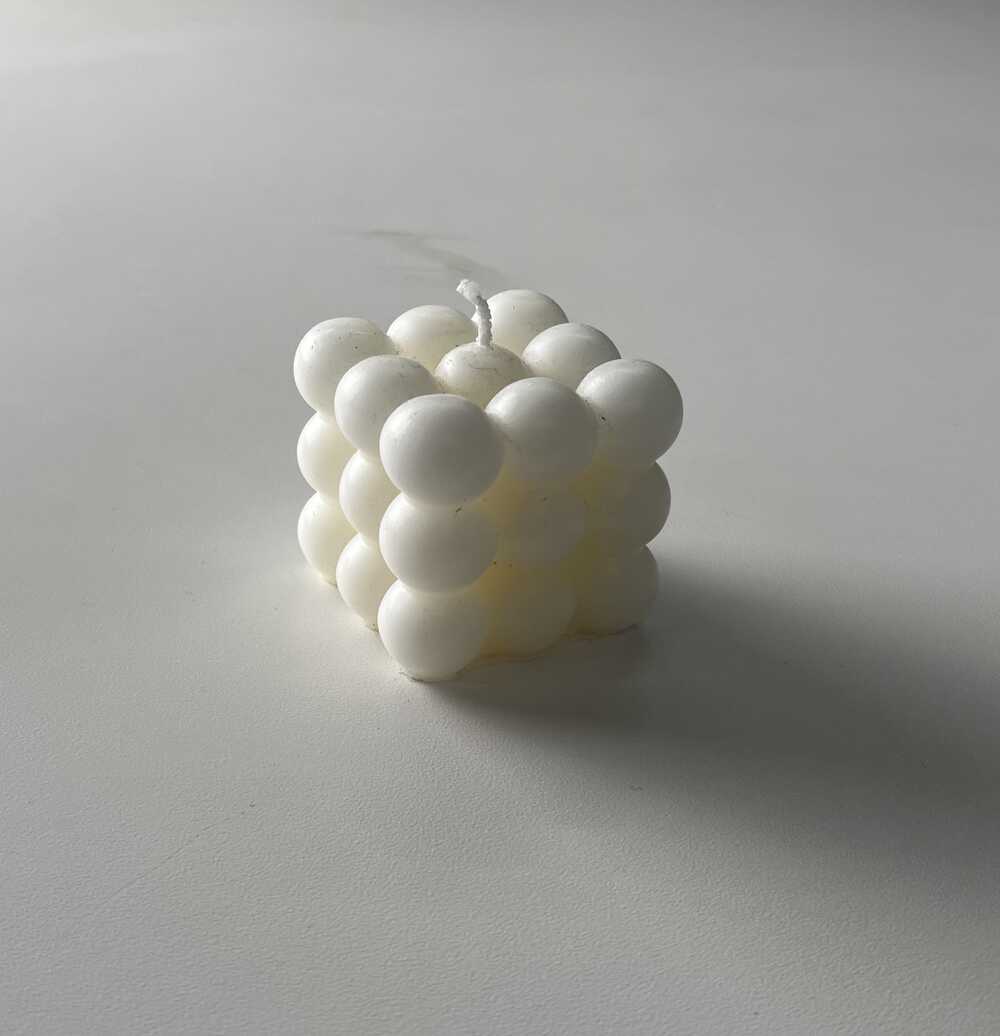
3D scanning was an additional side quest this week. While there is a variety of more precise 3D scanning tools, I chose to work with online tool (app) PhotoCatch.
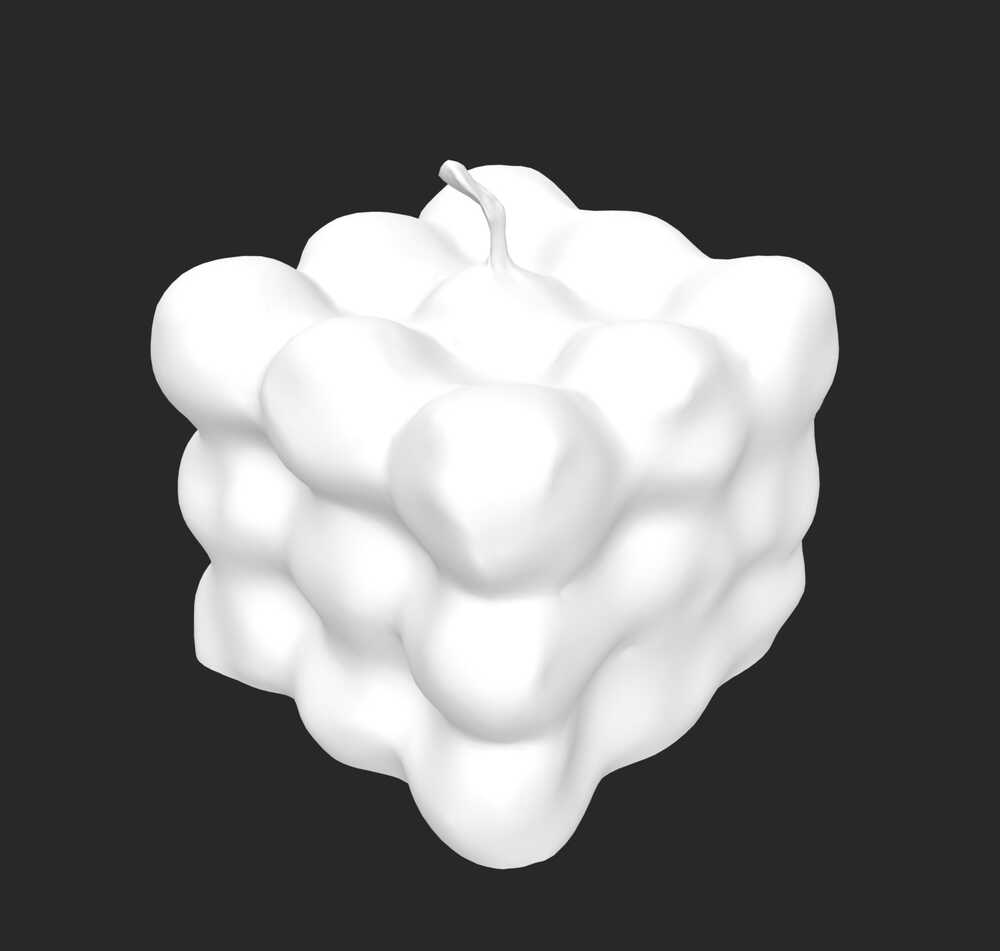
It takes 20+ images as an input and generates respective 3D model. In my case, I picked a random object from my room - a cubic candle. I would say that the app worked fairly well, although not perfect. -
Future work
I would experiment more with inflatables and flexibles, although PLA is probably quite a restricting material for it. I would also like to try the printer with dissolvable supports.
Patamon Fusion File
Candle 3D scan