Week 7 - Computer-Controlled Machining
-
Flow Wall Table
I knew what I wanted to do for this week since first-second week. As I was researching lasercutter ideas, I stumbled upon this unusual table design. Originally created by Robert van Embricqs, this desk is unique because it can fold to save space or unfold when in use.
Moreover, my room is missing a table, and is extremely small, so I thought that it would be a perfect additon.
So this week I decided to make one. -


Design
My main frame of reference were all the photos I was able to find from the artist, and some of the other people's replicas.
So I started with CADing the table. The main trick about the table that it needs to be constructed in a way that it can be in a vertical state and in folded one.
The wood parts are not so dependent of the folding mechanism, so they are not presenting in the CAD/CAM models.
(If you plan to reproduce this project, please find CAM files below) Top part of the table Base of a table -
Milling process
Now more about the process.
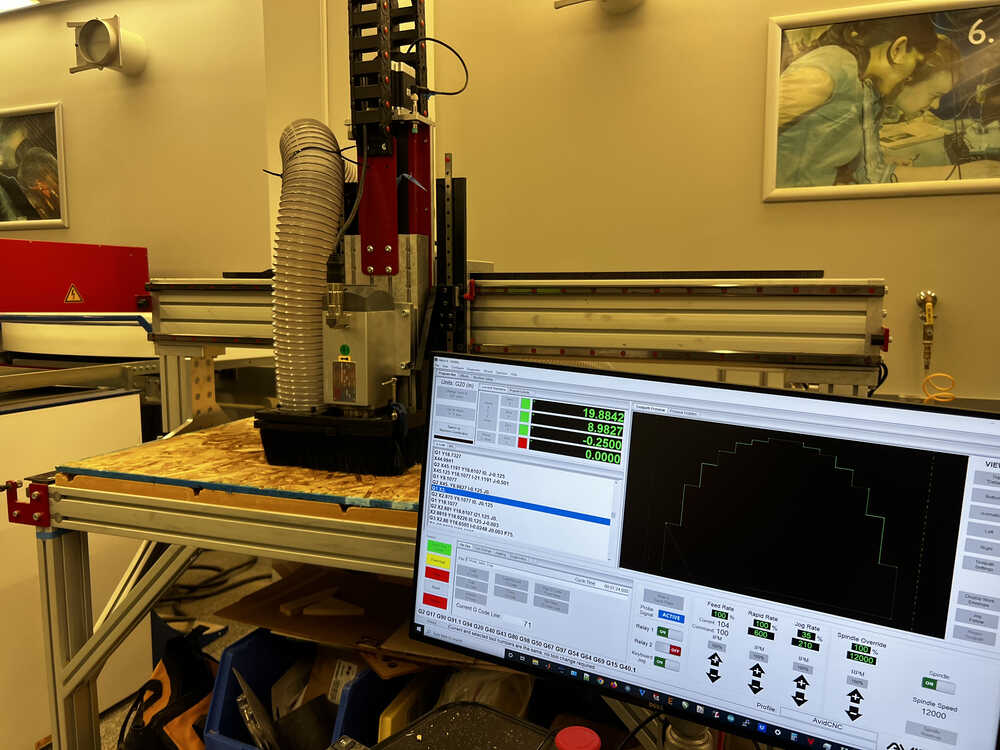
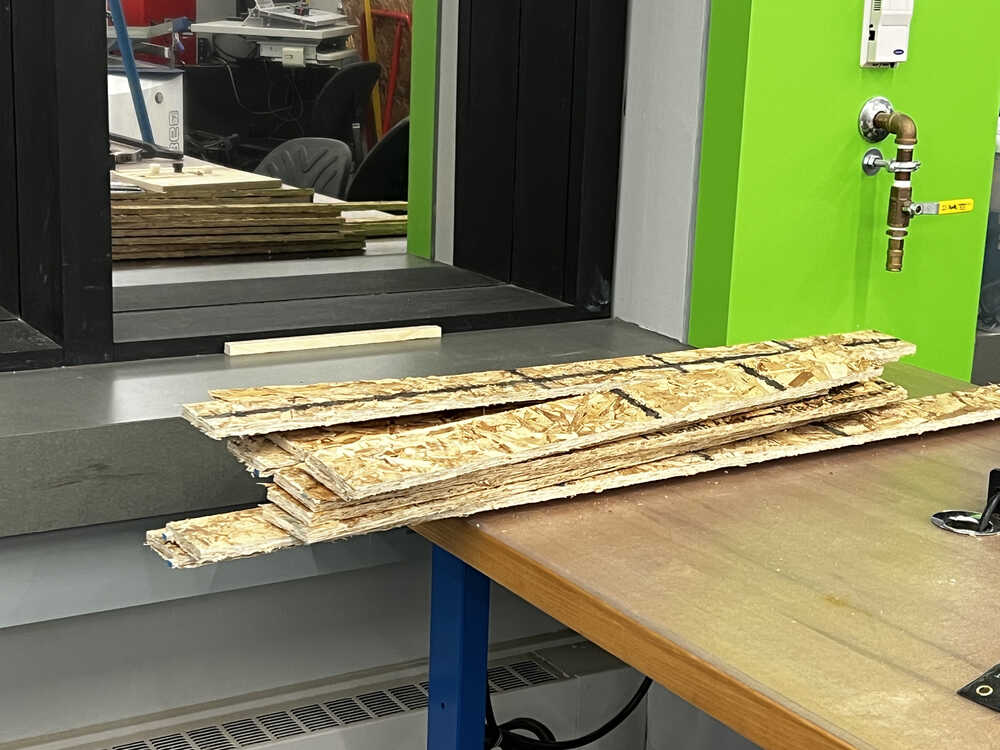
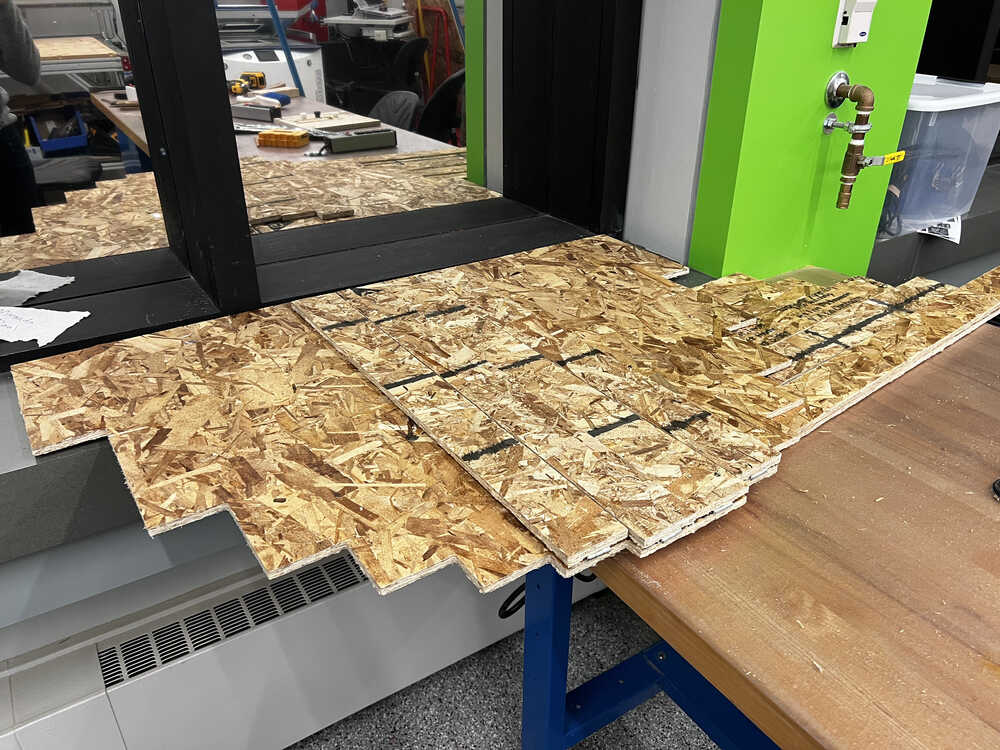
After some CAD/CAM debugging and arranging, it is finally time to cut the pieces out.
Here (on the right) is the process of aligning the tool along the xyz axis.
And yet as you can see, there is a little issue of the edge being somewhat lifted compared to the main part. We only noticed it halfway through the process, so had to repeat the job with bigger depth.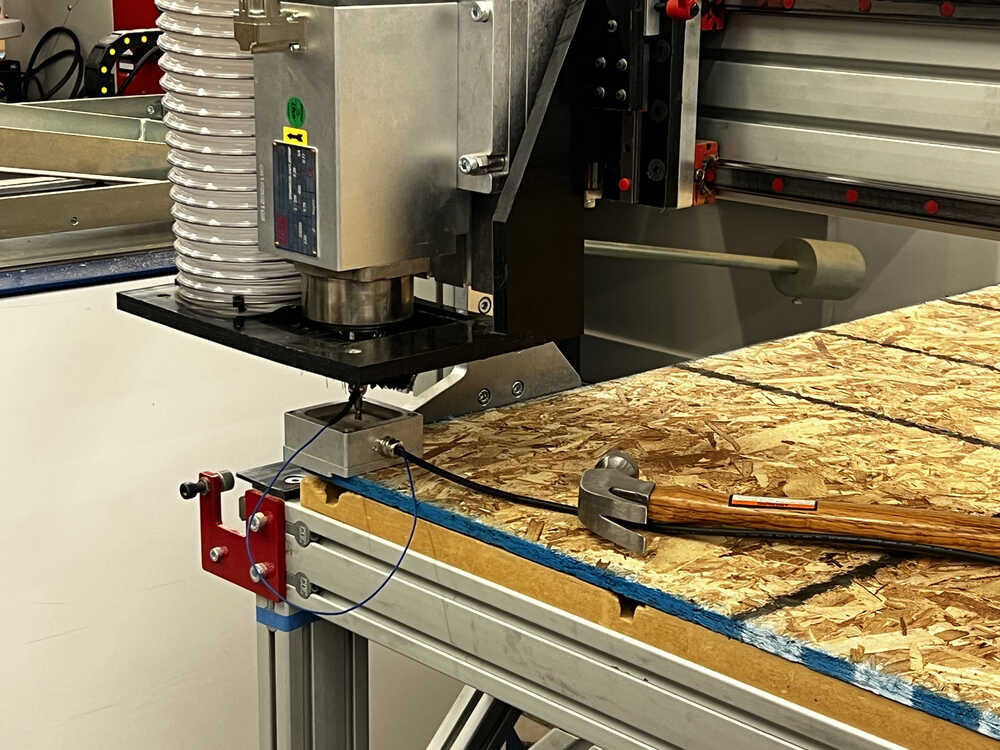
-
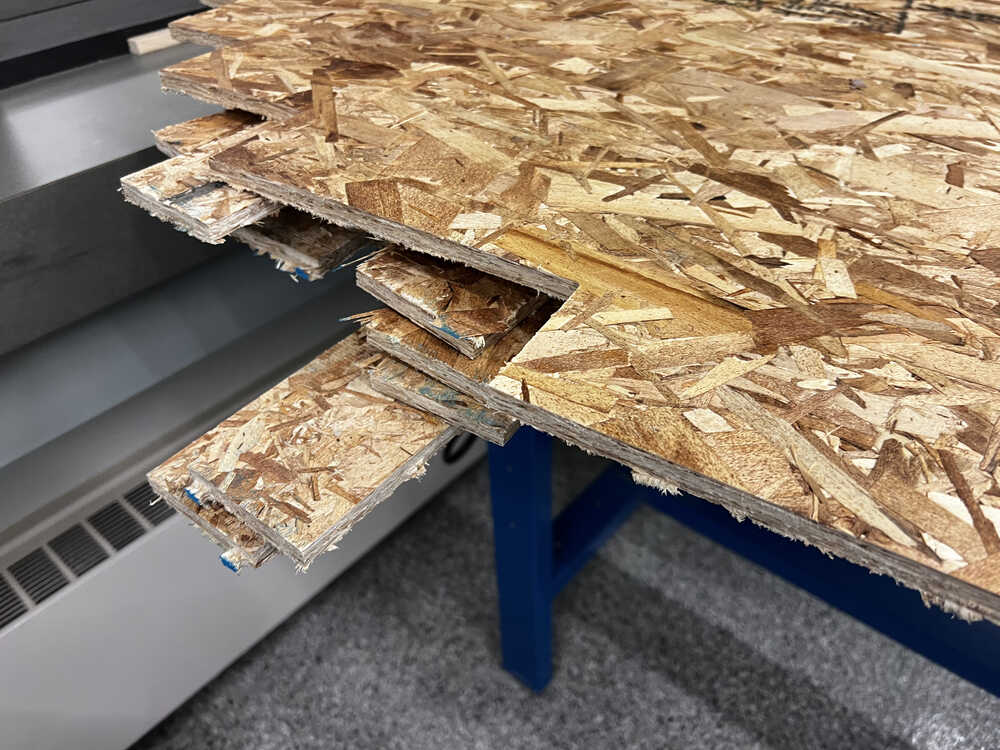
Filing and postprocessing
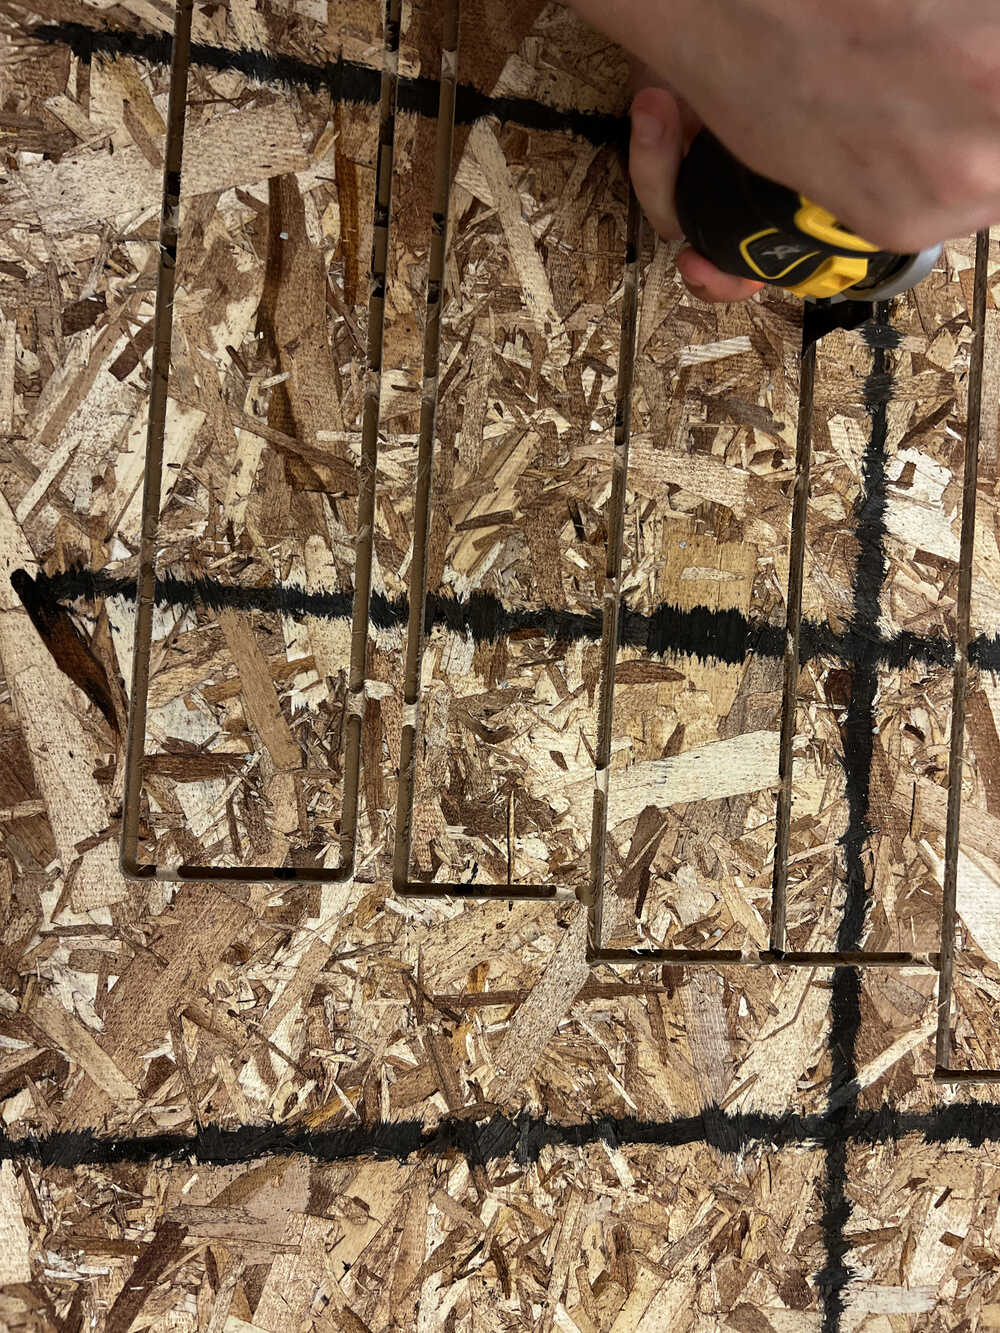
Removing the wood into pieces was some work but relatively easy. Filing them was way harder. What was even more difficult is removing the plastic nails that are used to keep the wood to the bed while milling. While it sounds super easy on its own, it gets harder once there are 30 plastic nails mostly in the wood but with a little top, and you try to kick them out with a filer, which works from like 3-5 attempts. Anyways, not the point of the story, moving on.
All of that is where most of the splinters come, but that's not the end.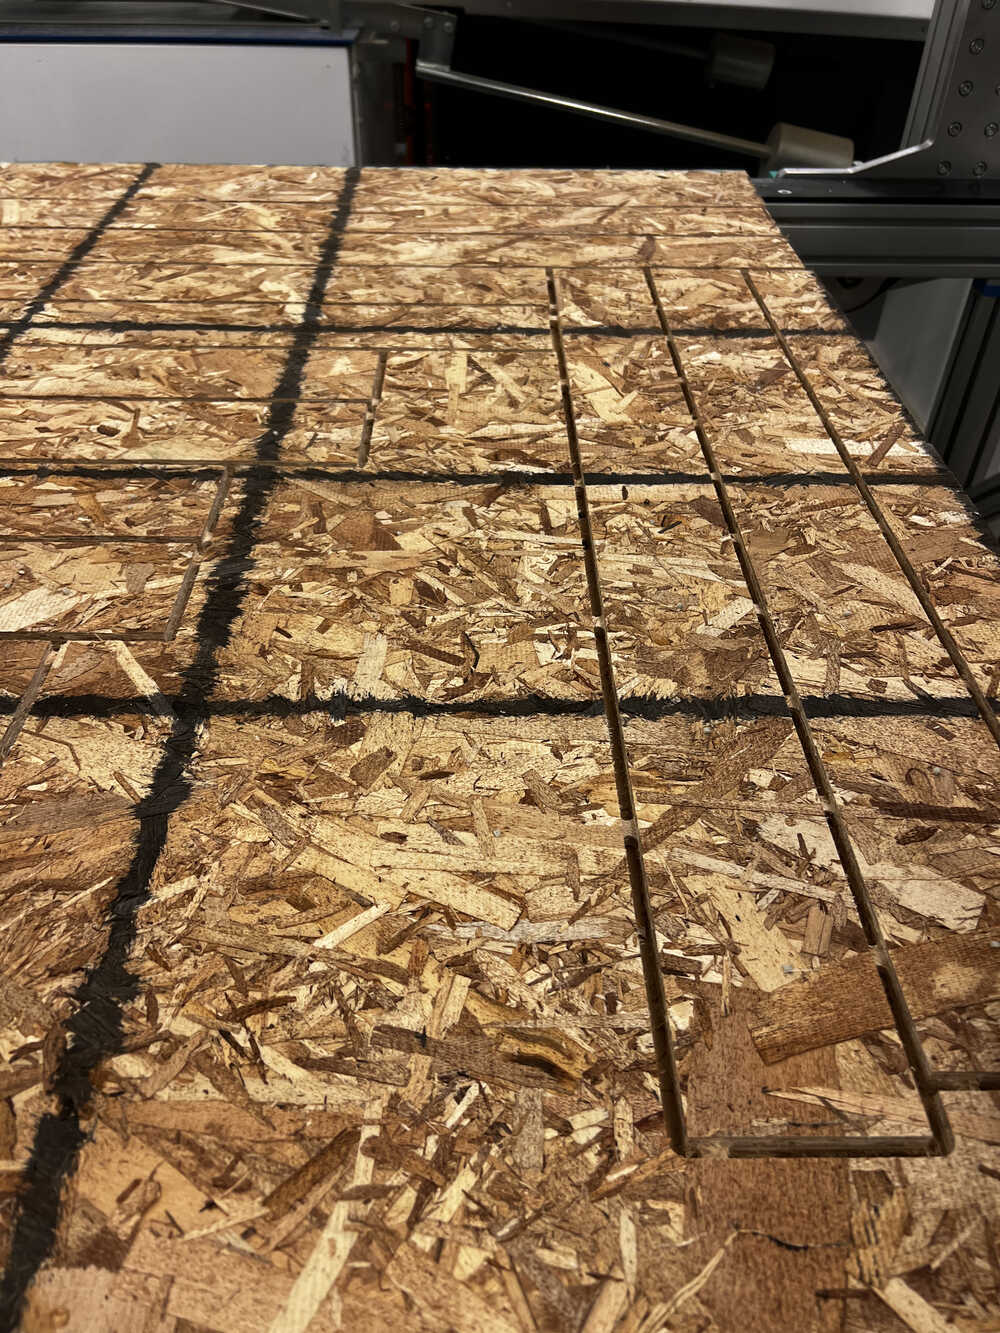


-
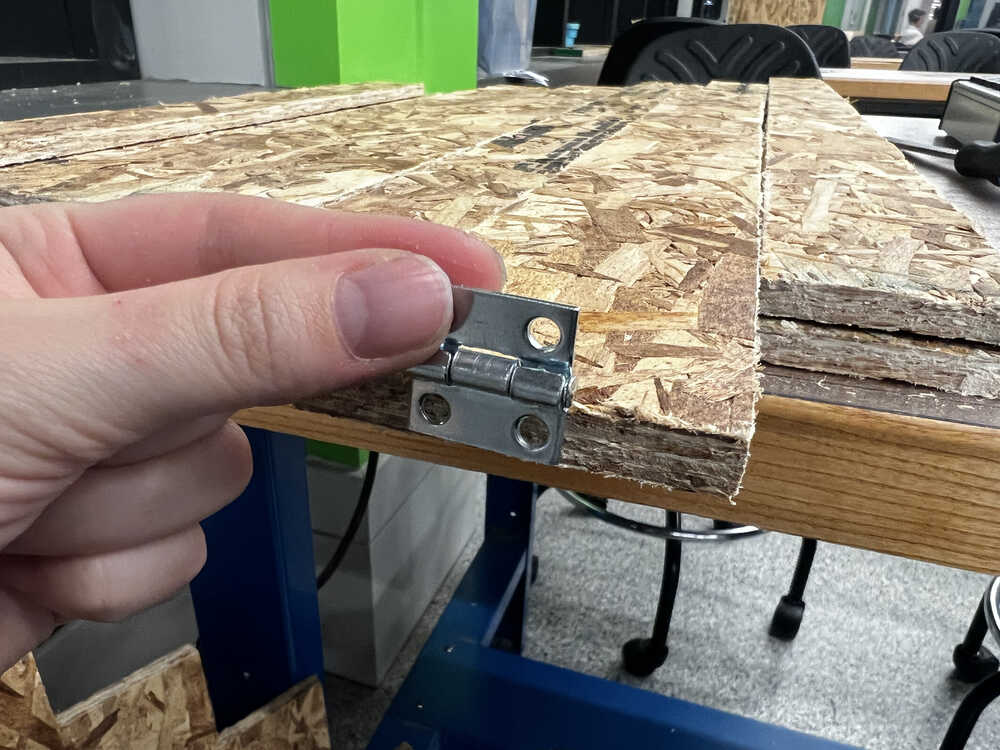
Folding Mechanism
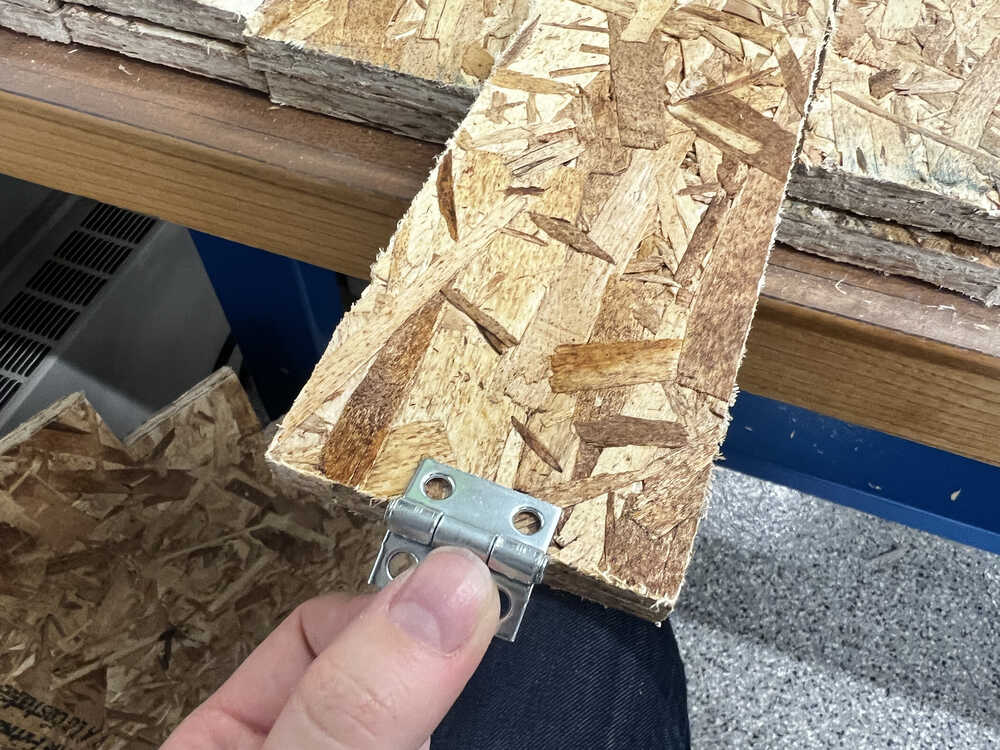
Now it's time to work on the folding mechanism. In the original work, one can see that the hinges are placed like on the left picture. However, this wouldn't really work well with OSB (sounds about right, and I trusted Anthony about it). So I had to place them as on the right picture, so that the hinges are visible from the front face of the table. It affects the aesthetics of the work, but OBS has anyways set low standarts for the looks, so having it stay more strongly together was a bigger preperence.
By the way those were 1 inch hinges from Home Depot. I was trying to find something that is smaller than the door hinges but can be strong enough to carry the load. And that was the solution I found. -
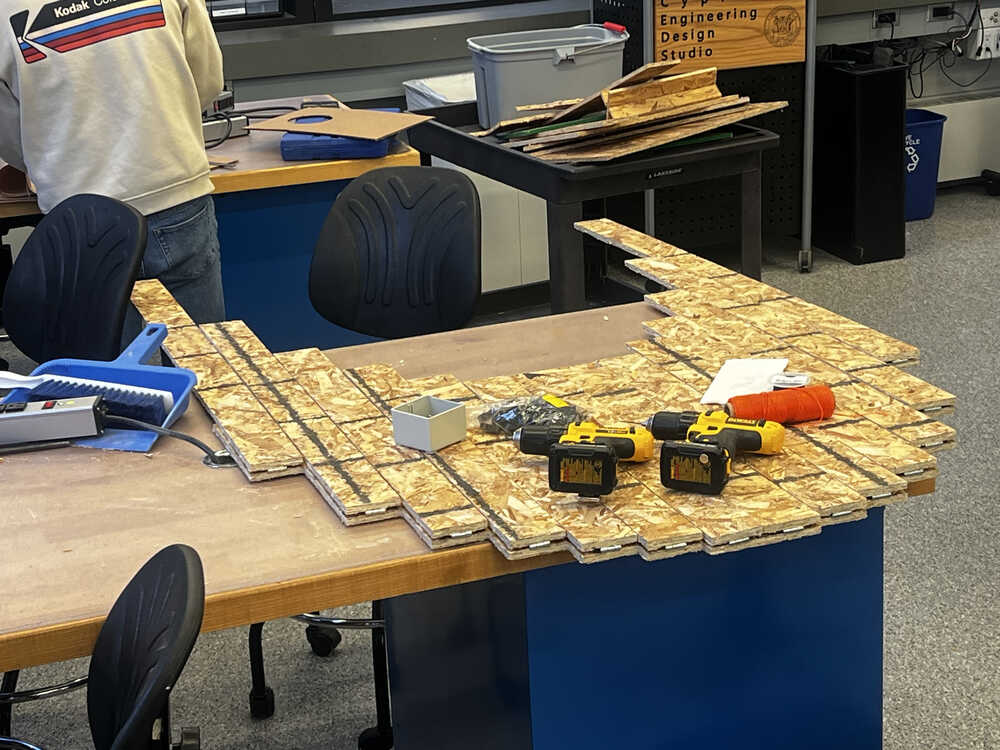
Putting the hinges on the wood is pretty straightforward task, you can do it any way you want based on the screws and instruments you have available.
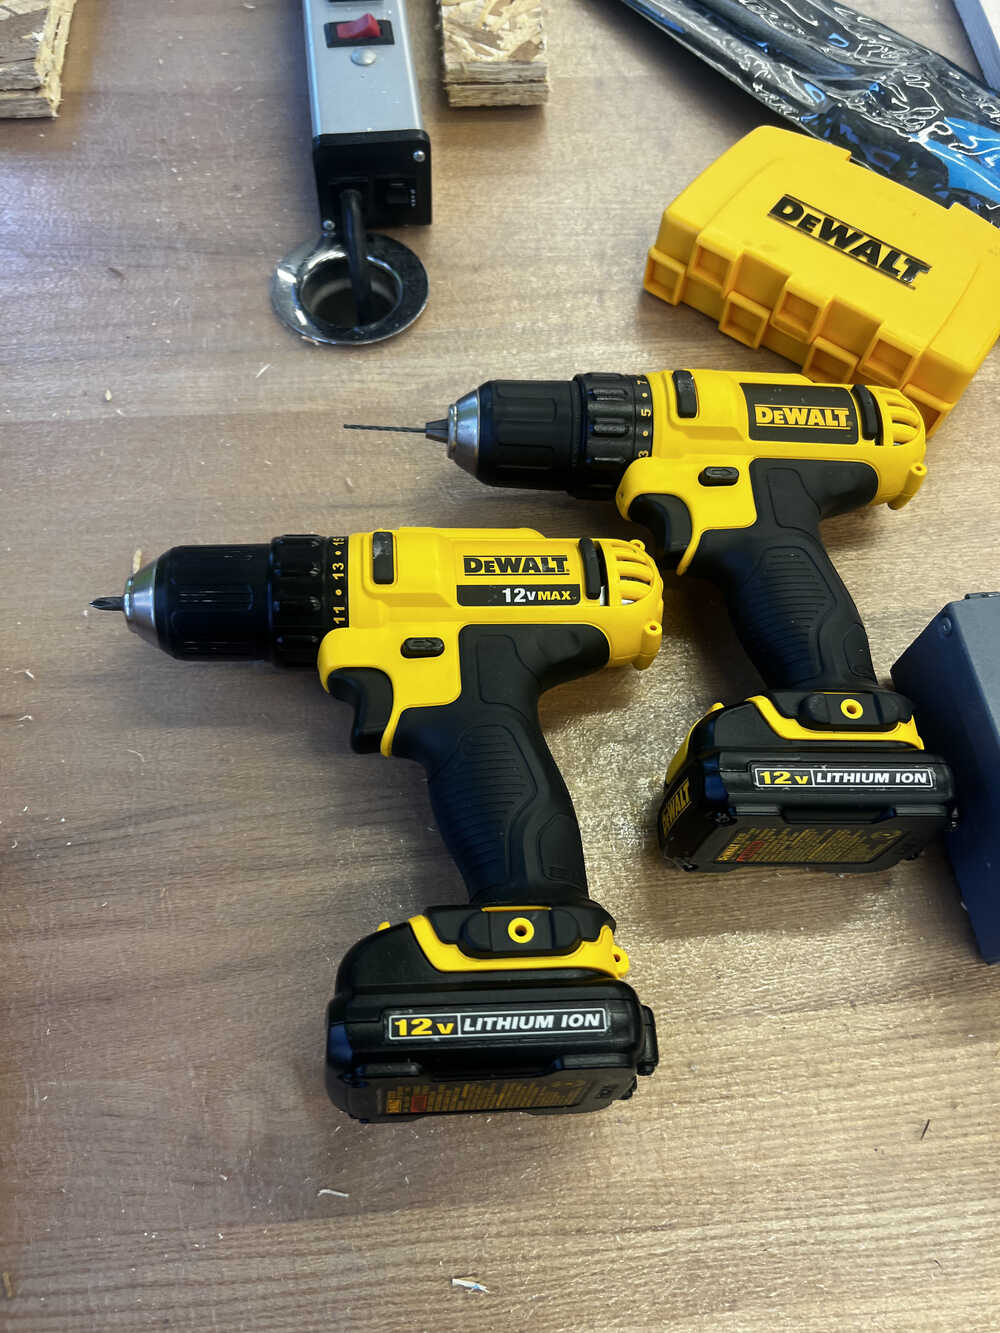
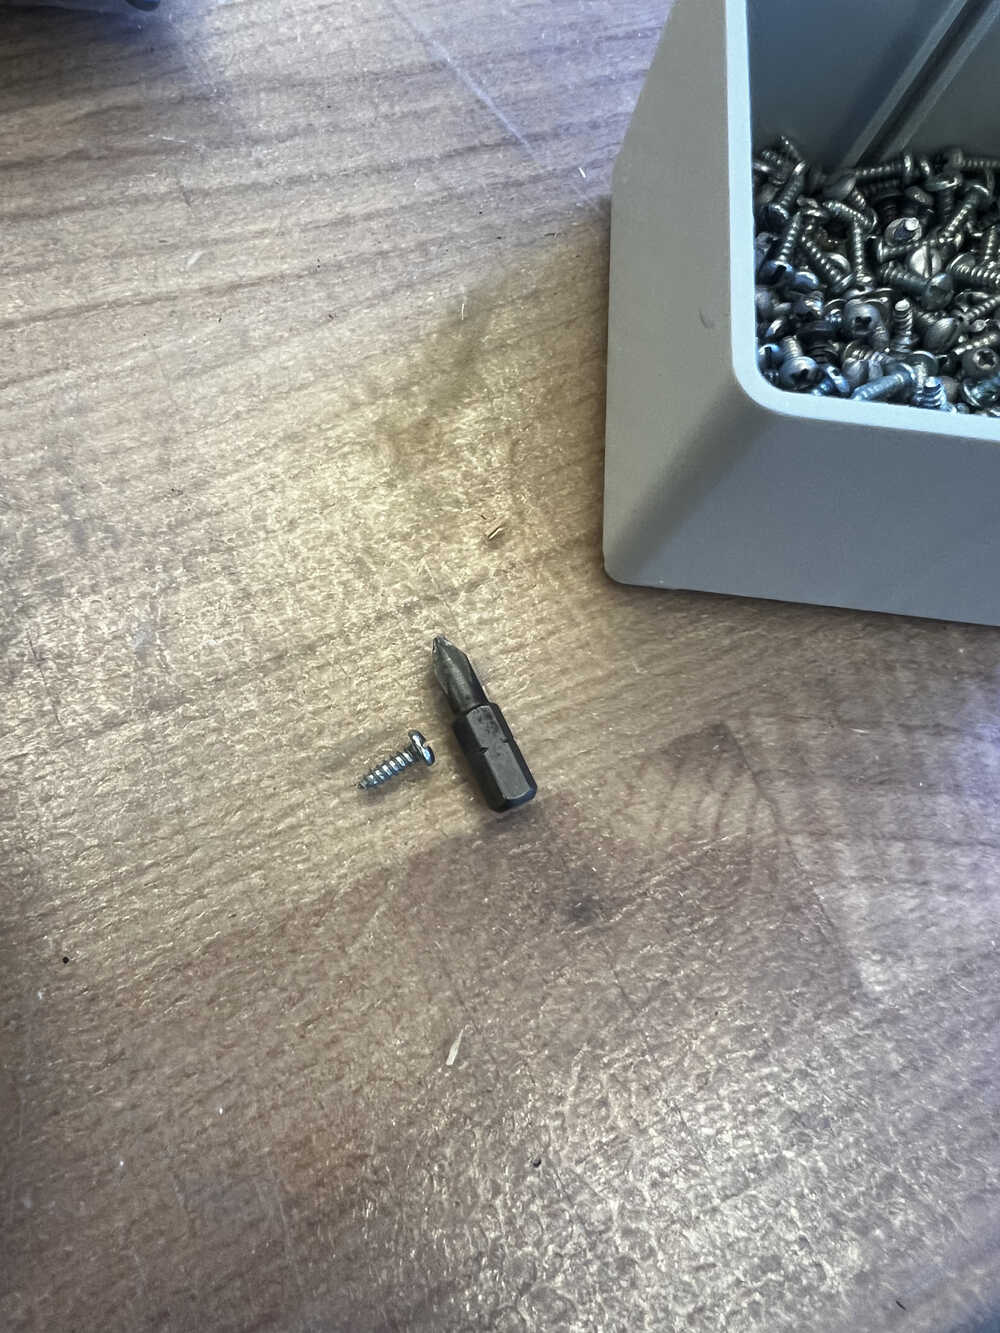
What worked in my case is pre-drilling the screw holes with a very thin drill (070 drillbit it seems) and then screwing it in using the smallest screw head in the set.
I'm pretty sure pre-drilling was not a mandatory step, but it helped me to screw very small screws almost straight, so I think that made sense. Moreover, it is somewhat difficult to align the long thin board along the side where it has to connect, especially if it wasn't perfectly filed, so I had to unscrew some hinges and make new holes for them. Again, luckily OSB is very fogiving in terms of aesthetics, and extra holes were invisible in comparison with all the plastic nail holes.
As one can see, it got together in a pretty foldable mechanism, but now, how do I make it nice and wavy, and only stick in two positions I need (vertical and unfolded)? -
Making it Flow
While there are no official files from the artist, one of the replicas used the following mechanism, which probably was also used in the original work.
As one can see, it allows the folding system to stay in place and move along folding/unfolding state properly.
The problem with the OSB implementation was that I couldn't do the same. 7/16 inch thickness is already pretty fragile, and if I put the rod through, then ~2/16 inch of thickness need to hold the load of the table, it would have broken before I finish assembling it.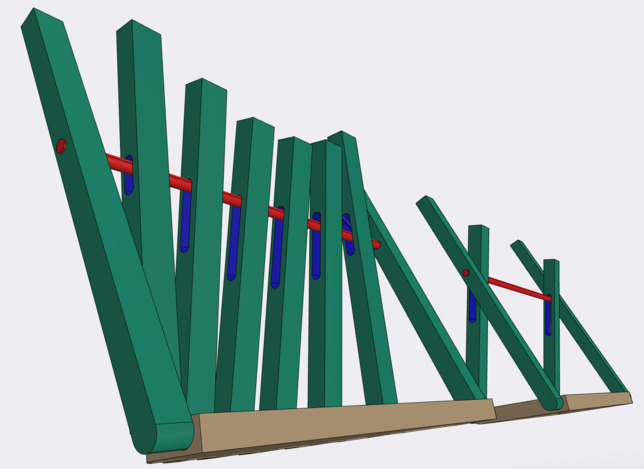
-
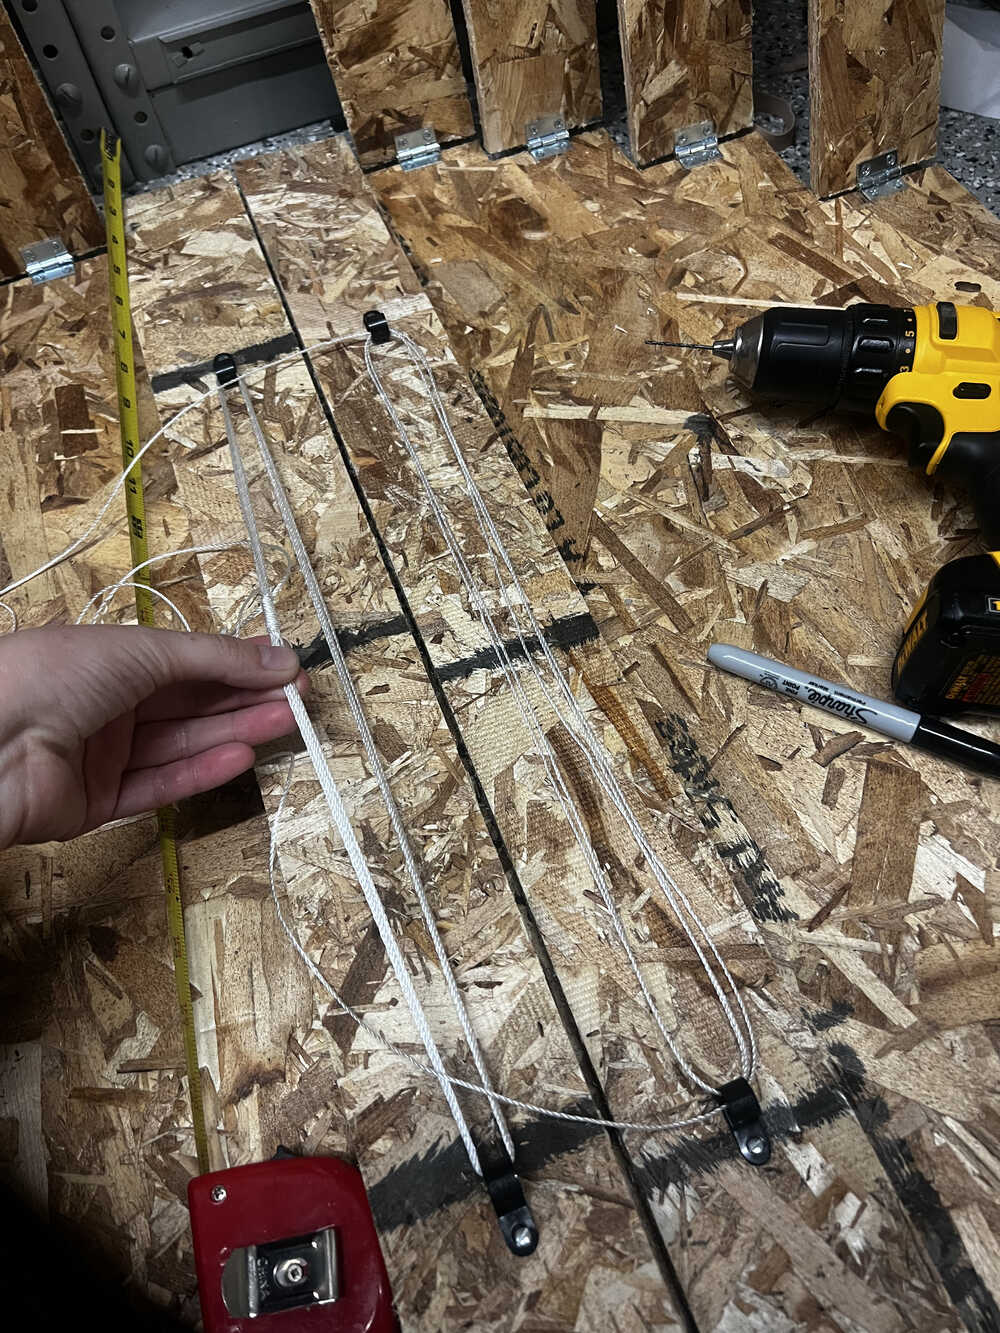
Making it Flow: $8 edition
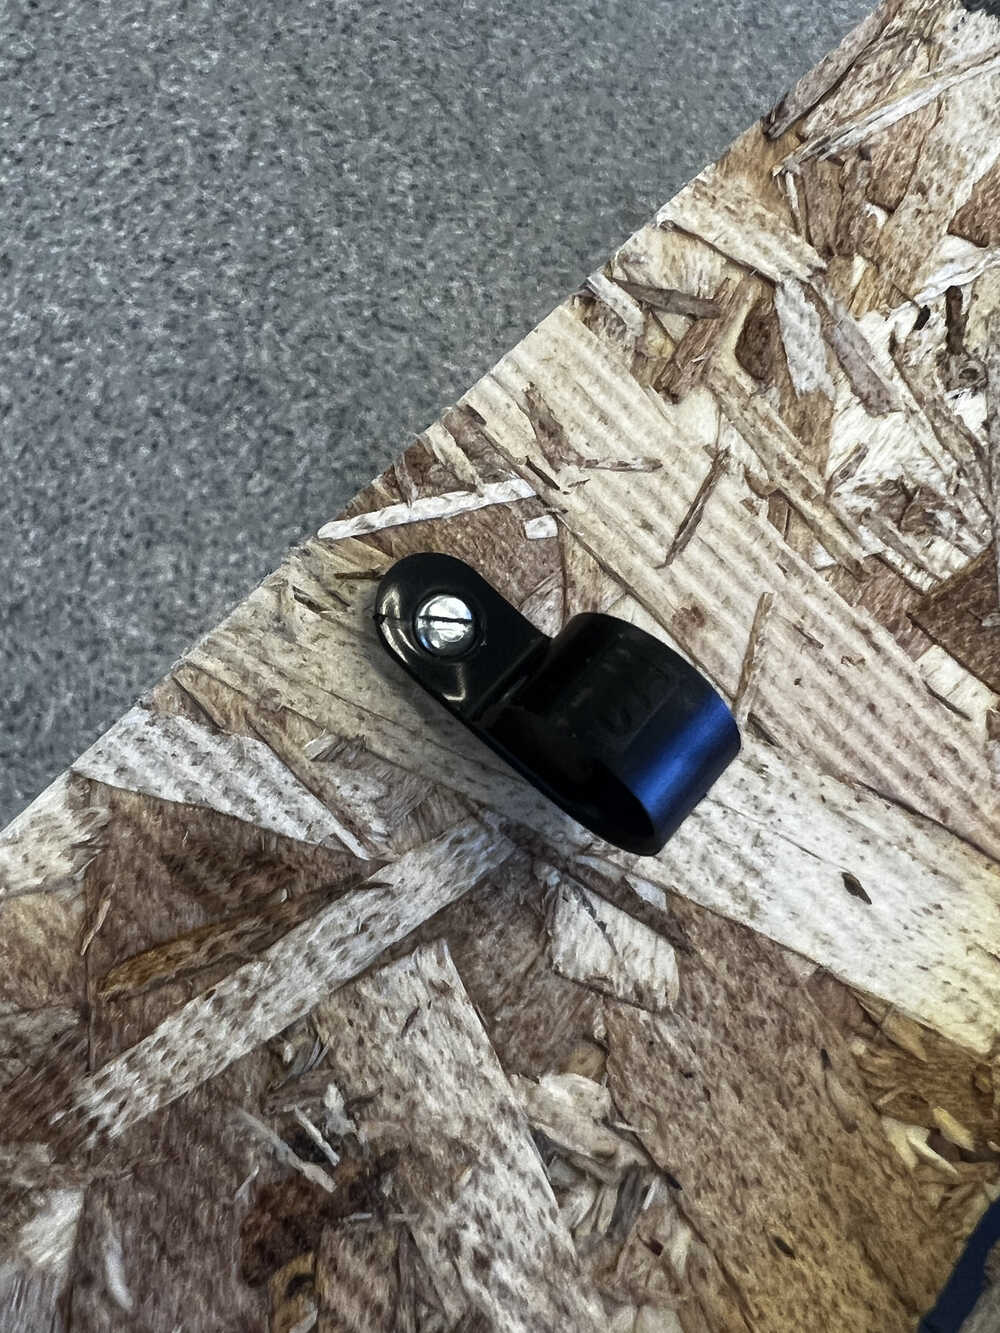
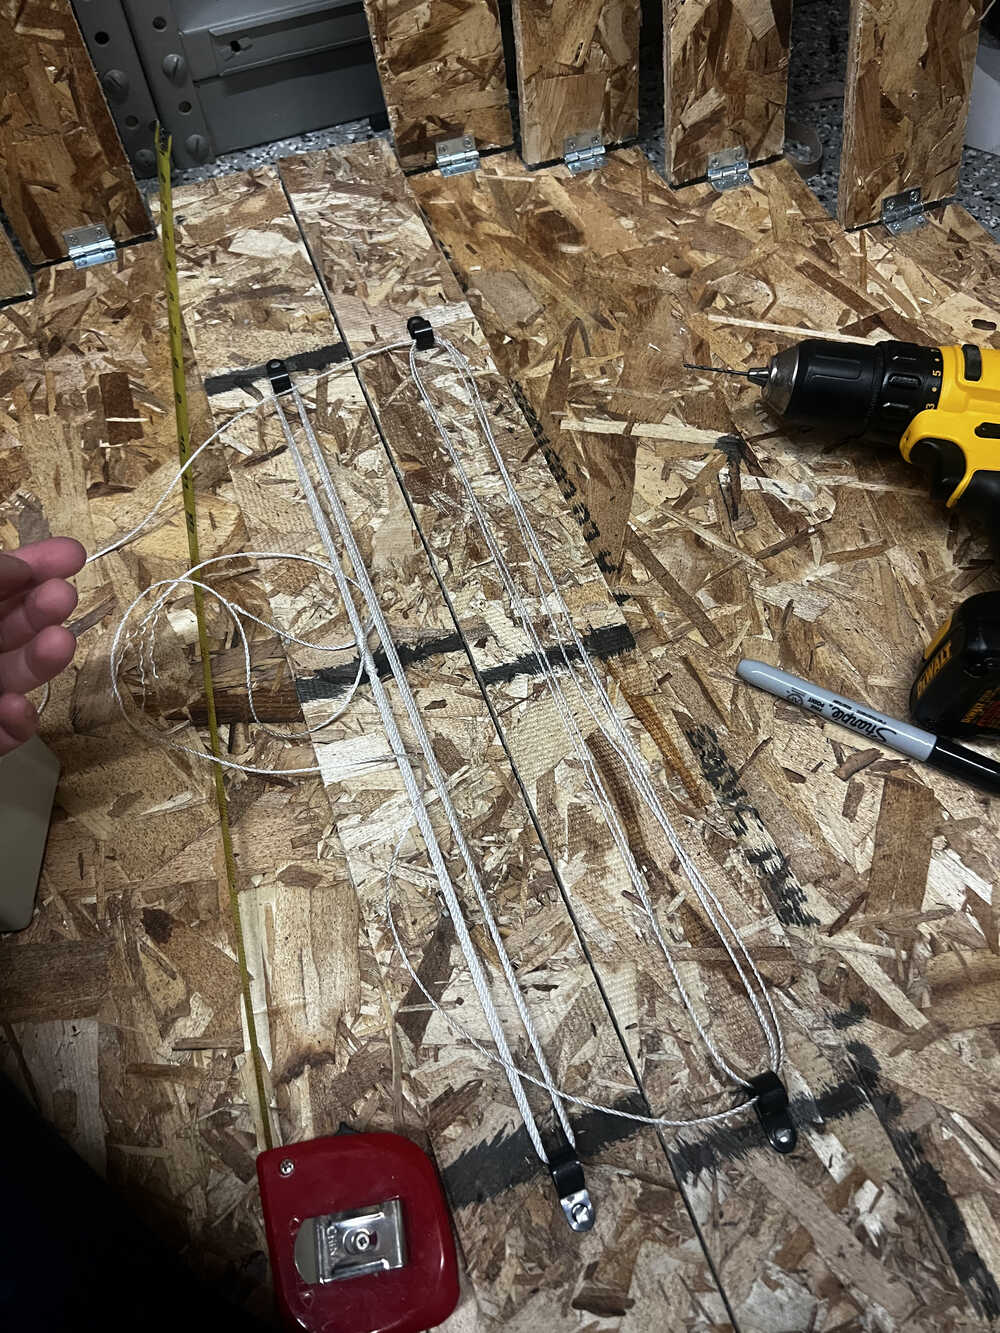
A solution I chose was to set up a system of ropes on the back of the table, which will be doing essentially the same thing as the holes in the previous solution, but doesn't put so much load on the OSB.
It took a while to screw the holds (which I think were initially cable holders?) with the smallest screws I could find, also pre-drilling.
Regarding the placement of the ropes, it was very much eyeballed, but the main constraints to keep in mind is: 1) the bottom hold of the rope system has to be on the same line when unfolded, the top hold has to be on the same line when folded. The leftmost and rightmost bars should ideally have only one hold and be fixed in place (not in my case, but more about it later).
For the ropes there might be several solutions, but important points to keep in mind - they shouldn't be stretcheable, they should be as tight as possible. Also the holds broke a few times because the screws were tiny (as much as the thickness of OSB allowed), so a bit of extra troubleshooting of unscrewing and fixing screws.
But overall, it worked! -
"Make Something Big" - they said
Now comes the next problem - as I was assemblying the system and realized that the table ended up being huge. I mean, I know that the point of this week was to make something big, but my personal motivation of this table was to save space.
So here comes the next decision - cut out the outer level of the system. And I mean right and left of the bars and part of the base that was connected to it. Doable? Definitely, very last minute though. And also it had a lot of wobbly moving parts at the time, so the possible way to go was to handsaw it. My first time using a handsaw(!).
-
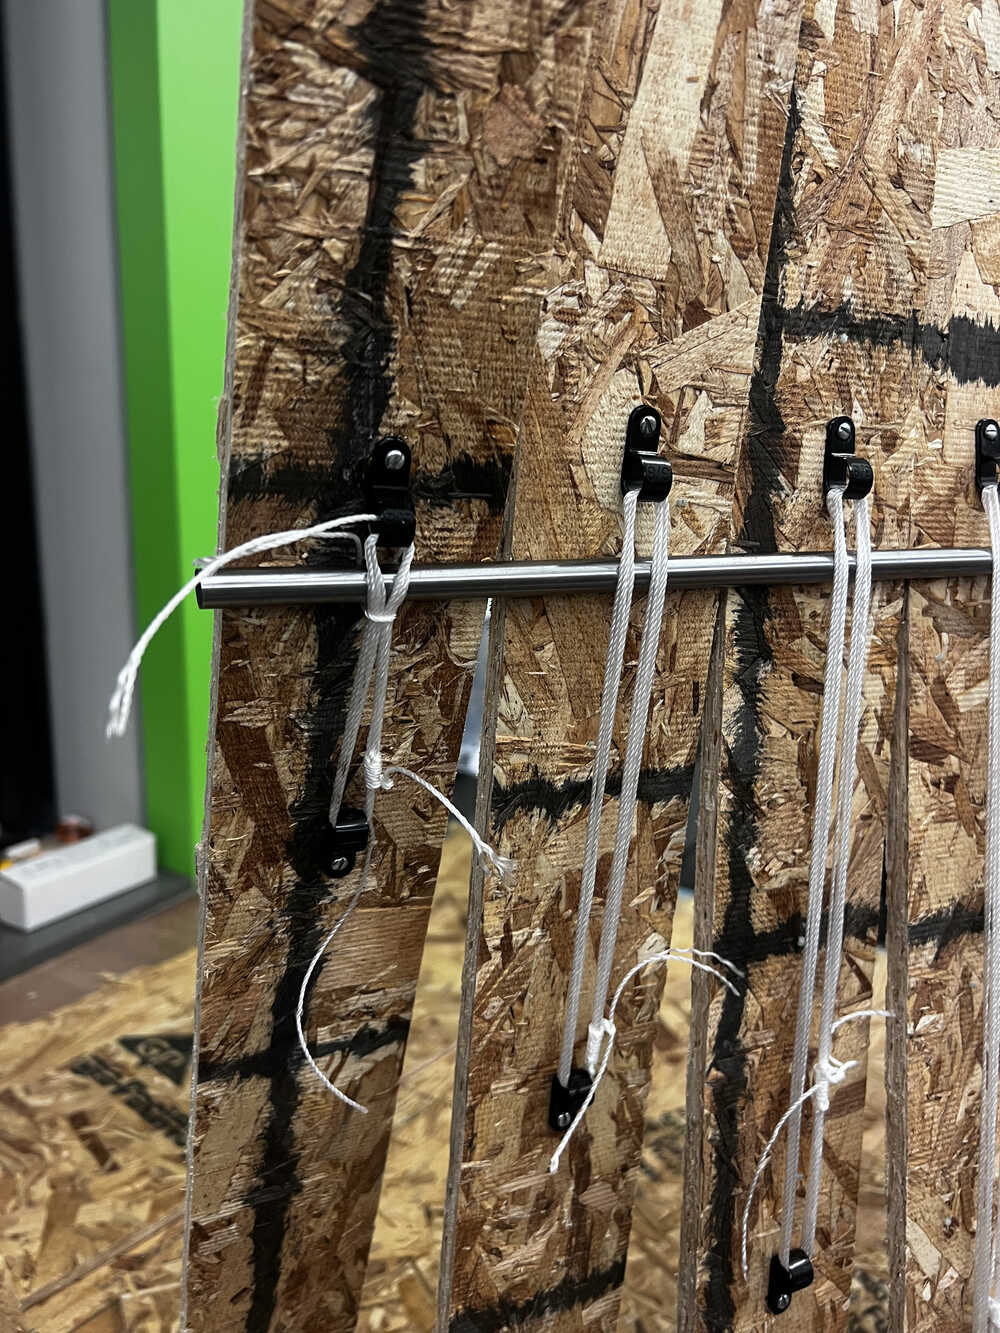
Making it Flow: Finishing Steps
And at the end of the day, I planned to have a rope going through and fixating it, but Anthony suggested that I use a metal rod instead, which was also perfect length by accident.
And last but not least, because my side bars were no longer one-hold I had to keep them together, and I could have moved the hold, but it was easier to just fixate the bar where I wanted it, and I called it a day (or rather a night 'cause it was 1am'). -
Final Result
And here is the result. Separate thanks to Anthony for all the troubleshooting and support this week!
-


Future work
I would like to continue learning woodwork, perhaps on better wood next time. I really enjoyed being able to make something big and useful, and I would like to continue doing that.
Top bars, CAM
Base of a table, CAM