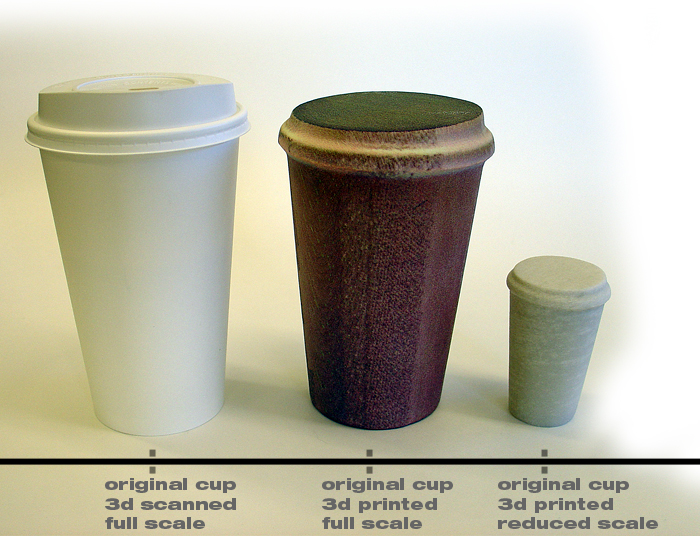
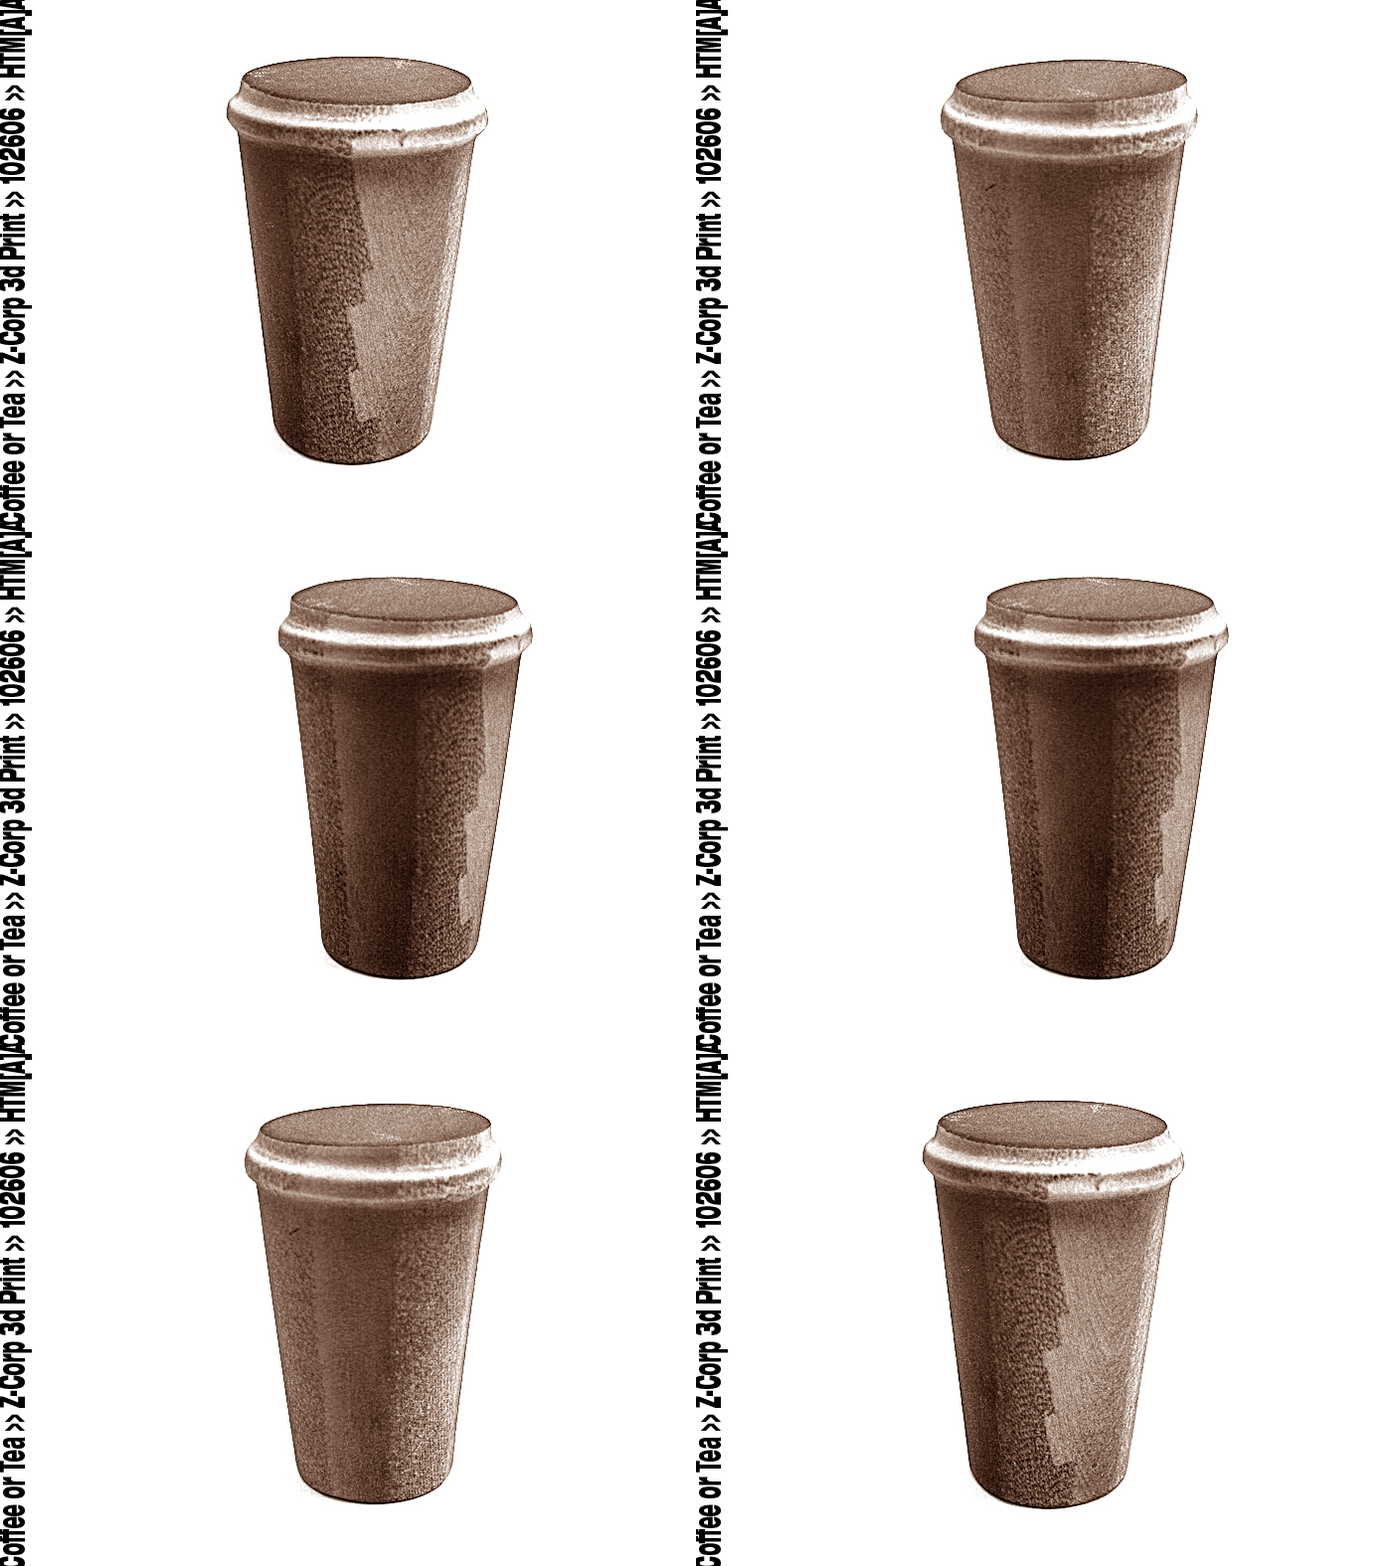
The sixth project was an exercise in 3d scanning and printing.
Objective: 3d scan an object, make a composite, print the object
Materials: Konica Minolta 3d digitizer, Zcorp 3d printer, FDM Stratasys 3d printer, geomagic software
Procedure 1: 3d scan an object
- Open Geomagic
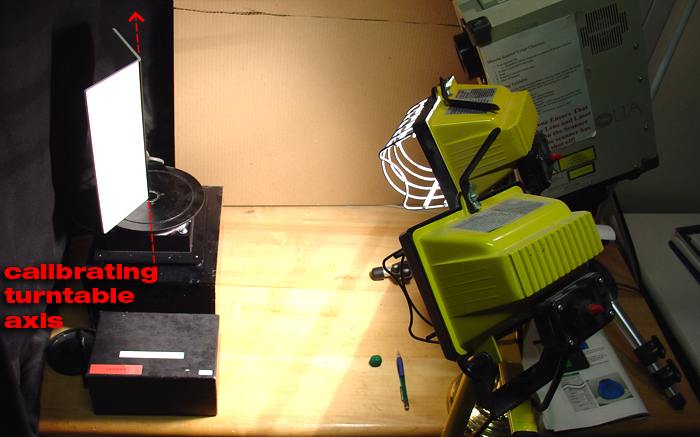
- Click blue sphere icon to begin calibration
- Don't calibrate turntable axis!
- Set white axis board (black spine) on turntable with pins in the table's groove
- Check "Show image window" and "enable streaming video" to watch calibration
- set rotation steps to 90 degrees (goal: minimum number of scans possible)
- update range and color
- if the preview looks good, close window and click "scan" (scanmode = multishot)
- for each successive scan, hit "next." hitting scan again will restart the scanning process
- highlight and click "alt + 1" to look at a particular scan
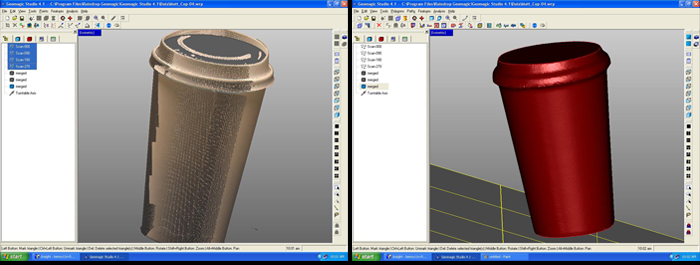
- select all the scans you want to composite, right click and go to "merge"
- make as many "merged" objects as you need, and delete those you don't
- save regularly...
Procedure 2: Clean the merged 3d scans
- Go into the Polygons menu and click "reduce noise" to clean the merged scans
- also go to Polygons menu and click "clean"
- to fix holes go to Polygons menu and click "fill holes" or "decimate"
- right click on the screen and click "clear all" to deselect everything
- go to Polygon menu and click "section by plane" to cut off geometry. align plane with X, Y, or Z to change rotation of cutting plane. intersect plane, delete intersection, and close
- right click on desired "merged" icon, save as .stl and .vrml
Procedure 3: 3d print the object (Zcorp)
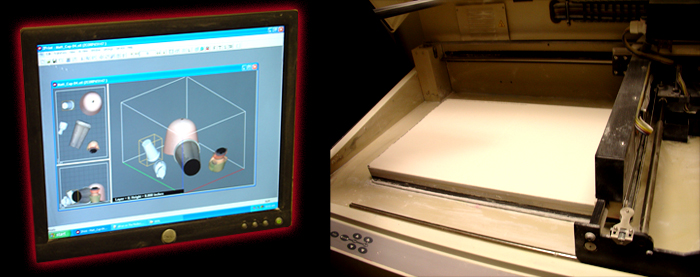
- Prepare/fill the "build" and "feed" troughs using "spread" to flatten the powder
- clean area of print heads w/ deonized water and wipe down with paper towel
- Open Zcorp software
- Import .vrml (use default settings)
- fast render - NO
- click transform > justify to force a piece to a certain position in the trough
- hit "3D" icon to print
- go through the preparation steps (with reference images)
- the machine will warm up, then begin to print
NOTE: manually select excess geometry with the mouse, then type "delete" |
