Light Showers:
This week was all about creating an interphase with one our input or output devices. I make a few new boards in order to start testing out parts of my (new) final project.
New final project!
I'm really in love with this one. I think this is it. Ready? It's a hat that changes diameter with the intensity of light! So the brighter it is, the bigger the hat gets. My thoughts kept jumping back to clothing or something you wear that reacts and responds to your movement. I bought an awesome fabric that increases conductivity when stretched, and I have been looking at the work of Hussein Chalayan, and I love the idea of personalized objects and objects that learn about you and react to you. And I came up with this.
All I need are some phototransistors and a DC motor that somehow, with relatively few rotations, will create a significant change in the diameter of the hat. I'm extremely excited because it requires quite a bit of mechanical design, too. I'll need some kind of adjustable frame, and a light but opaque fabric. I also want to make it beautiful.
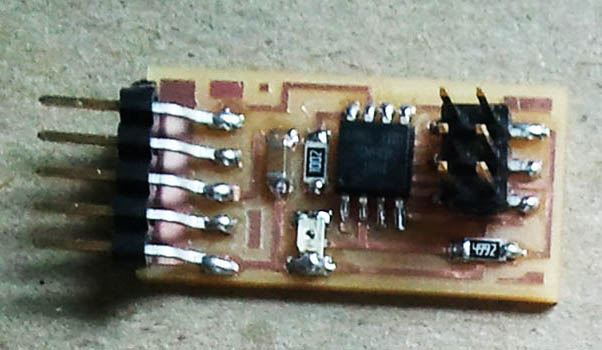
The Little Circuit:
First, I made Neil's photransistor board to become more familiar with it. Everything went smoothly. The only problem I had was finding the right phototransistor and placing it in the correct orientation. The phototransistors in the Architecture Shop were different from the one in Neil's picture. I tried one of them anyway. It looks like and LED, and had a green line line an LED does, so I assumed I placed it in the same way as I do an LED, with the green part toward ground. I tried my board and was getting values that were totally out of control. I took of the phototransistor and soldered it back on in the other direction, and it worked beautifully.
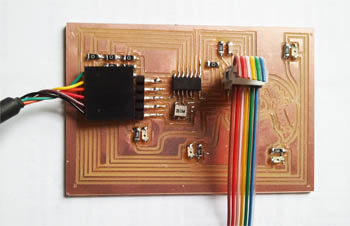
The Big Circuit:
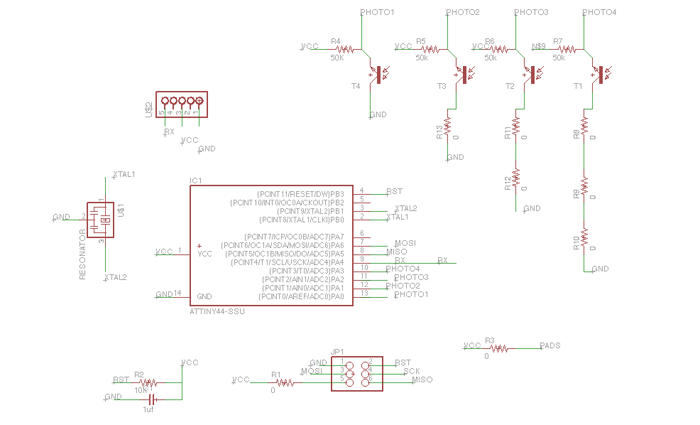
This was my first time designing a circuit in Eagle from a blank screen- totally from scratch. It has an AT Tiny 44, four phototransistors spaces out as fas as possible, and 20 MHz resonator. In the final one, I will also need a DC motor and hopefully a button and LED so that it can be turned on and off, and the LED will indicate that. I also bought some scrap solar cells that I want to play with, and if time permits, integrate them into my hat.
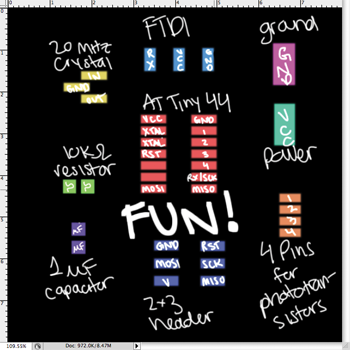
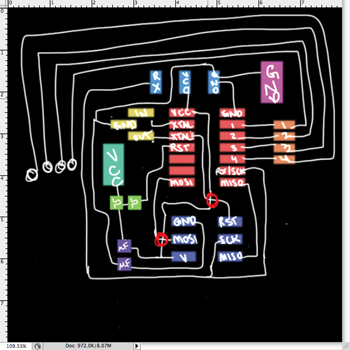
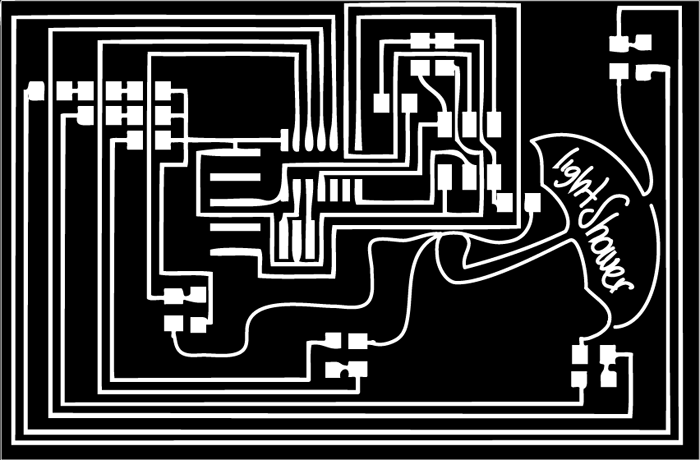
I needed a way to quickly draw and redraw traces. I needed some kind of drawing board. I tried the blackboard in my room, but that became tedious very quickly. I decided to make representations of all the components on Photoshop, and use my Wacom tablet to easily draw and erase traces. I was also able to compare different attempts by drawing them on different layers. After 4 hours of playing on Photoshop, of drawing and redrawing traces, I finally found a way to route all my components such that I could place the phototransistors where I want them. Here's what the process looked like:
The many attempts:


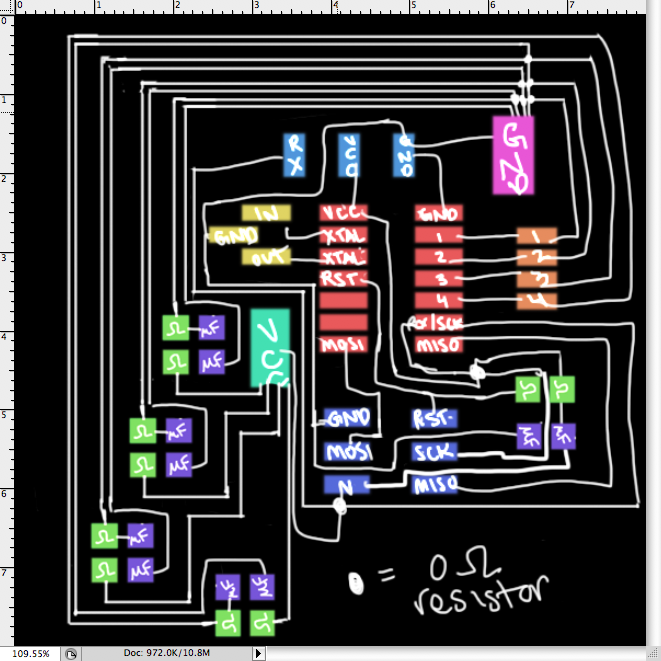
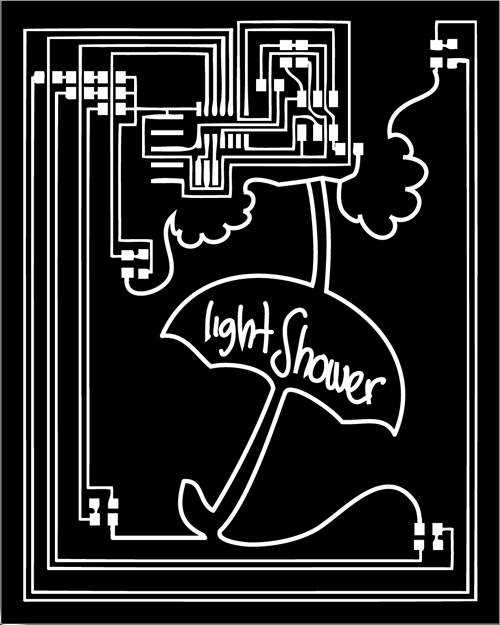
The final design:
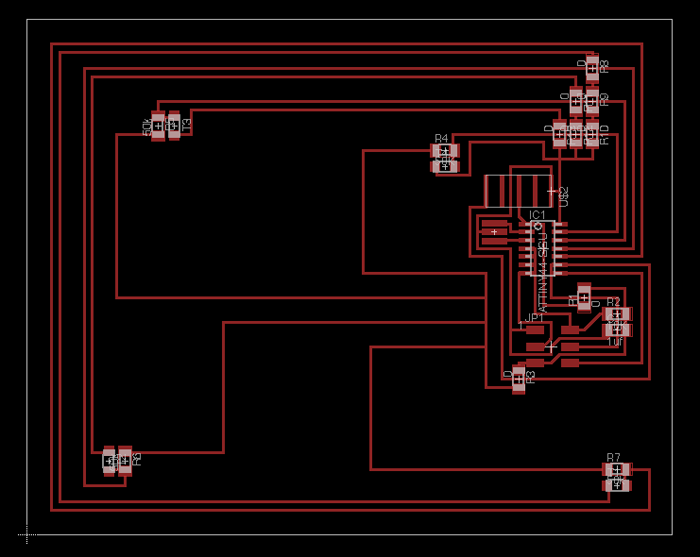
Making the design on Eagle:
Having some post Eagle fun in Illustrator!
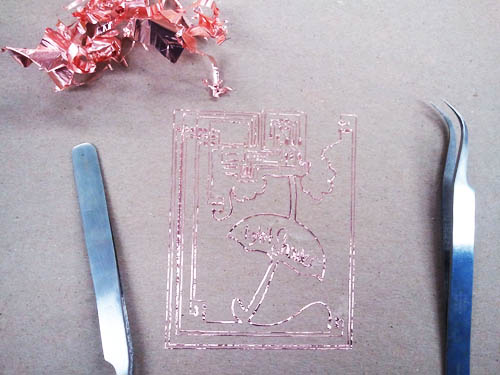
Modella and Vinyl Cutter files, respectively:
Becoming a Vinyl Master!
Only two attempts at the vinyl cutter. And it came out beautifully!
Settings:
- Force: 45
- Speed: 2.5
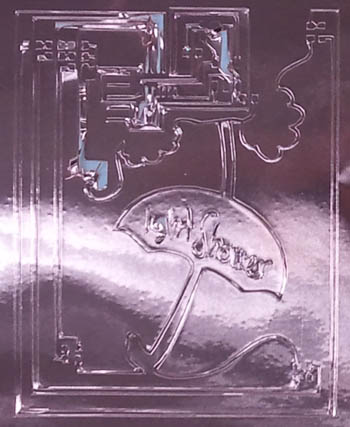
Success!
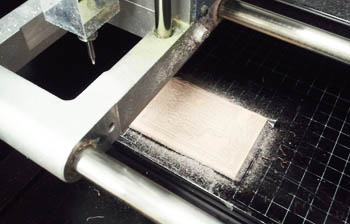
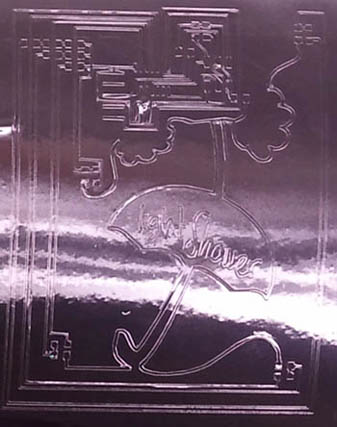
On the Modella:
So my vinyl circuit was to large to fit on the copper boards, so I made some quick readjustments to make it fit. The milling took a long time- on the order of an hour. Of course, I was milling out the entire board, and I assume the curves also took longer. Luckily, it was 5AM, so nobody was in line to use it.