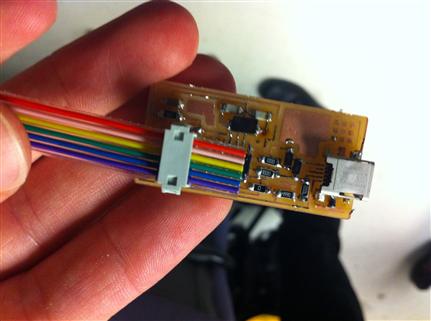
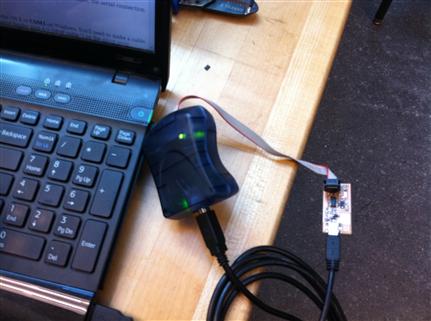
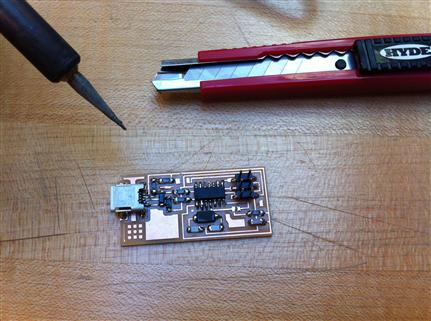
This week's assignment was to make the FabISP in-circuit programmer.
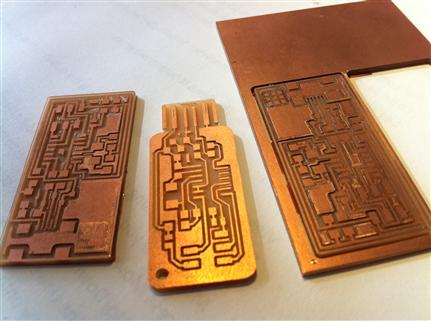
The first step was to mill the board on the Roland Modella milling machine. Fab Modules is pretty easy to use, and this online tutorial helped a lot. I used a 5mm offset for both X and Y. Milling the traces for a couple of boards took 30 minutes, and cutting them out using the 1/32" bit was less than 10 minutes. At 10:30pm on Tuesday it was time to call it a day.
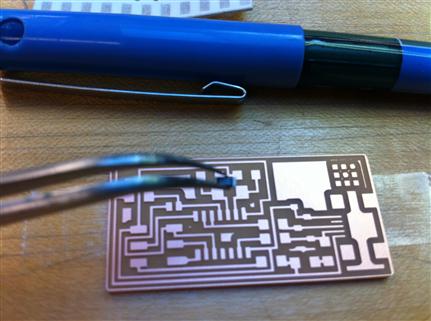
During the stuffing section on Wednesday stuffing I glanced at another student's board and realized mine was no good: the traces weren't deep enough. This is what happens when you don't press the bit hard enough against the board when you tighten the screw. So I headed back to the Modella and milled a few more boards, thinking it would be useful to have some backups. Wishing to get everything done before Rosh Ha'Shana, I started stuffing the boards right away (spoiler: I didn't get it done by the turn of the Hebrew year).
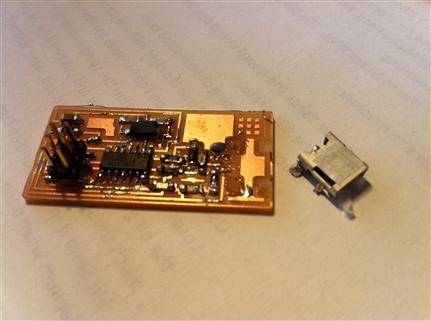
"Boy, these parts are tiny" was my first thought when I sat at the soldering station. Soldering turned out to be an unforgiving task, and I quickly learned to appreciate the copper braid. I bet I used more copper braid than solder on that board. Eventually I managed to solder (almost) everything, but couldn't attach the USB connector properly. After removing the connecter I found out why: the bottom of the connector had two tiny legs instead of being flat. Apparently there are different connectors for different boards type, so make sure you pick the right one or just snip the legs off. Unfortunately, when the connector came off it pulled along some of the board's copper coating, rendering the board useless.
I started over using one of my backup boards. Soldering was a lot quicker the second time, partly thanks to Carolina Soto's tutorial from last year, which I read overnight. I was just about to finish when Costanza, inspecting another student's board, noticed we were all using the wrong controller part, ATTiny84 instead of 44. Moritz came to our rescue, demonstrating how to use the hot air gun to de-solder and re-solder the controller (update: Neil told us later that the 84 is just like the 44 only with more memory. It can be used too but the makefile settings should be adjusted). I was finally ready to program!
Board was programmed using Costanza's Ubuntu PC because as far as I know, nobody managed to program the FabISP using Windows this year. Normally I would have tried to figure it out myself, but since I had already decided on getting a Mac I didn't bother. You finally win, evil empire!
After removing the jumpers, I decided to hone my soldering skills by stuffing yet another board. Now let the seance begin!
