I plan to make a LED-embedded glass for my final project, so I decided to cast a smaller glass for this week’s assignment. Foam was the material of choice as the wax bricks weren’t deep enough even for a shot glass.
Design
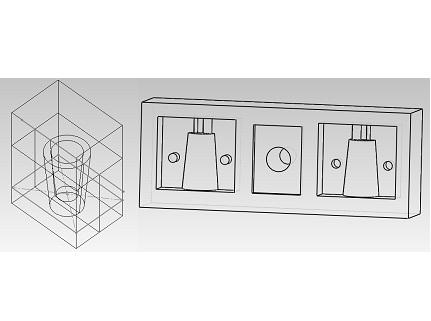
To make the biggest glass I could given the size of the foam, I designed a three-part mold. This took quite a while in SolidWorks. I started by drawing the final object and subtracting it from a boss-extrude to create the negative mold. I then split the combined object into three part files, which I imported to an assembly file to create the positive mold. I saved the assembly as a new part to add the sprue, vent, and registration marks, then exported to STL for the ShopBot. I am indebted to Yoav for helping me dive into SolidWorks and for constantly reminding me to take into consideration the limitations of the milling machines.
Machining
The ShopBot and I have already established a fairly intimate connection last week, but PartWorks 3D wasn’t as straight-forward as its 2D counterpart. Justin from RPL helped me with some of the trickier parts (see tips below). He also introduced me to rastar angles. I used the fastest settings on the foam and PartWorks estimated roughing and finishing at less than minutes total. Roughing was OK but finishing seemed not deep enough. Realizing I had set the cut plane depth to Center, I corrected it by running another finishing path with the cut plane set to Bottom. Also used this as an opportunity to run with a Y-axis raster angle.
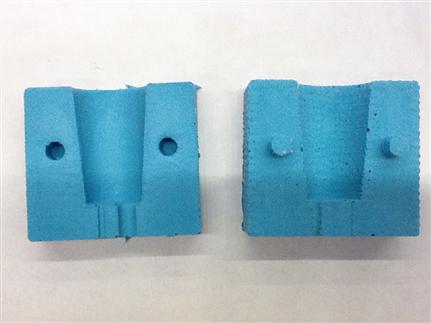
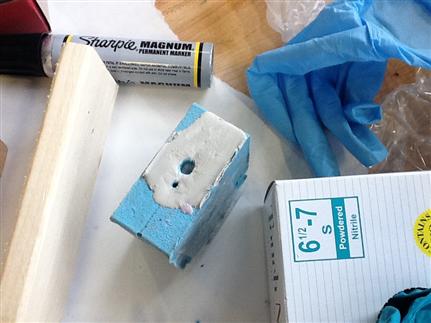
After milling was over it occurred to me the sprue wasn’t wide enough, so I corrected my SolidWorks design and milled again. The foam was probably not placed evenly on the surface because the collet kept pressing it when the mill went down to finish the 40mm deep hole in the middle (see picture).
Making the Molds
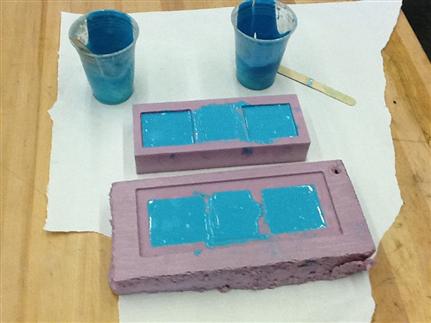
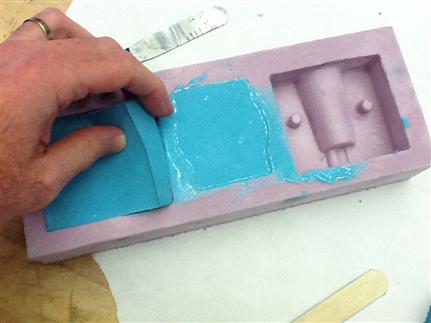
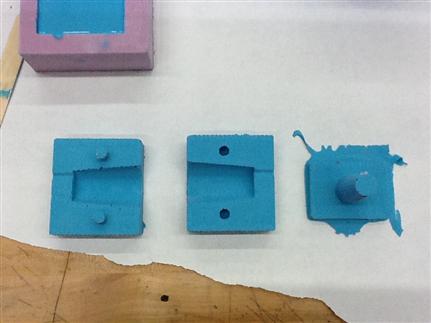
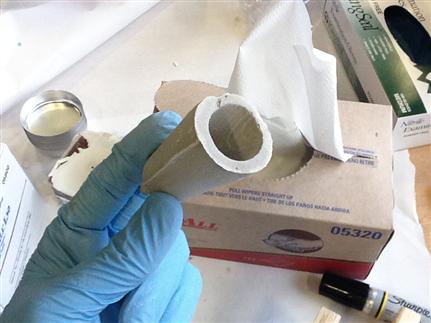
After eight hours in the shop I had two molds: one with a very thin sprue (henceforth mold #1) and another slightly damaged by the ShopBot’s head (#2). I used the heat gun on #2; the heat got rid of the fuzz but also slightly melted the top layer, so I’d recommend using it from a longer distance. I mixed OOMOO 25 parts A and B using a 100:130 weight ratio and filled the molds. Then I waited. And Waited. And waited a little longer. Finally I peeled the silicone molds out of the foam. Surprisingly, the came out easily and only one registration mark was torn. The heat gun had certainly left its mark (see picture), giving #2 a smoother look. Mold #1, however, was filled to the top with silicone and had better proportions.
Casting
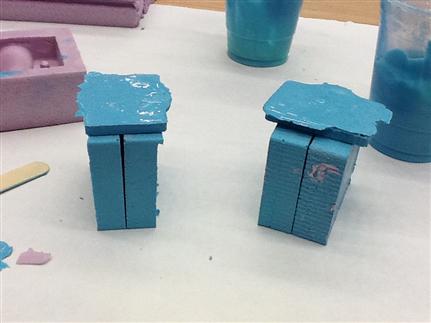
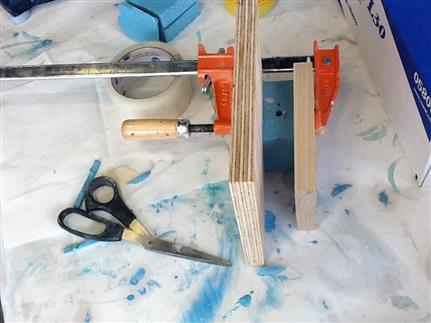
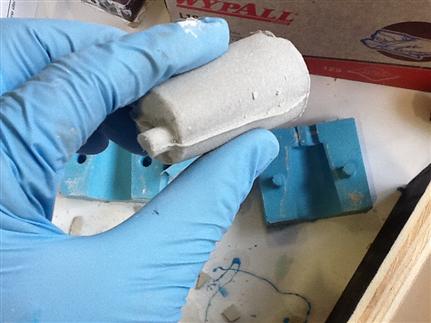
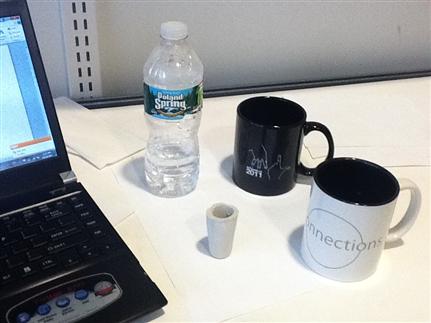
Pressing the three pieces of the mold together was somewhat challenging; I got the best results using medium-sized clamps and two similarly-sized boards of plywood. I placed the part with the big extrude at the bottom and had the clamped squeeze it do. I poured HydroStone mix into mold #2 and tried to fill #1 with DryStone mix, the latter turning to be too viscous for #1’s tiny hole. After a short while, mold #2 produced a plausible outcome (see pictures). The sides of the glass aren’t even because the extrude part wasn’t placed exactly in the center of the “glass”. Such fitting is easier with mold #1, whose pieces came out the right size. A little leakage resulted in two stripes on the sides; next time I'd press the molds harder together.
