Scanning
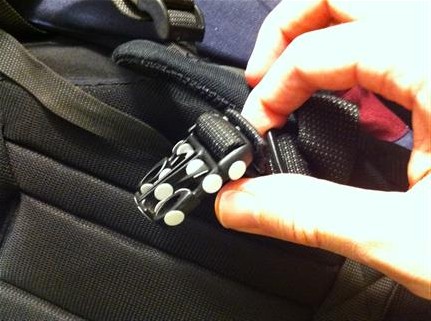
The waist buckle of my favorite backpack got broken recently, and this week's assignment seemed like a good opportunity to reconstruct it. The plan was to 3D scan another, smaller buckle, resize it in SolidWorks, and 3D print the result. Estimated cost: at least ten times more than the price of that buckle at REI. Estimated time: about a thousand times longer than going to REI. A How to Make product that I could actually use: priceless.
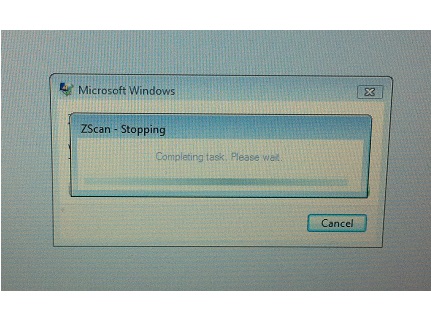
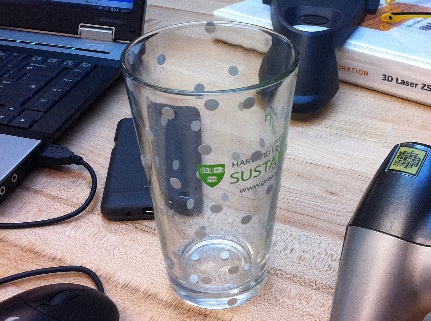
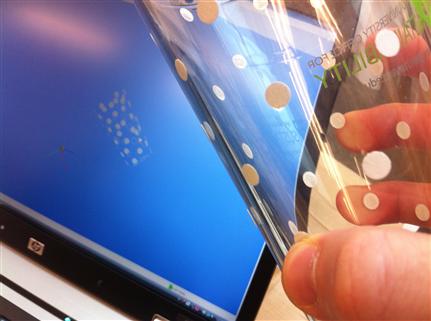
Unfortunately, the ZScanner 700 had different plans. Whether I used the plate or placed the reference points directly on the buckle, I couldn't get the object to scan. When I finally got something to appear on the screen it was an error message (see photo). I guess the buckle was too small for placing the reference points properly (ZScan needs to see at least three points at any given time), and perhaps too dark to show against the black plate. An attempt to scan a pint glass, like the one I wish to cast for my final project, failed as well. The reference points came out very clear, but it seems like the scanner can't do clear material (see photo).
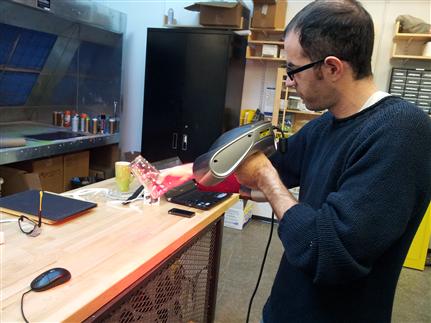
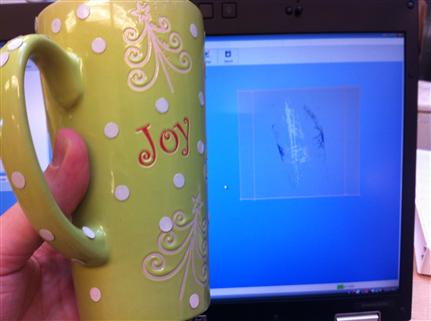
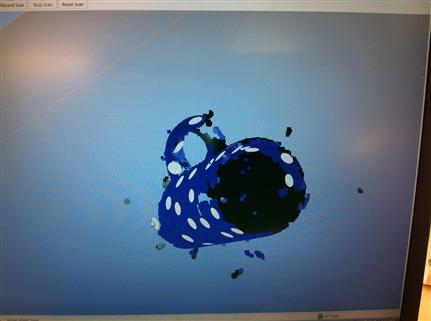
Eventually I had partial success scanning a coffee mug.
Printing
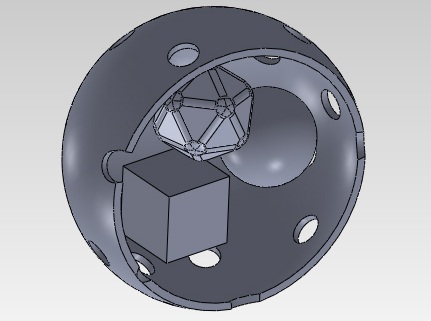
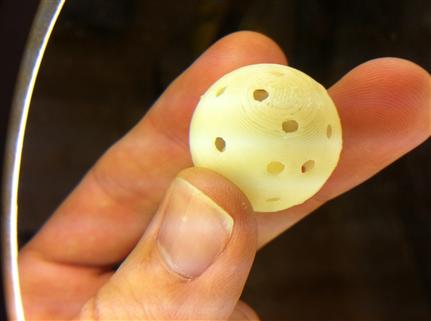
Unable to scan the buckle, let alone print it, I needed to come up with a design of my own. I found it quite fascinating that the ABS printer could print nested objects that don't touch each other, and wanted to test it. In SolidWorks, I designed a hollow sphere by subtracting a full sphere from a slightly larger one. Using the Hole Wizard, I punched holes in the sphere (used Hole type: Hole and End Condition: Up to Next). In the sphere I placed a cube, another sphere, and an icosahedron. I first created a separate file for each part (Rob was kind enough to share his icosahedron design) then place all four files in an assembly. To create the STL file, I saved the assembly as a single part then saved it as STL.
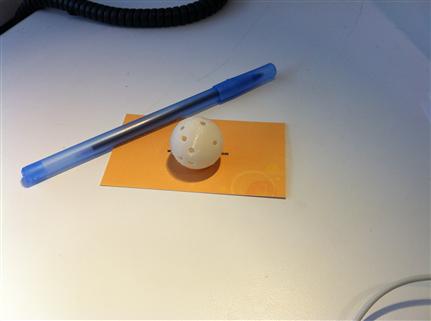
My sphere was ready on Monday morning, and after a quick rinse I could examine it closely. Brilliant! It's hard to see in the photos, but there are three smaller bodies inside the hollow sphere. Wish I'd made more holes so they would have been easier to see. The holes didn't come out as ciruclar as they should though.
While waiting for my job to print, I updated my final project plan.
