Week One - Press Fit Construction Kit
Schooner Hull
Design, make, and document a press-fit construction kit.
It took me all semester to complete this week-one
project, as I gradually got a handle on design tools. The plans are of the Bill Langan designed
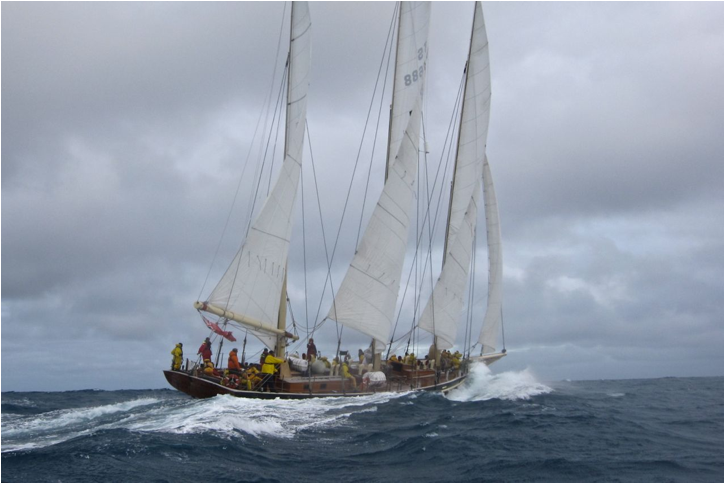
“Spirit of Bermuda” a tall ship aboard which I served as Captain or three
years, and I just love the lines of her hull. The idea seemed simple – take the
lines that correspond every second longitudinal section and every third
transverse section from a hull plan, notching the longitudinal from the top and
the transverse from below – after all, they were already lined up
accordingly on the builder’s plans.
Ultimately it was easier to use some of the lines to loft a 3D model in
rhino, then slice it up using grasshopper. It took me three months of learning
curve (aka well meaning mistakes) to figure that out.
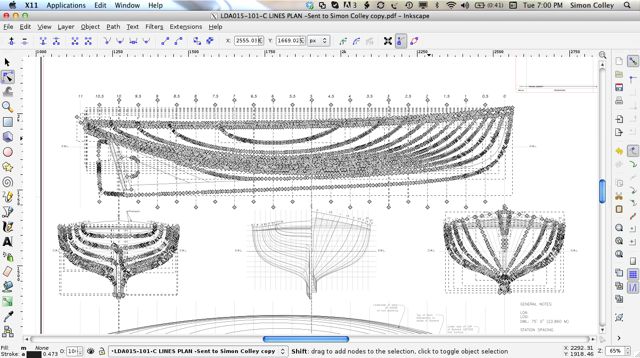
I tried using Inkscape,
but with limited graphics skills I was spending too much time essentially in
trial and error mode. It was taking a long time to select the various curves
and I found it difficult to manipulate them.
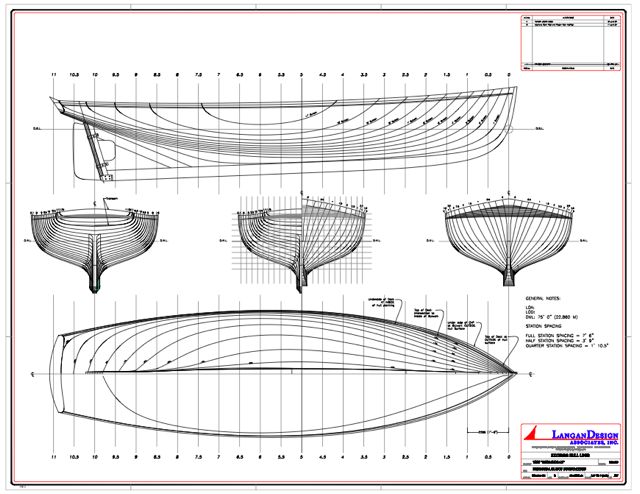
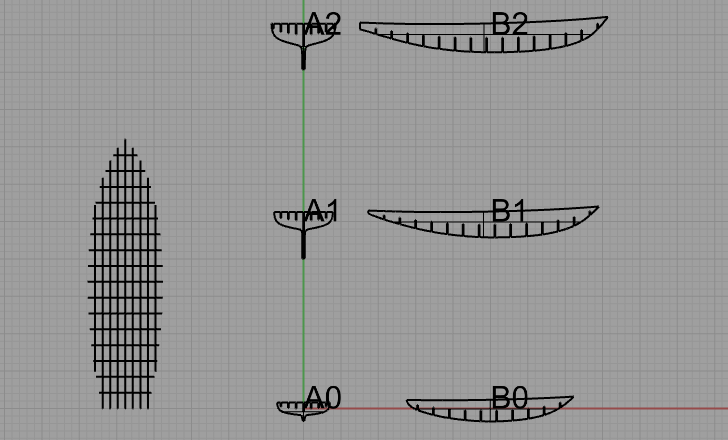
Take Two Managed to get a .dwg file from Langan Designs and set about teaching myself AutoCad for Mac. As seen below I lifted the longitudinal and transverse sections, I just needed to create the notches and lay it out. Right? Not that simple.
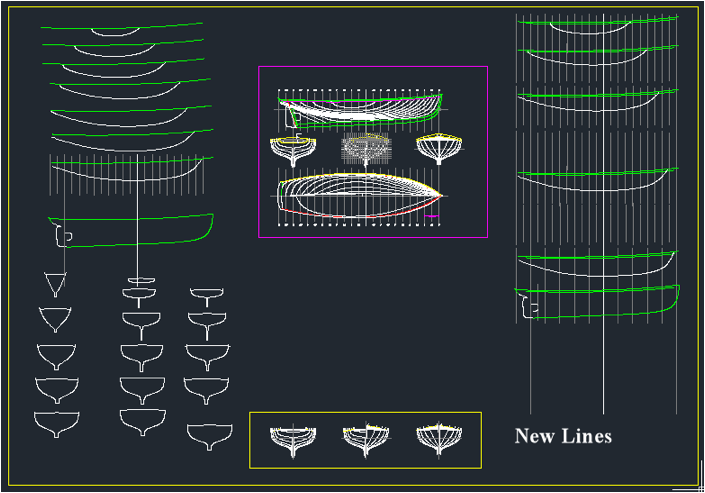
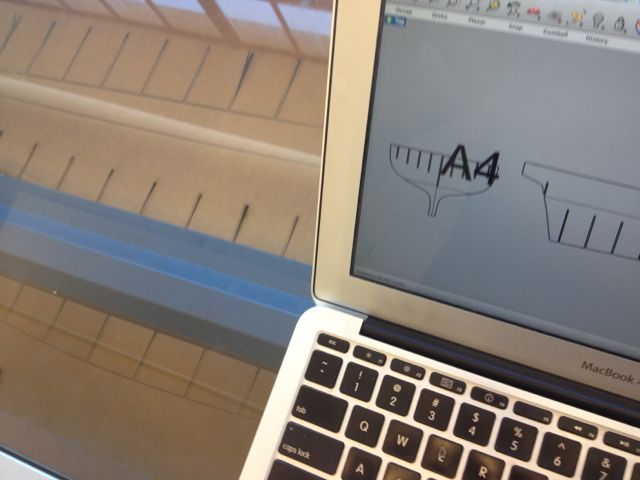
Eventually I threw myself into learning Rhino, and figured if I could just rotate the curves into alignment and space them correctly, the rest would be straightforward. The more lines the better right? God no.
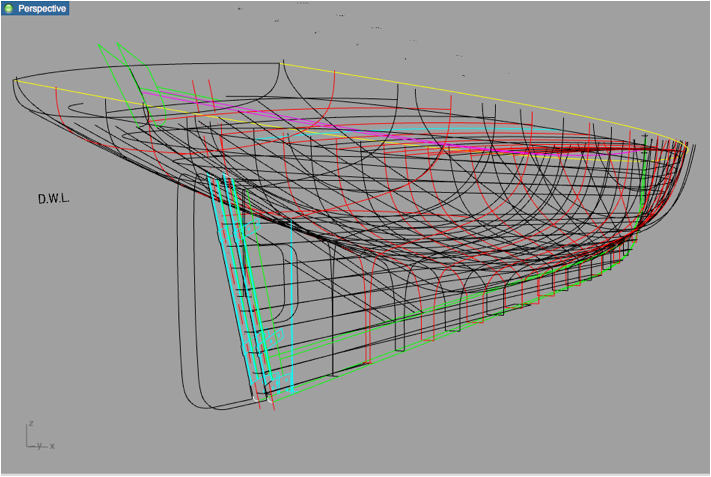
What you see above, took days.
As a press fit project, this went to the back-burner, but I kept working on the hull as a “Make Something Big” project for Week Seven. Trying to loft the curves. Mistake. Rhino is pretty effective at doing this with just the transverse sections – the additional curves just get in the way. I also learned that there were up to 2000 control points for every curve (because I imported a CAD file) and that there only needed to be about 20. There were some exceptions, such as where the turn of the keel protrudes at a hard angle, but rebuilding these curves made a big difference. I was able to create a decent 3D model of the hull in time for Composites in Week Nine, to use as a blank.
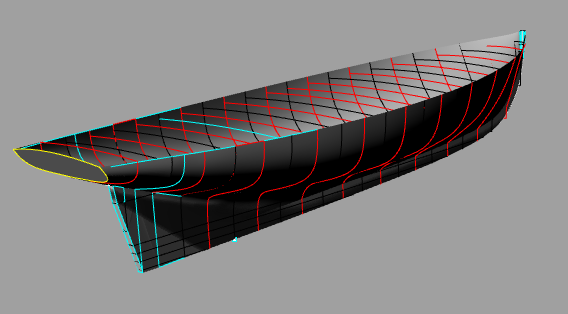
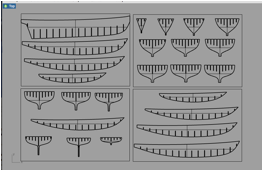
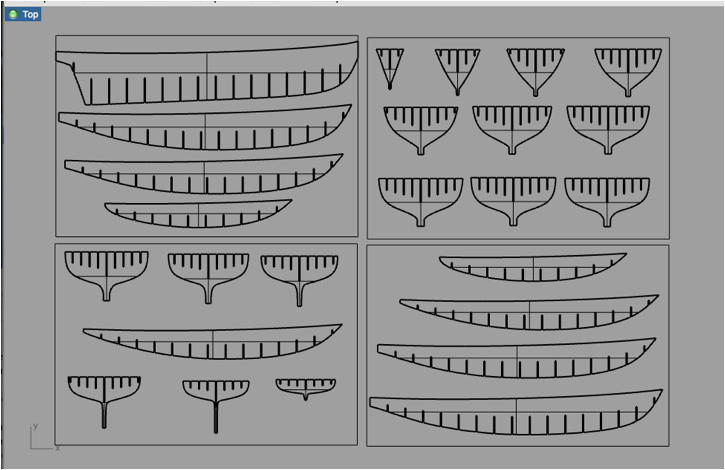
I was advised to stop thinking of using the original lines (which had seemed the best option, as they were already arranged in the way that they would intersect as a press fit). Instead James showed me how to slice up the 3d model using Grasshopper, a Rhino plug in.
From there it was a simple case of creating 36” x 24” rectangles (to fit the Epilog laser cutter) and moving the sections into position. Ultimately those alignment marks were removed (or they would have been cut out also.)
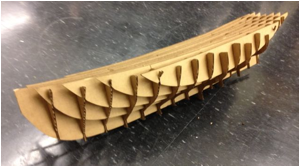
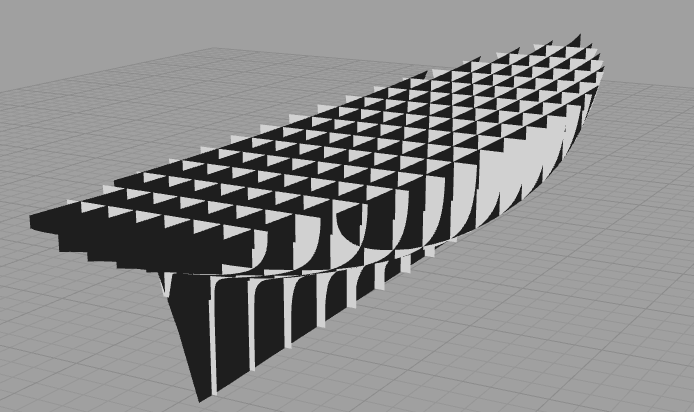
From there to the laser cutter.
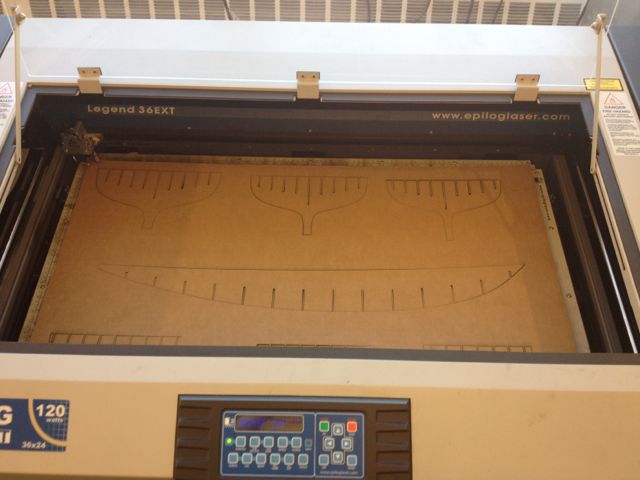
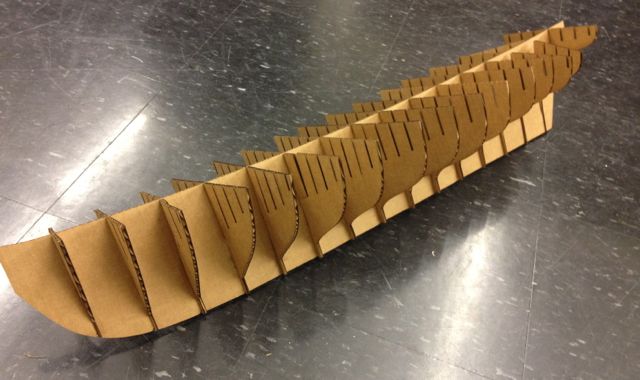
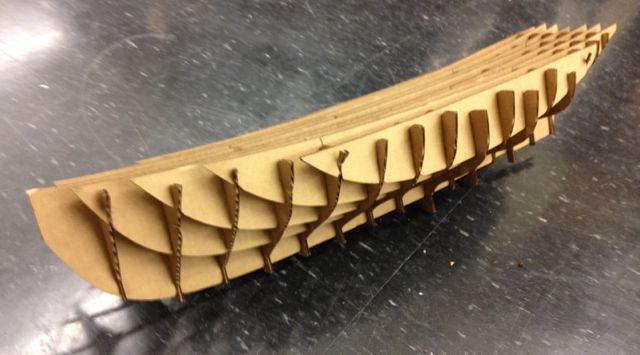
As you can see below, there was just a little too much friction, and some of the sections refused to go all the way home, despite cutting chamfers, and running a pencil along the inside of the grooves. Both of those did help, but not enough. I need to just cut it again, with adjusted grooves. Grasshopper is not yet available for the Mac version of Rhino, so I need to borrow a windows machine (My Macbook air does not cope well with well with Rhino and Grasshopper running on a WMware version of windows.).
And the original.