| [02] ~ PRESS FIT CONSTRUCTION KIT |
|
This week we were tasked with creating a press fit construction kit using the laser cutter and some sheets of cardboard. As part of my research in the Center for Bits and Atoms, I'm working towards building a "digital material assembler." This assembler will be capable of assembling discrete pieces of material (much like these press fit pieces) into any arbitrary object. So, for me, this assignment was a perfect introdcution into the world of "digital material" and got me thinking about ways to automated the assembly of these kinds of objects After reading George Popescu's paper on the GIK (Great Invention Kit) I decided I wanted to play around with GIK myself and to perhaps try integrating electrical circuits into the pieces themselves. I first modeled the GIK piece in Solidworks. I know Solidworks is a little overkill for such a simple parametric piece but I wanted to be able to visualize a 3D assembly of the components before laser cutting. My first idea was to make a large cube and include circuitry to control 36 LED's on the outer wall. The idea being that it would be possible to multiplex the LED's in a grid and make them individually controllable with 15 I/O lines. 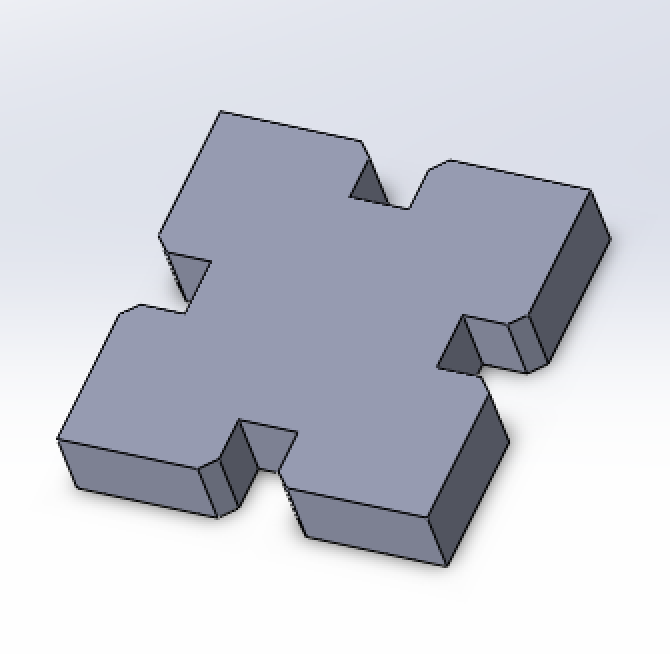 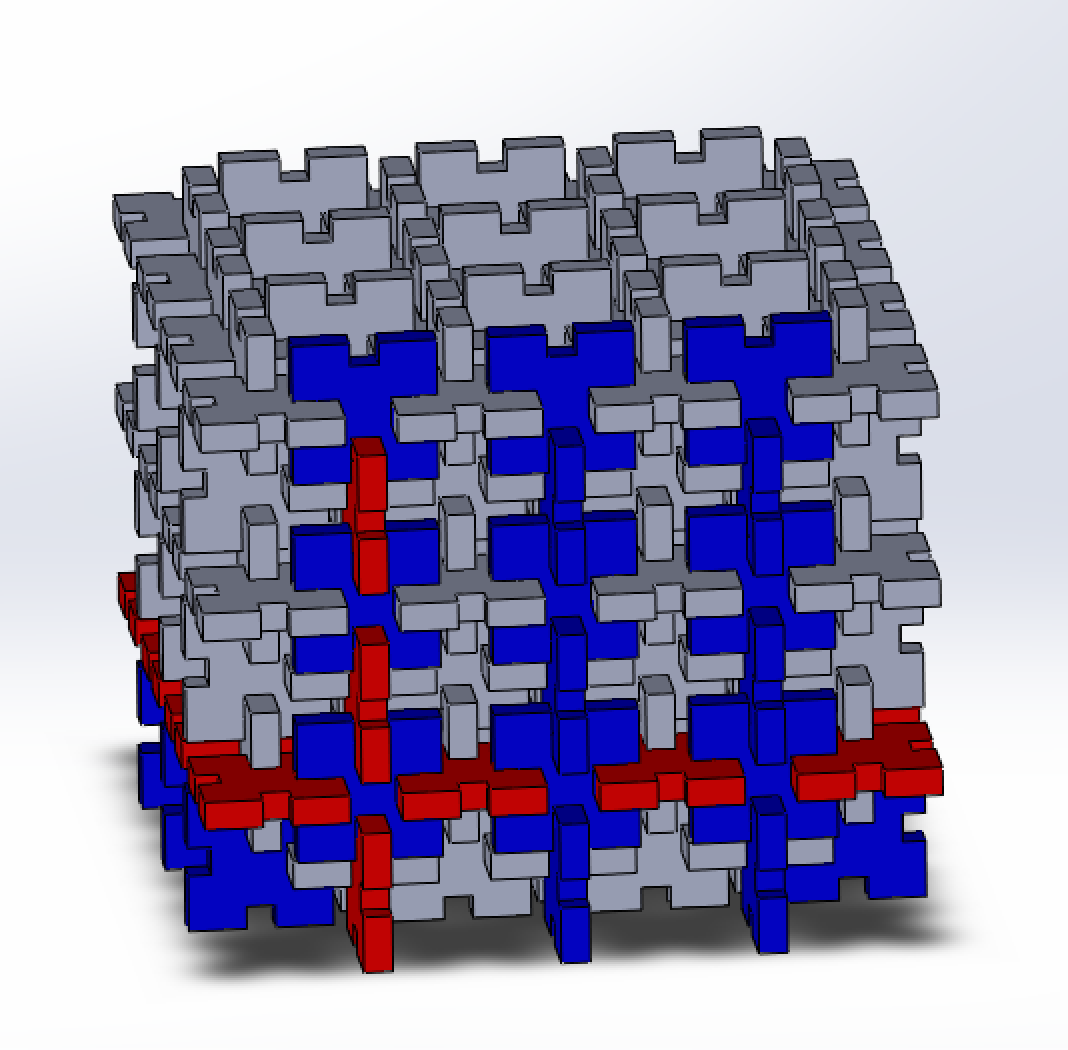
(left) GIK piece. (right) GIK cube. Blue and red are different types of conductive pieces. To be able to make any arbitrary electrical path through the object, I figured I would need two types of conductive pieces:
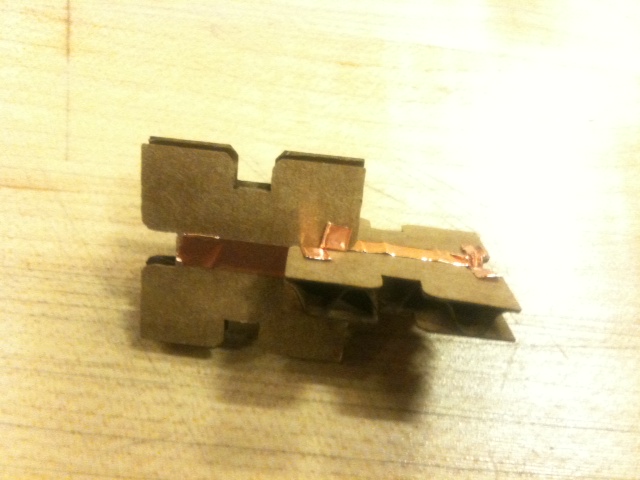
I used the vinyl cutter to cut out strips of copper sheet and stuck them onto the cardboard pieces like so: 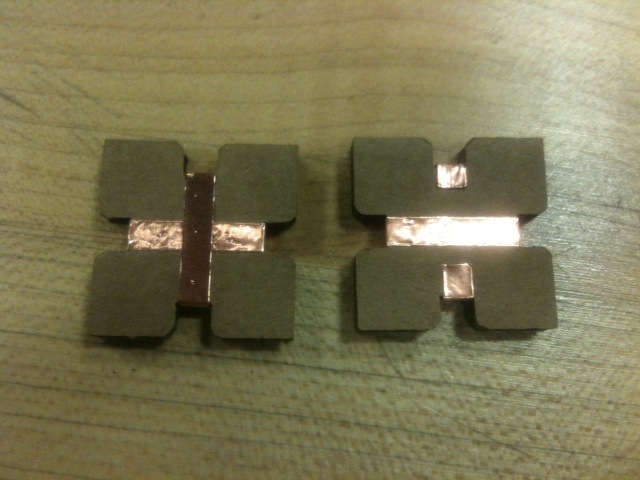
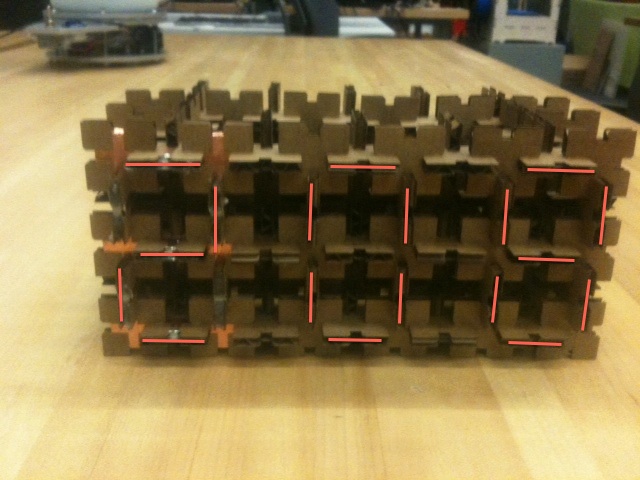
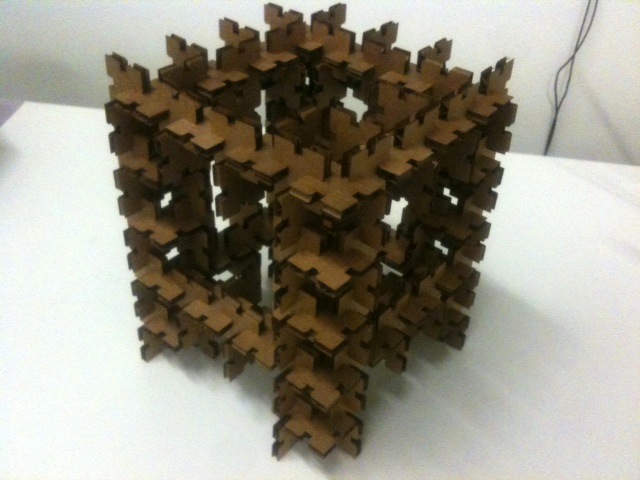
I laser cut 208 pieces (only some of which I cladded in copper) and started playing with assembling them in different configurations. The assembly process was actually very different from what I was expecting. I was under the impression that the assembler would be able to assemble objects one piece at a time. I very quickly realized that assembling one piece at a time was harder than it sounded because of interferences and interconnections between parts. Instead, I found that it was much simpler to first assemble "voxel" sub-assemblies from multiple individual pieces and then assemble those voxels into an object. 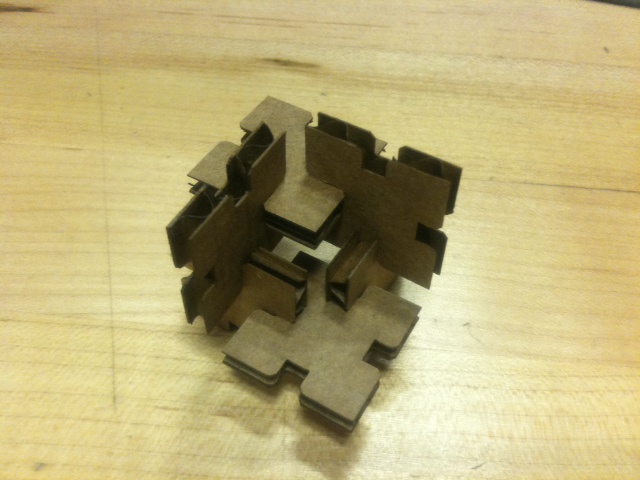 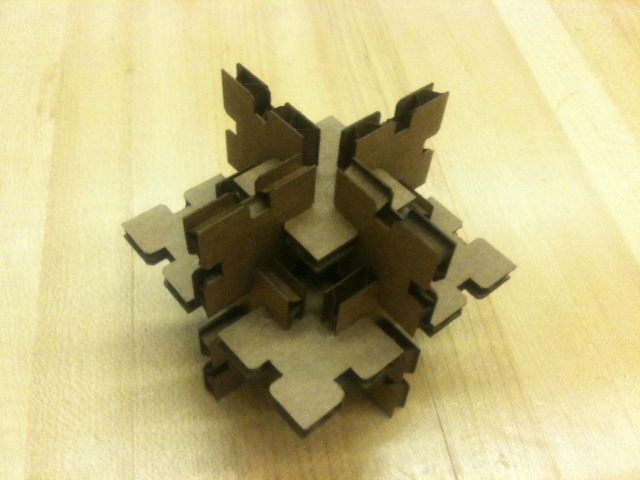
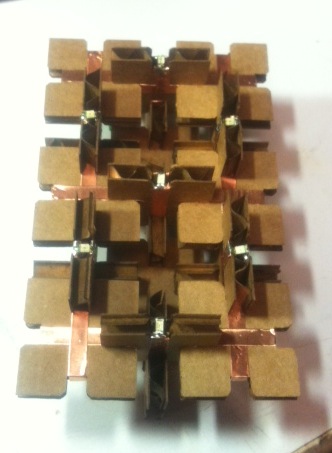
Two types of "voxel" sub-assemblies. The great thing about digital material (press fit kits) is that they're totally re-usbale. So, I made lots of things... 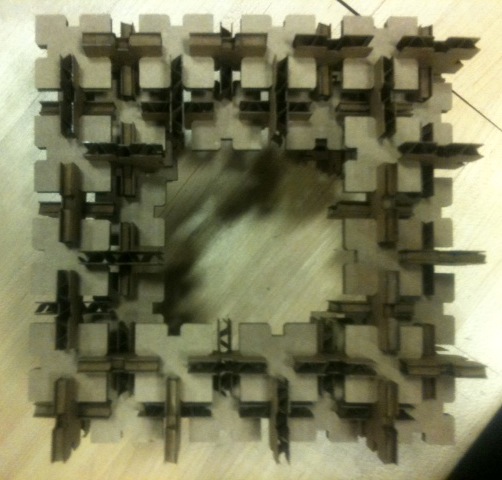 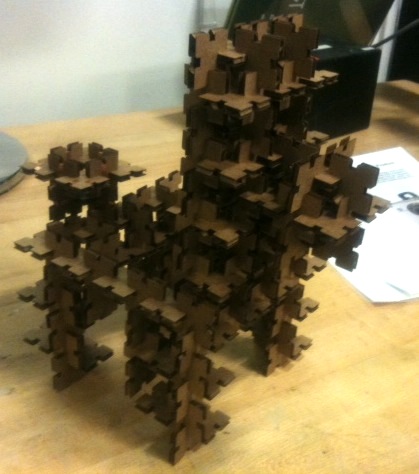
Along the way I discovered an interesting pattern that made me change directions... Certain configurations make a perfect 7-segment LED display:
|
 →
→