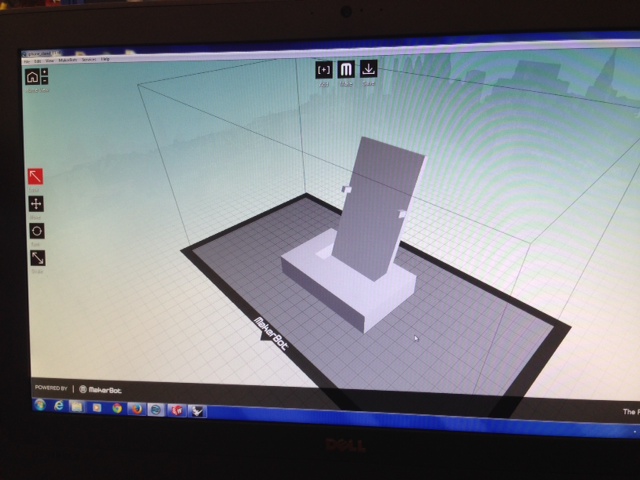
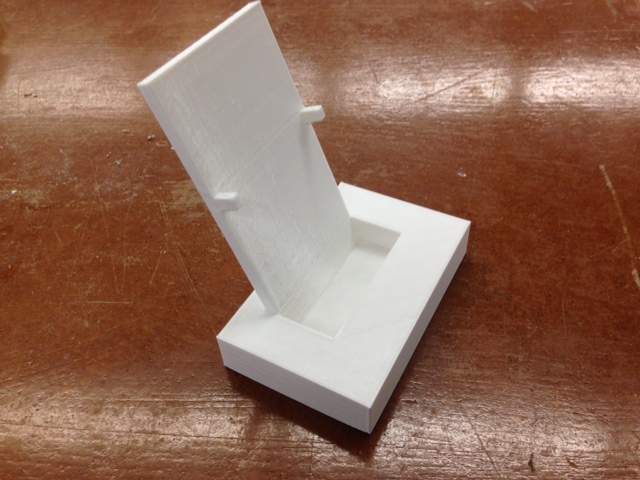
We started off the 3D printing class with learning how to use the 3D printer. As explained by Neil in class, coming up with the actual design was actually the most important part of 3D printing. I have had no experience with Rhino nor Solidworks before so it was a bit challenging. Nathan, our classmate, kindly offered to give me a class on Rhino, which helped me tremendously to start off on my project. The image above is the design of my mobile phone stand that I designed. Rhino was easy and convenient to use. I liked Rhino because you can type in the command prompt what you plan to use and it was convenient and easy to learn for beginners like me. I was initially worried it will be very difficult but it was not too bad!
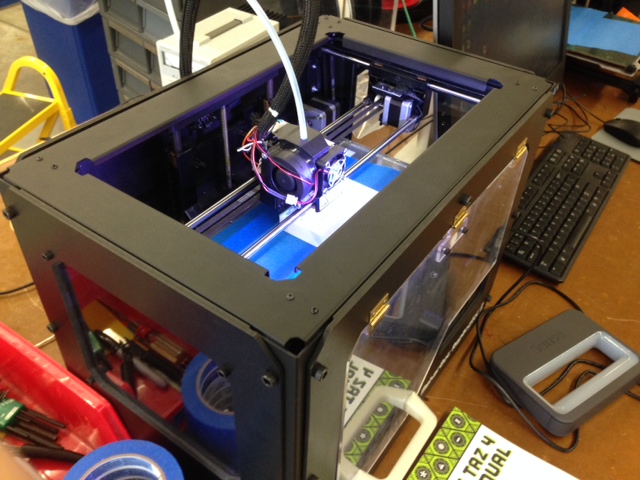
The 3D scanner was much easier to use than expected. Once we have the design ready, all we needed to do was to export the image using "Makerware" on the system. I would recommend previewing it before exporting it so you would have an estimate of how long it will take to print your object. You can even simulate the actual building process which is pretty cool. Once that is done, I saved the image onto the SD card and inserted the SD card into the "Makerbot" or the 3D printer, and pressed the red button as shown in the image.
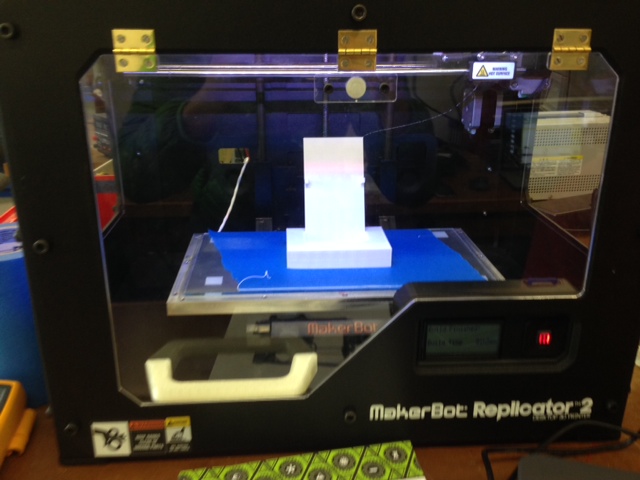
My mobile phone stand took a bit longer than I had expected as the object turned out to be bigger than I thought it would be. The Makerware software estimated that it would take 2.5 hours, but it really only took less than 2 hours to print. I came in early on a Monday morning at 8am and hence was able to get it down and out of the way!
Here you go! The completed mobile phone stand. The 3D printing effects were better than I expected and I did not have to scape much of the plastic off. I think the reason was because my surface was very clean and flat (not much strange angles).
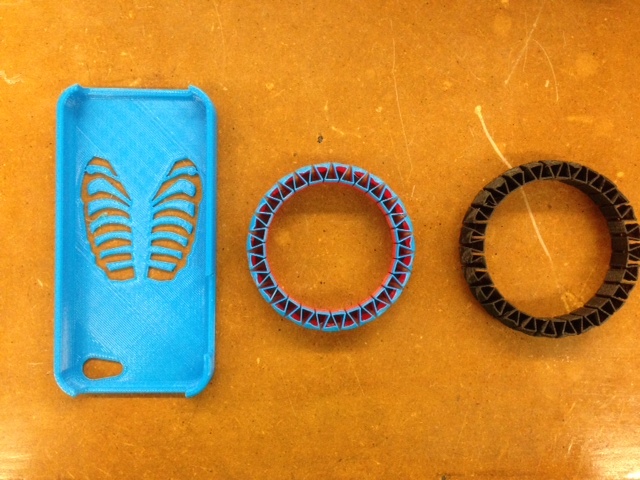
Just to further practise and have fun with 3D printing, we went onto "Thingiverse" which is an online site with ready 3D images and files which you can download to print right away. It was very interesting to try and pick some of the images. As you can see, I printed a mobile phone case, and also two bracelets (one was even with two colors!)
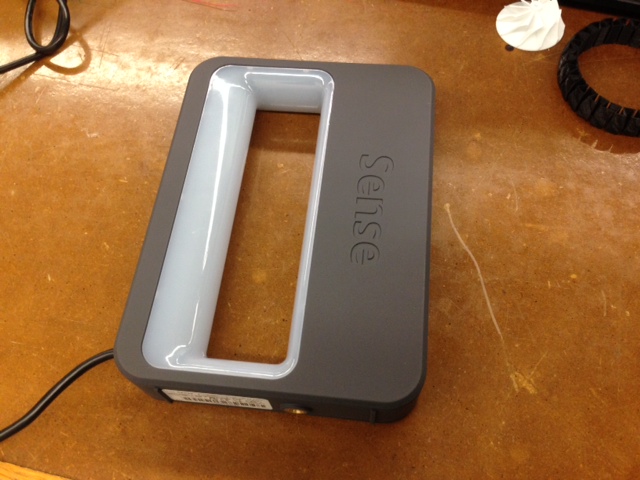
Next to 3D scanning. Here is the 3D scanner that we had to play around with! It was easier than I thought. Just plug in the device and attach it to the computer using the USB cable and the rest is pretty much intuitive. I wanted to 3D scan something fun, so guess what did I do?
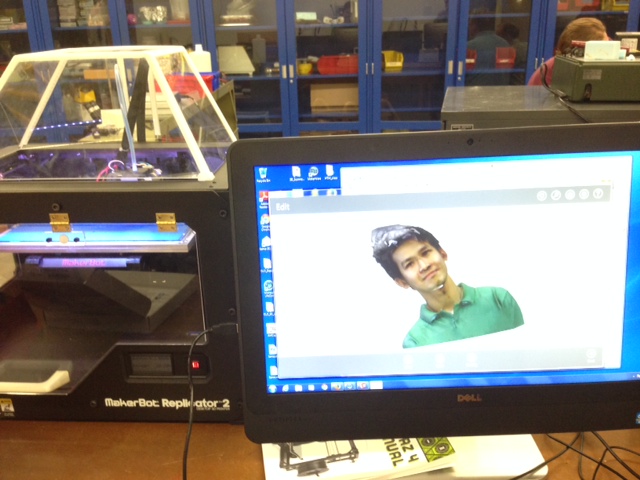
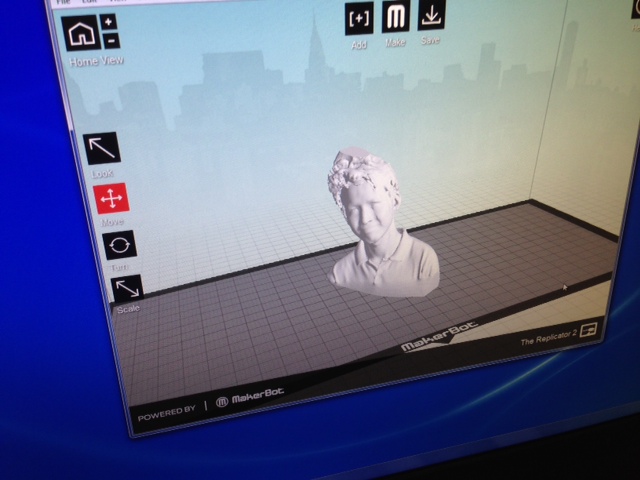
I 3D scanned myself! It was a very interesting process. With the help of a friend (and with me standing very steadily), I was able to 3D scan myself and the effect was actually pretty impressive. I could see my face features and hair turn out pretty much the same!