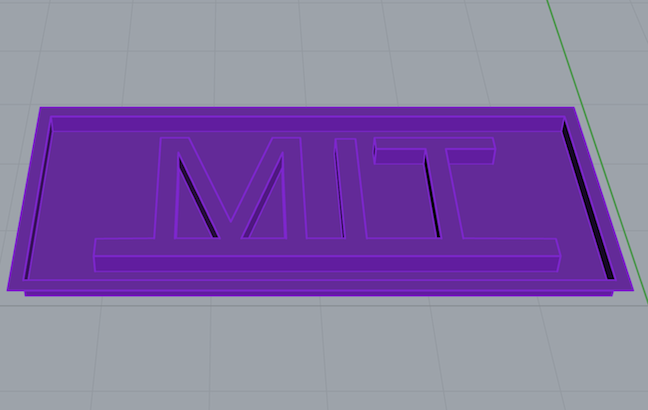
I have started to get used to Rhino and was learning more about techniques to create solids including, "extrude", "explode", and also to join two objects together such as "boolean", and "join", and also to measure distances using "distance, and to join two surfaces or two parts together I could use "mesh". All of these were very good skill sets and I was able to produce the attached 3D image.
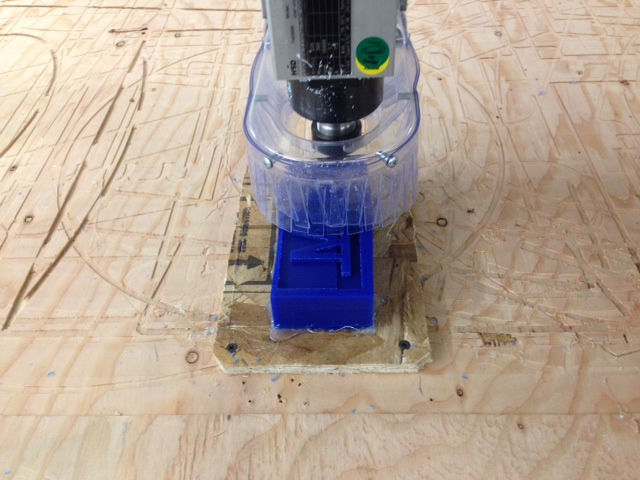
I have now started to get used to the ShopBot, and got off to a good start working with Vincent on this. We carried on to do the zero-ing of the ShopBot, and went through the 7 steps for the "Partworks" software to machine the wax block that we have received which was 6" by 3" by 1.5". I have learned that getting the right dimensions right from the start is very important, so that you can go back to do the proper designs.
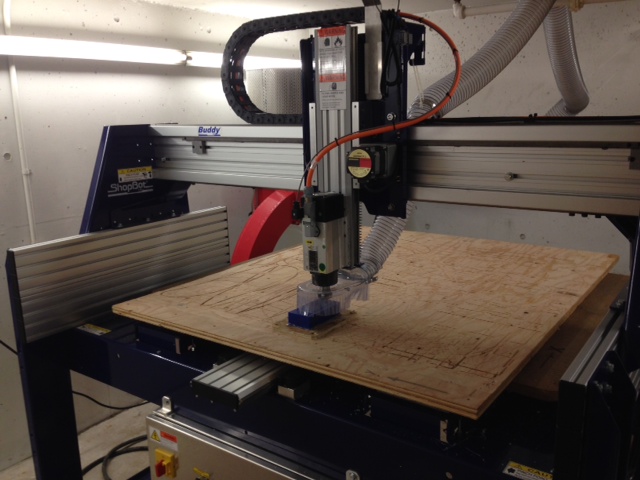
Just a cool picture of the ShopBot!
After one hour of work, the mold is completed! I pasted tape around the mold to allow the oomoo to stay within the confines of the mold.
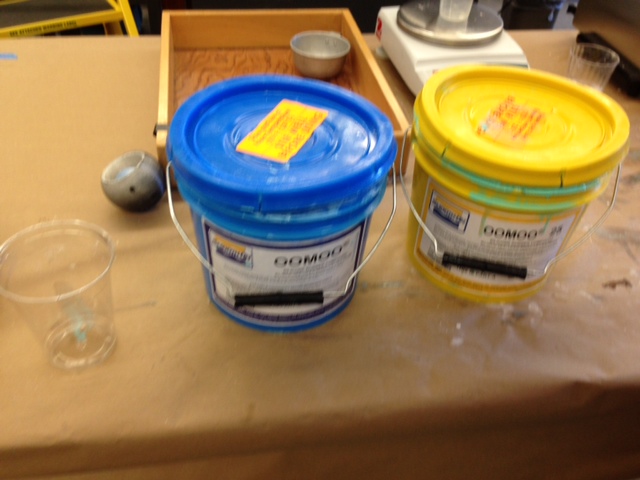
Advice on oomoo, use good oomoo and stir well. The first batch of oomoo was not good, so I re-did my casting part using the good oomoo which had good results. Also, stir the oomoo and mix 1:1 ratio and then mix thoroughly!
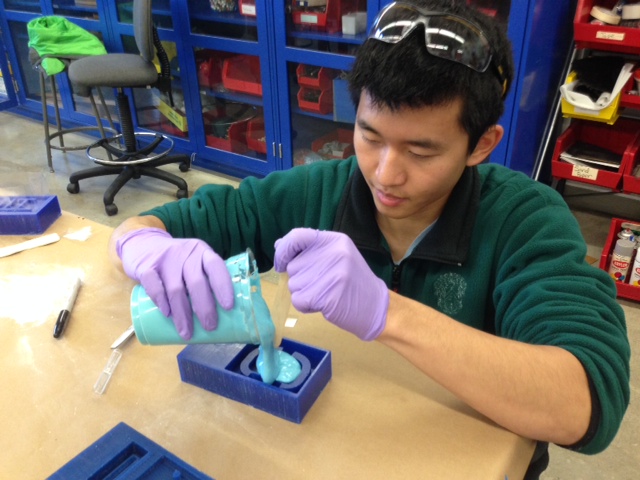
Here is a picture of Vincent pouring the oomoo into his piece of work. You can also use a stick to guide the pouring.
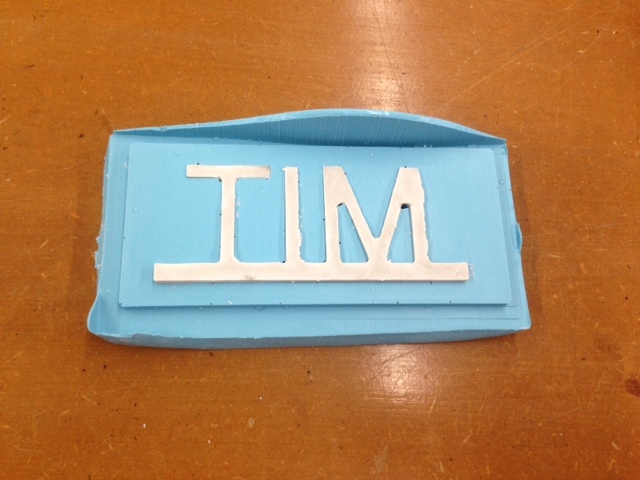
After the oomoo is poured, you can set it to curate at room temperature or put in the oven at around 200 F to let it curate for about an hour, and you should be good. For the powder, mix about 1:5 of water to powder, or maybe even less water and then pour the powder clay into the oomoo.
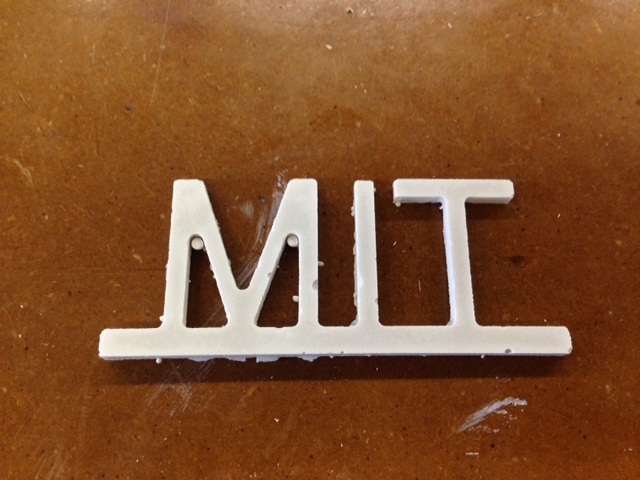
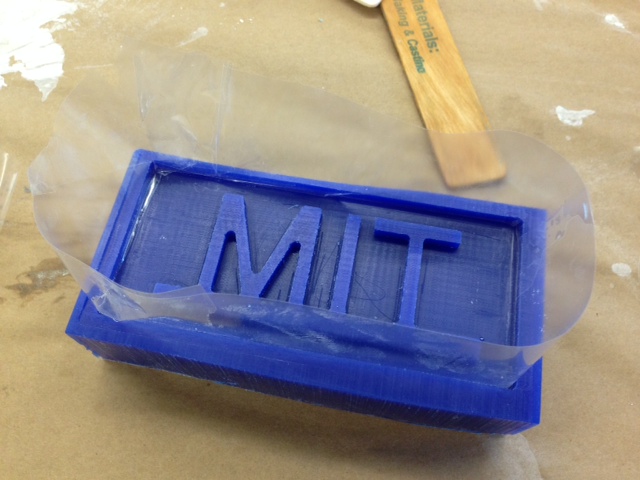
Let it sit for about 30 minutes and here you have it - "MIT"!
Just a cool picture of the ShopBot!
After one hour of work, the mold is completed! I pasted tape around the mold to allow the oomoo to stay within the confines of the mold.
Advice on oomoo, use good oomoo and stir well. The first batch of oomoo was not good, so I re-did my casting part using the good oomoo which had good results. Also, stir the oomoo and mix 1:1 ratio and then mix thoroughly!
Here is a picture of Vincent pouring the oomoo into his piece of work. You can also use a stick to guide the pouring.
After the oomoo is poured, you can set it to curate at room temperature or put in the oven at around 200 F to let it curate for about an hour, and you should be good. For the powder, mix about 1:5 of water to powder, or maybe even less water and then pour the powder clay into the oomoo.
Let it sit for about 30 minutes and here you have it - "MIT"!