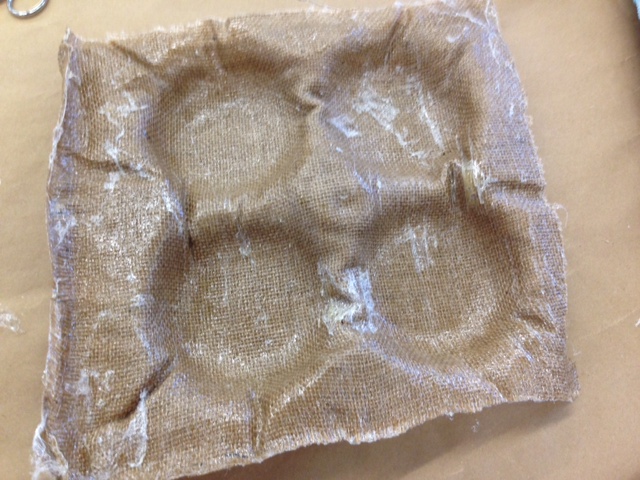
This week we are learning more about composites. This is a unique layering method to make a tough surface that can be used in many objects from a spade, to a tray. I will be working on making a tray to contain my soap and shampoo. From my room to the washroom in my house it takes a while, and it is tedious for me to transport the objects, so I decided to make a tray with the relevant surfaces to contain the soap and shampoo. As you can see from the above it is a design that I built in Rhino to create the relevant designs.
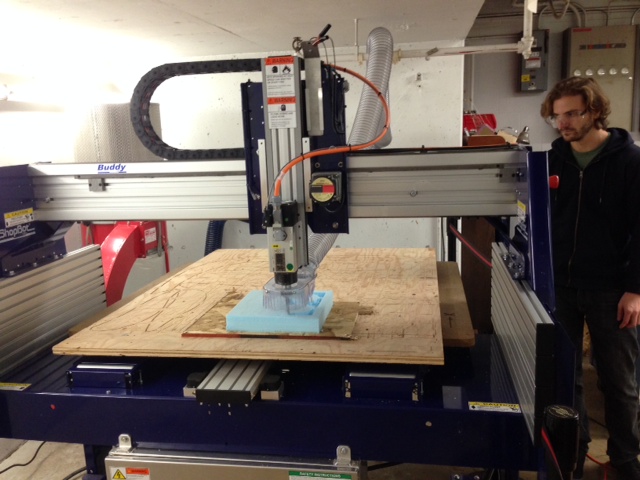
Back to the Shopbot, which we have became increasingly more used to. The process went pretty smoothly and we came back on a Sunday morning (Vincent, Nat, and me) to work on this. It actually snowed!
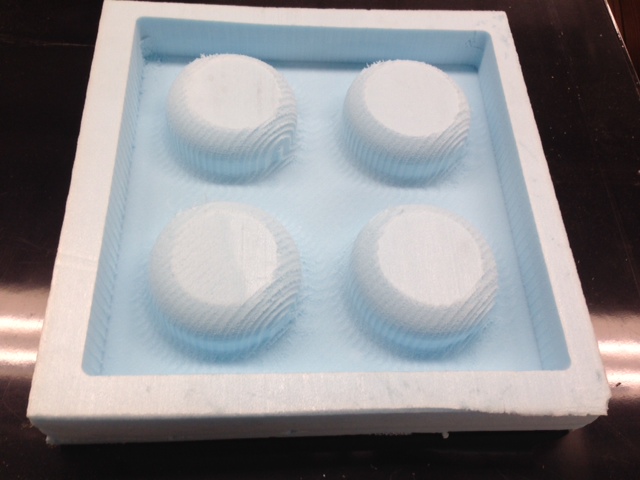
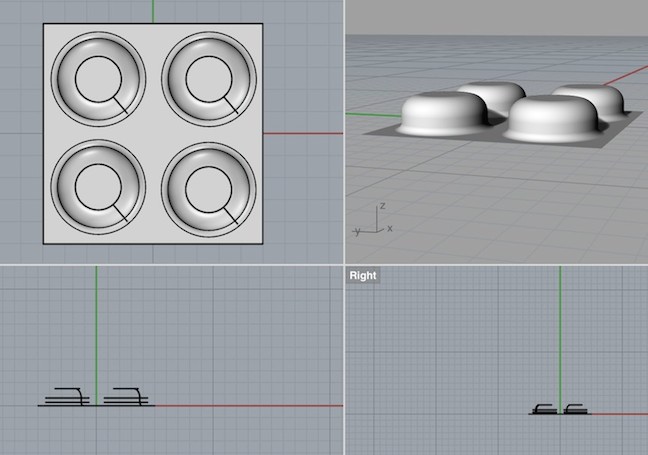
Here is the mold! I am pretty happy about it as the design came out pretty nice. In rhino, I learned a few new techniques including "fillet" to create smooth edges, "explode" to break down into different surfaces, "booleanunion" to join two surfaces, "join" to merge two objects. The design came out pretty neat!
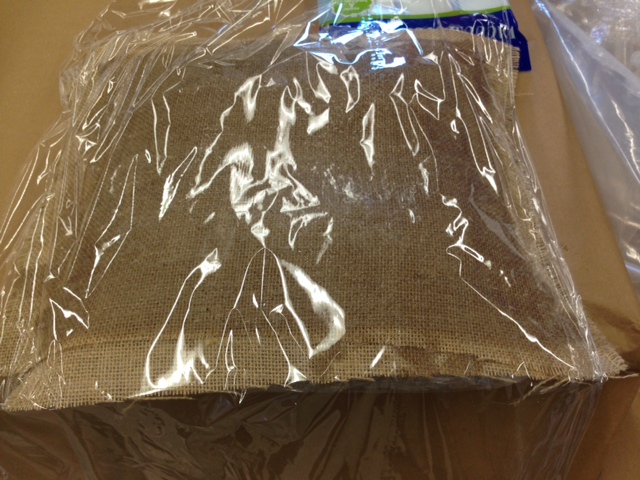
Next to the actual steps for the composites. The steps I followed are as per below. Casting composites requires multiple steps, read from top left to bottom right: First, cut burlap to molds bounding area. Next, insulate pink foam from epoxy using cling-wrap and spray release. Next, cut burlap to mold’s bounding area. Next, cut bleed to bounding area a perforate cling-wrap cover. Next, apply bleed and cling-wrap. Next, mix epoxy matrix based on instruction, in this case 2 parts to 1 part, and apply to each layer of burlap with squeegee.
Creating holes to allow the epoxy matrix to sip through to the burlap.
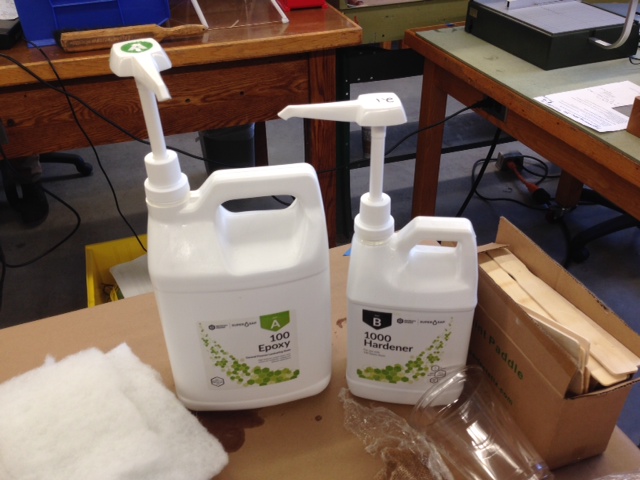
These are the epoxy matrix mix which you use two parts to one part (left and right respectively)

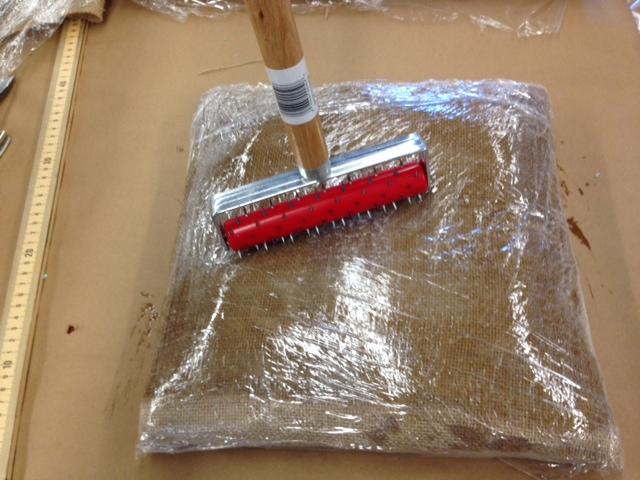
Using the vacuum, you will suck out the air. I tried this step 4 times and it took me more than 2.5 hours, even though I did get very good at it. The conclusion is the best steps are (1) Cut a small slit (cross) in the bag (2) Insert the vacuum tube through it (3) Apply resin under the tube to seal it up (4) Turn tightly and securely (5) Seal all steps of the bag at the end after you have connected the vacuum tube successfully.
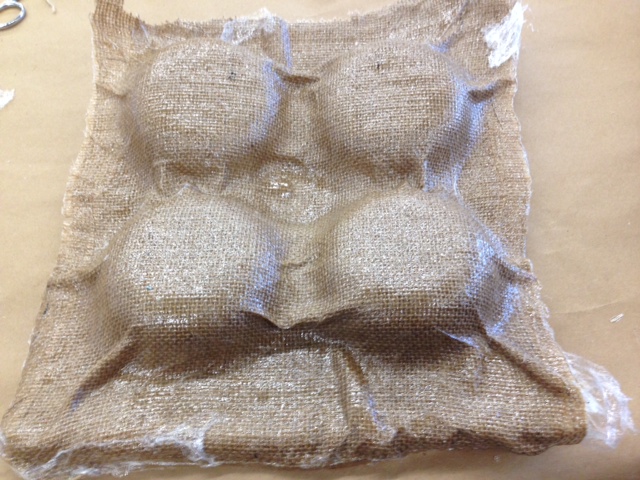
The final result!