Week 2 - Electronics Production
Task: make the FabISP in-circuit programmer
FabISP, a fab-able in-system programmer
This week's assignment was to mill and solder the FabISP in-circuit programmer. I used the provided traces and interior designs for milling, which was based off of David's original model
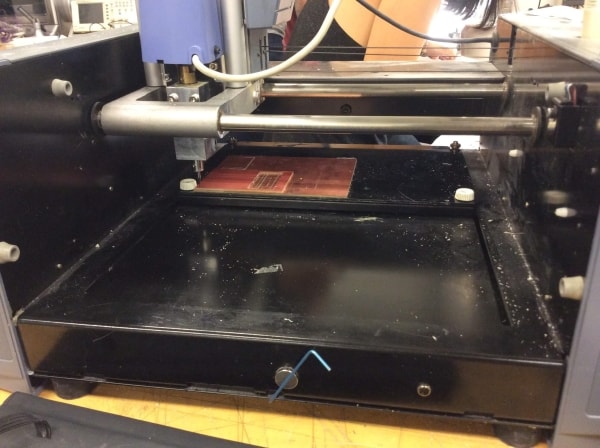
Milling
To begin, I milled using the provided traces and outline with the fabmodule, using output of Roland mill (.rml) PCB traces with a 1/64 inch bit. Other things to note included making sure my xmin and ymin were at the desired locations and changing the cut depth to 0.12 mm. My first attempt...
ended in failure. Not too sure what exactly went wrong — in my following attempts two things had been changed: I made sure there was approximately 2 cm of space between the handle and its lowest capability and I changed the bit to a newer one (the issue probably was with the bit).
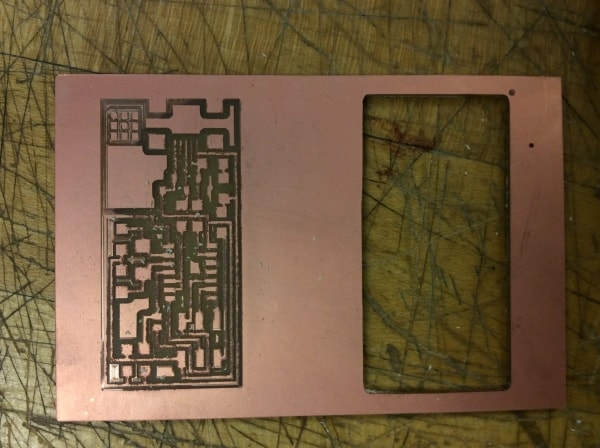
And so my second attempt...
Ru-oh. I learned a big lesson here. I had been using previously downloaded images from other users, not realizing that they didn't match up... I redownloaded and made sure the two images belonged to the same board. My last attempt was much better. :D (forgot to take a photo)
Soldering
Time to put this baby together! I gathered the list of parts...
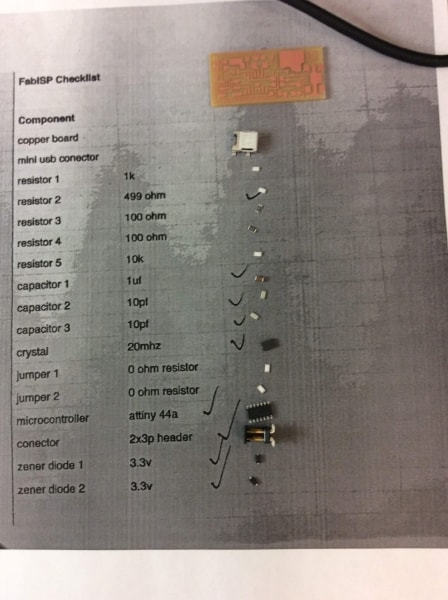
and started soldering away. All was going well, until I was soldering in my very last part, the USB connector component. Unfortunately, some of the solder had connected two of the tiny leads out that shouldn't be electrically connected. Not fearing, I grabbed my handy-dandy copper braid/solder wick, and began the removal process. And then it happened. I removed, well, too much, and took away some of the copper paths of the board. Eek!

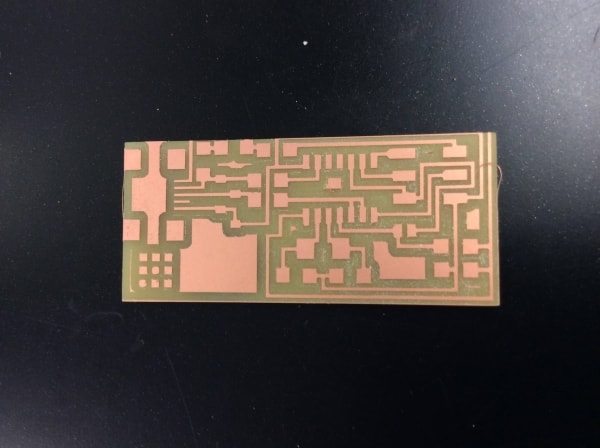
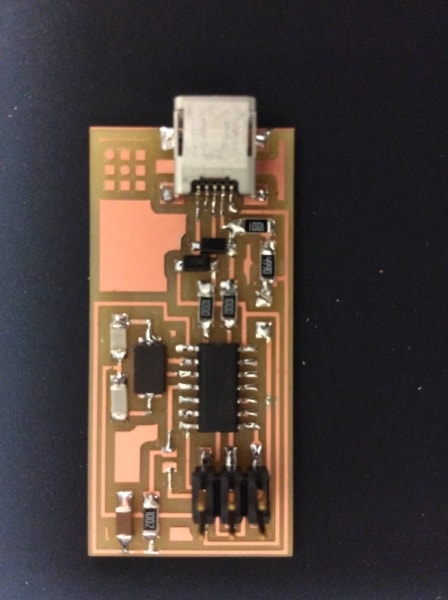
So I started all over. There might have been a way to save the board I just screwed up, but not to my current knowledge/capabilities. Luckily this time everything went a lot faster since I knew what pitfalls to avoid and my soldering skills on this small scale had improved a bunch. Here's my final board:

Programming the Board
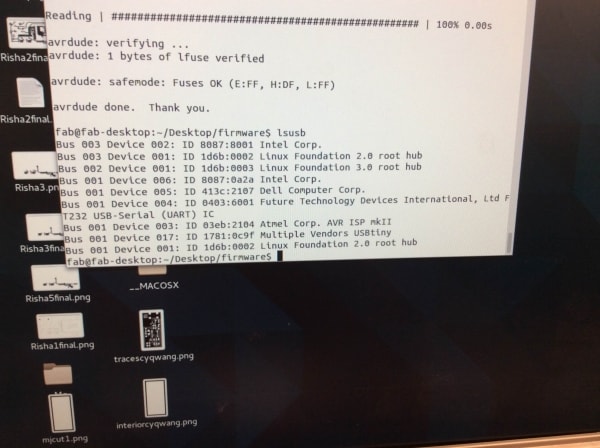
Programming the board went relatively smoothly, thanks to this awesome guide. I did have a "shorted out" board, and went back and smoothed out some of my solder joints. I used the studio's USBtiny. Successfully programmed?
And now to remove the jumpers:
Done!