After creating usable model, I was ready to set the 3D toolpath parameters and finally mill my wax mold. I went with the defaults for most things, although I set the "depth" of the model to 1mm below the surface, so that the mountain top would have to be carved out on all sides rather than the point being the current surface of the wax. I selected a 1/8 flat upcut on roughcut, and 1/8 ball-end on finishing cut. The overlap was 50% for the rough cut, but with advice from Daniel Rosenberg I set the finishing cut to 9% overlap. There was some difficulty getting the ShopBot software to start milling, due to the fact that we exported the toolpaths in metric and the conversion seemed to confuse the system. Whatever you end up picking for units, be sure to check the shopbot first and stick with that for simplicity.
| «Previous Project | Back to Index | Next Project» |
2. Milling

|
||
| Roughcut progress, 3 layers deep. | ||
|
||
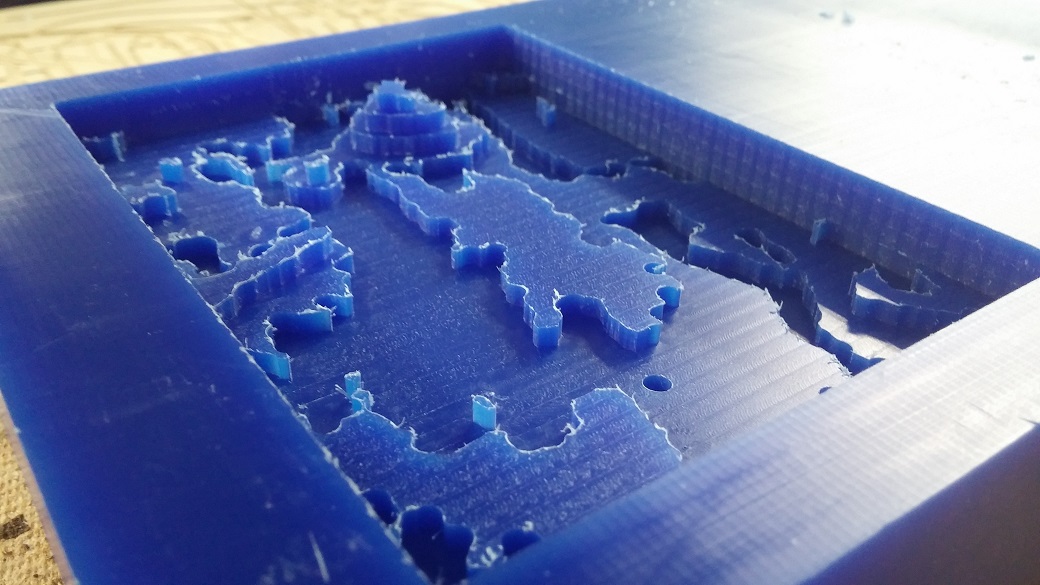
| Finished rough cut.. | ||
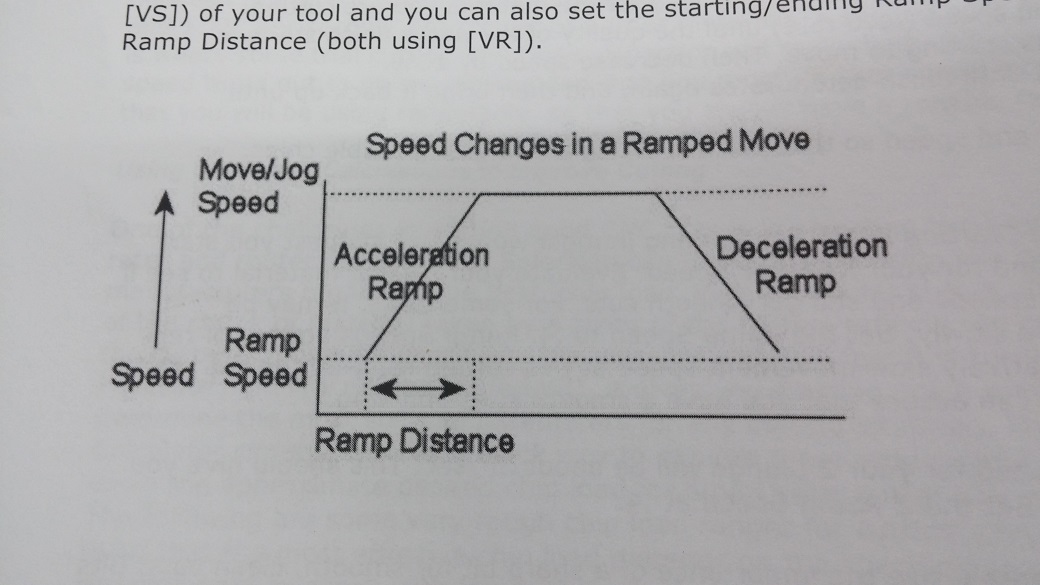
Daniel noticed the ShopBot seemed to be stopping for a long time each time it changed direction, and this became even more obvious in the finishing cut phase. Though to my eyes it looked like it was progressing quickly, Daniel said it could operate much faster, especially when changing directions. First we increased the velocity from 2.5cm/sec to 25cm/sec. The machine flew across the surface, and while it may have worked at this speed we were a little nervous, so we downgraded it to 15cm/sec. But the stops between each change in direction persisted, and so we consulted to user manual. It turns out there's a setting called the ramp speed, which essentially defines the starting speed from which the mill will accelerate to top speed.
|
||
| Chart from manual explaining ramp speed and ramp distance. | ||
We concluded the ramp speed was set too low (perhaps because of the unit conversion issue earlier), and so we increased it to more closely match the top speed of the machine (we saw no real need to specify a drawn-out accelleration process). It worked like a charm, and the milling progressed smoothly from there.
|
||
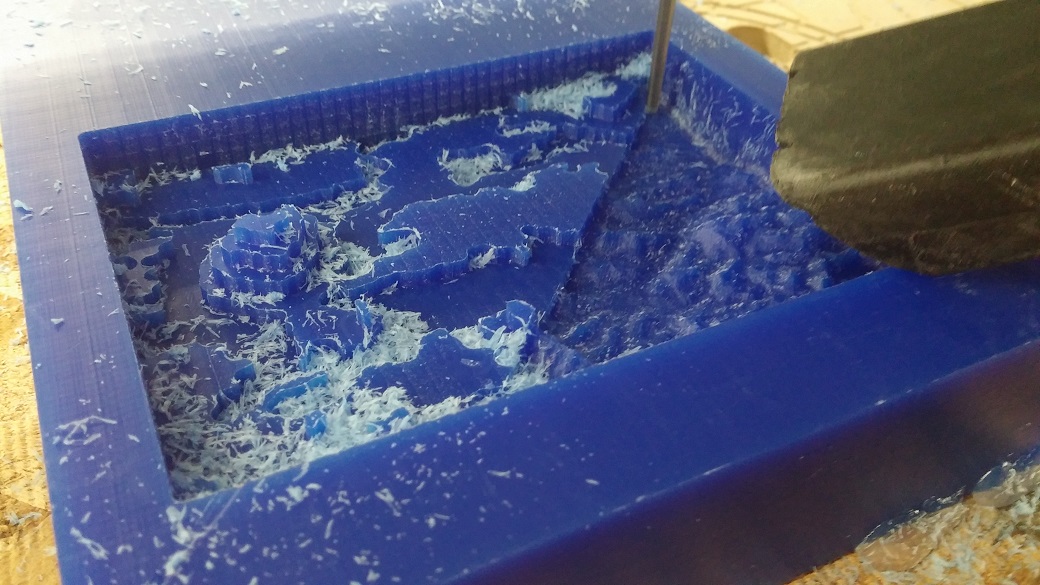
| Finishing cut progress. First pass about 30% done. | ||
|
||
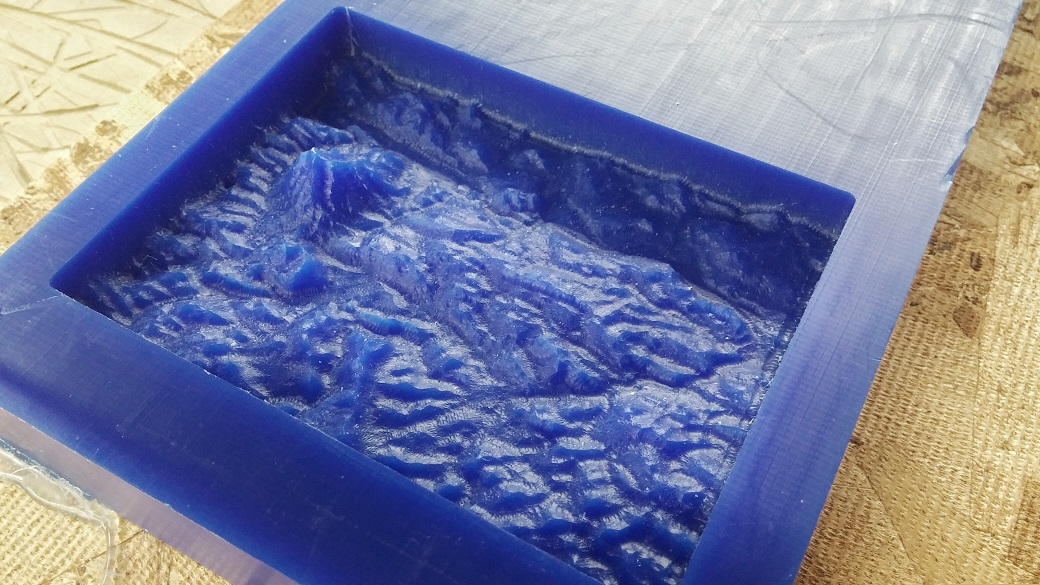
| Finished wax mold, before trench was dug. | ||
Voila! I was incredulous at how quickly the mill could move. It looked at if it must be gouging the surface, flying along the bumps haphazardly in a way that could only yield a knobby mess by the end... but then it finished and it was pristine. This technology truly does amaze me. After I executed the final toolpath to dig the trench, my mold was ready I was set to cast.