Week ten:composites


This week our assignment was to create a composite of an object. The limiting thing about making a composite is that unless you have something specific you need, like a helmet or bike fender or laptop case, they're not that much fun to work with. I decided to make something artistic, possibly for use on my wall.
I forged ahead with an idea to make a tree out of laser cut burlap pieces.
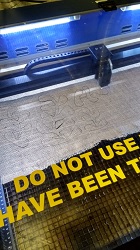
Prepare the mold and the burlap. I milled blue insulation for my mold and laser cut leaf shapes into the burlap. The settings I used were Speed: 5, Power: 100, Frequency: 1500. burlap is apparently more difficult to cut than cardboard.

- Seal the mold. If you don't need to recover the mold then use adhesive spray and place foil or cling wrap on it. This will make it easier to release the mold later.
- Spray mold release all over the mold and mix the epoxy. The ratio of epoxy resin to hardener is 2:1.
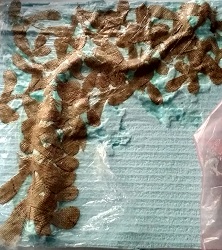
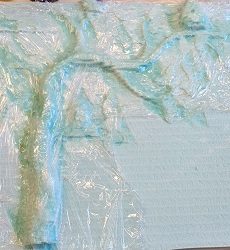
- Spread the epoxy on the burlap. Since the leaf shapes were fragile and broke easily, we placed them in between two other pieces of burlap and spread the epoxy on both sides. This worked surprisingly well.
- Place pieces of burlap on the shape. The goal here was not to make a thick object, so I left many holes and layered the leaves 3 deep at most. In places where there were fewer layers the composite could be bent by hand, but in general it kept its shape.
- Spray a vacuum bag with mold release. This will keep everything from sticking after the vacuuming.
- Cut an appropriate piece of teflon and use the awesome spiked roller to make holes in the material. Place this on top of the mold.
- Cut an appropriate size of cotton as bleeder/breather and place this on top of the teflon.
- Place the entire thing in the vacuum bag and seal the bag tightly.
- Place the vacuum hose on the bag and wait for the vacuum to complete. Allow the vacuum to continue for at least 3 hours.
- Remove the mold from the bag and discard the teflon and probably the bleeder/breather, too. Peel the composite away from the mold. It is difficult to break, but be careful.
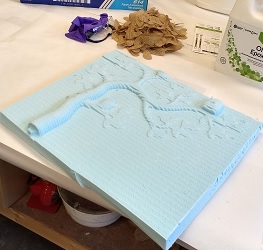
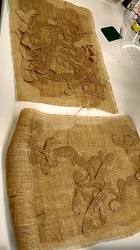
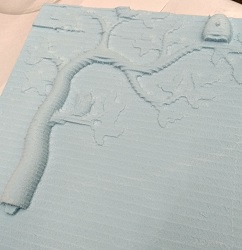
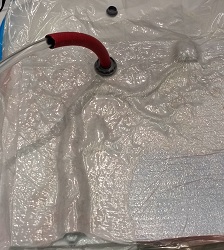
After milling I was concerned that the object did not have enough depth to make a good composite. Still, I forged ahead with the plan. I was pleasantly surprised with how tightly the vacuum was able to hold on to the shape. The final result had more definition than I expected, but it was far from what I wanted. After the composite was done, apart from the mold, it was pretty hard to see the shape of the tree or the birds.