Week two: computer-controlled cutting
When it got real...
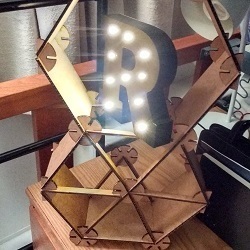
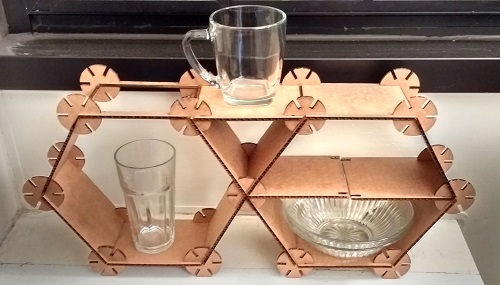
I really, really love hexagons. They're just great shapes! (Bees think so too.) So I decided to spice up my apartment with some nice DIY hexagon shelves this week.
The official assignment is to "use a laser cutter to make something from which more than one thing can be made". In simpler terms, make a press-fit construction kit. The laser cutters we used were a GCC and an Epilog found in the FAB lab here at the Media Lab. Working with the designs, laser cutters, and shapes took some tinkering.
This week I did my design work in Fusion 360 which is free for students. I really liked OpenSCAD last week because it was programming, but OpenSCAD didn't export directly to dxf so I had to change. Fusion 360 is not entirely intuitive, ut still very nice. It also allowed for parametric design.
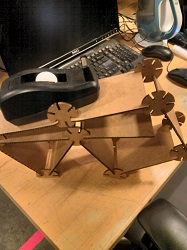
I created circle shape by opening a sketch, adding a cirlce, creating a thin rectangle, and using the 'Circular Pattern' tool. It was incredibly easy. I used the 'Dimension' tool to parametrize the diameter of the circle, the width of the joint, and its length.
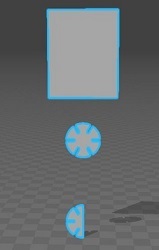
Once the circle was created making all of the other shapes was just as easy. In order to make the DXF files I extruded my sketches and created a new sketch on the top face of the extrusion. I made an array of the new sketch using the 'Rectangular Pattern' tool and saved the sketch as a DXF.
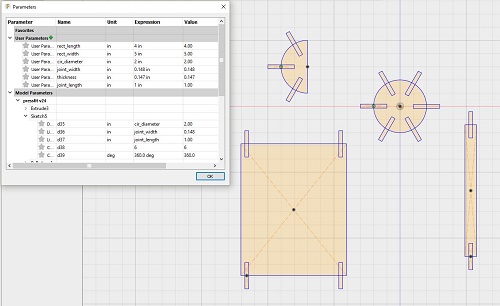
With your design files converted to DXF then you use Corel-Draw's 'Import' tool to grab your shapes. Lay out the shapes as you want them printed. I recommend using an extra box to show the outline of the cardboard.
The laser cutter settings that worked best for me are:
Speed: 20, Power: 100, PPI: 220 on the GCC
Speed:15, Power: 100, Frequency: 215 on the Epilog.
The Epilog is a finicky machine. Occassionally the laser would not fire and it would only cut out part of a shape. The first time this happened I ran the entire design again. This caused a fire. I found it was much quicker and safer to run the design only over the lines that hadn't been drawn. Corel-Draw allows you to do this by ungrouping the vectors in the shape. Then you can delete the ones that you don't need to reprint.
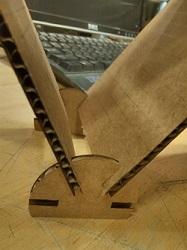
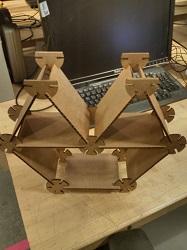
One really important thing I learned is that joints matter. Cardboard can only do so much, but a good joint design will maximize the sturdiness of the object. So I added joints to the rectangles and added a stick shape. This is shown in the Corel-Draw screen capture above. The resulting structure is more than sturdy enough to hold what I need it to, and I can make it stronger with a triangle base. In hindsight, I should have played with interlocking joints. Then I might be able to hang the hexagons on the wall.