Week four: 3D printing + 3D scanning
When it entered the third dimension...
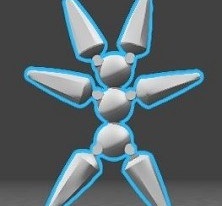
This week our assignment was to 3D print an object of our design that could only be constructed on a 3D printer and to 3D scan an object. My 3D printed object was, naturally, Megabot. I ensured that it was necessary to use a 3D printer for it, though, by using rotating joints for the arms. I designed for 0.2mm clearance on all sides of the joints. However, on the 3DWox it was impossible to remove the support and on the Eden it was too loose for my liking. I will probably use 0.1mm in the future.
There are a number of 3D printers in the lab. I had the opportunity to print on the Sindoh 3DWox and (have Tom print) on the Eden.
The 3DWOx software is deliciously straightforward.
- Import an object file (.STL) into the 3D Wox software.
- Adjust the rotation, position, and size of the model. My model initially imported into the software standing on one ear. I used the "Make Flat" option in the "Rotate" menu to place my model in a more equilibrious position.
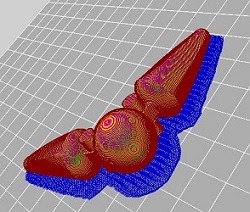
- Use the edit support tool to draw areas of support underneath your object. I covered the entire bottom of the model. In hindsight, it was so stable that more sparse support would have worked well and been less work.
- Slice it up! The software will automatically create layers and show the resulting structure and support structure.
- Export file as .GCODE, and take it to the 3DWox to print.
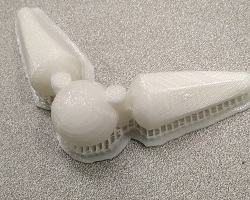
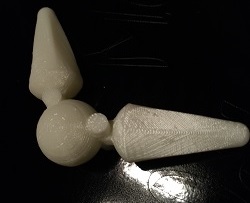
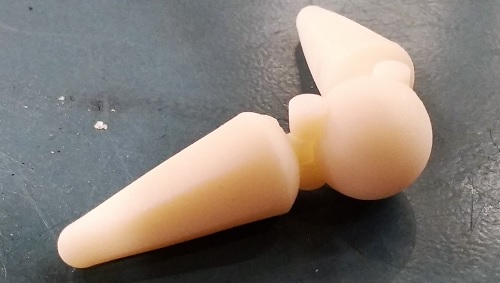
So printing on the Eden got me what I wanted. However, I will say that the 3DWox did a remarkable print as well. The smoothness of the curves and planes came out well.
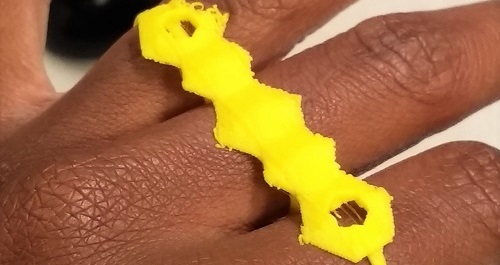
I also wanted to test printing jewelry so I designed this three-finger hexagon ring. I used a thickness of 2mm and it was not thick enough to give a good print. The support structure was very difficult to remove (3DWox) and a piece of the ring just came out as spaghetti. I would definitely say go 4mm or thicker on jewelry in PLA.
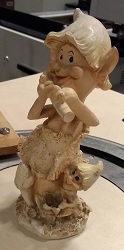
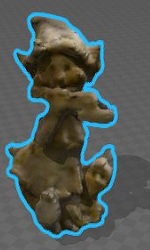
In 3D scanning I used the Sense scanner. John and Tom had a very nice setup for us to get chick and easy scans. I experimented with the texture and color of the objects I was printing. The flutist was a very intricate design. The 3D scanner was able to get a basic shape, but it really did not have the resolution to capture the quick details.
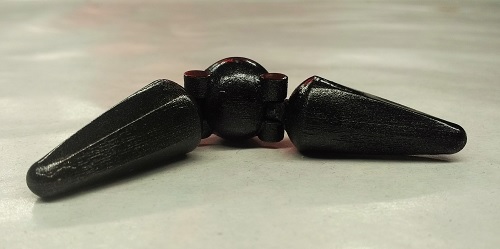
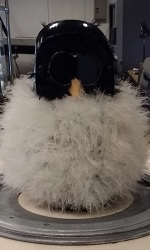
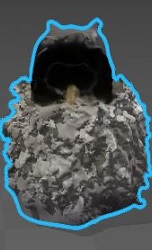
Tofu proved to be a bit more a challenge. With a white feather body, shiny black head, and even shinier eyes there were many textures to work with. While the scanner clearly struggled with the feathers, overall I beleive this is a great scan. The bottom of the robot was barely captured. The solidify function in the Sense software took care of this nicely though.
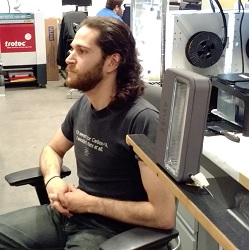
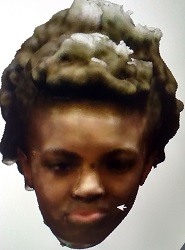
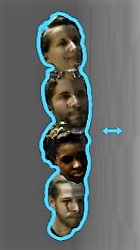
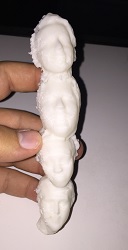
And last, but certainly not least. I did a 3D scan of my head (how could I resist)! Our setup involved having the Sense stationary while using a rotating chair and having the subject turn in a circle. This definitely was less than perfect, especially when it came to capturing the back of the head. Scanning the head as an "Object - Small" allowed us to capture greater detail than the "Person - Head" option. I think the scanner did a particularly great job on my hair. The most difficult part was trying not to laugh/talk/move while getting scanned. We used Geomagic to further edit the headscans (remove sharp edges and simplify the model) and then turn it into a totem pole...which we later printed.