Week 4: 3D Scanning and Printing
05 Oct 2016 · 3 min read3D Printing
The assignment for this week was to 3D print something that could not be manufactured subtractively.
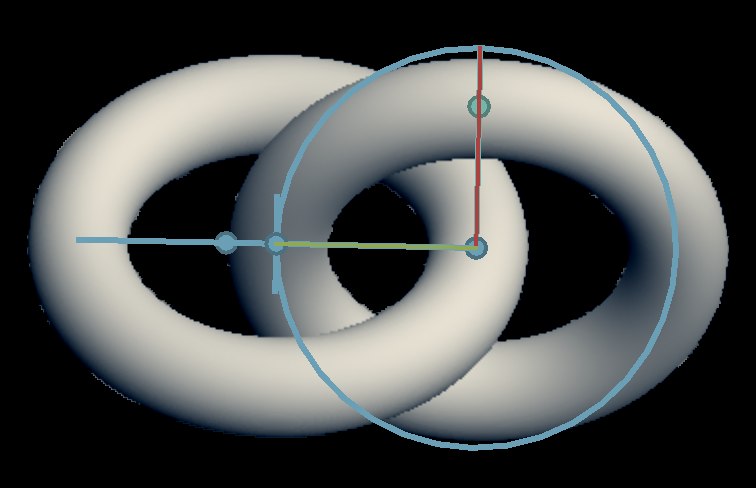
I chose to make a pair of interlocking rings. It was very simple to model using Antimony as two identical toruses positioned appropriately with respect to each other:
This is something that couldn’t be done subtractively. It also couldn’t be produced as two parts and joined together later, unless one of the rings was cut, the parts were put together, and then the ring was glued back together.
Printing Process
I printed my piece using white PLA. I used the Sindoh 3DWOX printer, which only supports using a single material, so the same PLA was used to create support material too. I used the 3DWOX Desktop software to import my STL file, rescale it to a reasonable size, and print it. The software was very straightforward to use.
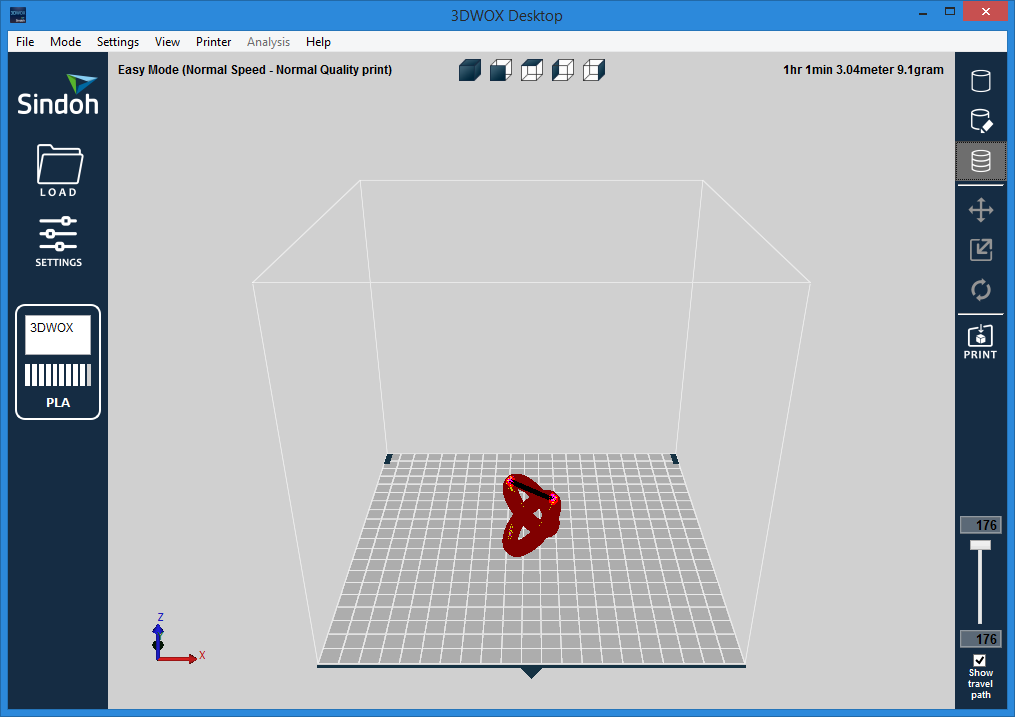
I knew that printing this piece was going to be somewhat tricky, because it’s pretty thin and narrow, and there would be a lot of freestanding mass. Before printing, I oriented the toruses so that height was minimized:
The piece only took an hour to print:

Finishing Touches
The piece came out really well, even though it used almost no support material:
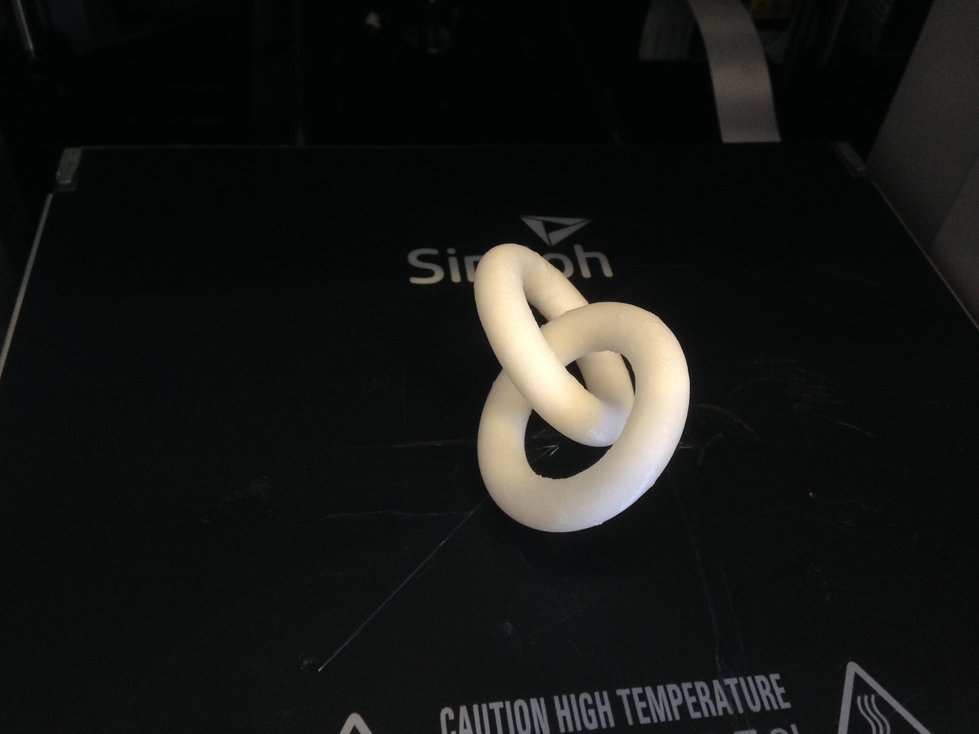
It only took a moment to remove the two small pieces of support material:

Result
I was quite happy with the result. It’s simple, but it’s still an interesting piece that’s gotten a “how did you make that?” when I’ve showed it to people.

3D Scanning
I did photogrammetry using Autodesk 123D Catch. I scanned two wire cutters propped up against each other:
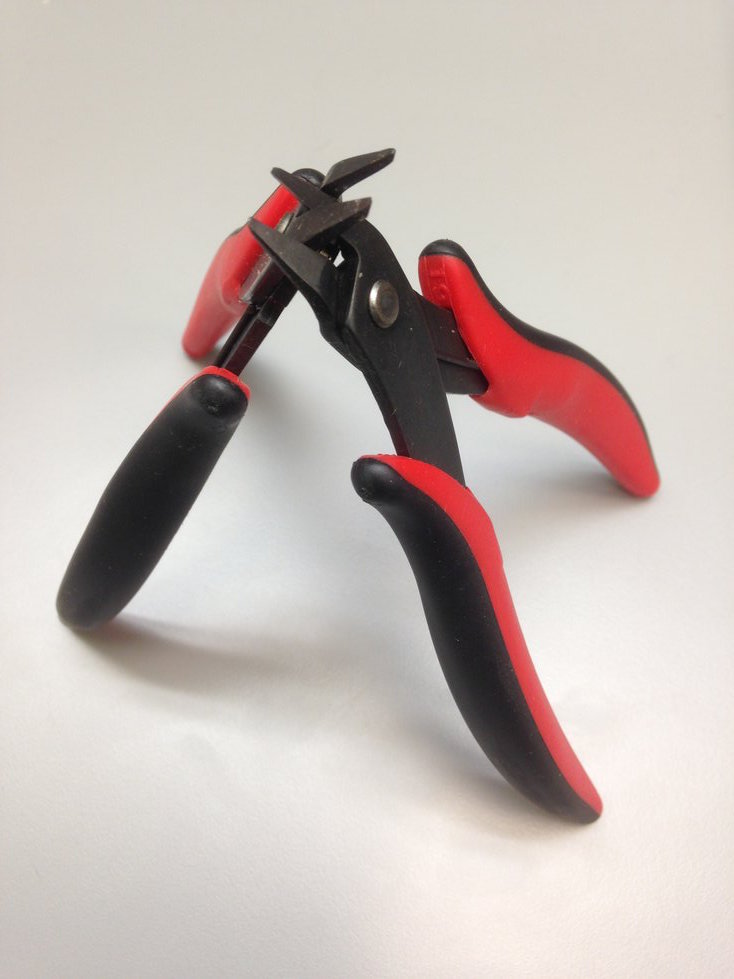
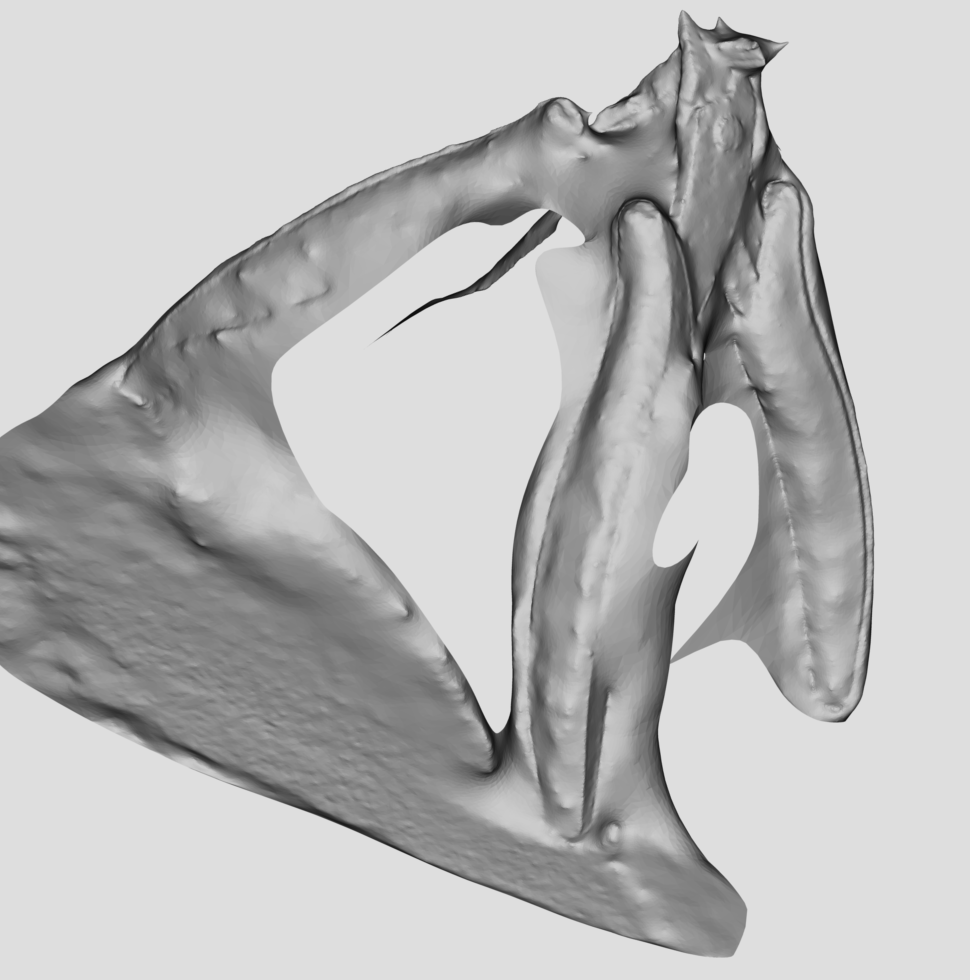
After taking about 30 photos from various angles, I let the software process the photos, which took quite a while (it took an hour, but that might have been an anomaly). Here’s the result:
In hindsight, this scan was probably too complicated for iPhone-based photogrammetry. It’s far from perfect, but it does capture the basic geometry of the object. And the top of the wire cutters actually came out quite well.

