Antimony really inspired me to make this project. I was thinking about making an "Iteration" node that took took the fractal process one step further, so all I would need to do is start with a tetrahedron and then iterate on it several times. However, getting to the first step turned out to be the most difficult one.
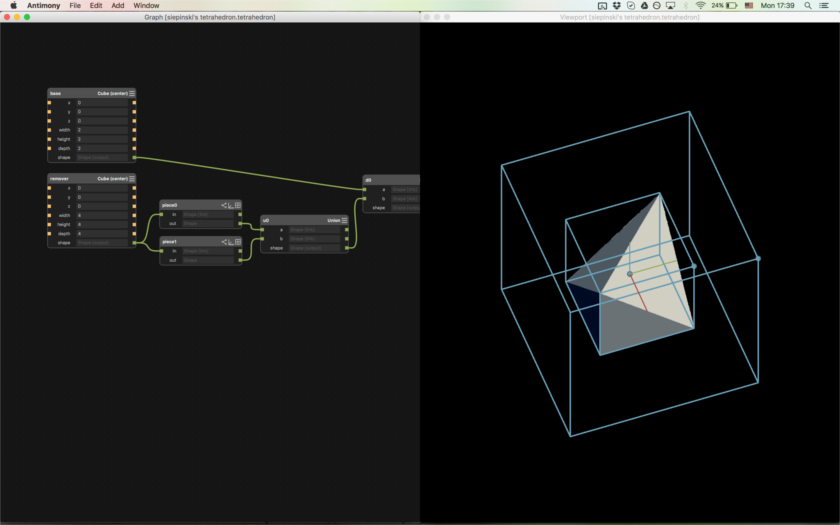
Might I remind you a tetrahedron is a simple shape!
At first I assumed that Antimony had a tetrahedron as a preprogrammed shape that I could use right off the bat. When I saw that wasn't truen, I then assumed that I could use Antimony's loft node to fill in the space between either a triangle and a point or two lines. This turned out to not be true either (loft uses really nice curves, not straight lines), so there were only two ways to make a tetrahedron: 1) program my own tetrahedron or 2) start with a cube and shave off parts of it until a tetrahedron is left (read here for details of the math or whatever)
I did the latter option, which might have been slower in hindsight, but it wans't too bad. I took a larger cube, and calculated how to rotate about the x, y, and z axes in order to get it in the correct orientation, and also calculate how much to translate it so that it exactly touched the corners of the cube. The above image shows the painstaking process.
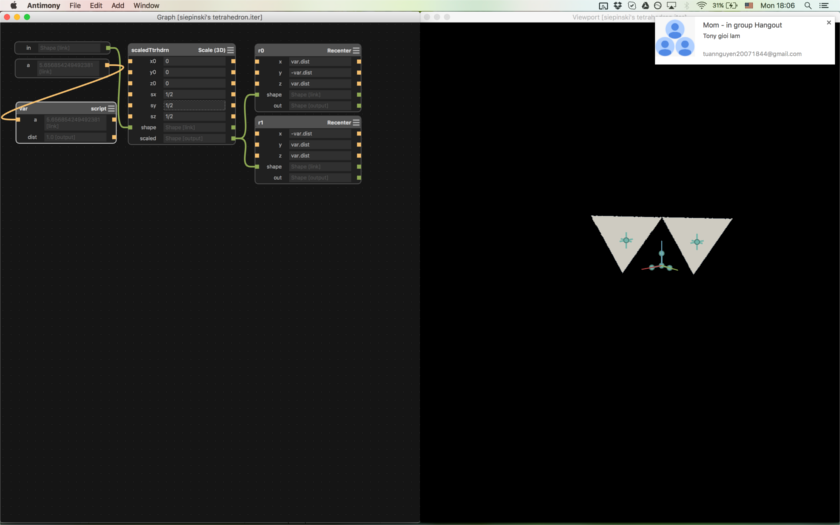
Starting to make the iteration node
Next I worked on an iteration node. I assumed that I started with a tetrahedron in a certain orientation (specifically the orientation I got from shaving a cube). THen, I would shrink that tetrahedron to half its original size, and move it to the four corners of the original tetrahedron, making sure they touch slightly so the 3D printer connects them.
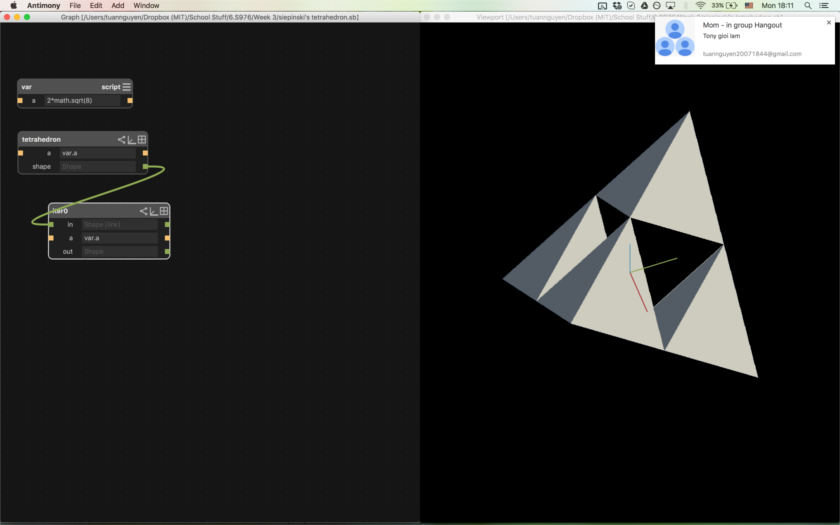
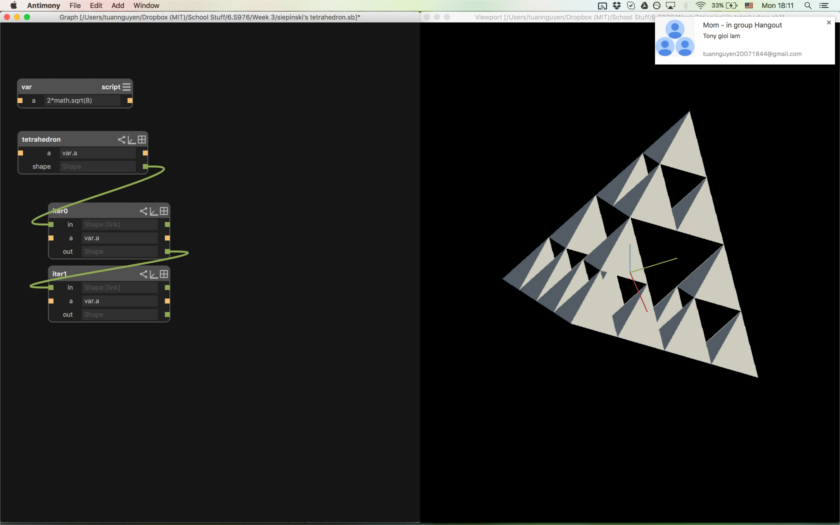
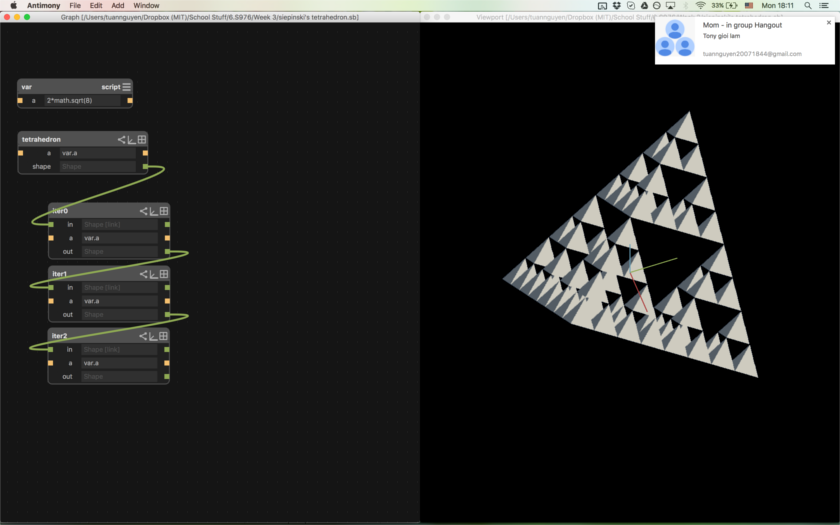
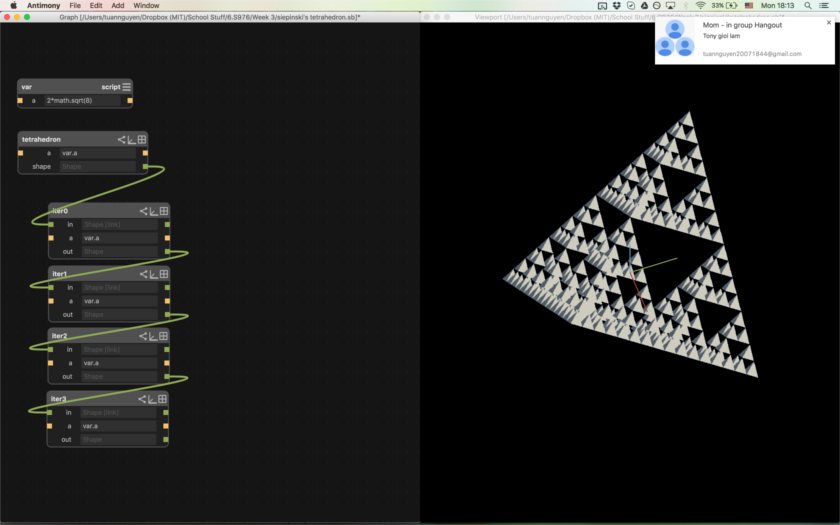
Iterations 1-4 (left to right, then top to bottom)
Now that the CAD was completed, I exported it to an .stl file and uploaded it to the 3DWox software. I ended up scaling it to be ~8" wide because, even though the structure was large, it was not dense. Each iteration removes exactly one half of the original mass, so an 8" wide sierpinski tetrahedron with four iterations only has a volume of ~3.77 in3. However, because it has such a complex structure, it needed a lot of supports. I decided to print the tetrahedron on an edge instead of a face because it allowed me to put supports in more easily removable and stable places. This was the main reason I chose to use the 3DWox printer instead of the 3D printer in the EECS section that has a removable support material: the support material is much more expensive than the structural material and this object requires vastly more support than the actual object! Annoyingly, the 3DWox software didn't seem to allow me to remove supports I already added, so everytime I made a mistake I had to restart the program and start over.
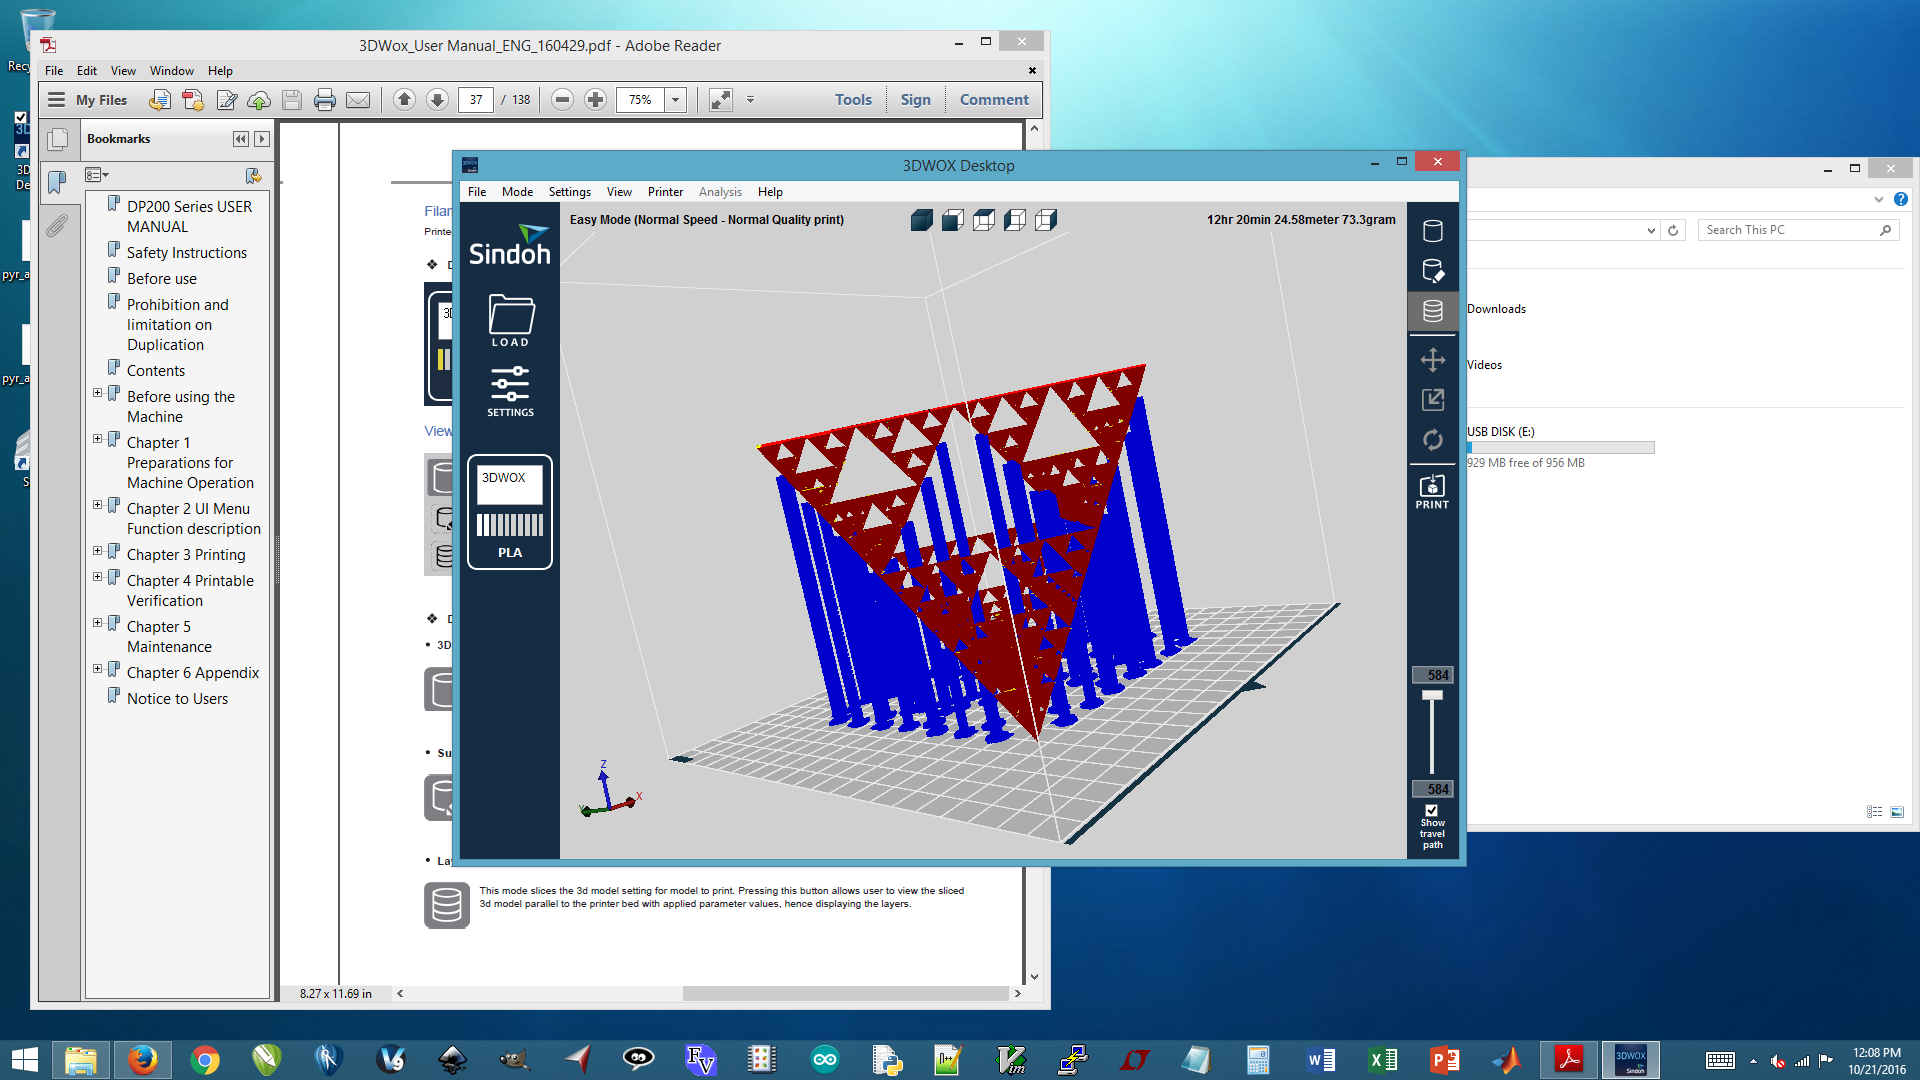
My first attempt failed because I did not support the bottom, which did not sit flat on the bottom because it was an edge. I stopped it an hour or two in, when I saw that it started making tiny failed tetrahedrons, which you can kinda see below.
Support is important for the wellbeing of your 3D print
On my second attempt, I put the supports along the bottom edge, and I got some success... If two tiny tetrahedrons failed to stick, then it would have too little support, and would just frizzle, fray, and burn. MAKE SURE THAT THERE IS ENOUGH MATERIAL CONNECTING YOUR PIECES!!! Thankfully, one of the bottom parts is a perfect 3 iteration sierpinski tetrahedron, so if I wanted to, I could just keep that piece as a cool object on my table.
I'm just not going to remove the supports
Here is the Antimony file for the sierpinski tetrahedron. It is improved over my second attempt, so the tetrahedrons are slightly closer together.