I decided it was time to learn a more powerful CAD software, and had been wanting to switch to Fusion 360. For one, it would open more complicated functions like "sweeping" to me, which course 2's had been telling me about throughout this class. But, considering that shit has hit the fan I probably won't be using these cool functions until the final project. That, and it has built in CAM functionality!
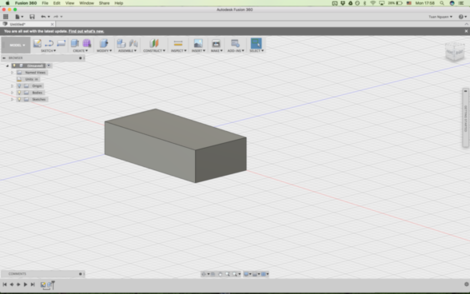
Baby steps
In my simplified design, the LEGO is mostly filled rather than mostly hollow, and the bottom is just square indentations rather than complicated geometry. I had wondered about making special legos that are more versatile than simple vertical connections, but then couldn't think of any designs that didn't look dumb.
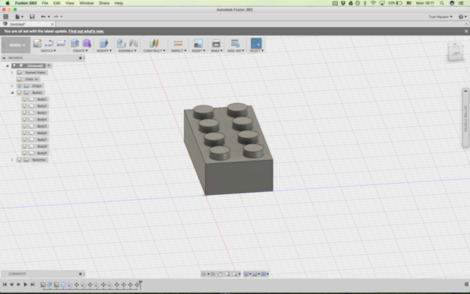
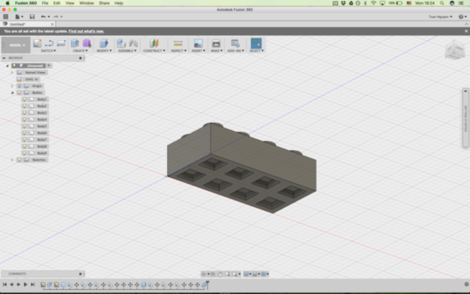
Legally distinct
Fusion 360 has all the basics, like arraying and boolean functions, which made making the LEGO model a cinch. I liked how I could easily move objects by using the "m" hotkey and dragging some arrows. Plus it snapped to the nearest 0.1", which was convenient for my design anyway. I enjoyed/abused this function most.
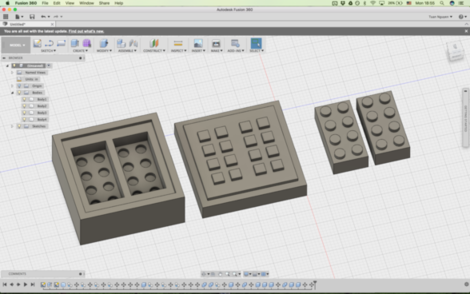
twoferdaprizawun
I didn't actually know how big the machine wax block was, so I guessed each person used a 4"x 4"x 8" block (it turned out to actually only be 3"x 7"x 1.5"). This would allow me to fit a mold for two simultaneous LEGO bricks. When designing the molds, I tried to keep in mind Gershenfeld's advice that we make each half mechanically fit together instead of just using pegs to line them up. I simply did this with a rectangular indentation in one that fits the other.
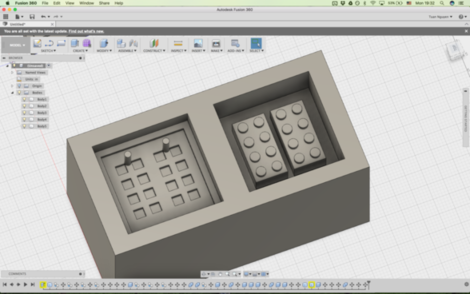
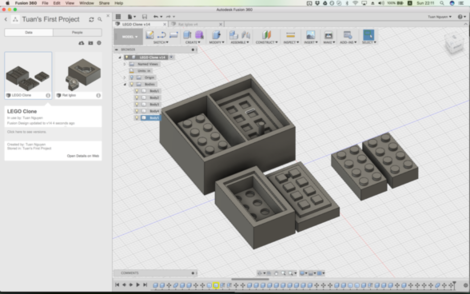
Orignial on left, redesign on right
Then using the boolean functions, I made the model for my machine wax cut. However, when coming to lab to scope out the wax blocks, I saw that they were emphatically not the size that I originally thought they were. Furthermore, I was told that people usually only used half of the 3"x 7"x 1.5" block, so I redesigned my model to fit that size block. However, this meant that my mold could only make one LEGO at a time :c I also made sure at this point that my mold had a hole so I could actually pour the casting material in.
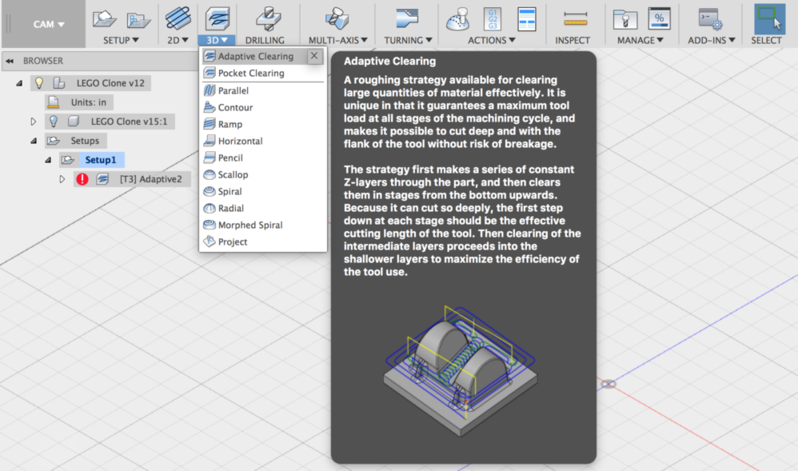
Fusion 360 just keeps getting better
Then, I tried using Fusion 360's CAM software. I wouldn't say that it was intuitive, but it wasn't too difficult to figure out. Just right click the setup, pick which body to mill, edit the axes and origin, pick the endmill, and decrease the margin to zero around the body (so that you don't try milling around the machine wax). Then you can select which kinds of toolpaths you want, from the 2.5D rough cut (referred to as pocket clearing) to the nice 3D finishing parallel cuts. It also had an interesting 2.5D adaptive clearing that optimizes load on the mill. And by right clicking the setup, you can export it to a large variety of brand-specific file types, like .rml for roland mills!
My hero
But! The computer hooked up to the mill was a linux, so it couldn't use the roland software. Instead I had to use the fab modules, which would have been fine if it weren't so difficult and confusing to use (Which could be fixed if the functionality were ported to fab mods?). Gavin literally spent at least an hour trying to figure out what Gershenfeld did to get it to work weeks ago. He finally succeeded after I had already left for the night, and so I came back the day after to mill my wax.
The process
Machining it went off without too much of a hitch. One of the walls turned out a bit thin, but I could still fill it with OOMOO wo it didn't affect me too much. Gavin taught me how to mix the OOMOO (I missed the scheduled ones because of theatre put-in). I found it quite difficult to mix it without forming air bubbles, even with only horizontal shearing! Maybe it was because we were using huge tongue depressors to stir, but it left a hole where it last was and then material filled in over the hole. Maybe we should invest in glass stirring rods? Or thinner popsicle sticks? Gavin taught me to tap the sides of the wax to remove bubbles after I poured in the OOMOO, but I didn't have the right technique (I shook it instead of tapping it) and I took too long to pour it (because I wanted to have a small stream like Gershenfeld suggested) and so I didn't have enough time to tap out all the bubbles. But it was still pretty functional!
At least I don't have to make two LEGO's now
Then it came time to do the casting. I did hydrostone for quality and (supposed) ease. However, my hole was too small, and a funnel did not exist :/ I ended up squeezing the mold so that air could exchange with the hydrostone. Then, I started adding water to the hydrostone to make it flow better. It got the job done, but it probably was worse for the final product. As seen above, the LEGO ended up cracking in the middle, probably because the higher water content made the material weaker. Also, the final shape was noticeably distorted because my mold was too small/thin, and the clamps distorted the mold in addition to keeping the halves together. In the future, I should make a larger hole and have thicker molds!
Here is the .stl file for my machine wax model.