Week 7: Embedded Programming

Introduction
This week, I programmed my board to blink when a button was pressed. For this week, I used the programmer I made during week 3 and the board I made during week 5.
Programming the board

- Connect the board with an FTDI cable to a computer
- Check the programmer that I made in week 3 is actually programmed and recognized by the computer (Go to About my MAC → More Info → USB). The device will be called FabISP
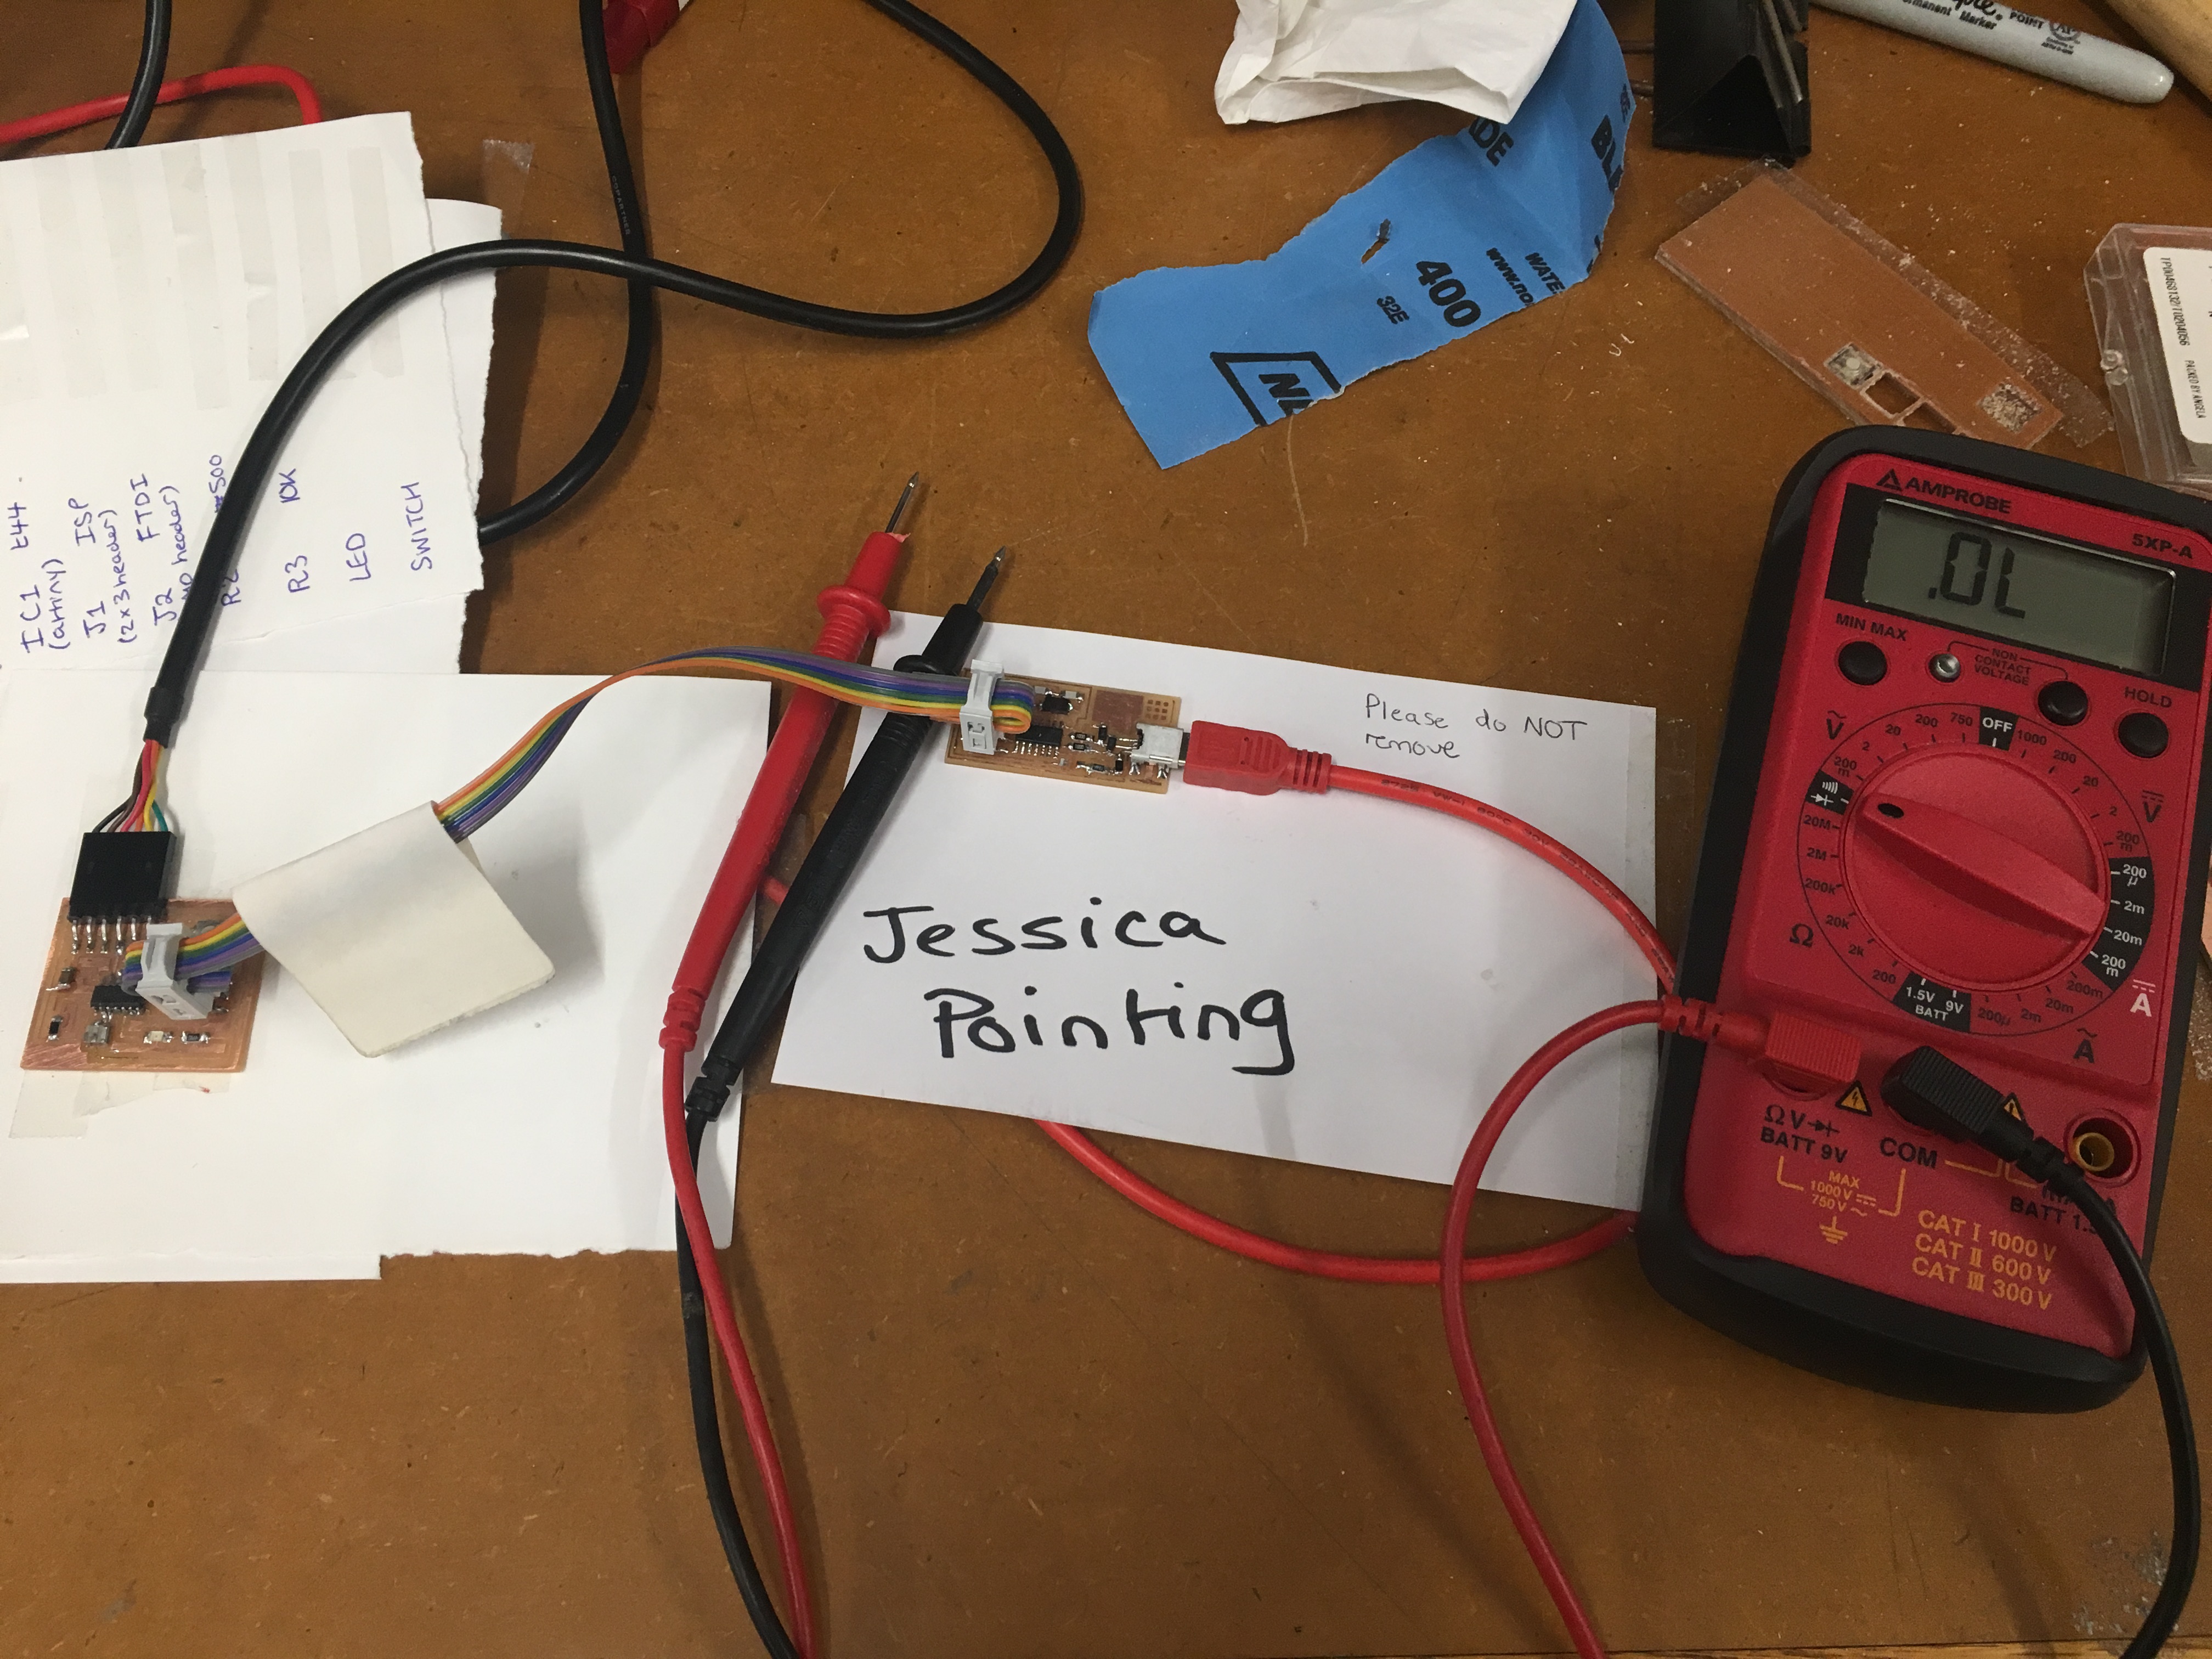
- Connect the programmer to the computer using a tinyUSB cable and connect the programmer to the board with a 6-pin wire, and connect that board to the computer using an FTDI cable. Make sure that the 6-pin wire is connected in the right way (ground on the programmer matches to ground on the board).
- Download CrossPack which installs the AVR code
- Download the hello.ftdi.44.echo.c and the hello.ftdi.44.echo.c.make files. The C code in the file instructs how to execute the given program. Each .c files has to have a .make counterpart.
- Open up Terminal and open up the directory where the files are located
-
Create a .hex file (this transfers the .c instructions into bit information). The command is:
make –f hello.ftdi.echo.c.make -
Next, program the programmer fuses. The command is:
make –f hello.ftdi.44.echo.c.make program-usbtiny-fusesIf the connection fails, you will get an error message ‘initialized failed, rc=-1’ If the connection successed, you will get the message ‘AVR device initialized and ready to accept instructions’ -
Next, program the .c instructions onto the board. Run:
make –f hello.ftdi.44.echo.c.make program-usbtiny
Make the board blink
Here is the blink.c. file and blink.c.make file.Run:
make -f blink.c.make
make -f blink.c.make program-usbtiny-fuses
make -f blink.c.make program-usbtiny
Challenges
- The board wasn’t fusing!! It was frustrating. There were some dodgy connections somewhere. So I took out the voltage meter and checked every single connection. It turned out that two pins were connected when they weren’t supposed to be. I recommend using the voltage meter to check all connections always!