I have never used a vinyl cutter or laser cutter before. So, this week is going to be a lot of fun learning to use these new tools.
Vinyl Cutting
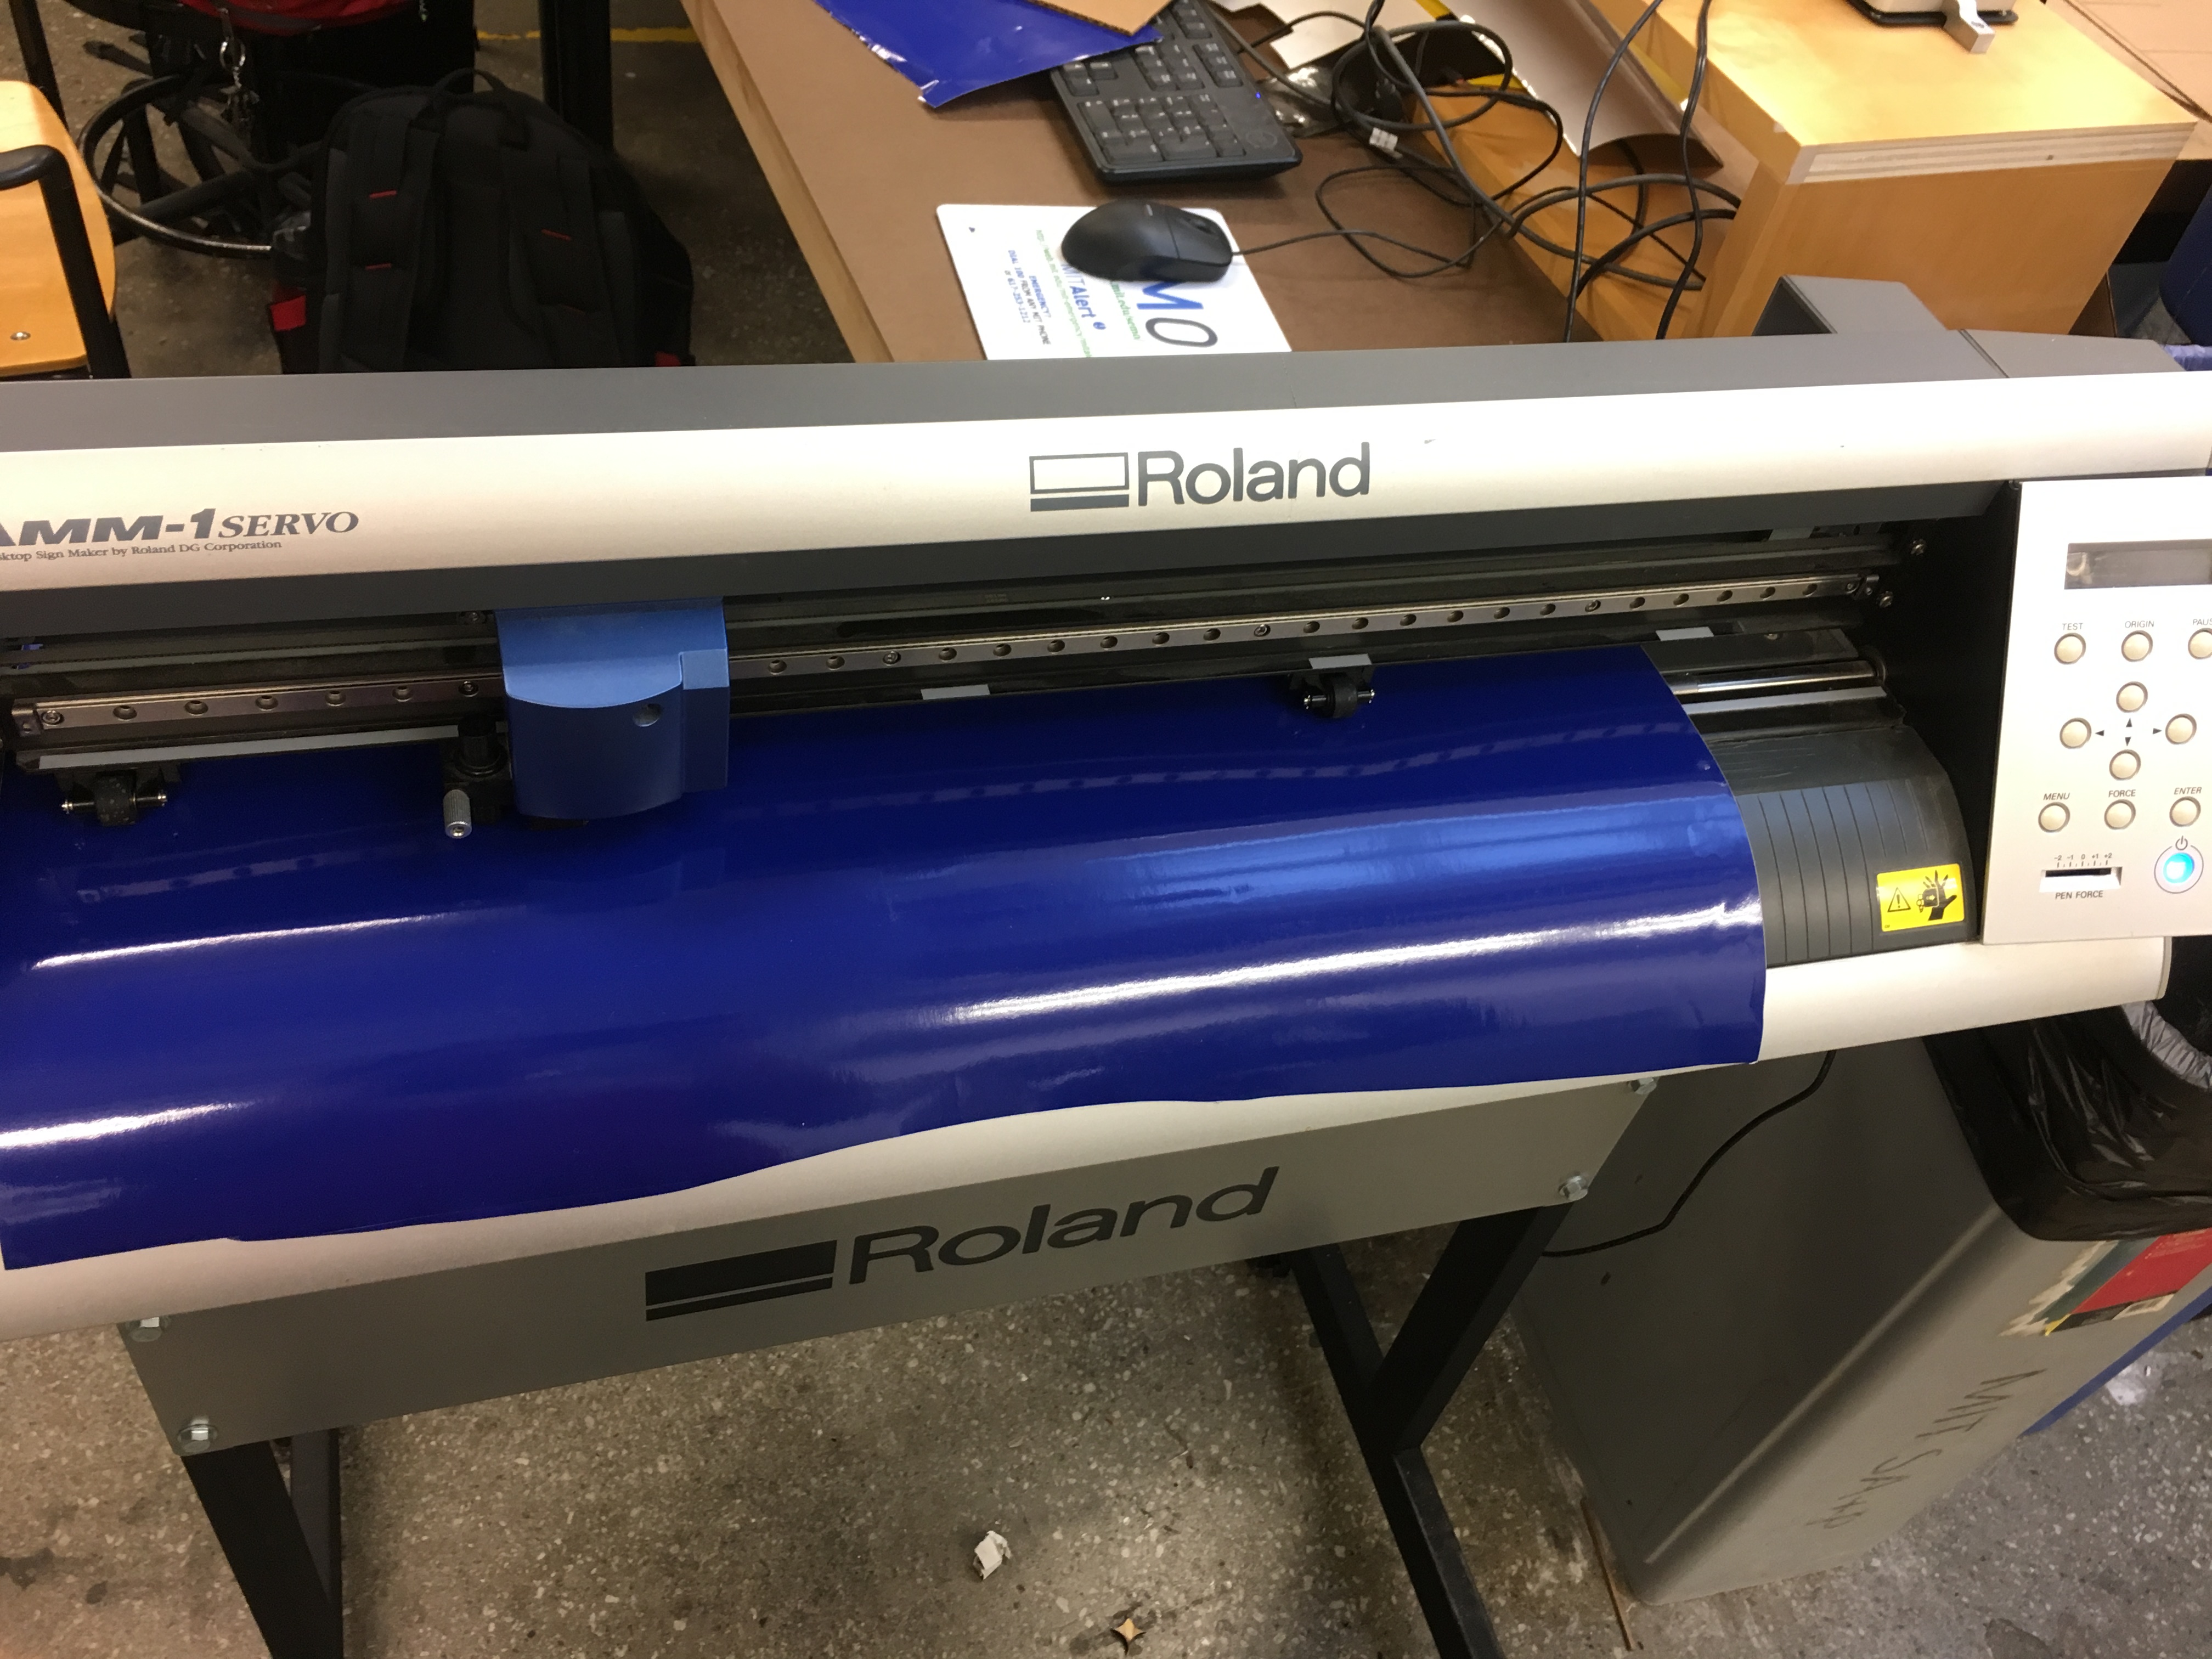
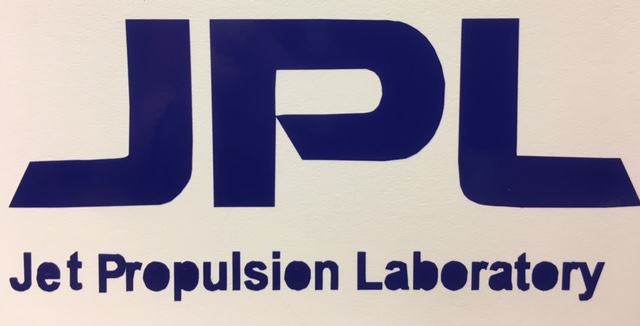
For the vinyl cutting, I used the Roland vinyl cutter in the arch shop. I decided to make the Jet Propulsion Laboratory logo. Unfortunately, there was no red vinyl paper in the lab, so I had to make do with blue!

After I was convinced that the shapes came out clean, I made a few with smaller letters to test out the machine further. They came out pretty well!!
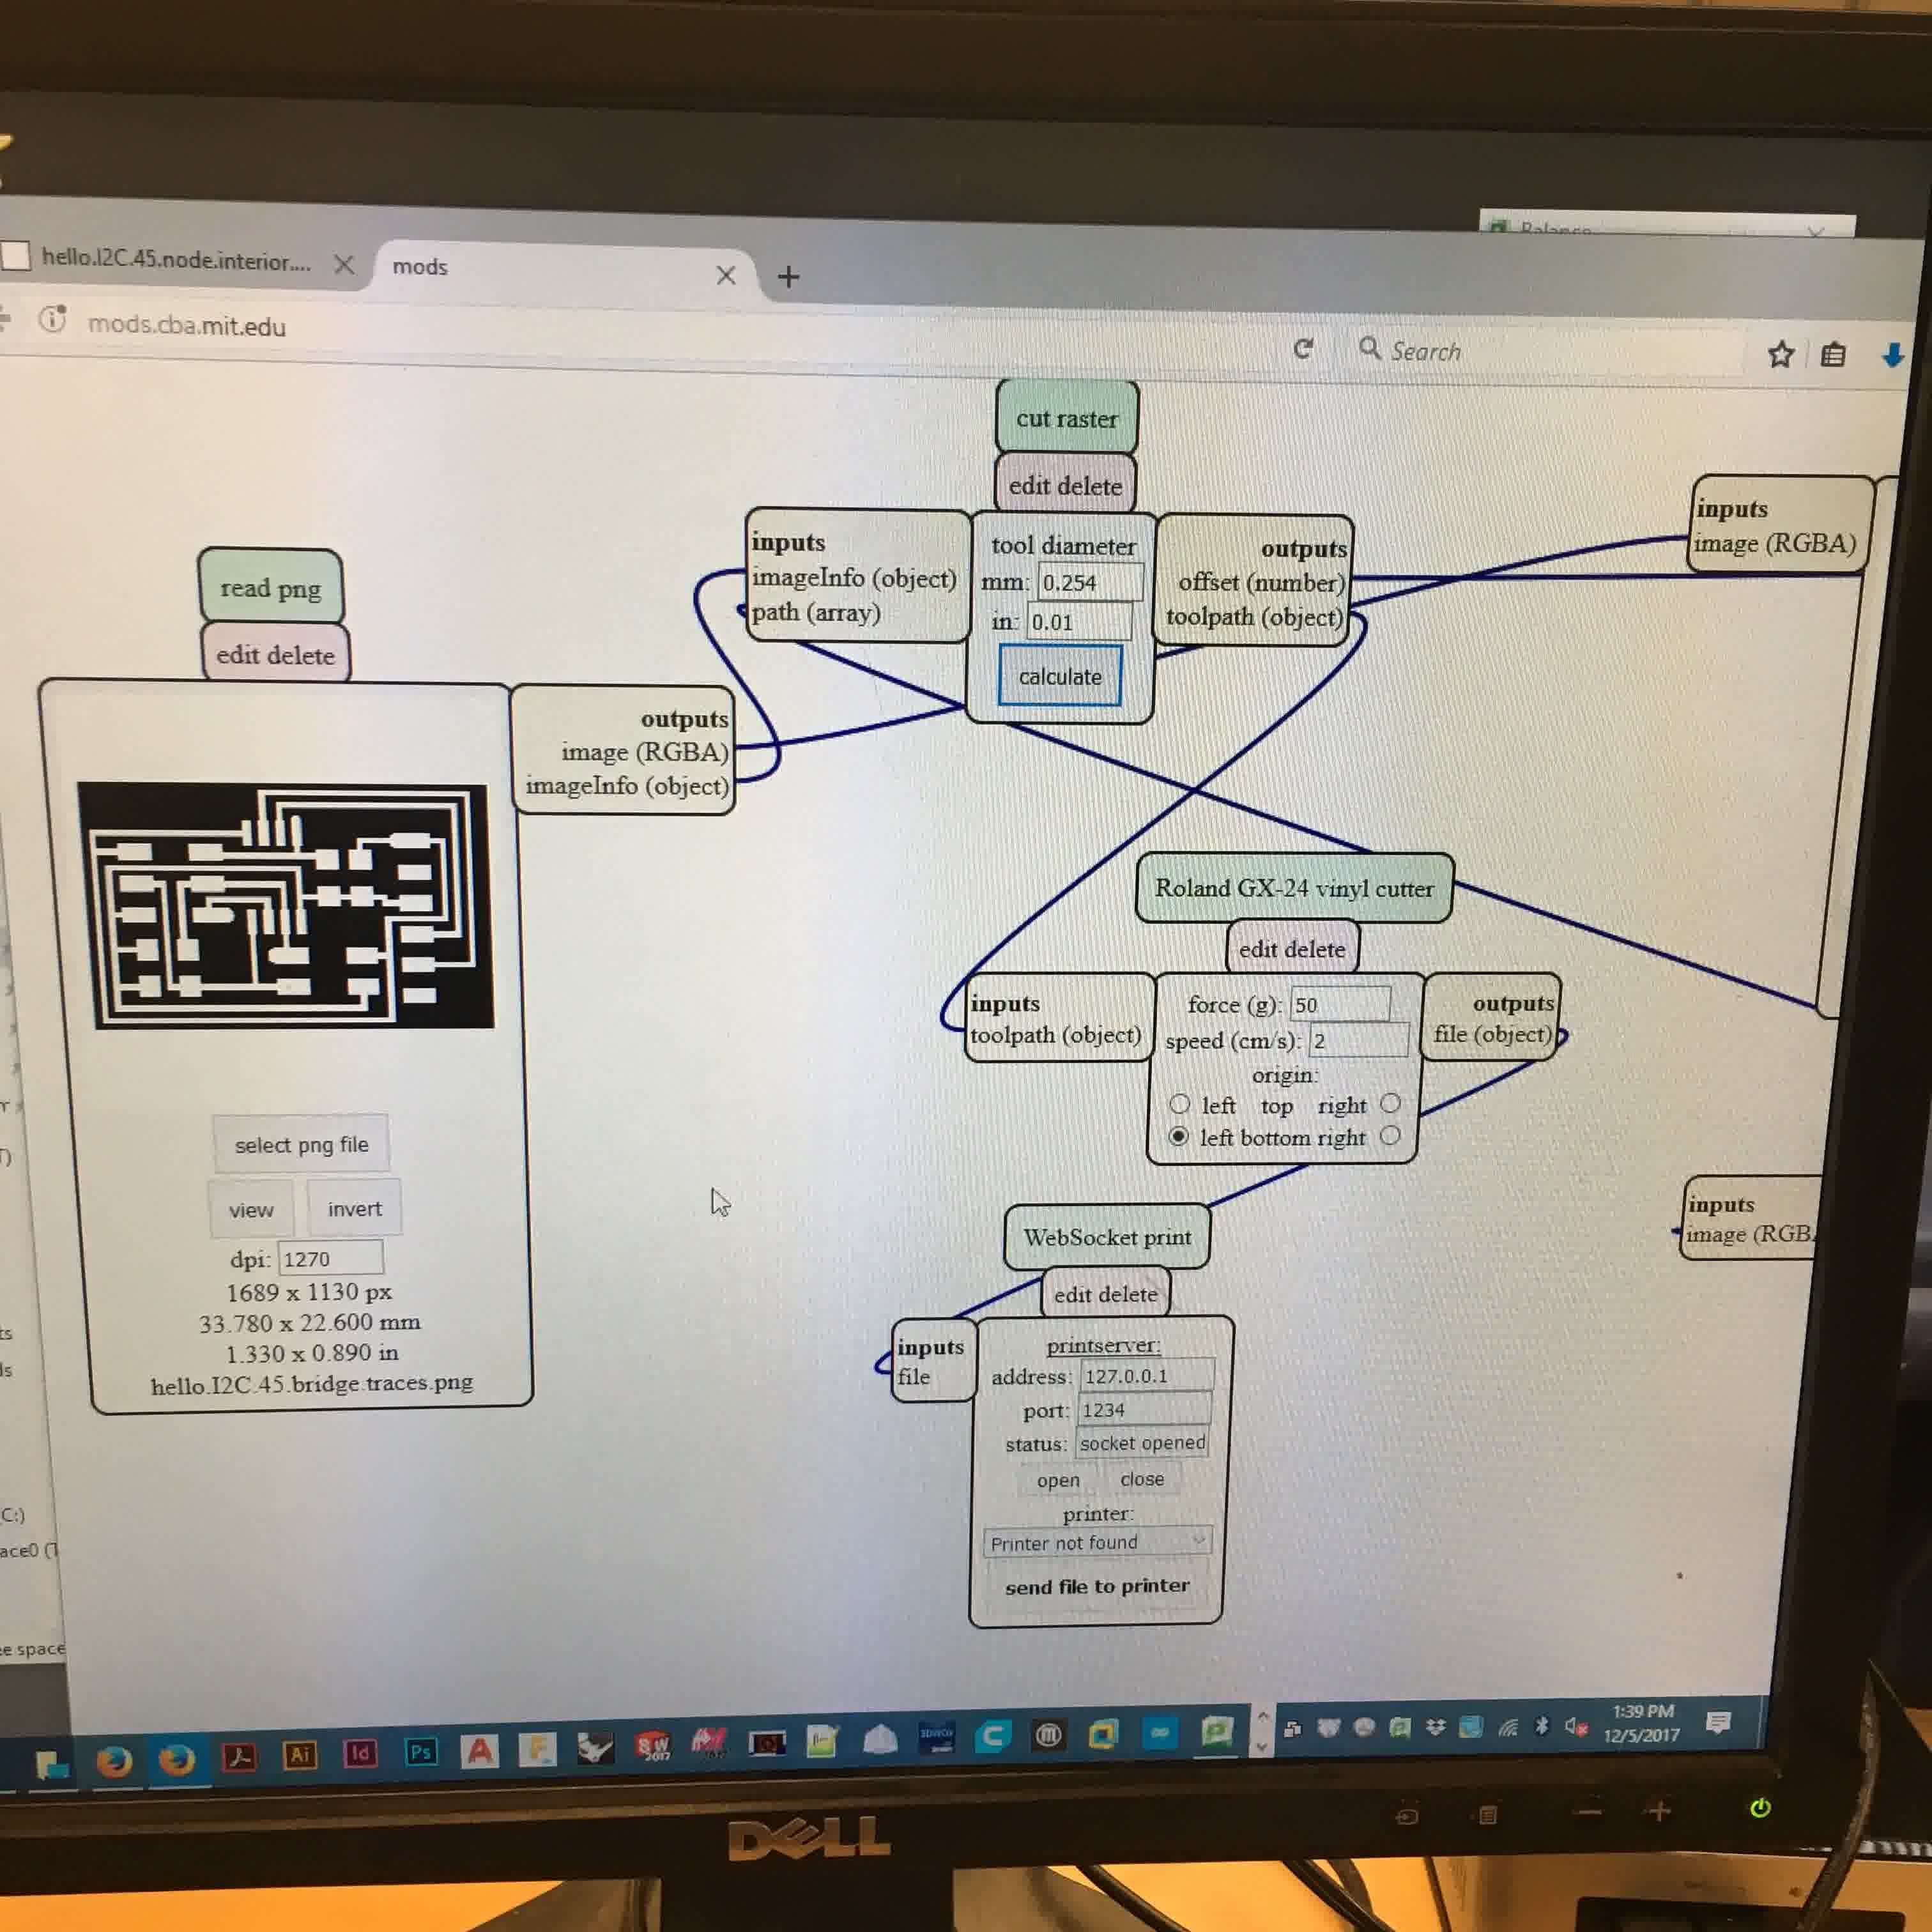
Here's a snapnot of the mods program screen that runs the Roland vinyl cutter. Here we load the png image we want to cut, and then set the force (typically 50) and speed, 2 mm/s. And then calculate the tool path, and send file to the printer.
I then decided to try something more. I wanted to take a circuit board and vinyl cut that with a copper sheet. I was excited about this. But it turns out that the board I was trying to cut was too small and intricate.

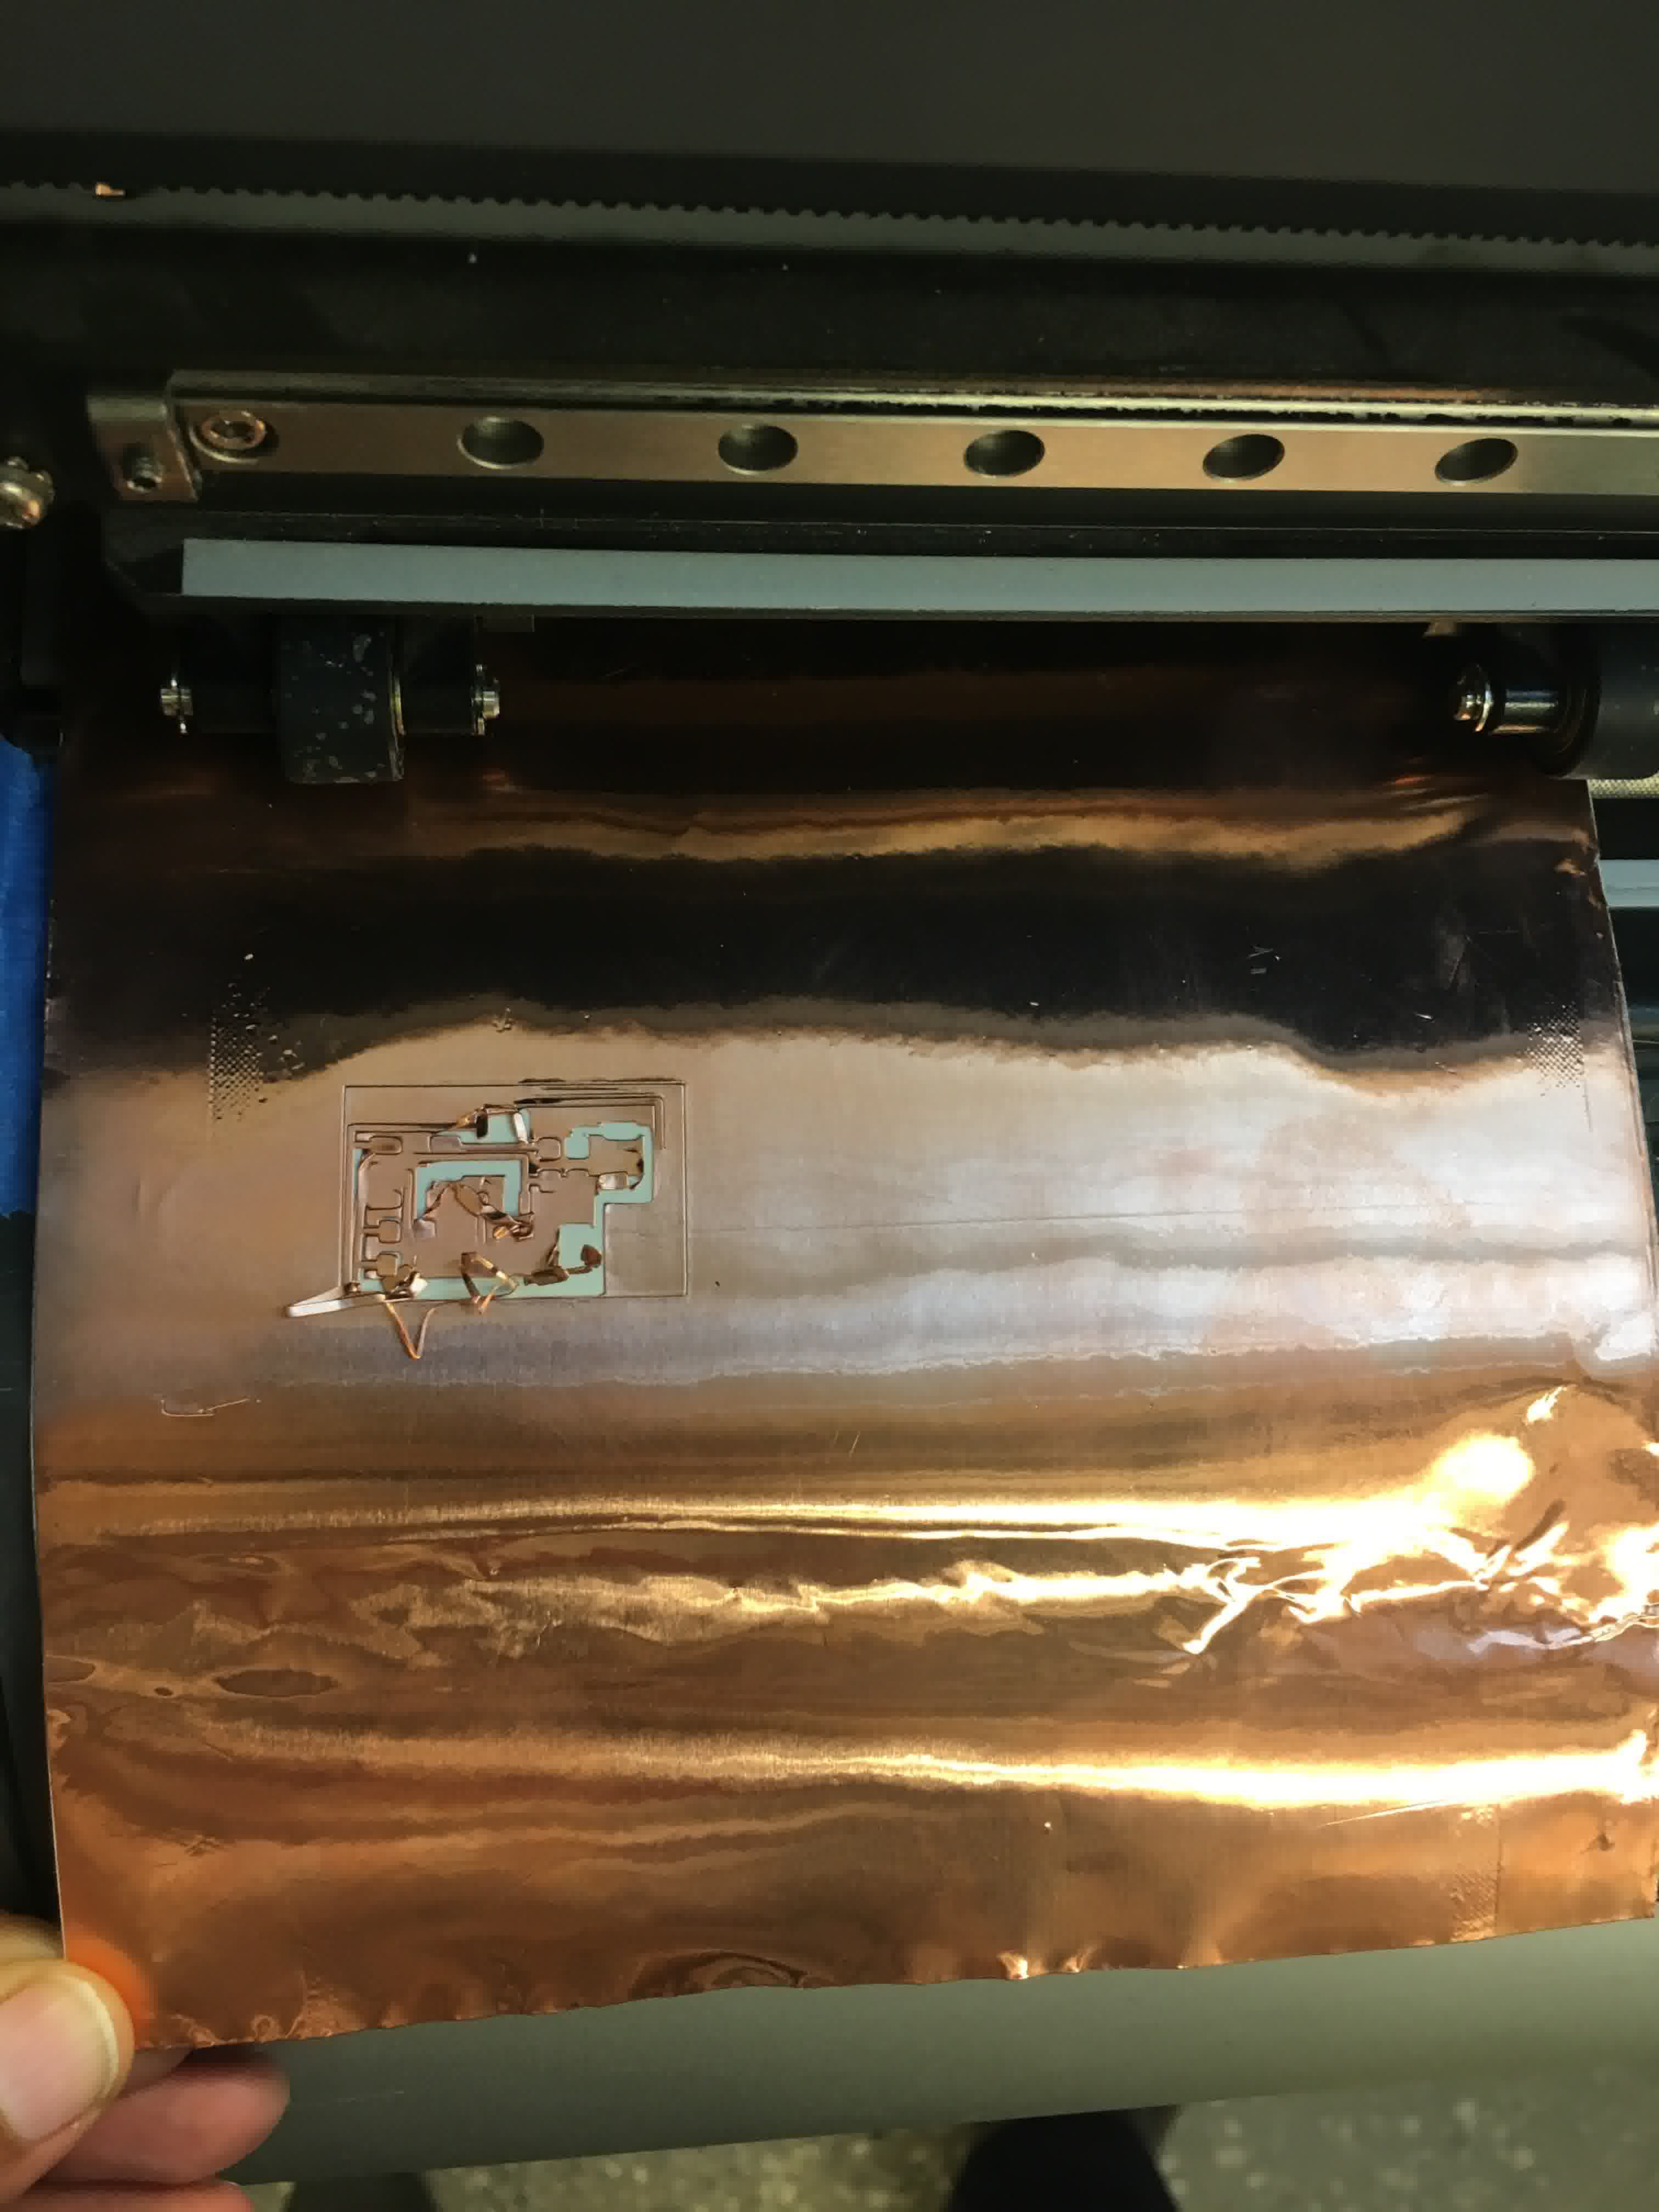
The end result was not so great. I tired varying the force from 30 to 80, and the speed from 0.5 to 1.75 mm/s. I wasn't able to get a clean cut of the board with any of the combinations. It would either cut too quickly and pull out the material and get tangled, or it would not cut deep enough making it harder to get the pads for the components. But it was a good learning experience.
Laser Cutting
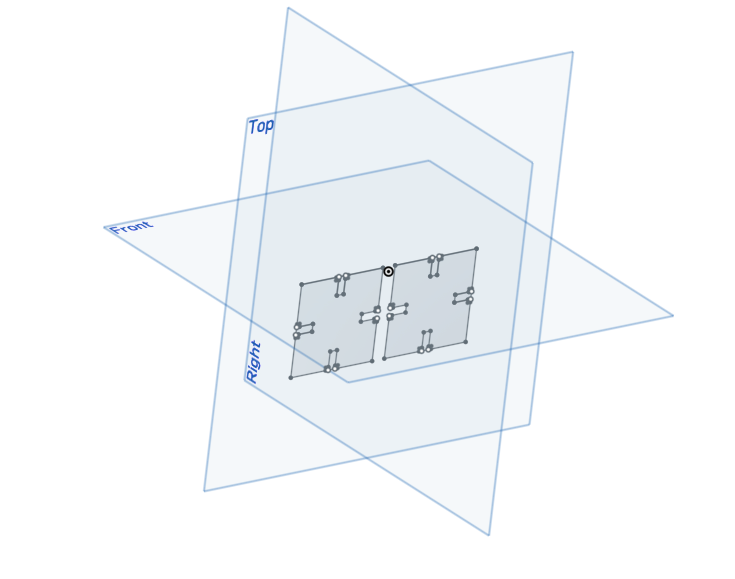
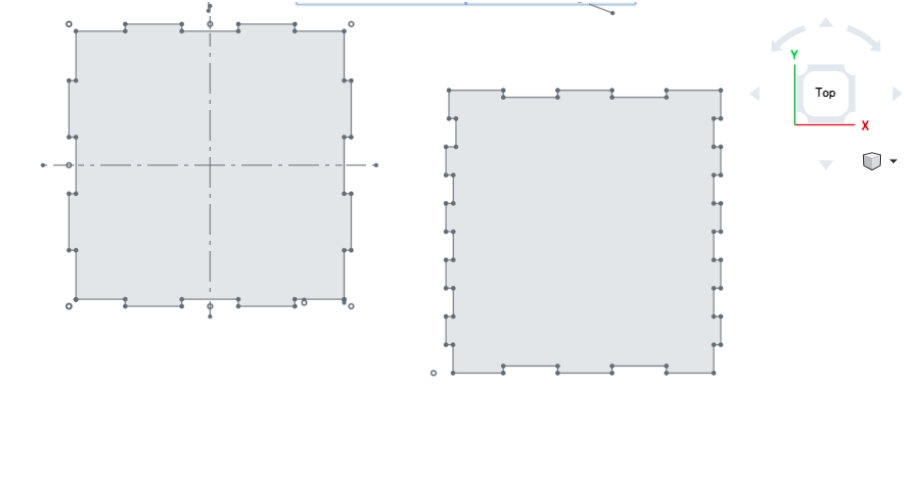
For laser cutting, I started with some easy press-fit shapes with a few different tolerances to check the tightness of my fit. For this week's assignment I used OnShape to model all my press-fit parts. It was fairly straightward to use since I already knew SolidWorks.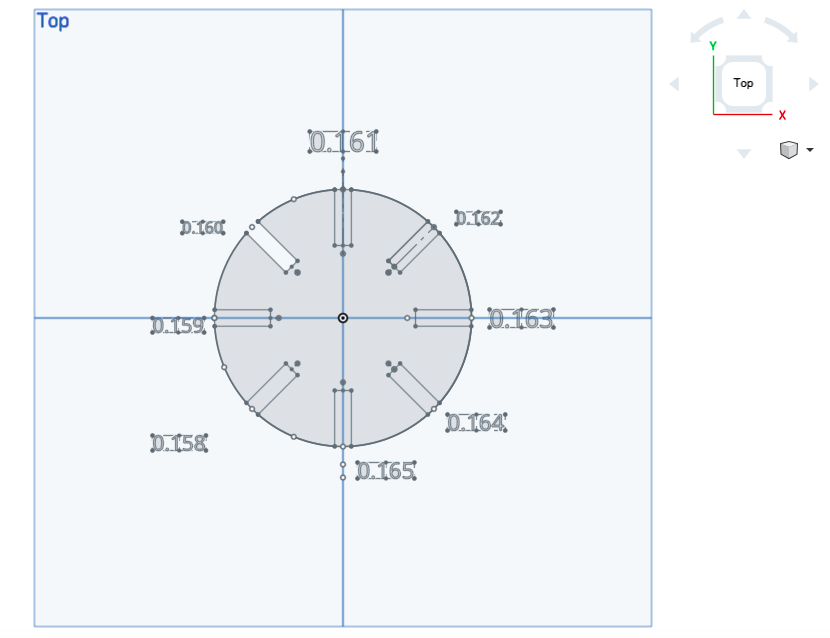
Once, I was convinced that 0.162 perfectly fit, I went ahead and made different shapes and added some chamfer at the edges to help with easy press fit assembly.
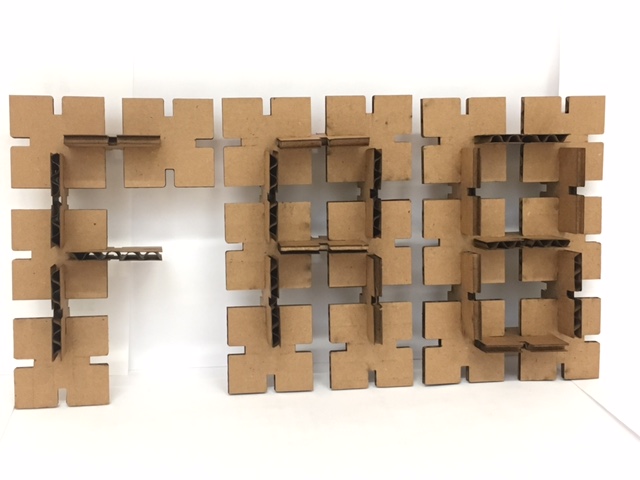
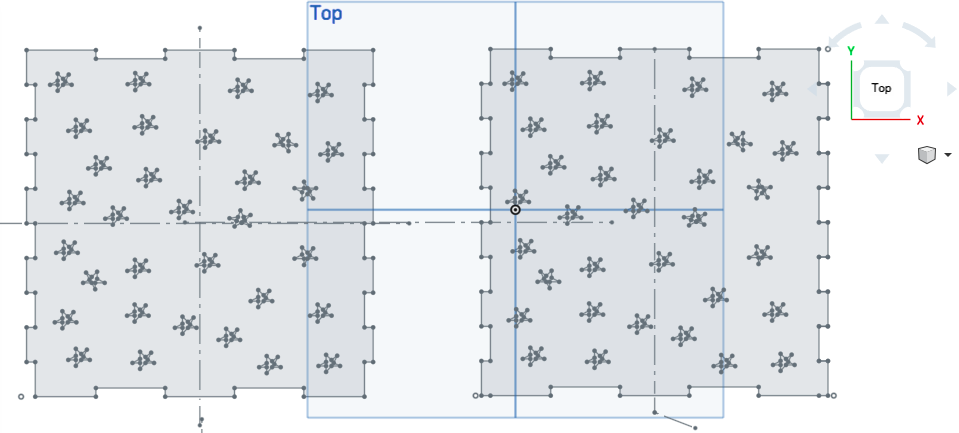
I then started making more pieces by just multiplying the drawings in Rhino and laser cutting them..There is a very helpful tutorial for the Epilog laser cutter in the arch shop. Making sure to follow those will lead to an easy cutting experience. We have to always watch the laser cutter, and not take our eyes off. This is one thing that was stressed on during the tutorial by Jen and the TAs. The cardboard can catch fire and start to burn in a matter of a second. So, we have to be very careful while laser cutting.
Here's one more picture of the same..
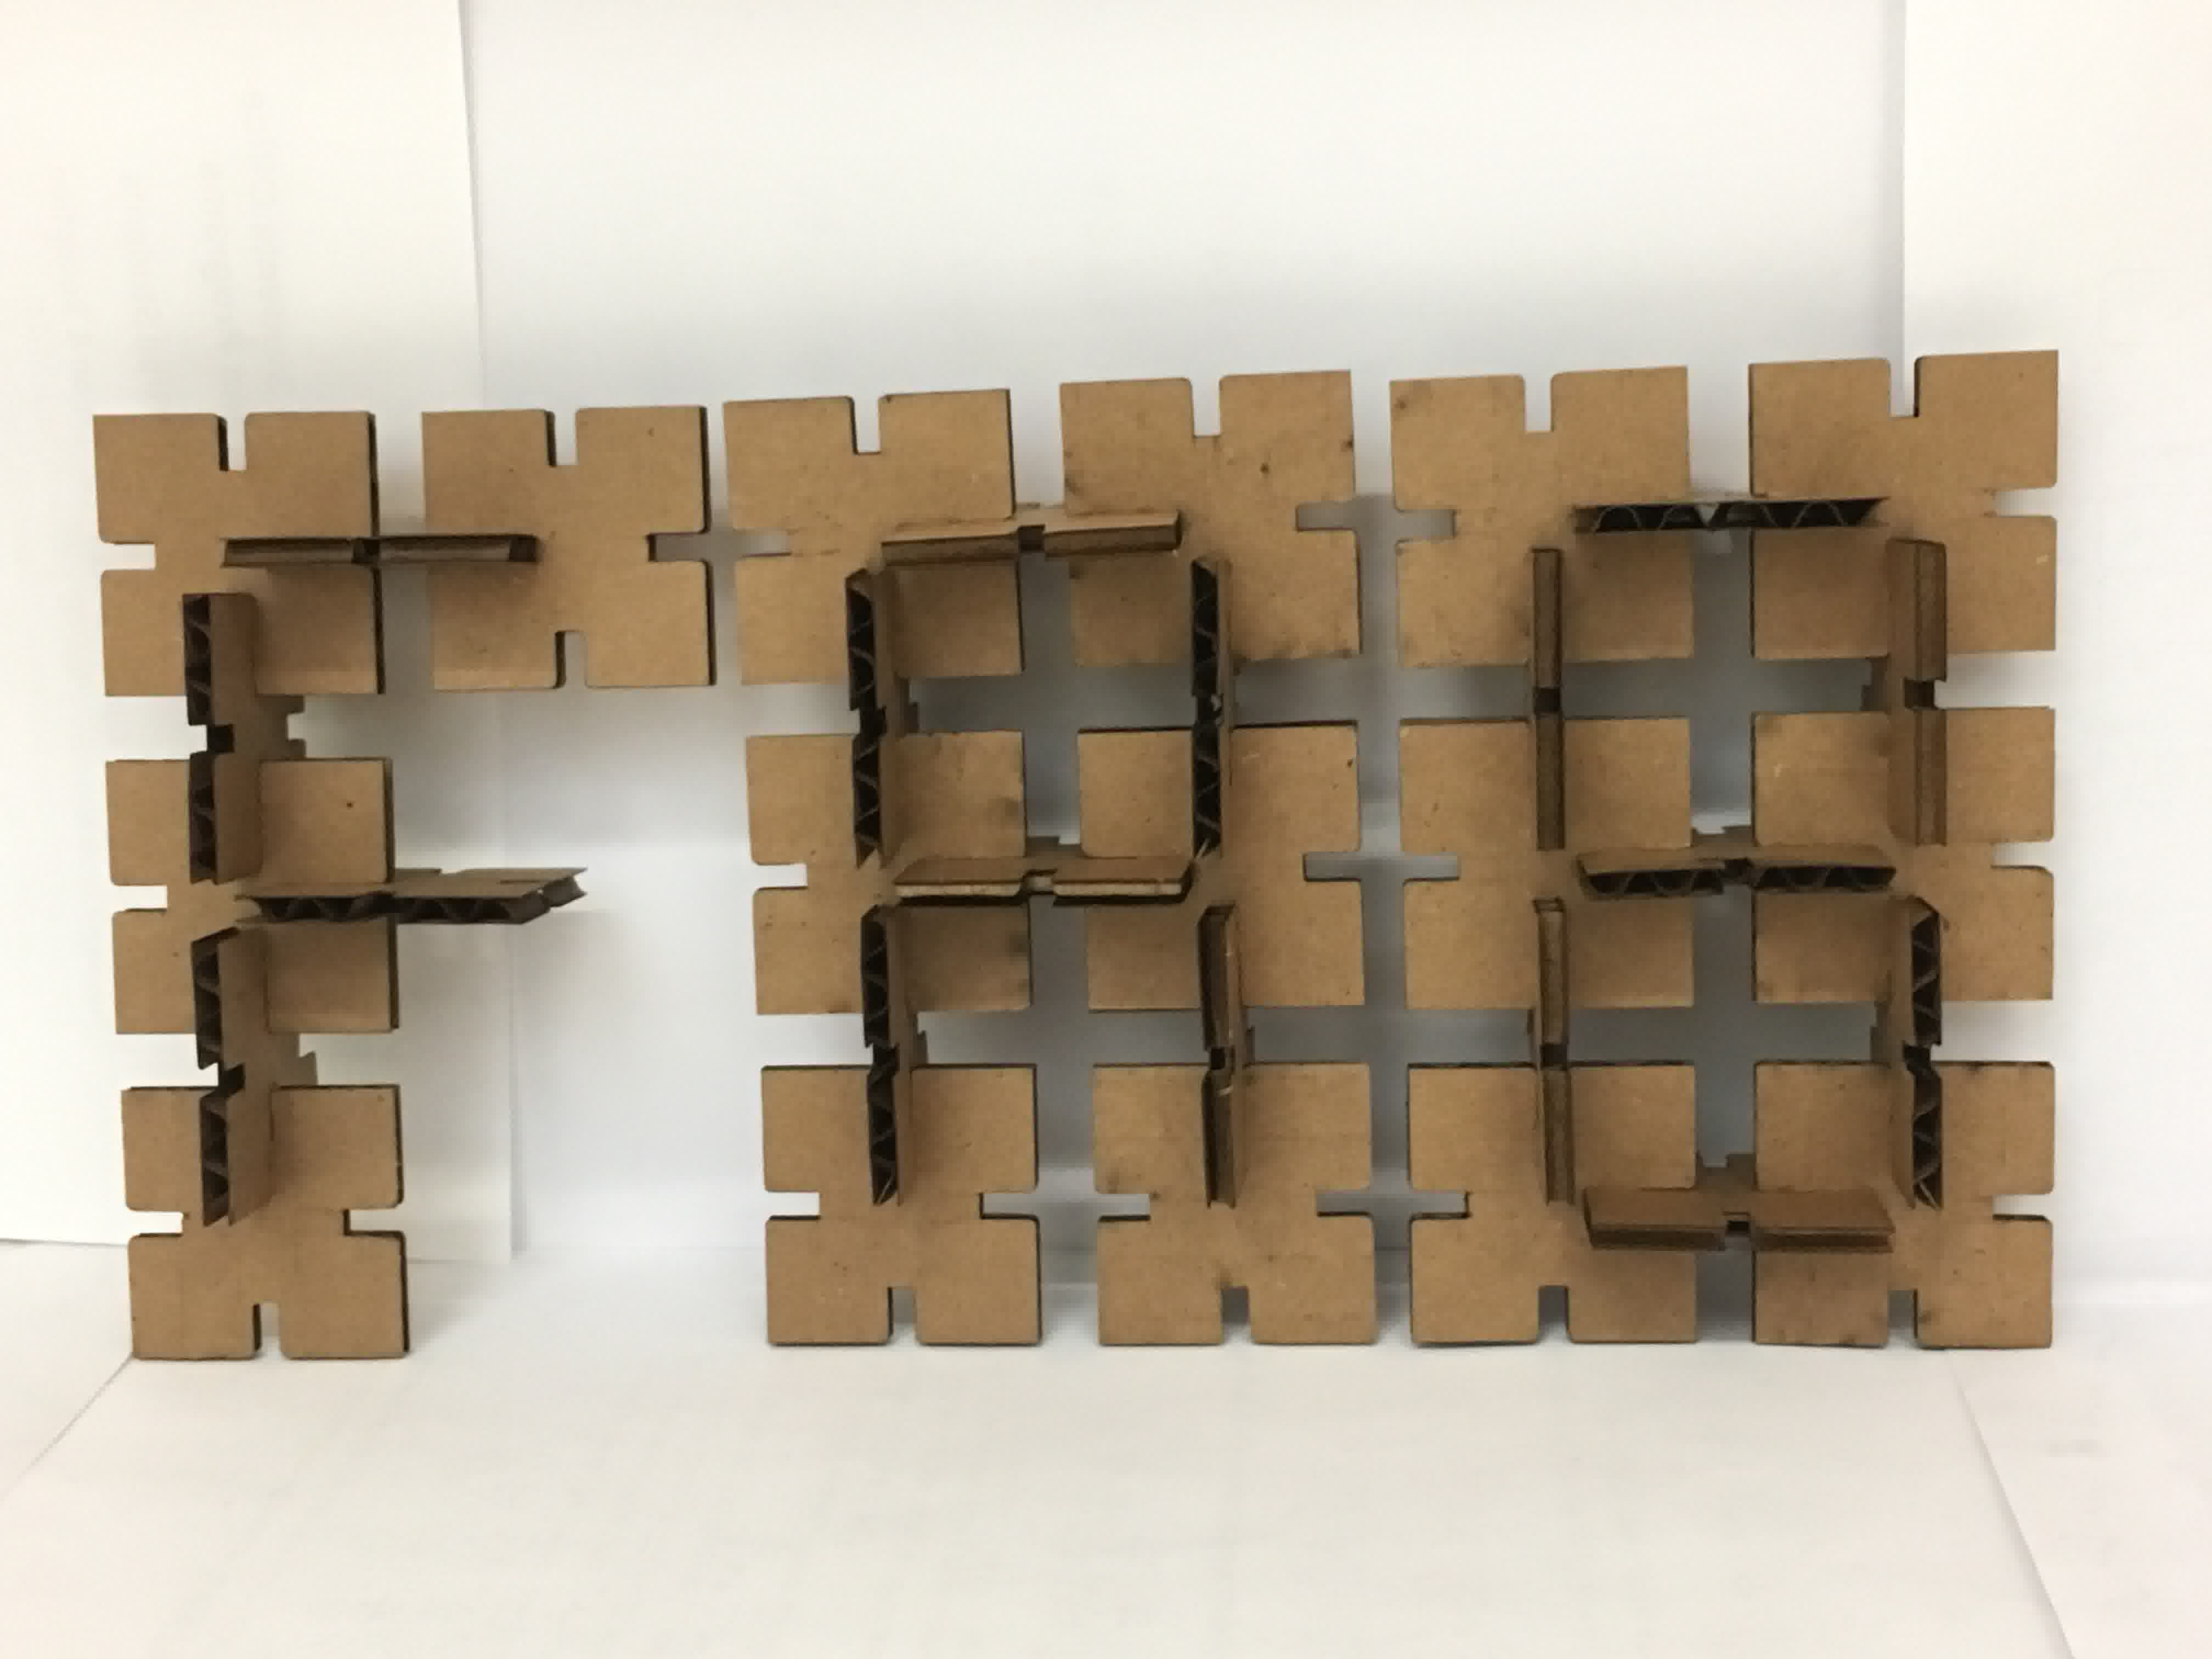
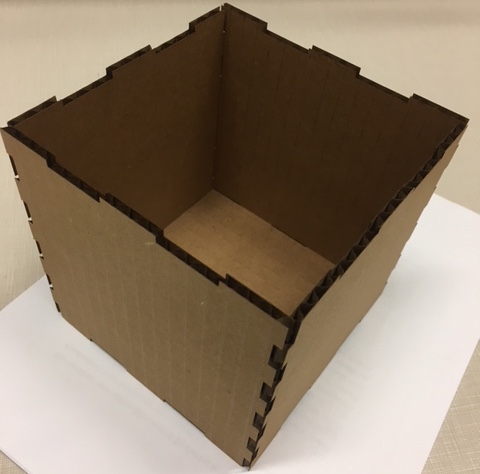
I wanted to make a lantern or some kind of a candle holder for Diwali, the Indian festival of lights. So, I started designing a simple box. The clearance for this type of closed press fit shapes was different from the previous ones that I made. So, I had to experiment with tolerances again and play around a bit to figure out what gives a snug fit.
Here's another fun video of the laser cutting process with the Epilog laser cutter in the arch shop!
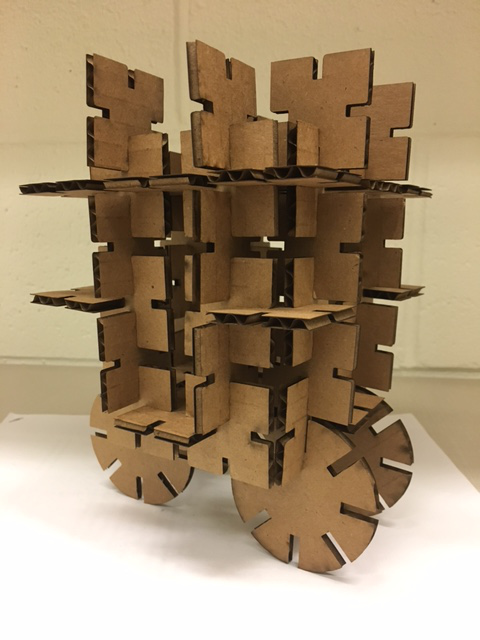
Ovbiously, I wanted to make more of these, especially with some star shapes, that would let light out when I kept a candle in it. But alas, it is end of Tuesday. So, I will have to do this some other time. But it was a really fun experience learning to use the laser cutter!
I am using laser cutting for my final project as well. So, please check my final project space for more.