Week 7
Embedded Programming
This week's assignment: program your board to do something.
I was in a super rush when making my board in Week 5 so when I tried to test and program
my board this week, I discovered that there were lots of things wrong with my board, as you will see.
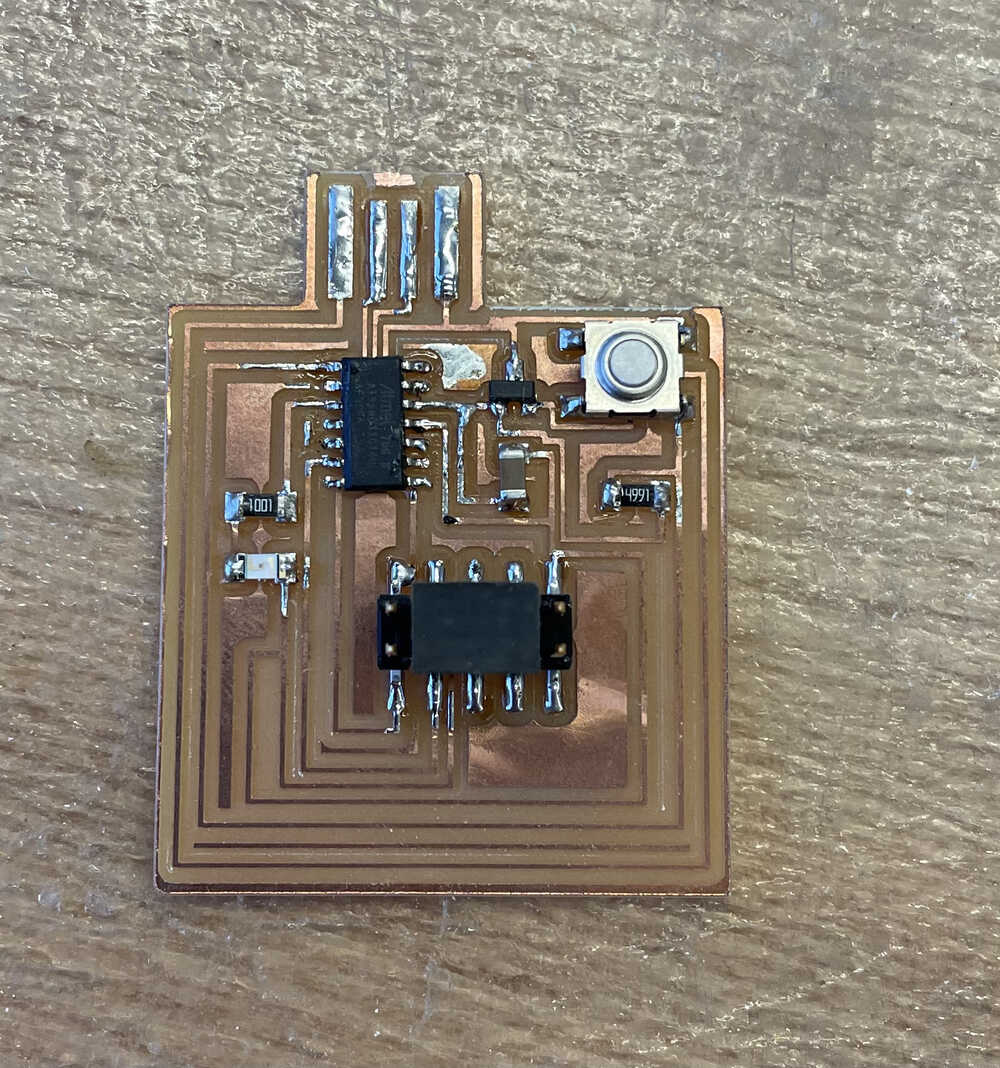
Board from Week 5
The first step in programming my board was installing the bootloader for the SAMD11C. I followed the instructions in step 3 of Jake's tutorial. We connected Anthony's Attmel SAM-ICE programmer to the computer and my board, clicked "burn bootloader", and then the bootloader was installed and I could directly send programs from my computer to my board via USB! One slightly annoying mistake I made was not realizing that there were pin conventions (see image in the above tutorial)
for the 2x5 header, so I'd pretended that it was a 2x2 header and ignored the other 6 pins when making
my schematic for the board. As a result, we had to connect the pins manually one by one when attaching the programmer to my board.
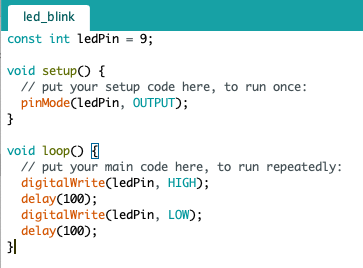
Blink Code
The next step was writing code in Arduino to blink the LED. That part was easy-peasy because Arduino
programming is all we did in 6.08. But when I sent the code to my board, nothing happened and that's when I
realized that I'd soldered the LED on backwards :( So I un-soldered the LED, flipped it, re-soldered it, and tried the program again. This time it worked!
Blinking LED
Next, I wrote code to toggle the LED with the button. The button bouncing was pretty bad, so I added code to "debounce" the button. Then it worked really well.
Debounced Button Toggling LED
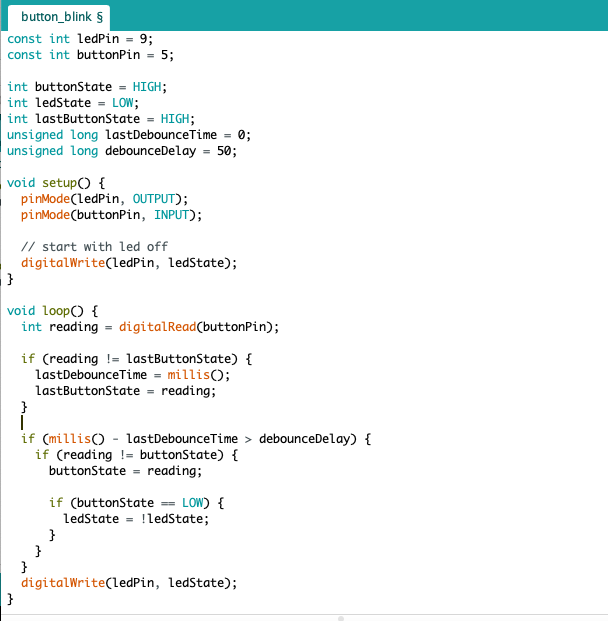
Debouncing Code